Anycubic Kossel Octoprint installation

1. Download Octoprint
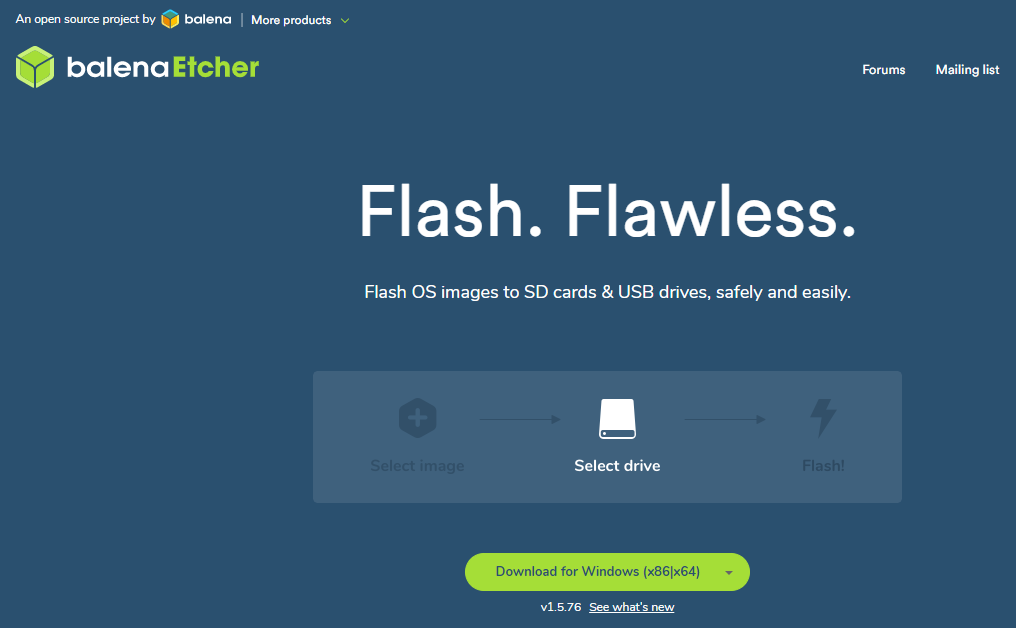
First step is installing OctoPi which is a Raspbian (Debian) image with OctoPrint interface.
Click on the picture, it will redirect you to OctoPrint.org.

2. Download and install Etcher
Etcher is a handy tool for flashing OS images, such as OctoPi to SD cards.
Click on the picture and download the latest release.
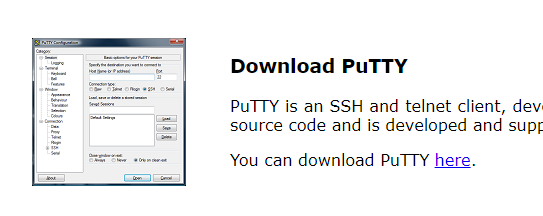
3. Download and install PuTTY (recommended, not needed)
Standard OctoPrint image comes without any graphical interface.
You will need a SSH client such as PuTTY.
Click on the picture, download and install PuTTy.
4. Flash Octopi image
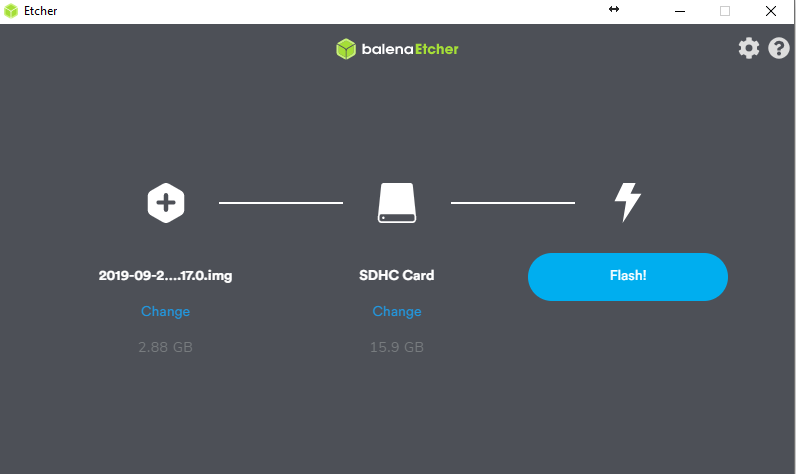
Insert a SDHC card into your computer and select the OctoPrint image you have downloaded.
There is no need to extract the files, just select the zip file, such as: octopi-buster-lite-0.17.0.zip
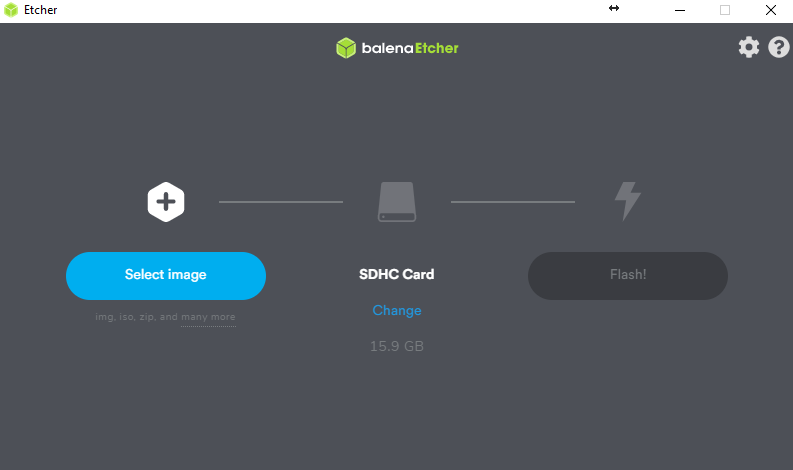
Click on Flash!
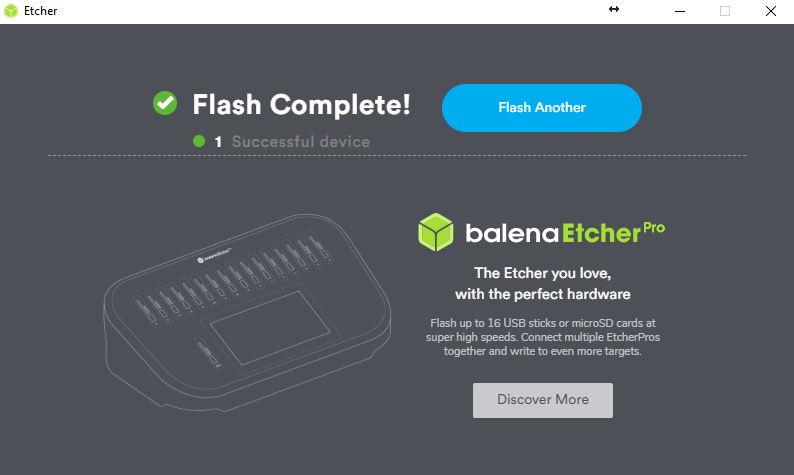
Success!
5. WiFi settings
If you are running Raspberry 3, 4 or older Raspberry with a certified WiFi USB adapter, locate octopi-wpa-supplicant.txt on the SD card right after flashing OctoPrint.
!!! Edit this file only with a proper text editor, such as: PsPad, Notepad++, VSCode, Atom, SublimeText !!!
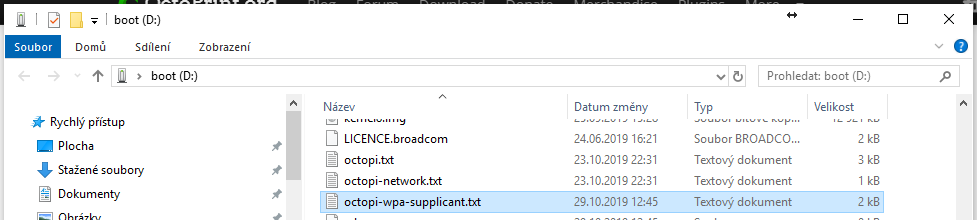
Open octopi-wpa-supplicant.txt with a proper text editor
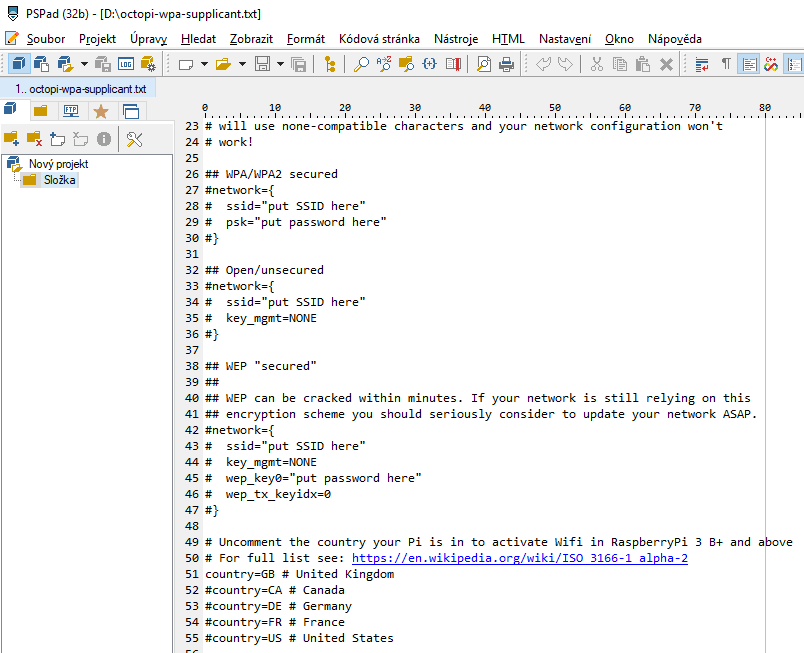
Locate your WiFi type (usually WPA/WPA2 secured), uncomment all 4 lines and fill in your network SSID (name) and password.
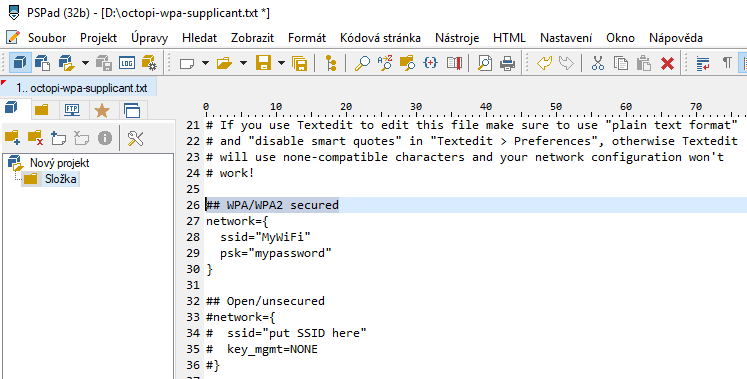
The next step is changing your country, for example United Kingdom = GB

Save the file.
6. Octoprint first boot
Safely remove SD card from your computer, insert it into Raspberry, connect Ethernet cable/WiFi adapter if needed and plug in power supply.
Make sure that you have a correct power supply such as:
5V 2A with a micro USB connector for a Raspberry 2/3
5V 3A with a USB-C connector for a Raspberry 4
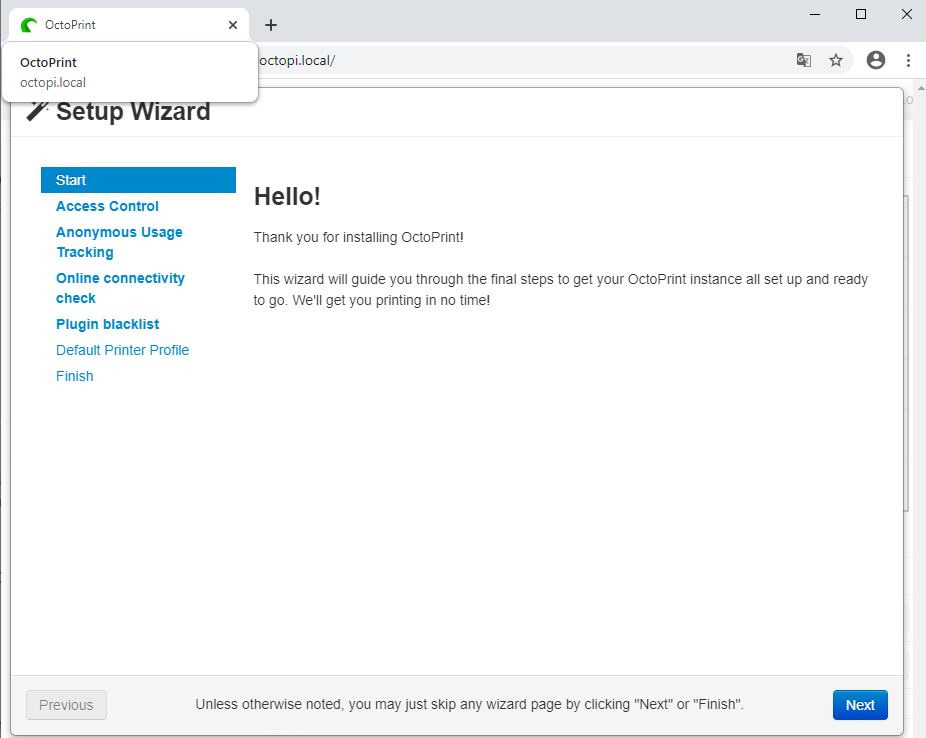
Wait a few minutes, open your internet browser and go to octopi.local.
You will see Setup Wizard page.
7. Octoprint Setup Wizard
7.1. Welcome page
After connecting to octopi.local you will see a welcome page.
Click on Next.
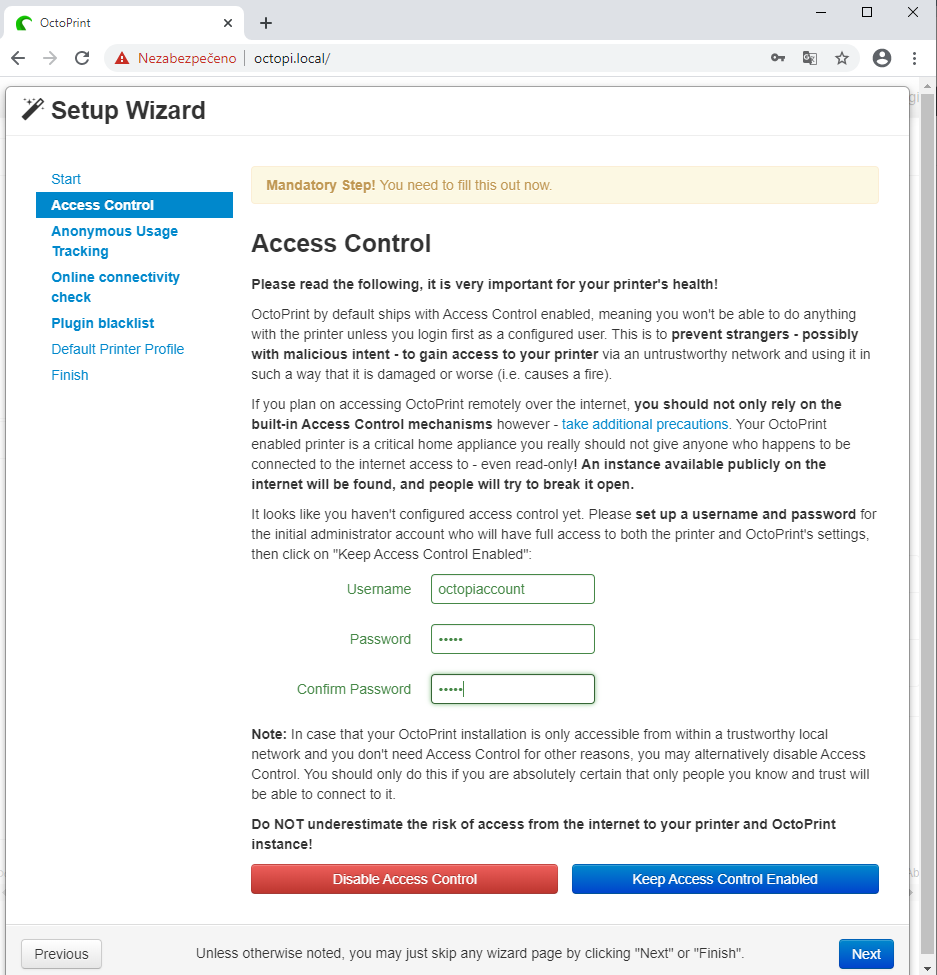
7.2. Access Control
Choose your username, password.
Choose Keep Access Contron Enabled (recommended).
Click on Next.
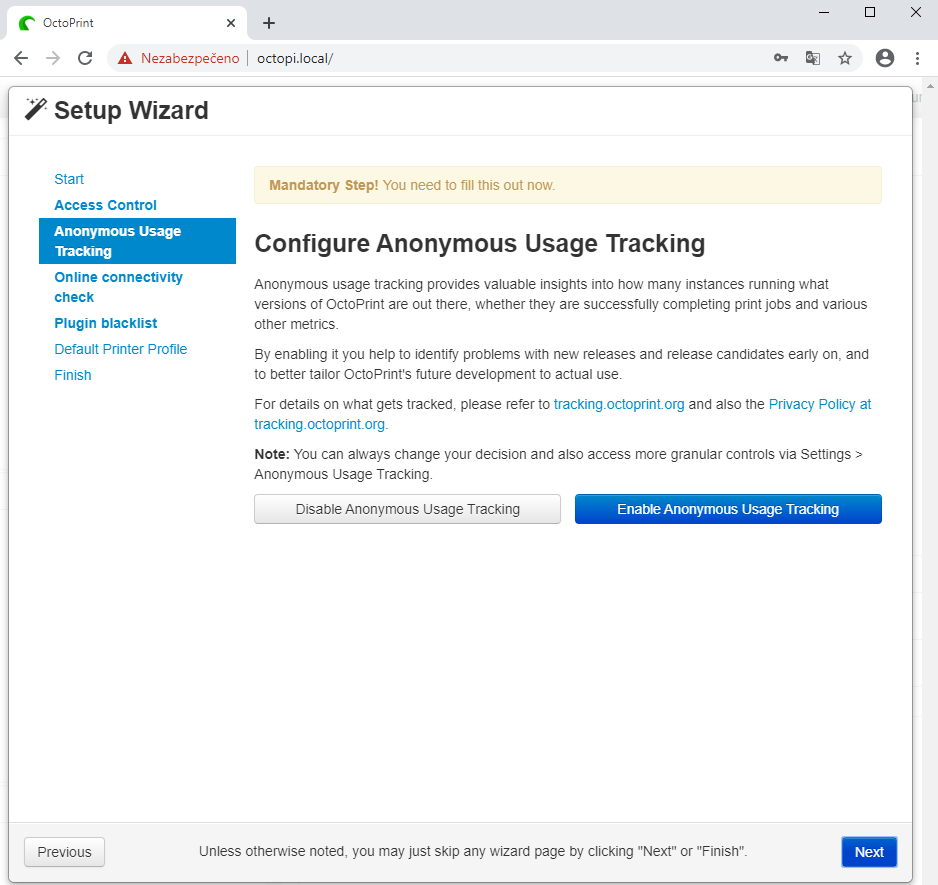
7.3. Anonymous Usage Tracking
Choose if you want to enable Anonymous Usage Tracking for delevopment purposes.
Click on Next
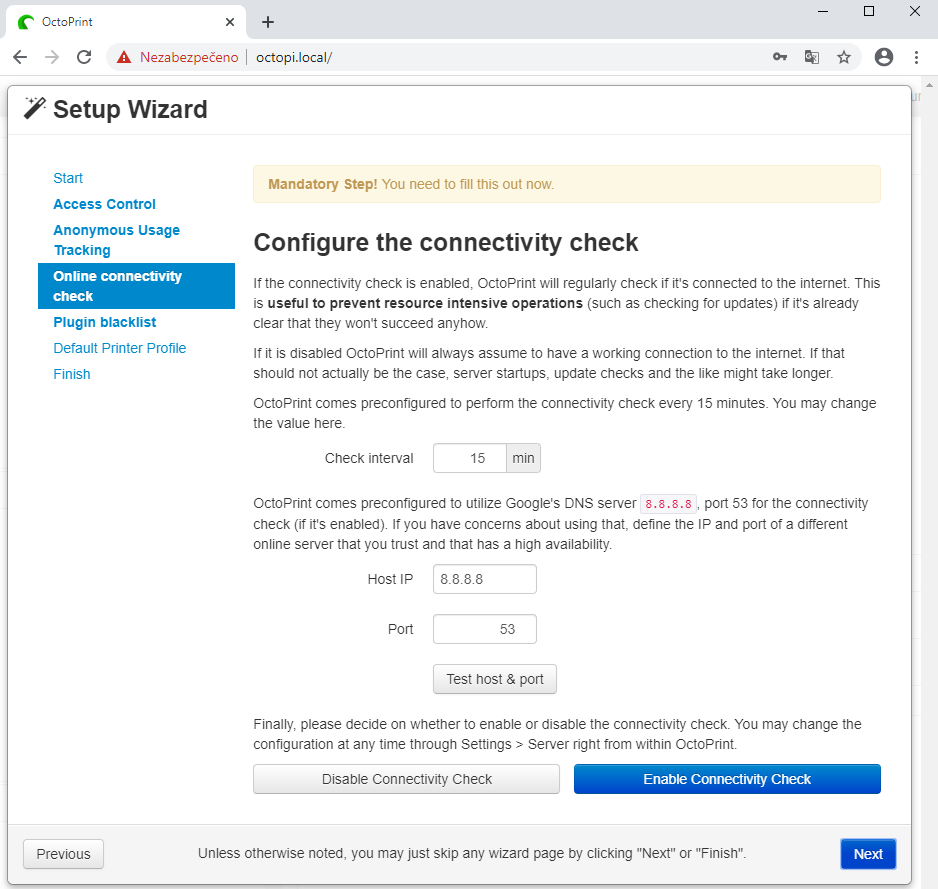
7.4. Online connectivity check
Keep it Enable if you want to.
Click on Next.
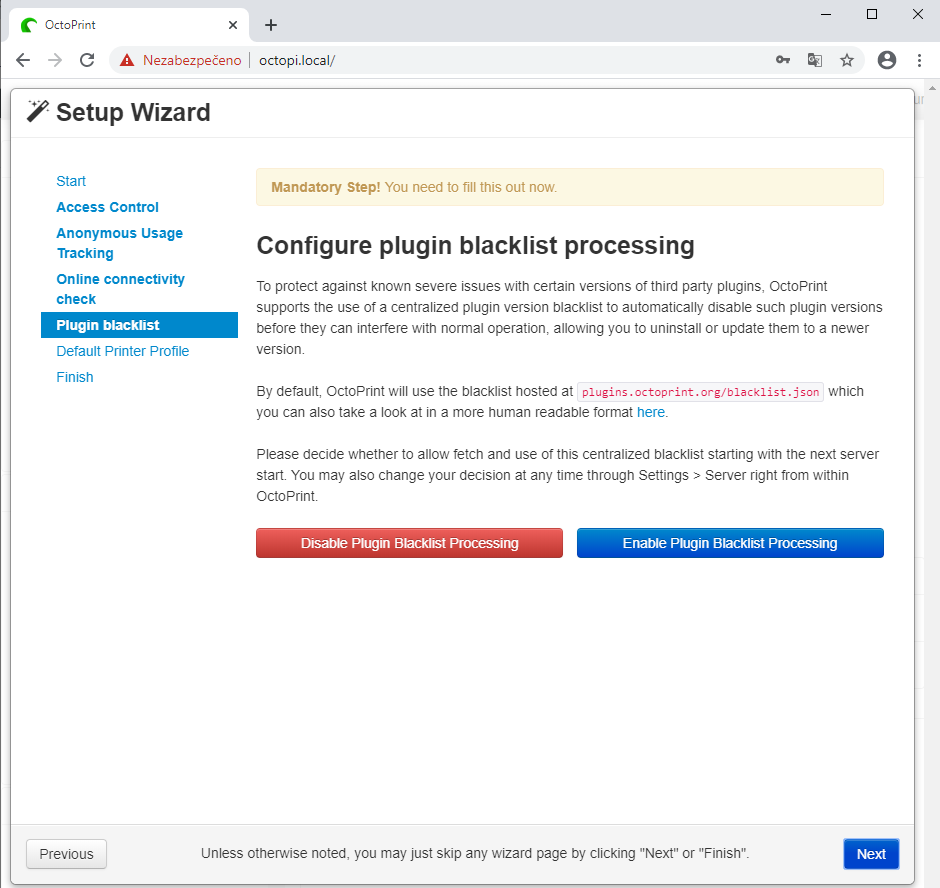
7.5. Plugin blacklist
Click on Enable and Next.
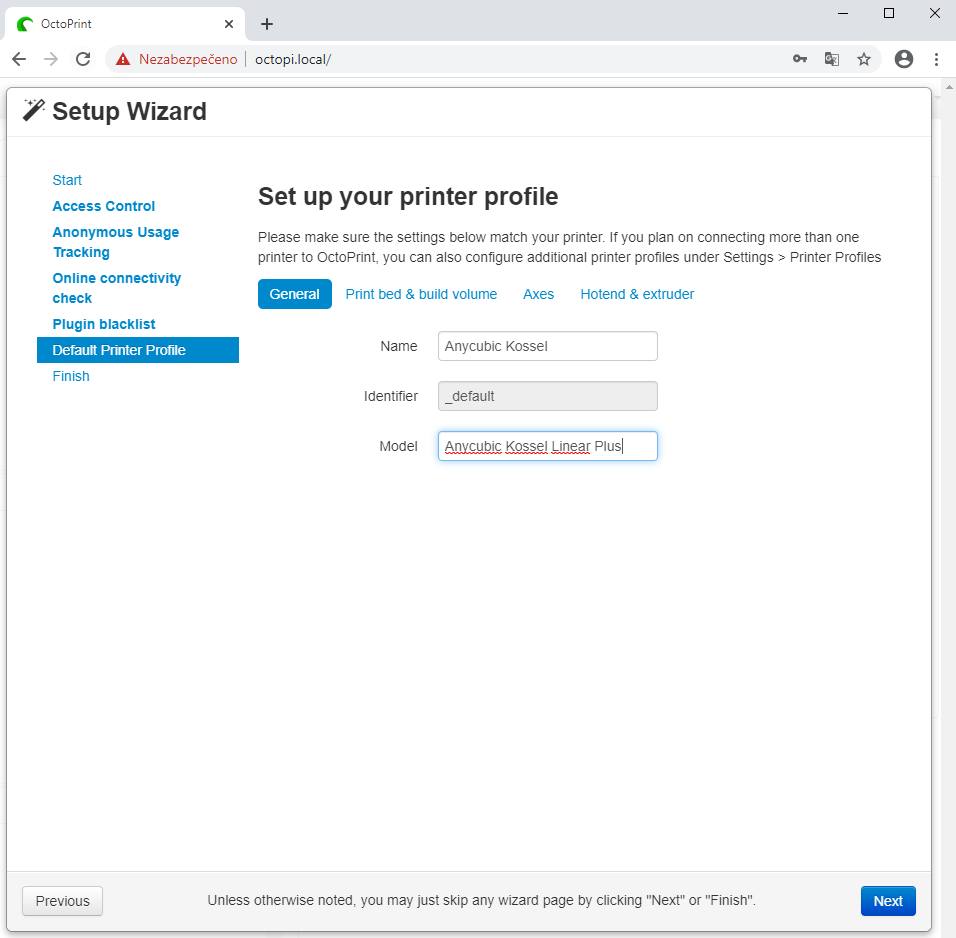
7.6. Default Printer Profile
7.6.1. Default Printer Profile – General settings
Create a printer profile.
General – choose your printer name and model.
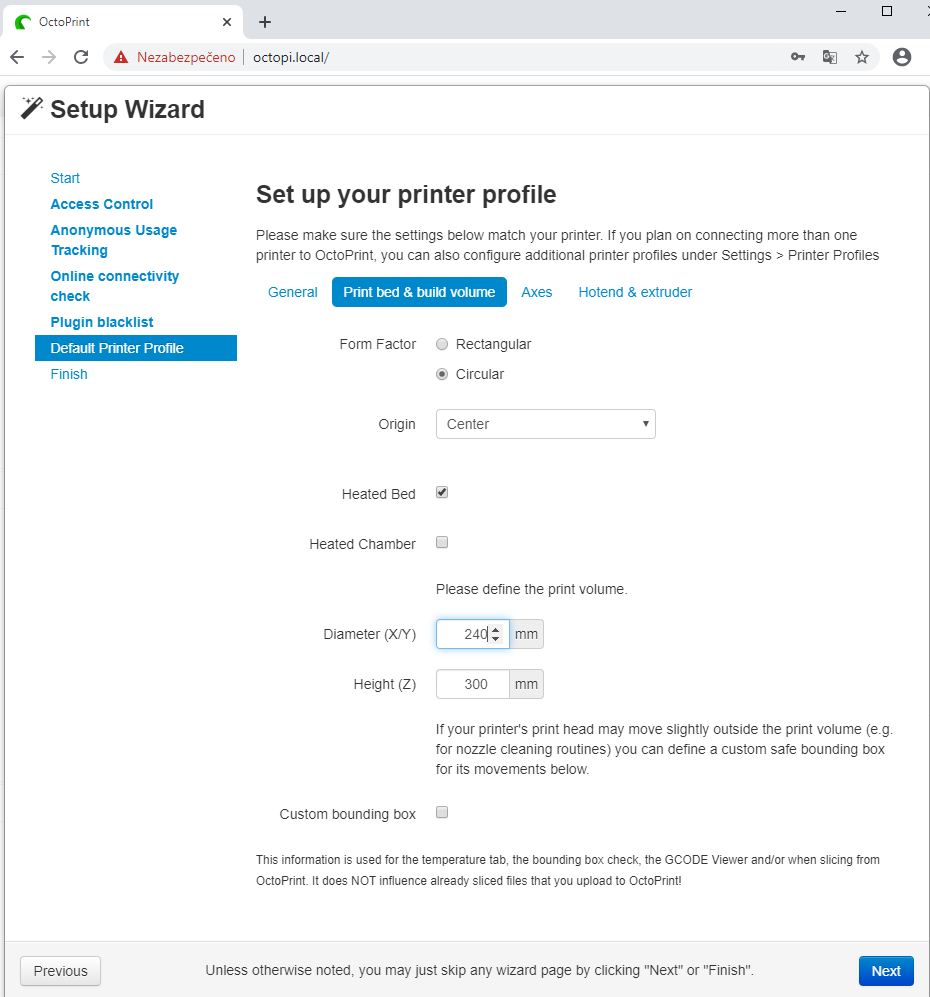
7.6.2. Default Printer Profile – Print bed & build volume
Choose a Circular Form Factor for a delta printer such as Anycubic Kossel
Origin – Center
Heated bed if you have one
Fill in your bed diameter – usually 230 or 240 mm
Fill in Z height – usually 300 mm
Click on Next
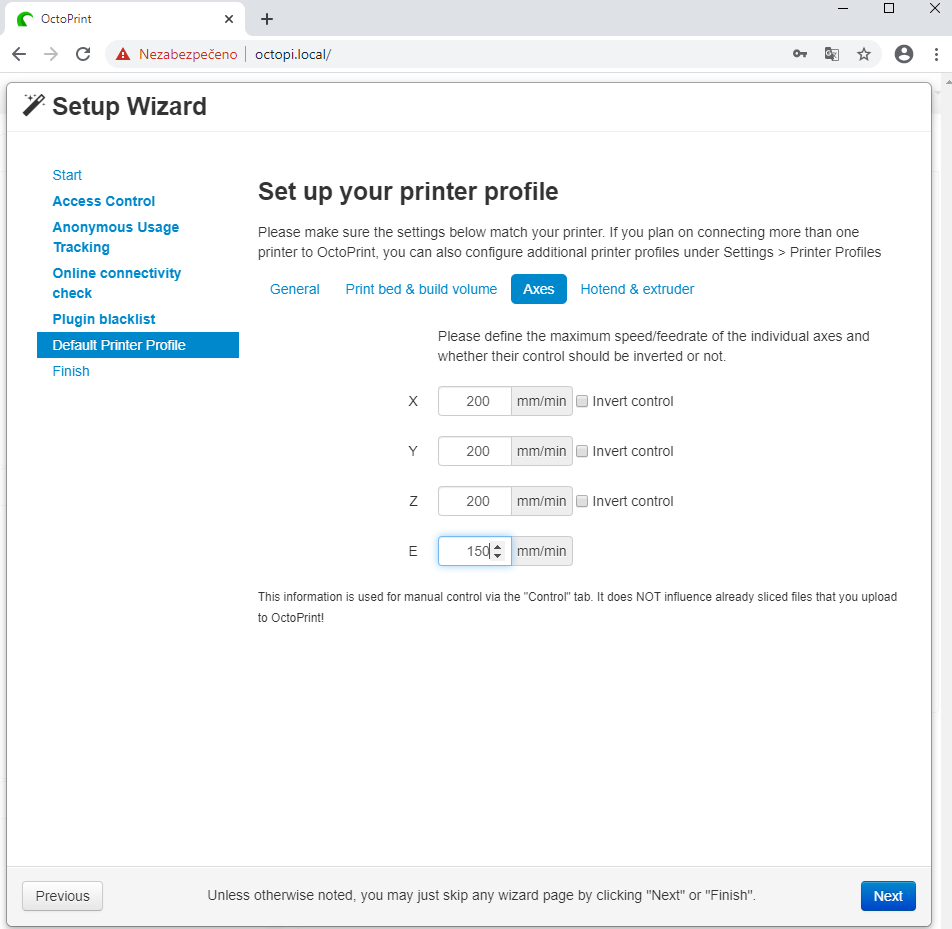
7.6.3. Default Printer Profile – Axes
Fill in desired maximal speed values.
Click on Next.
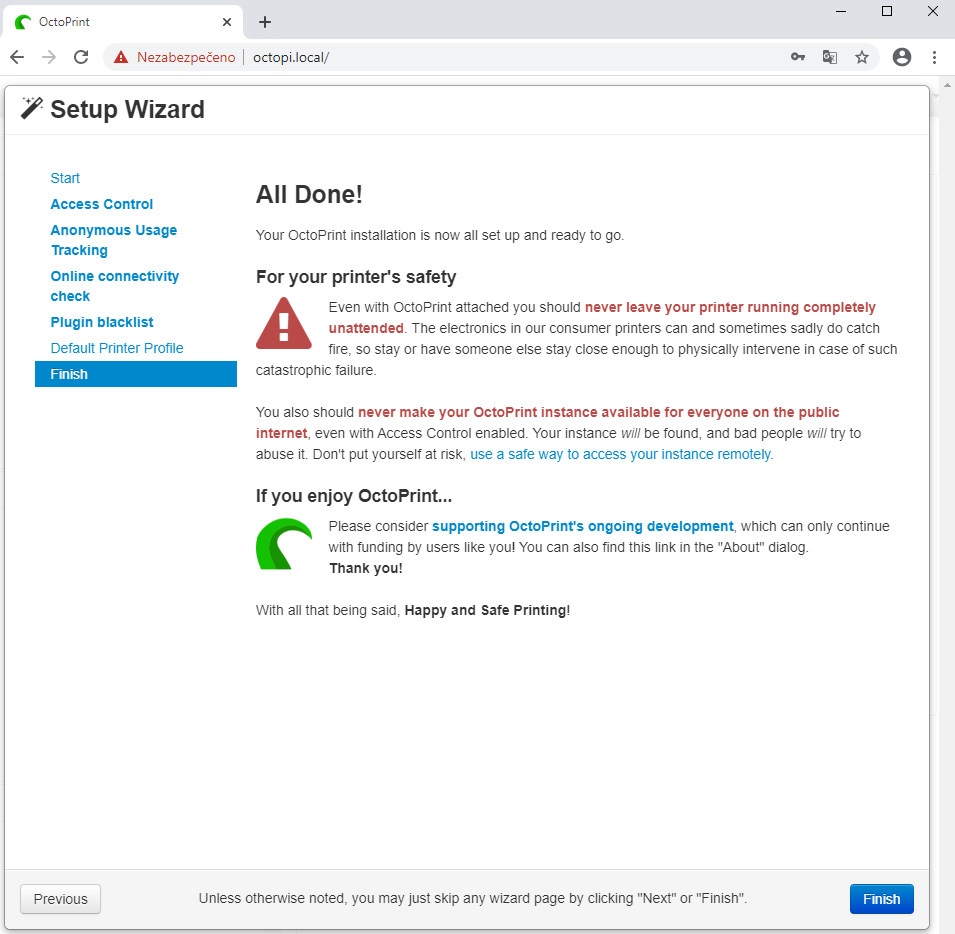
7.7. Finish
Click on Finish.
8. Connect printer to Raspberry via USB
Use a USB cable that came with the printer and connect the printer with your Raspberry.
Turn on the printer.
Select COM port
Keep Baudrate to AUTO or change it to 250000 or the value in your FW.
Click to Connect.
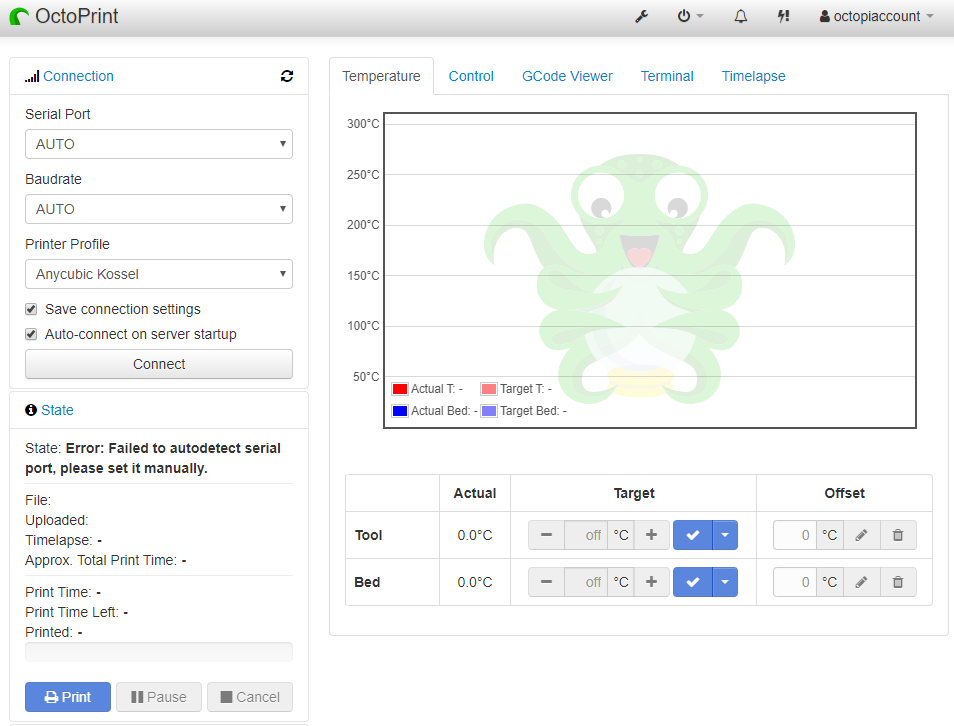
Now you have succesfully installed OctoPrint and connected to your printer.
9. FAQ
Waiting for user feedback.


so I need rPi… is not working witdout that?
Exactly.
which one is sufficient? Pico, Zero, 3 Model A+ or something stronger?
3 or 4 for Octoprint.
Zero for MainSail/Fluidd
3 or 4 for MainSail/Fluidd if you want to use resonance compensation calibration.
Thank you. I have been running OctoPi for quite a few years now.
What slicer do you use please? What is your workflow like? I upload an STL file and use the CuraEngine Legacy plugin as my slicer in OctoPi, and print direct.
Hi, I also use Cura, but in my PC.
My standard workflow is – slice it in PC, correct a few things and send g code file to octoprint, print.