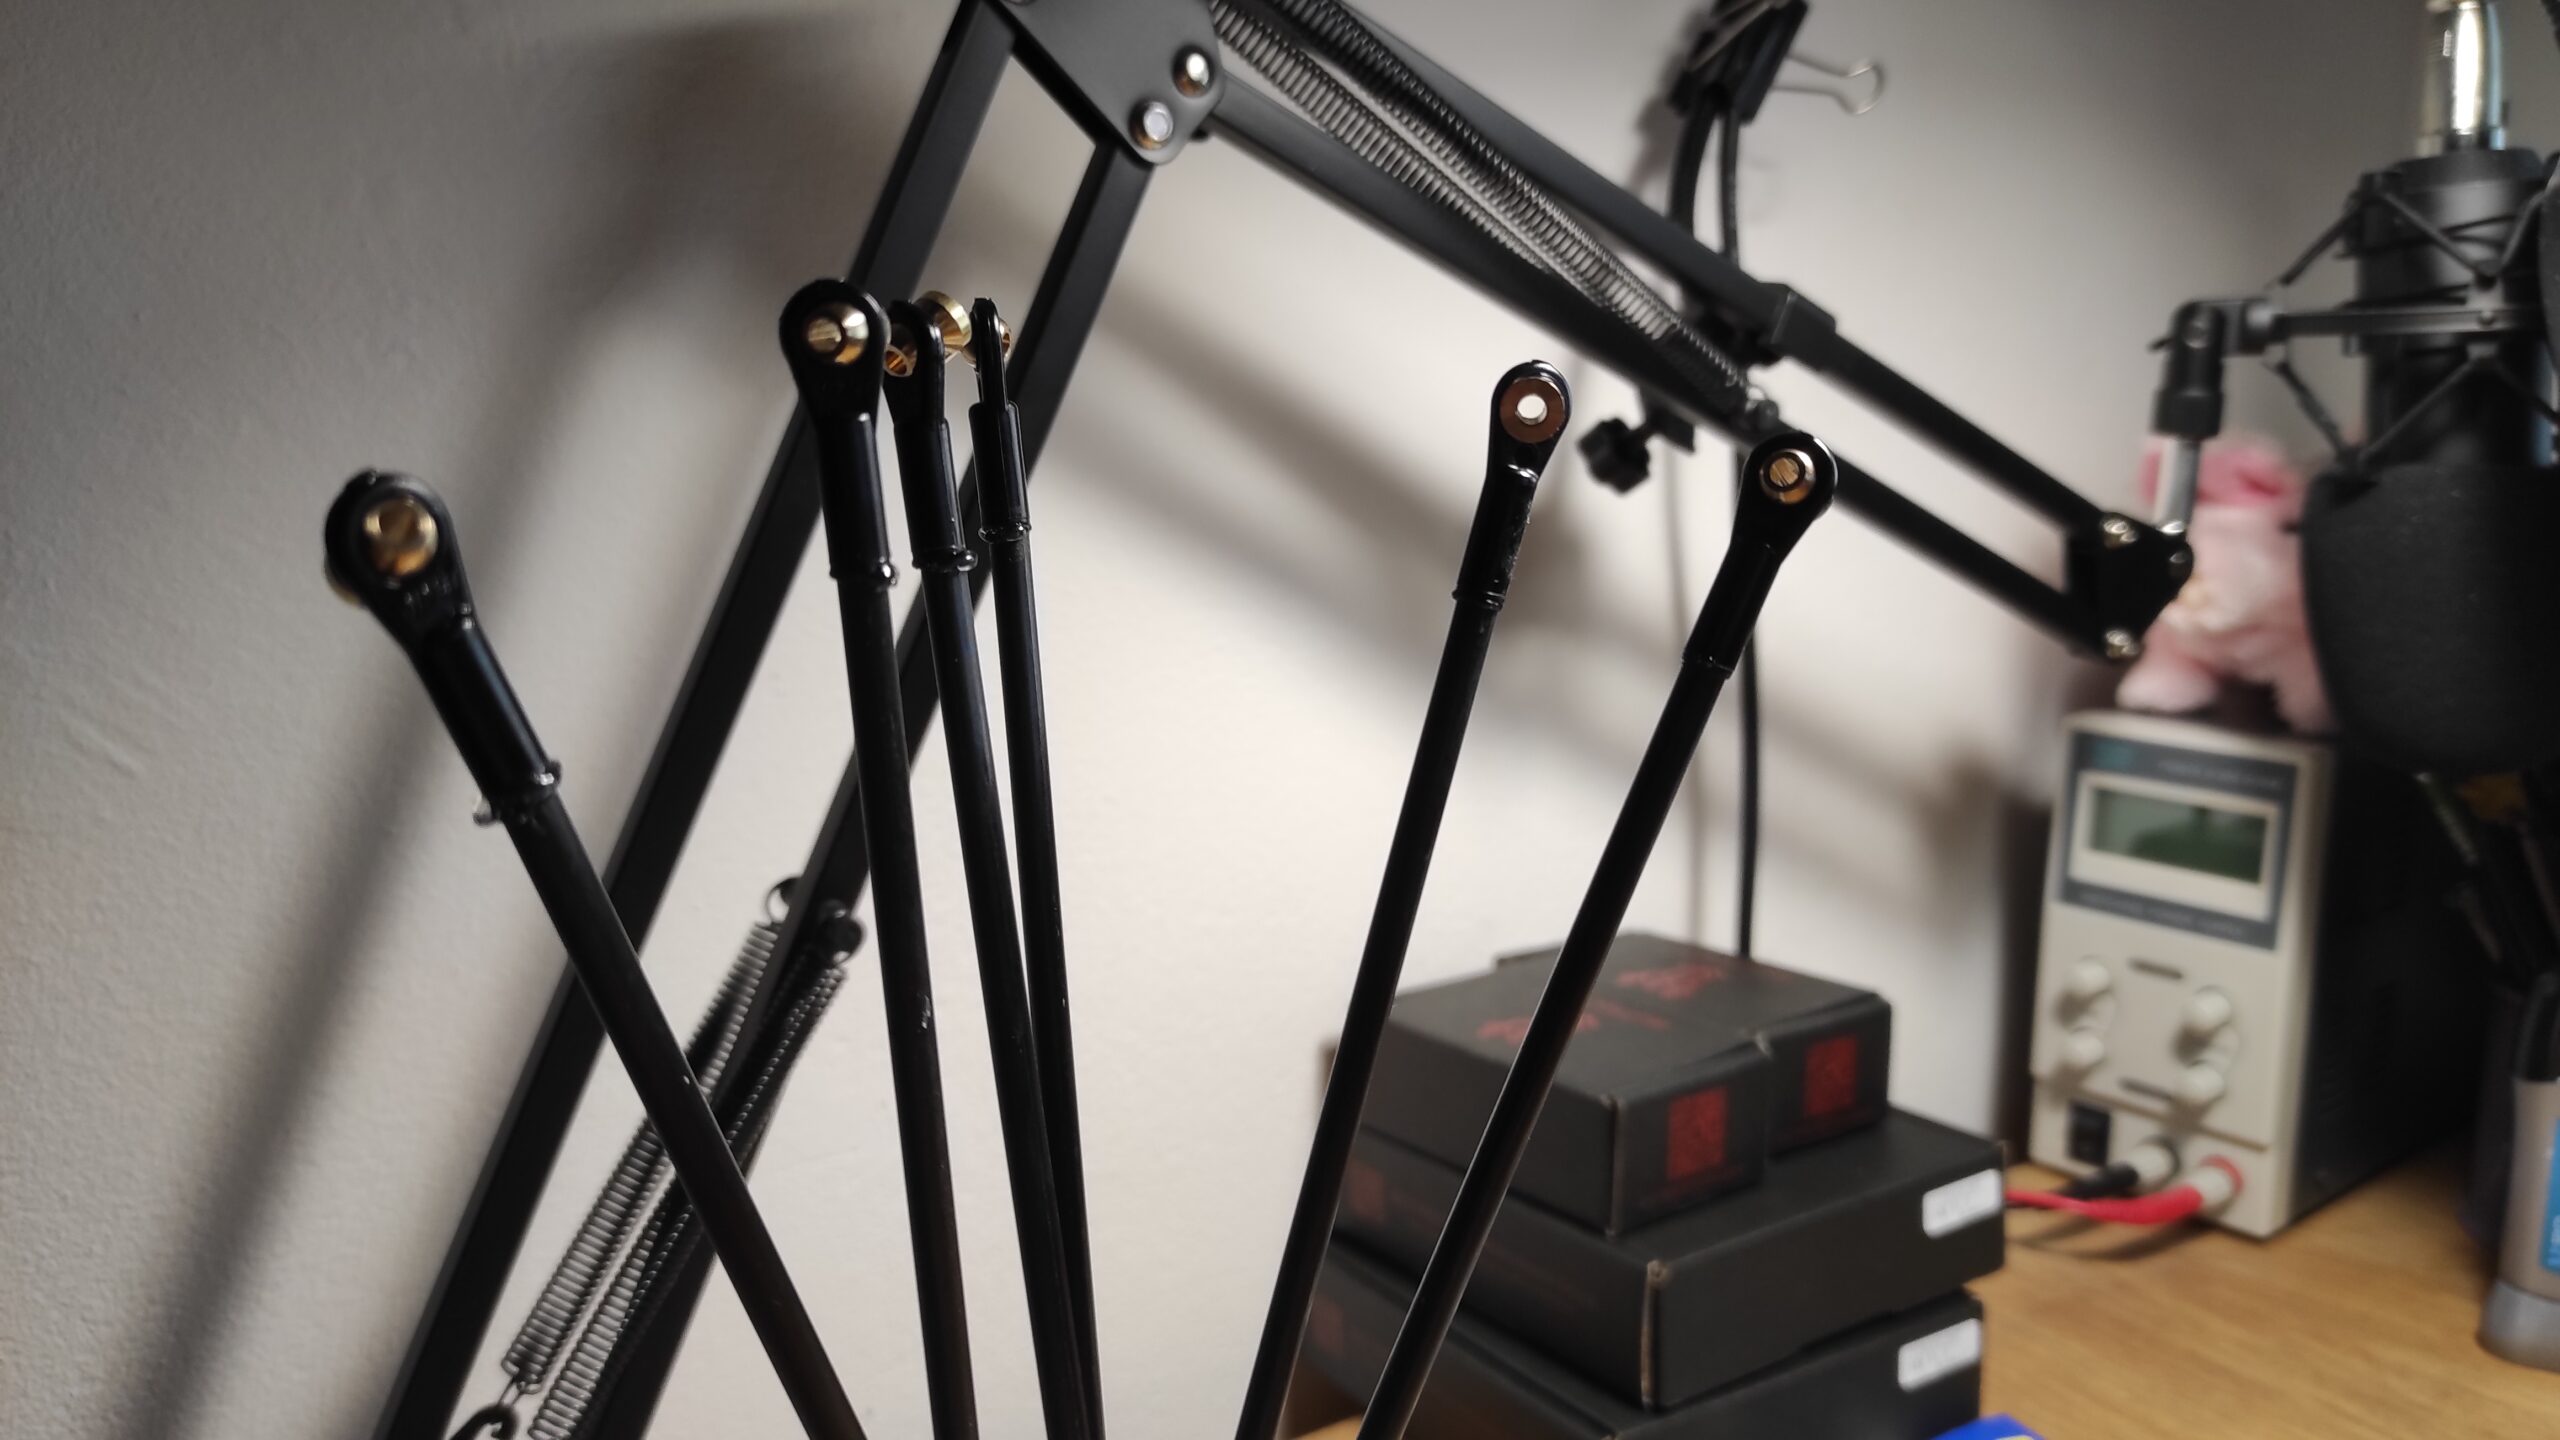
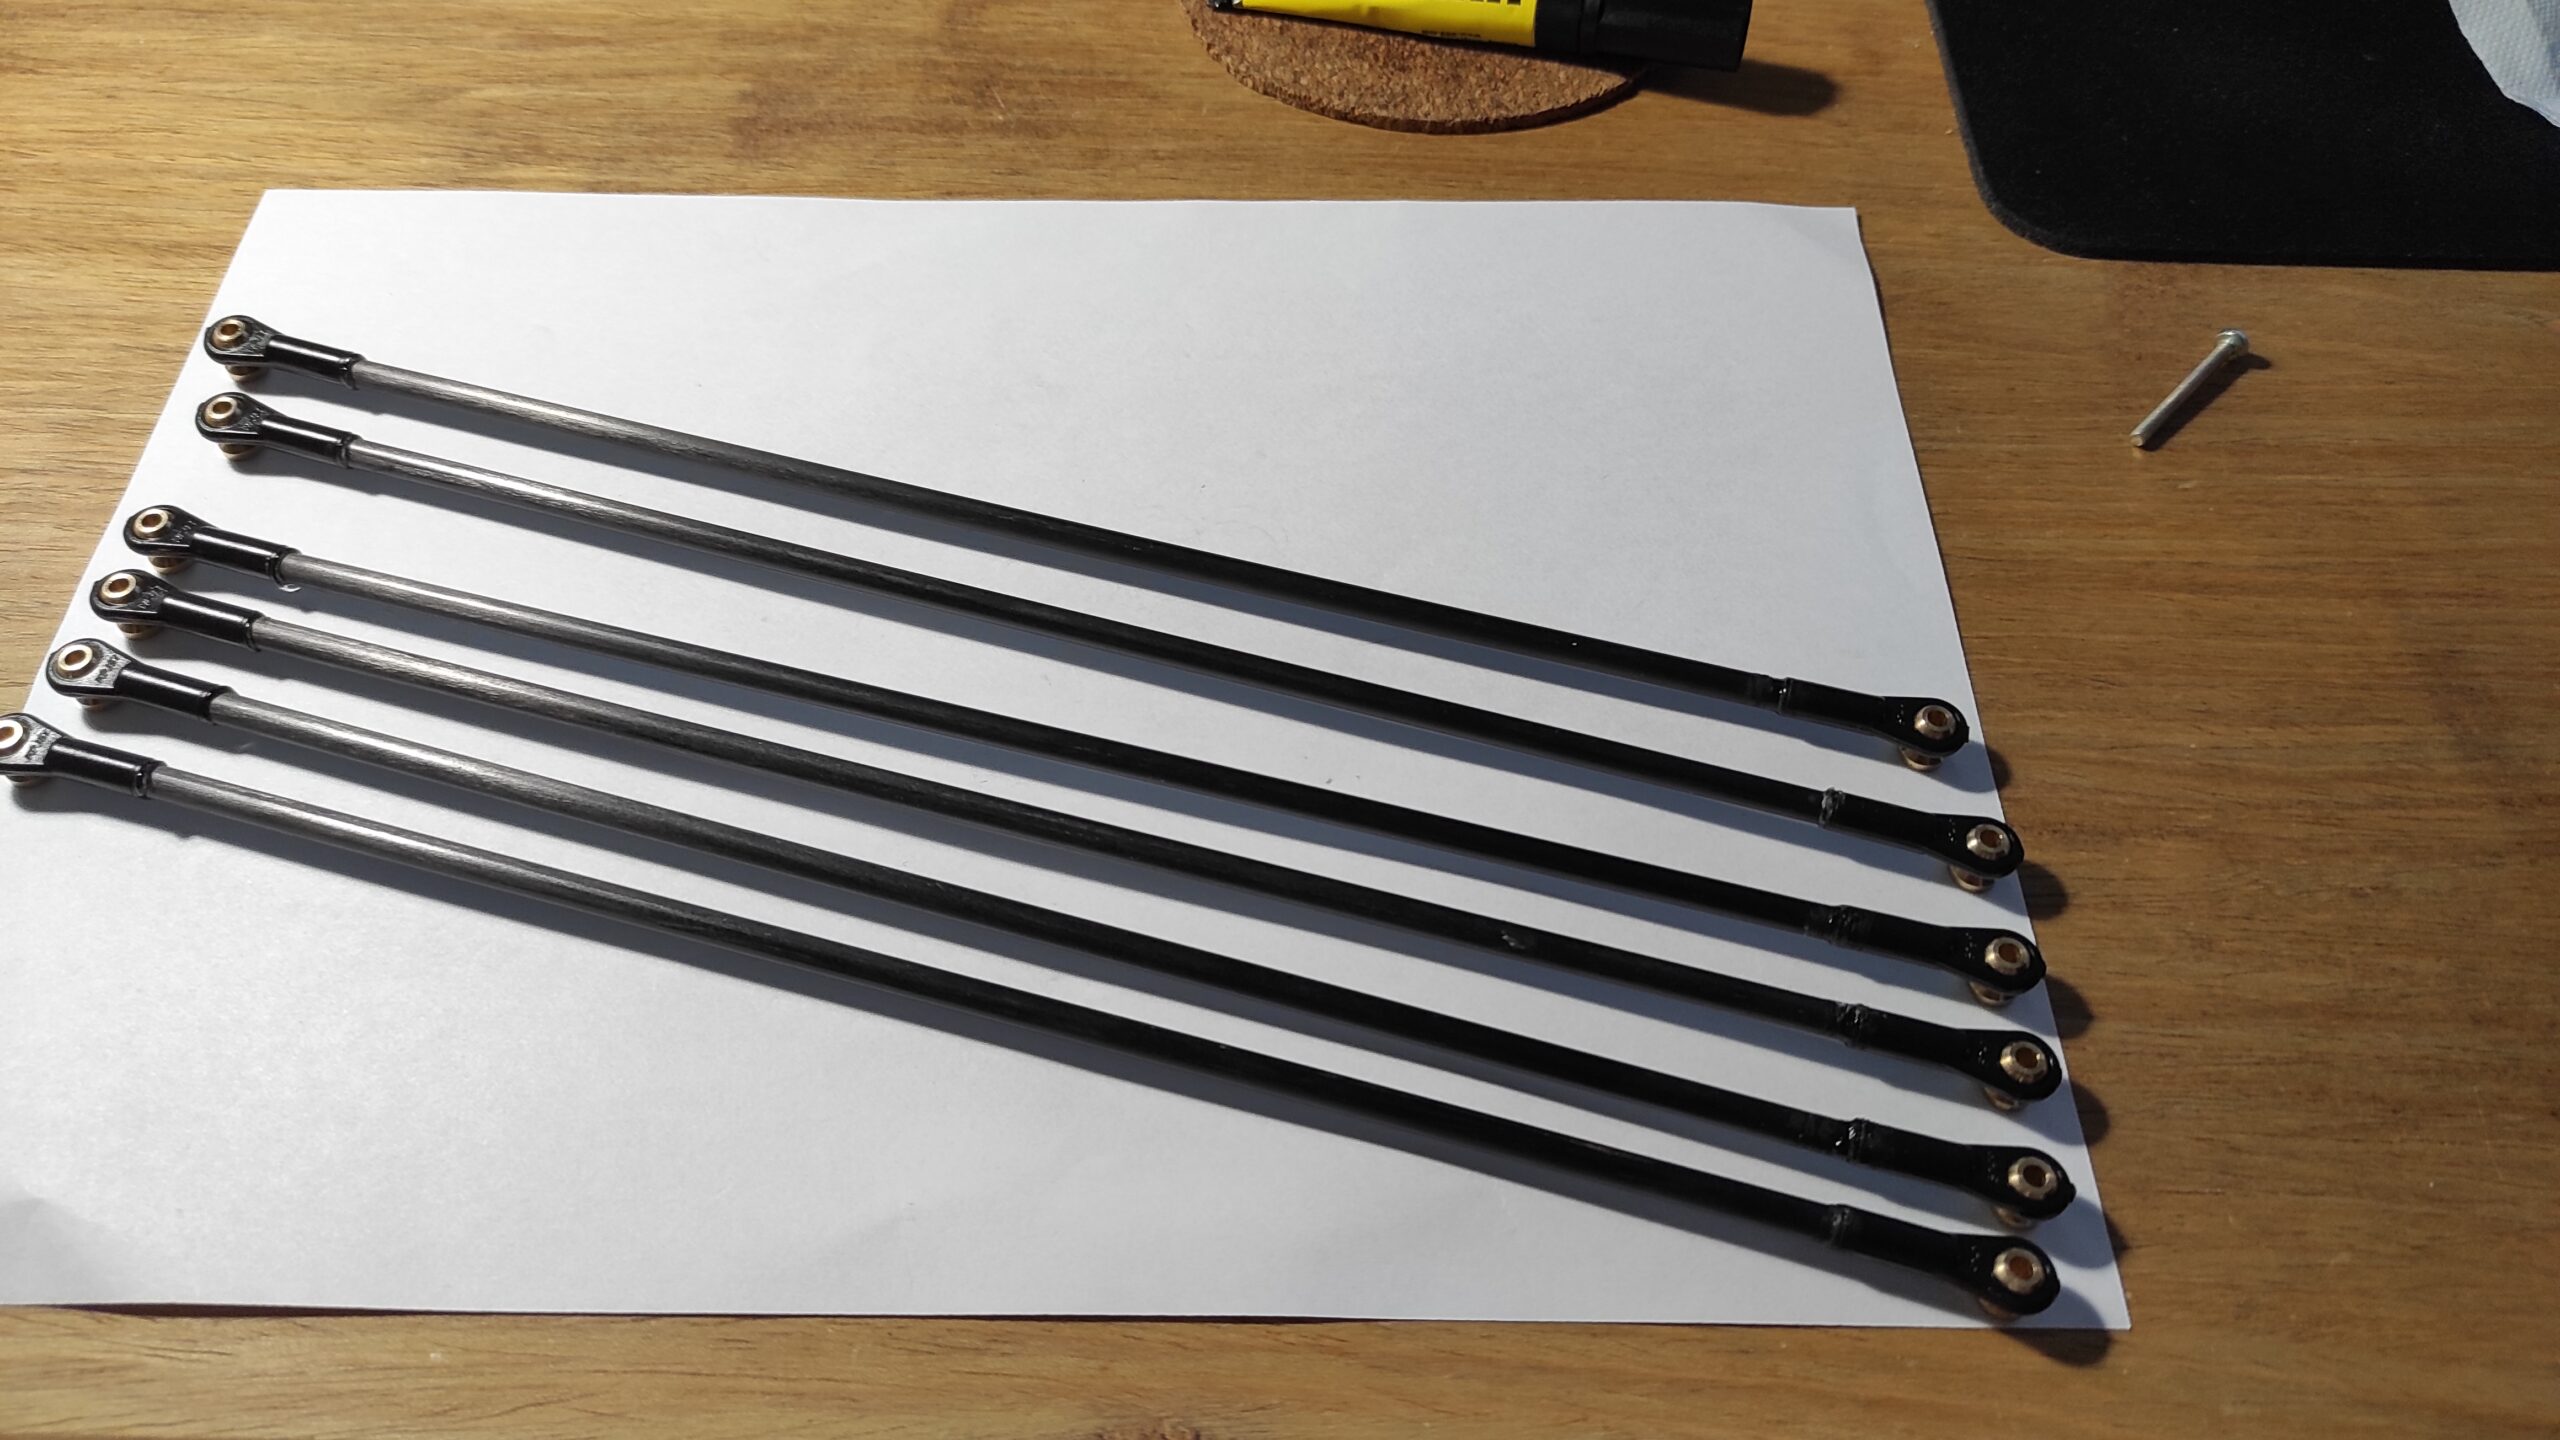
Anycubic Kossel Rods Upgrade

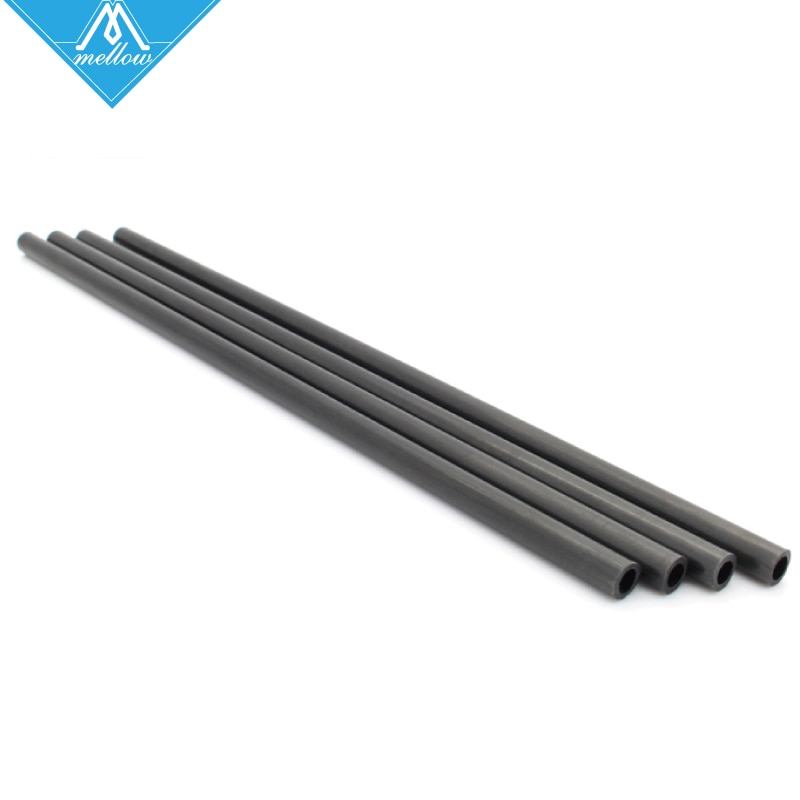
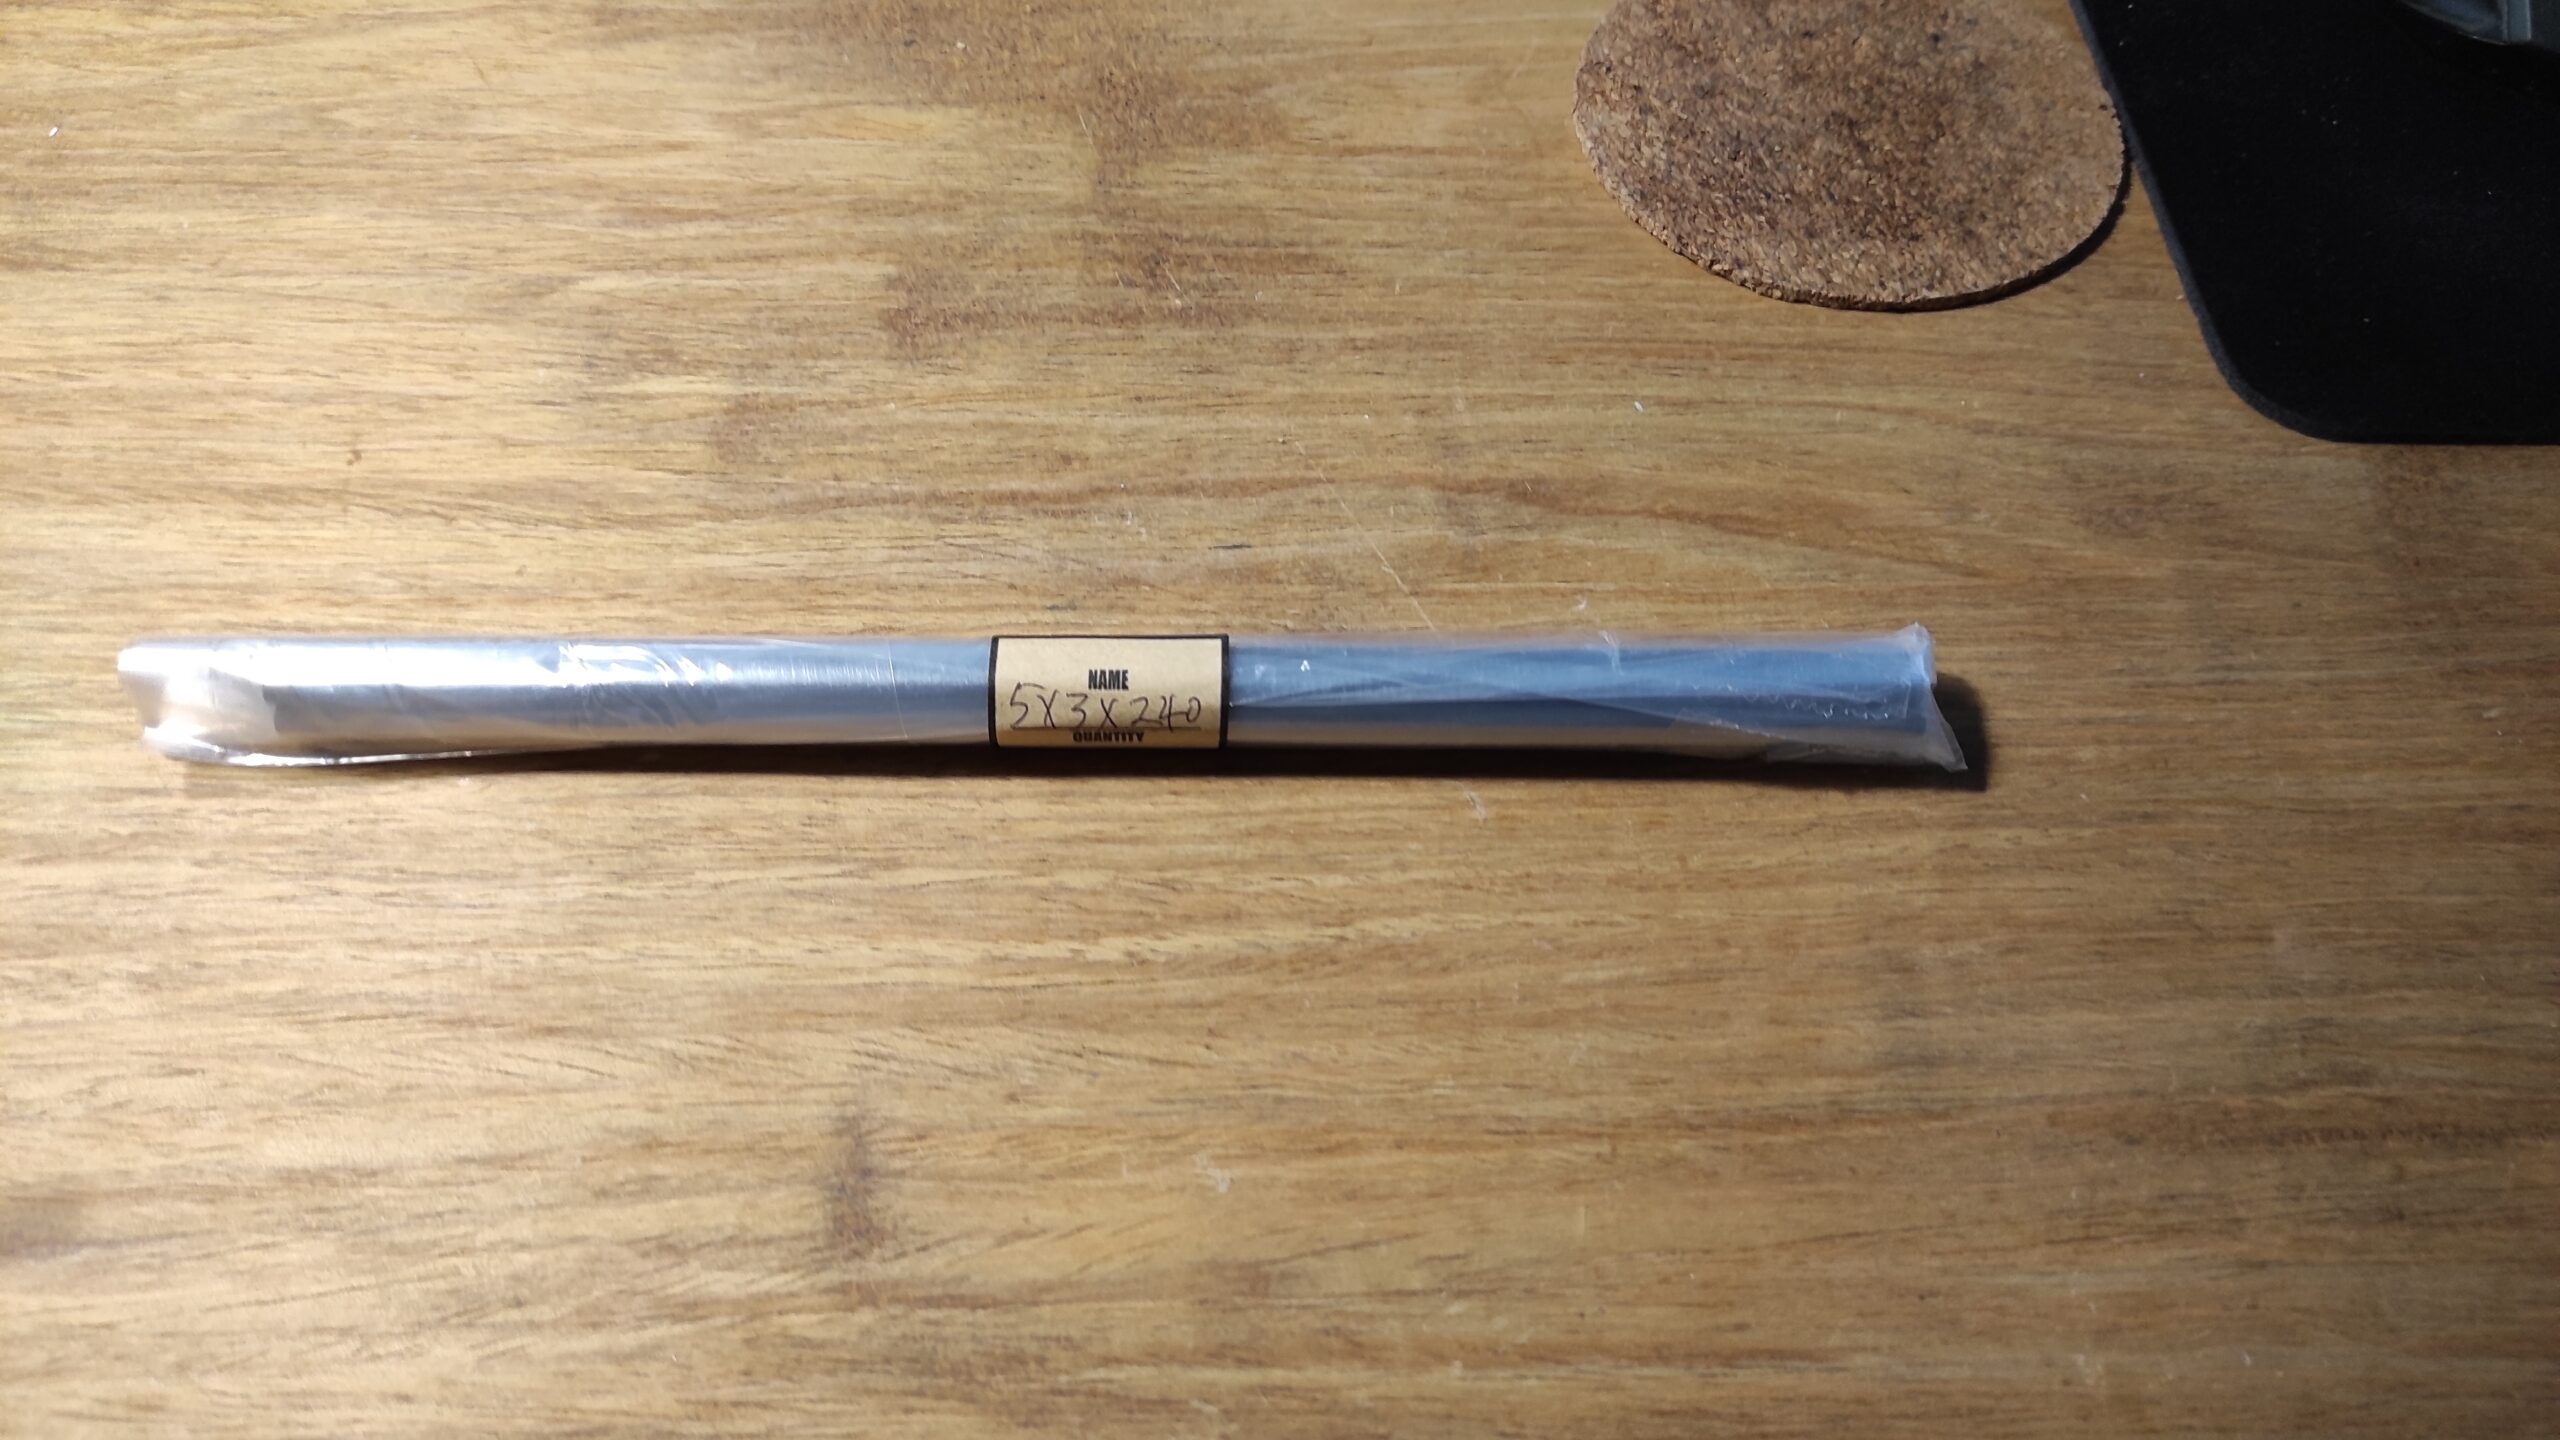
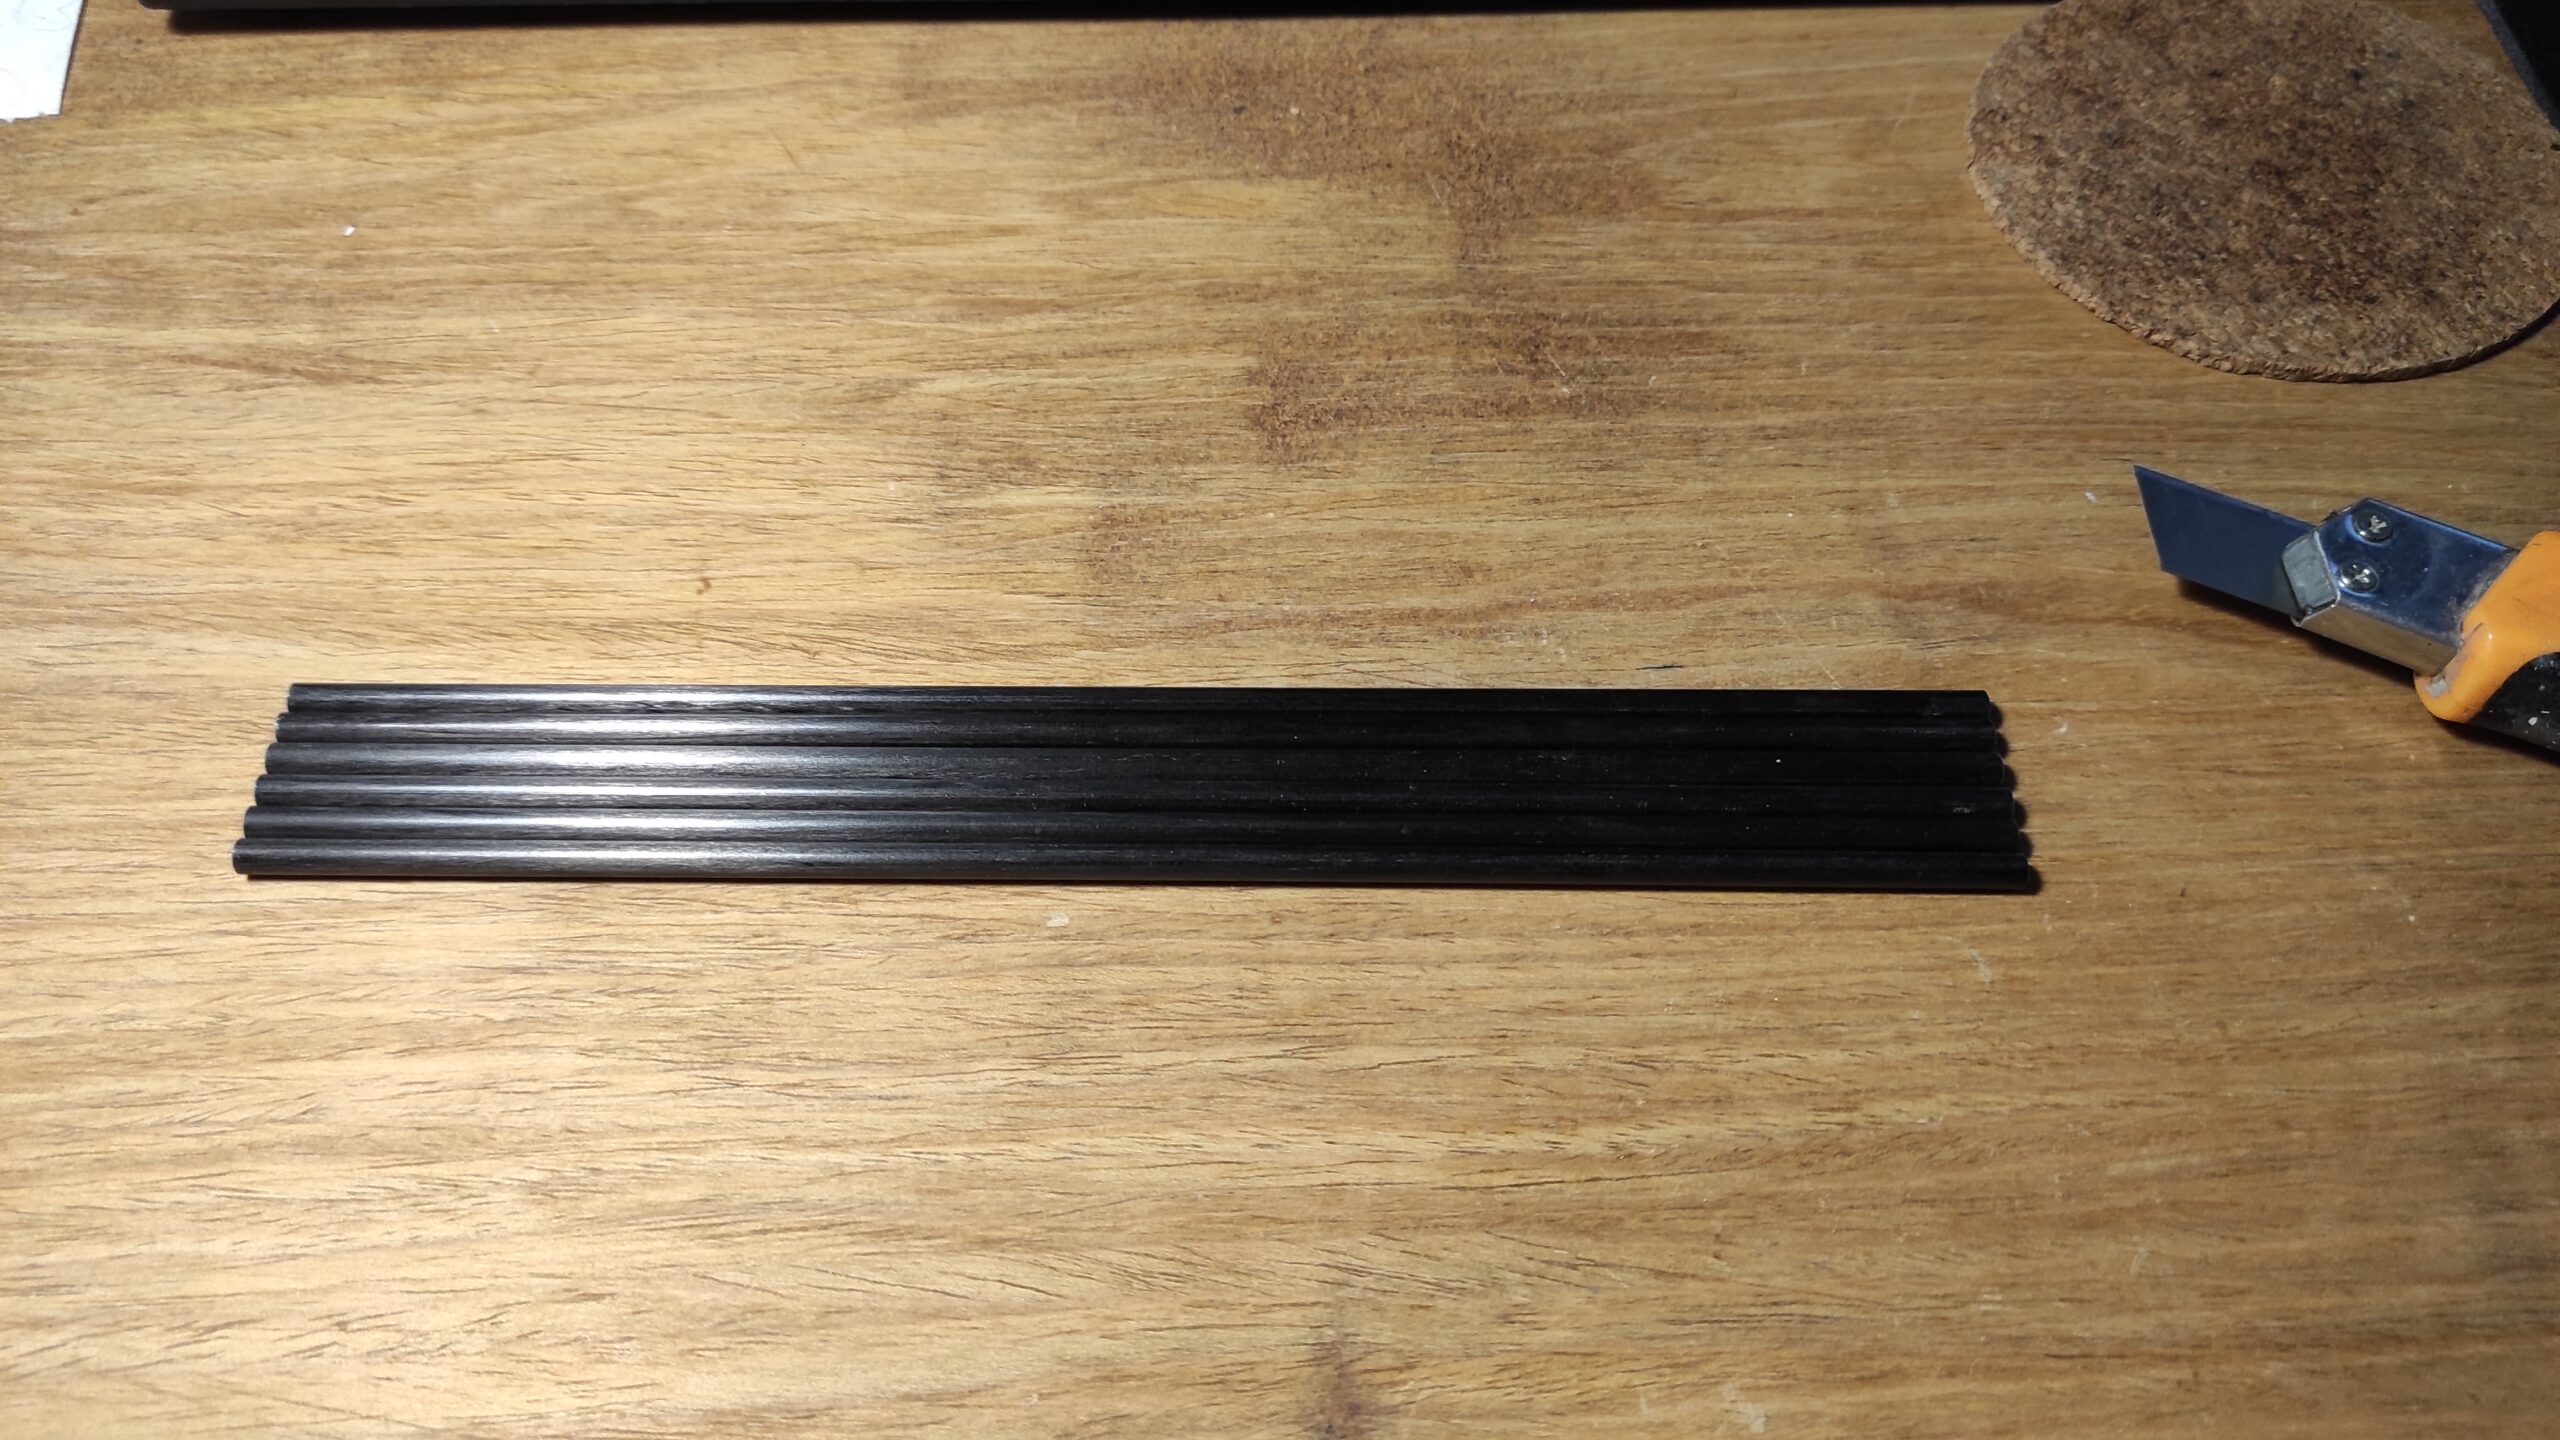
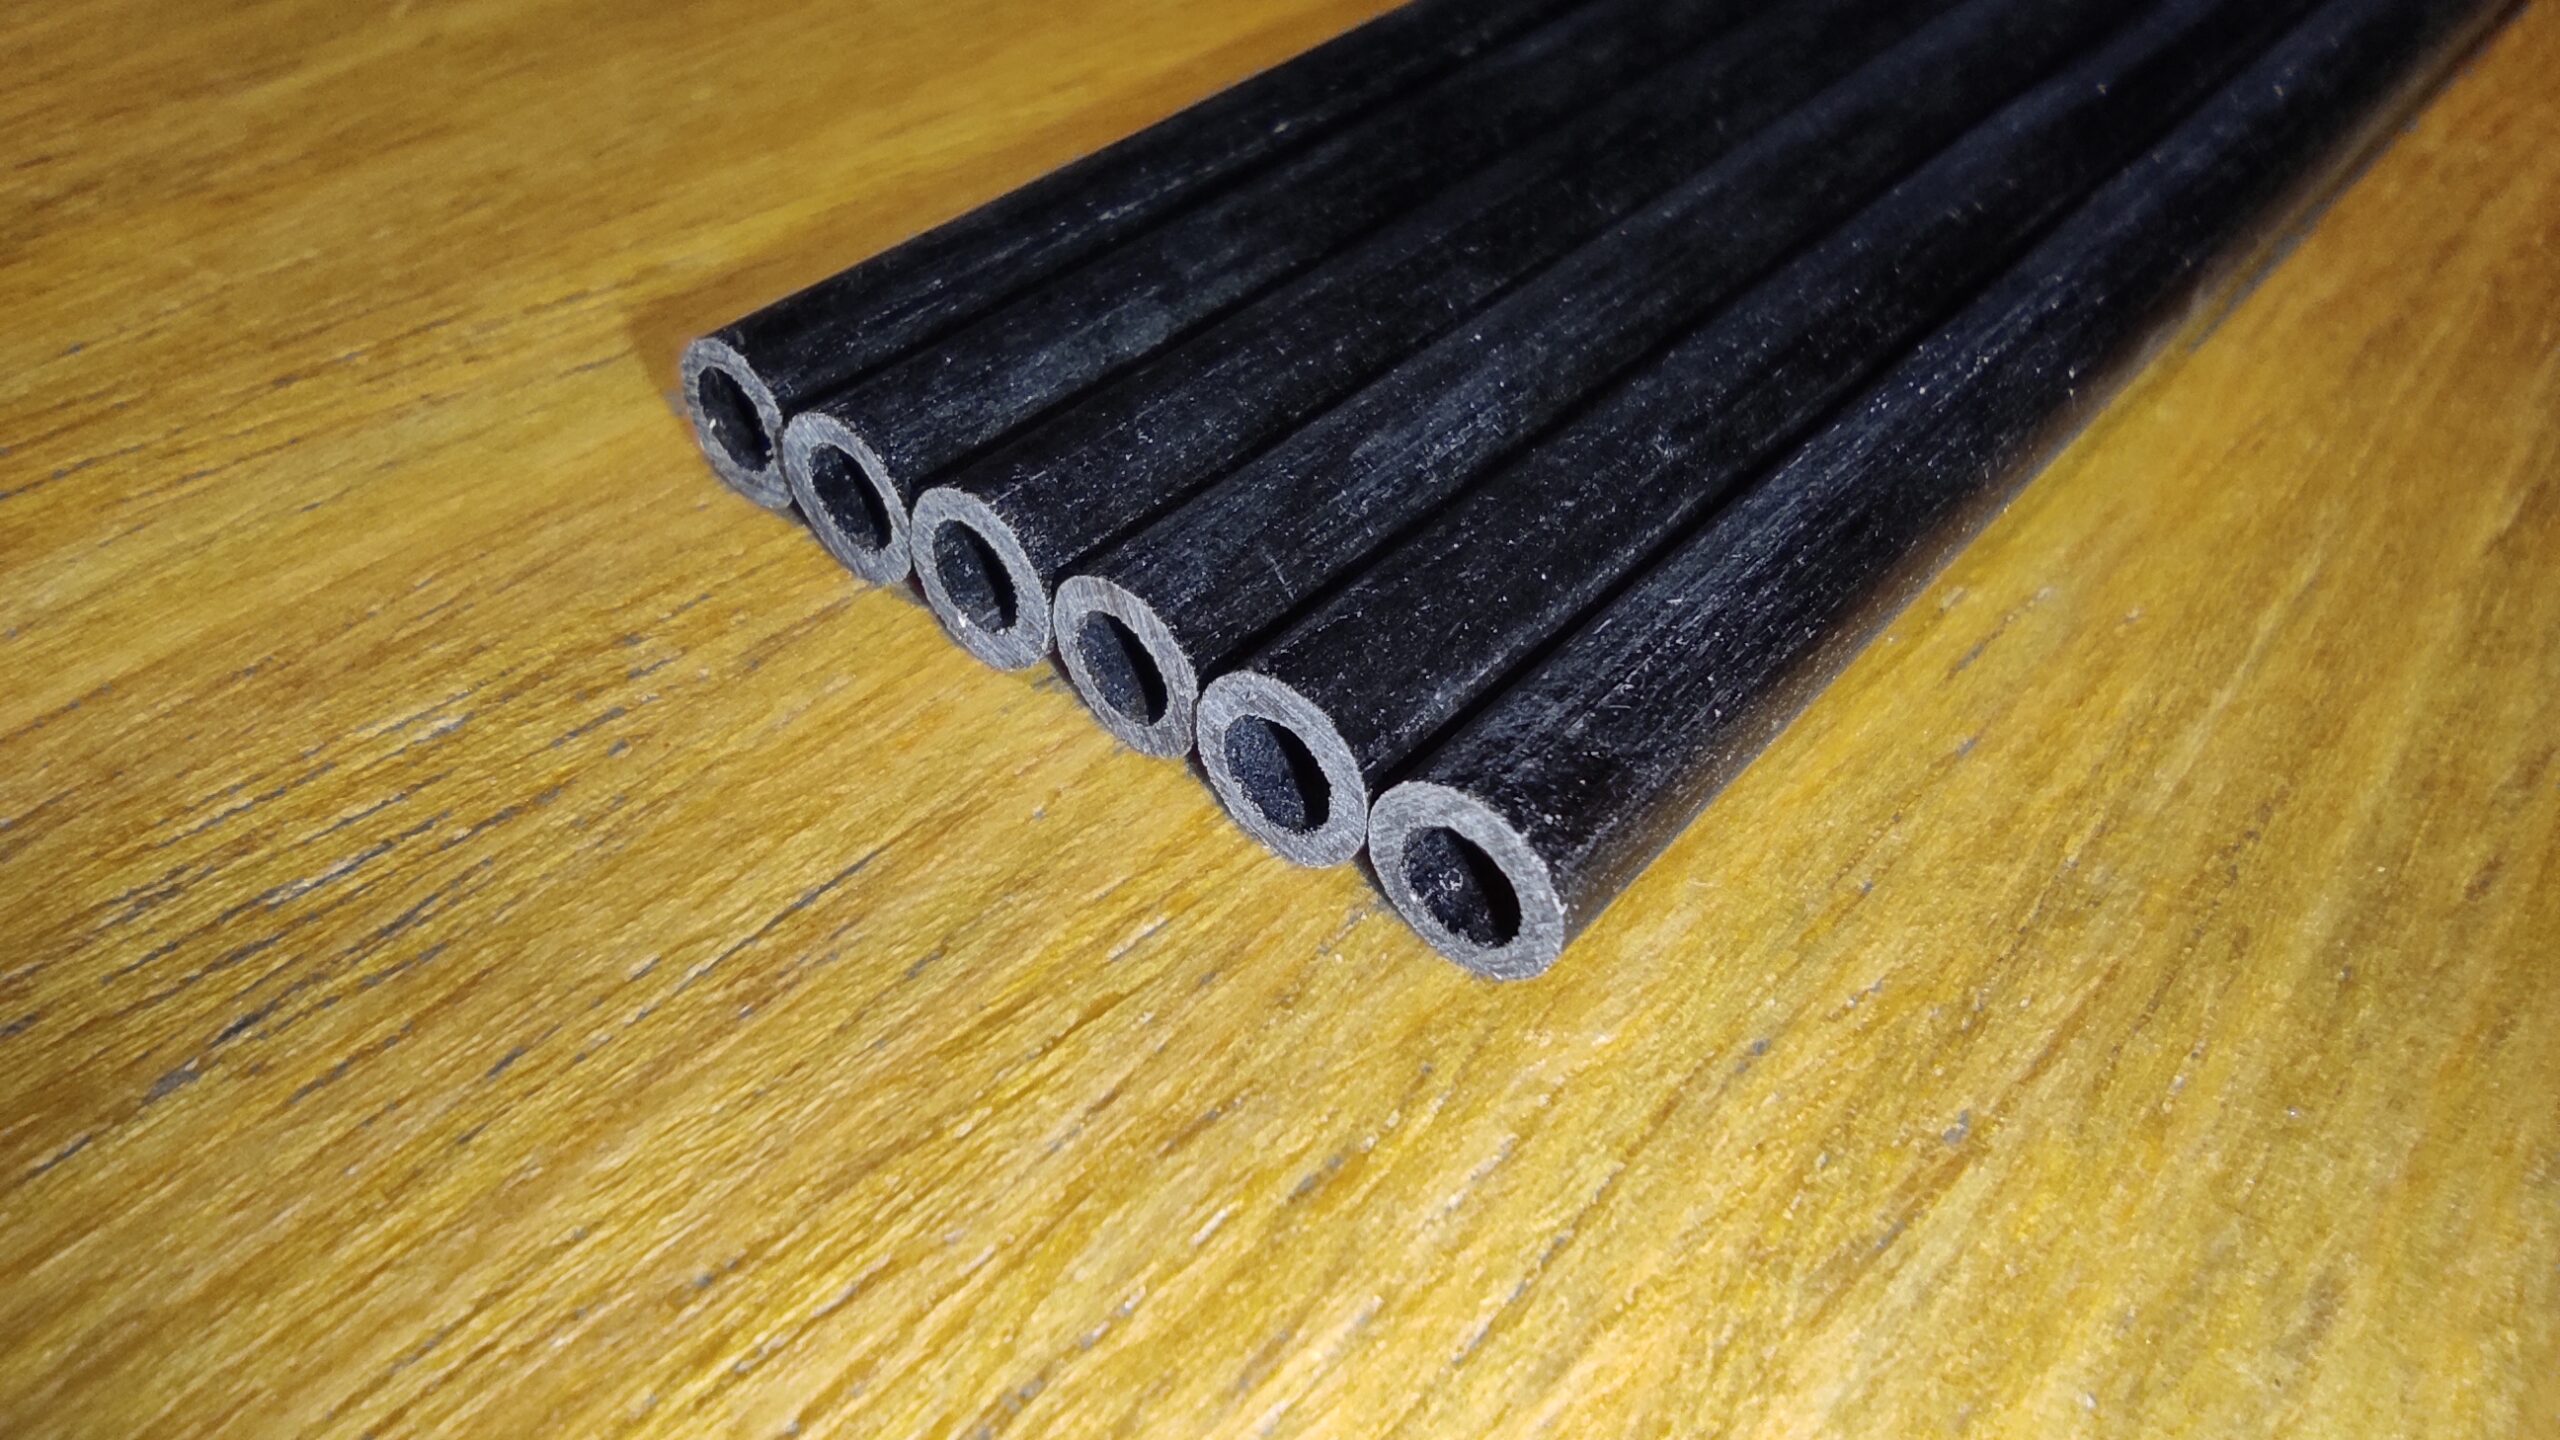
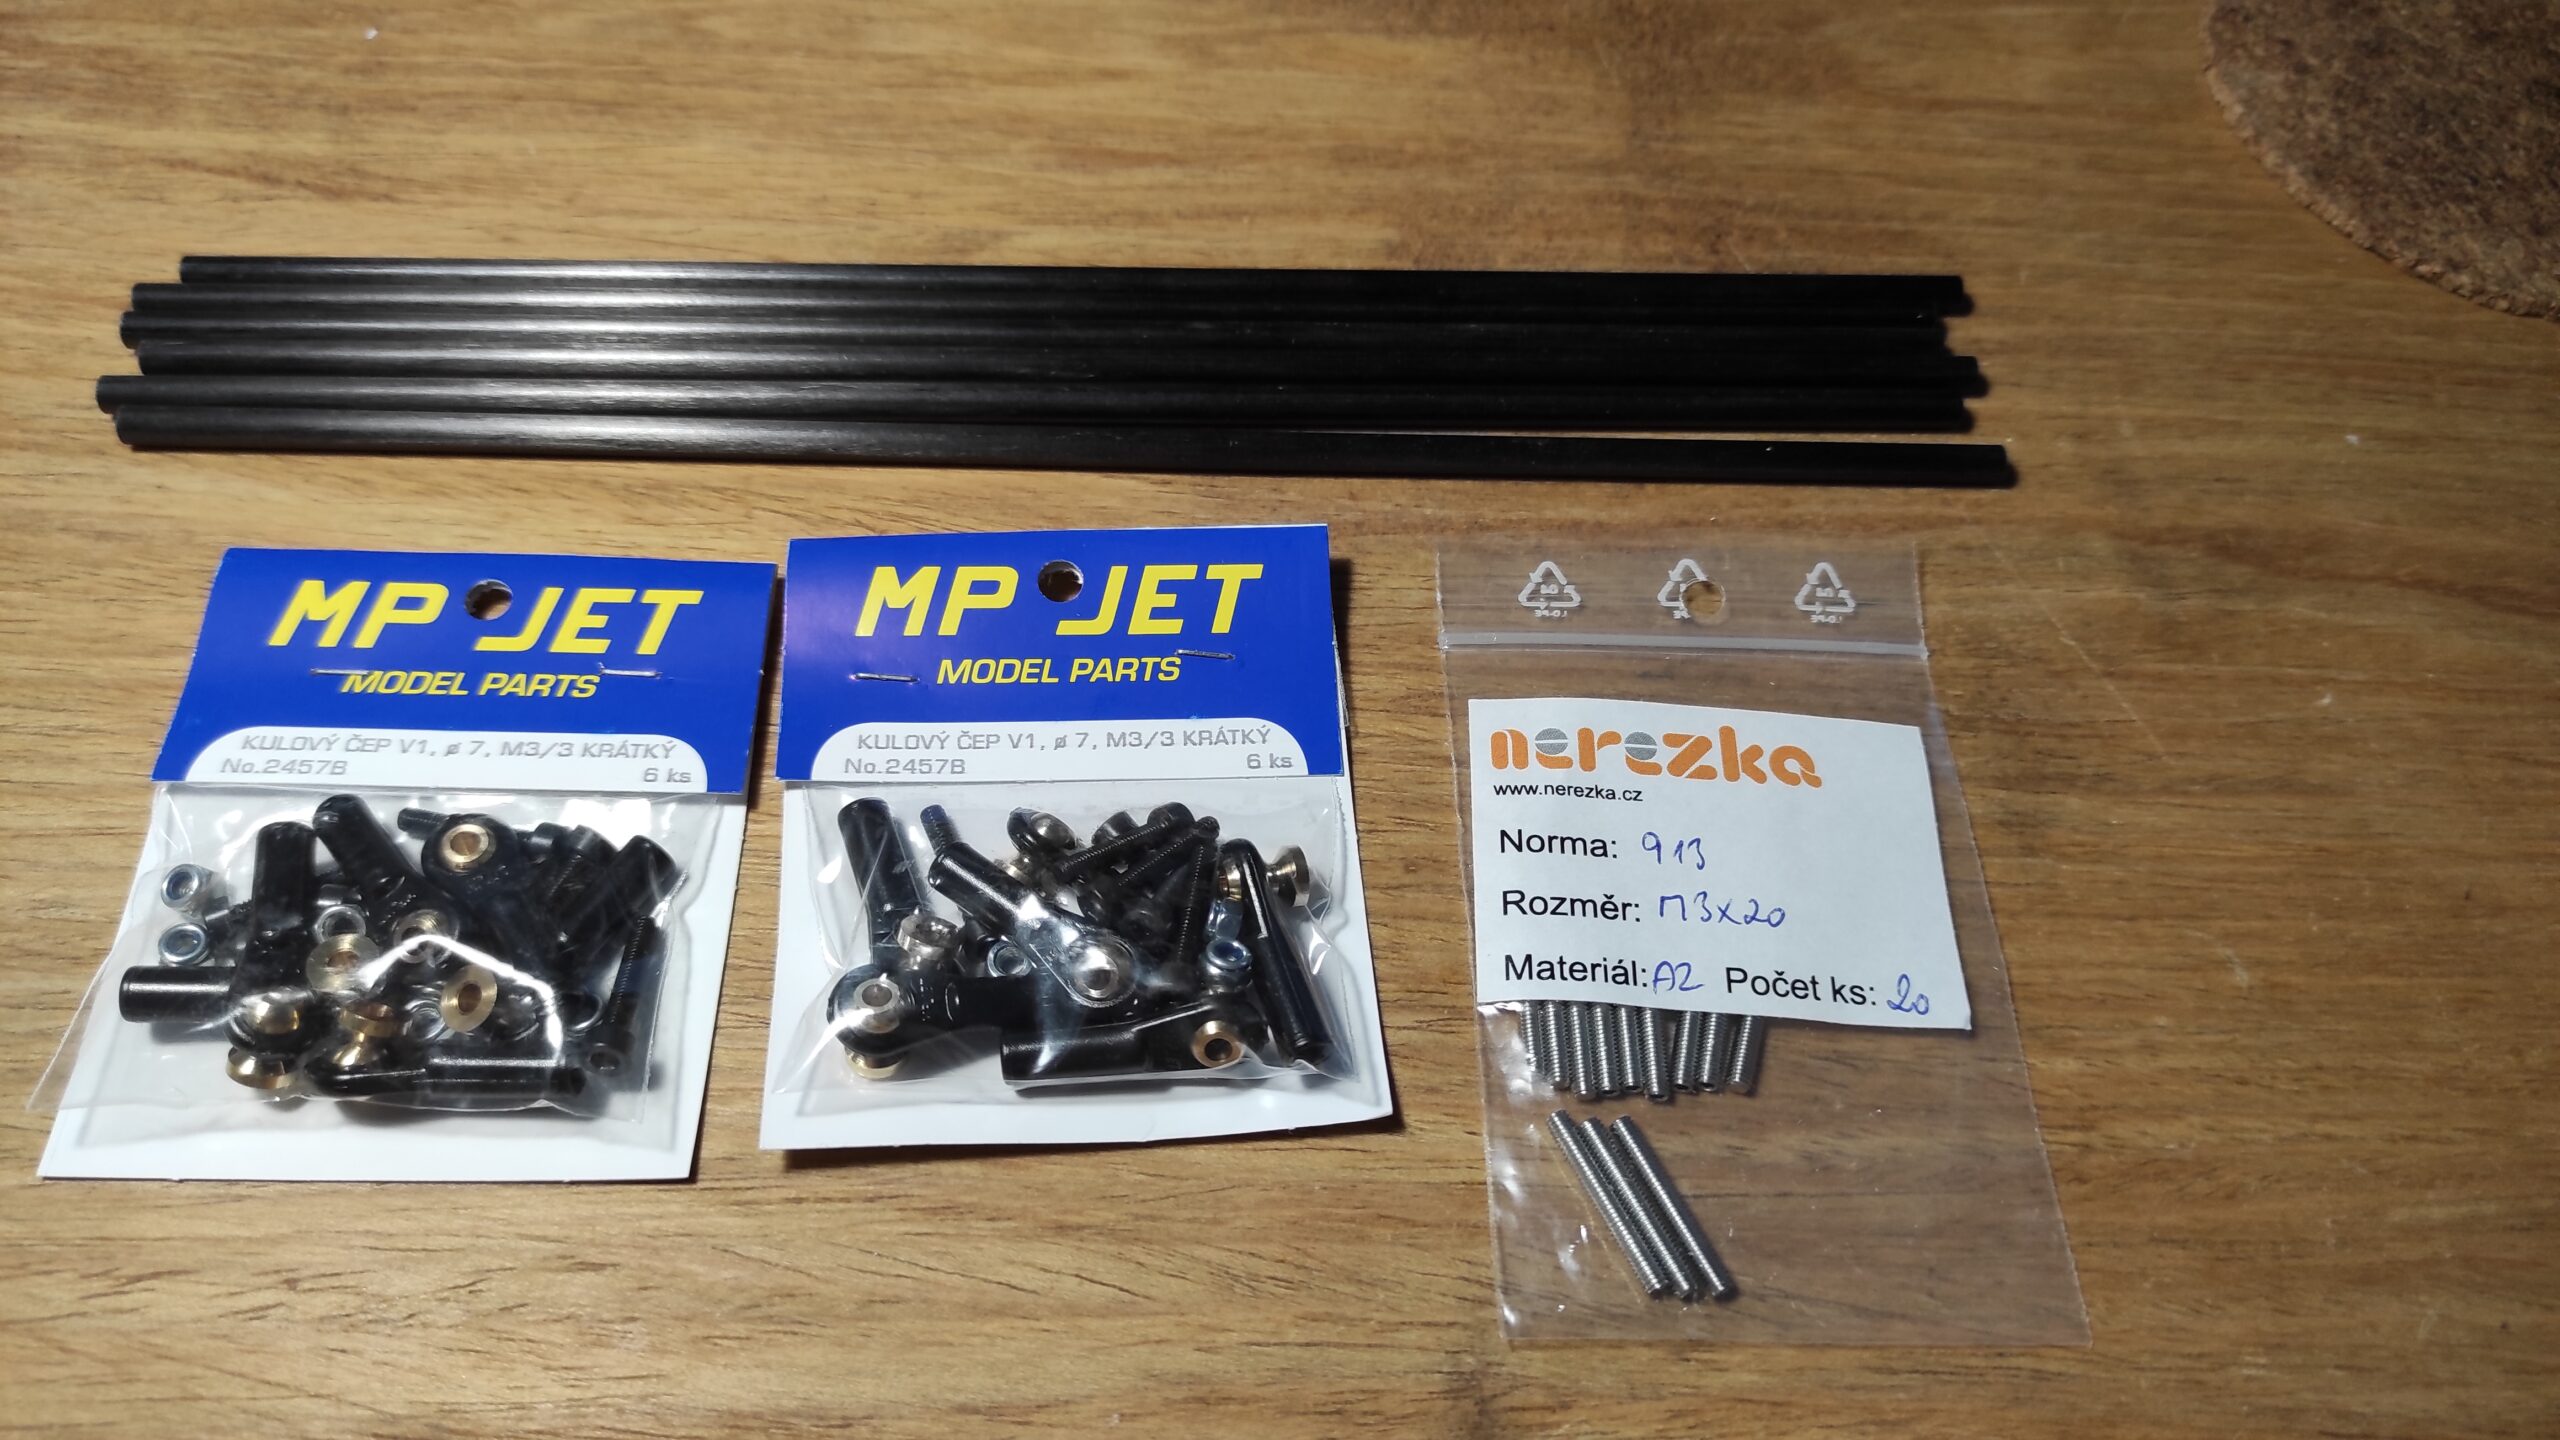
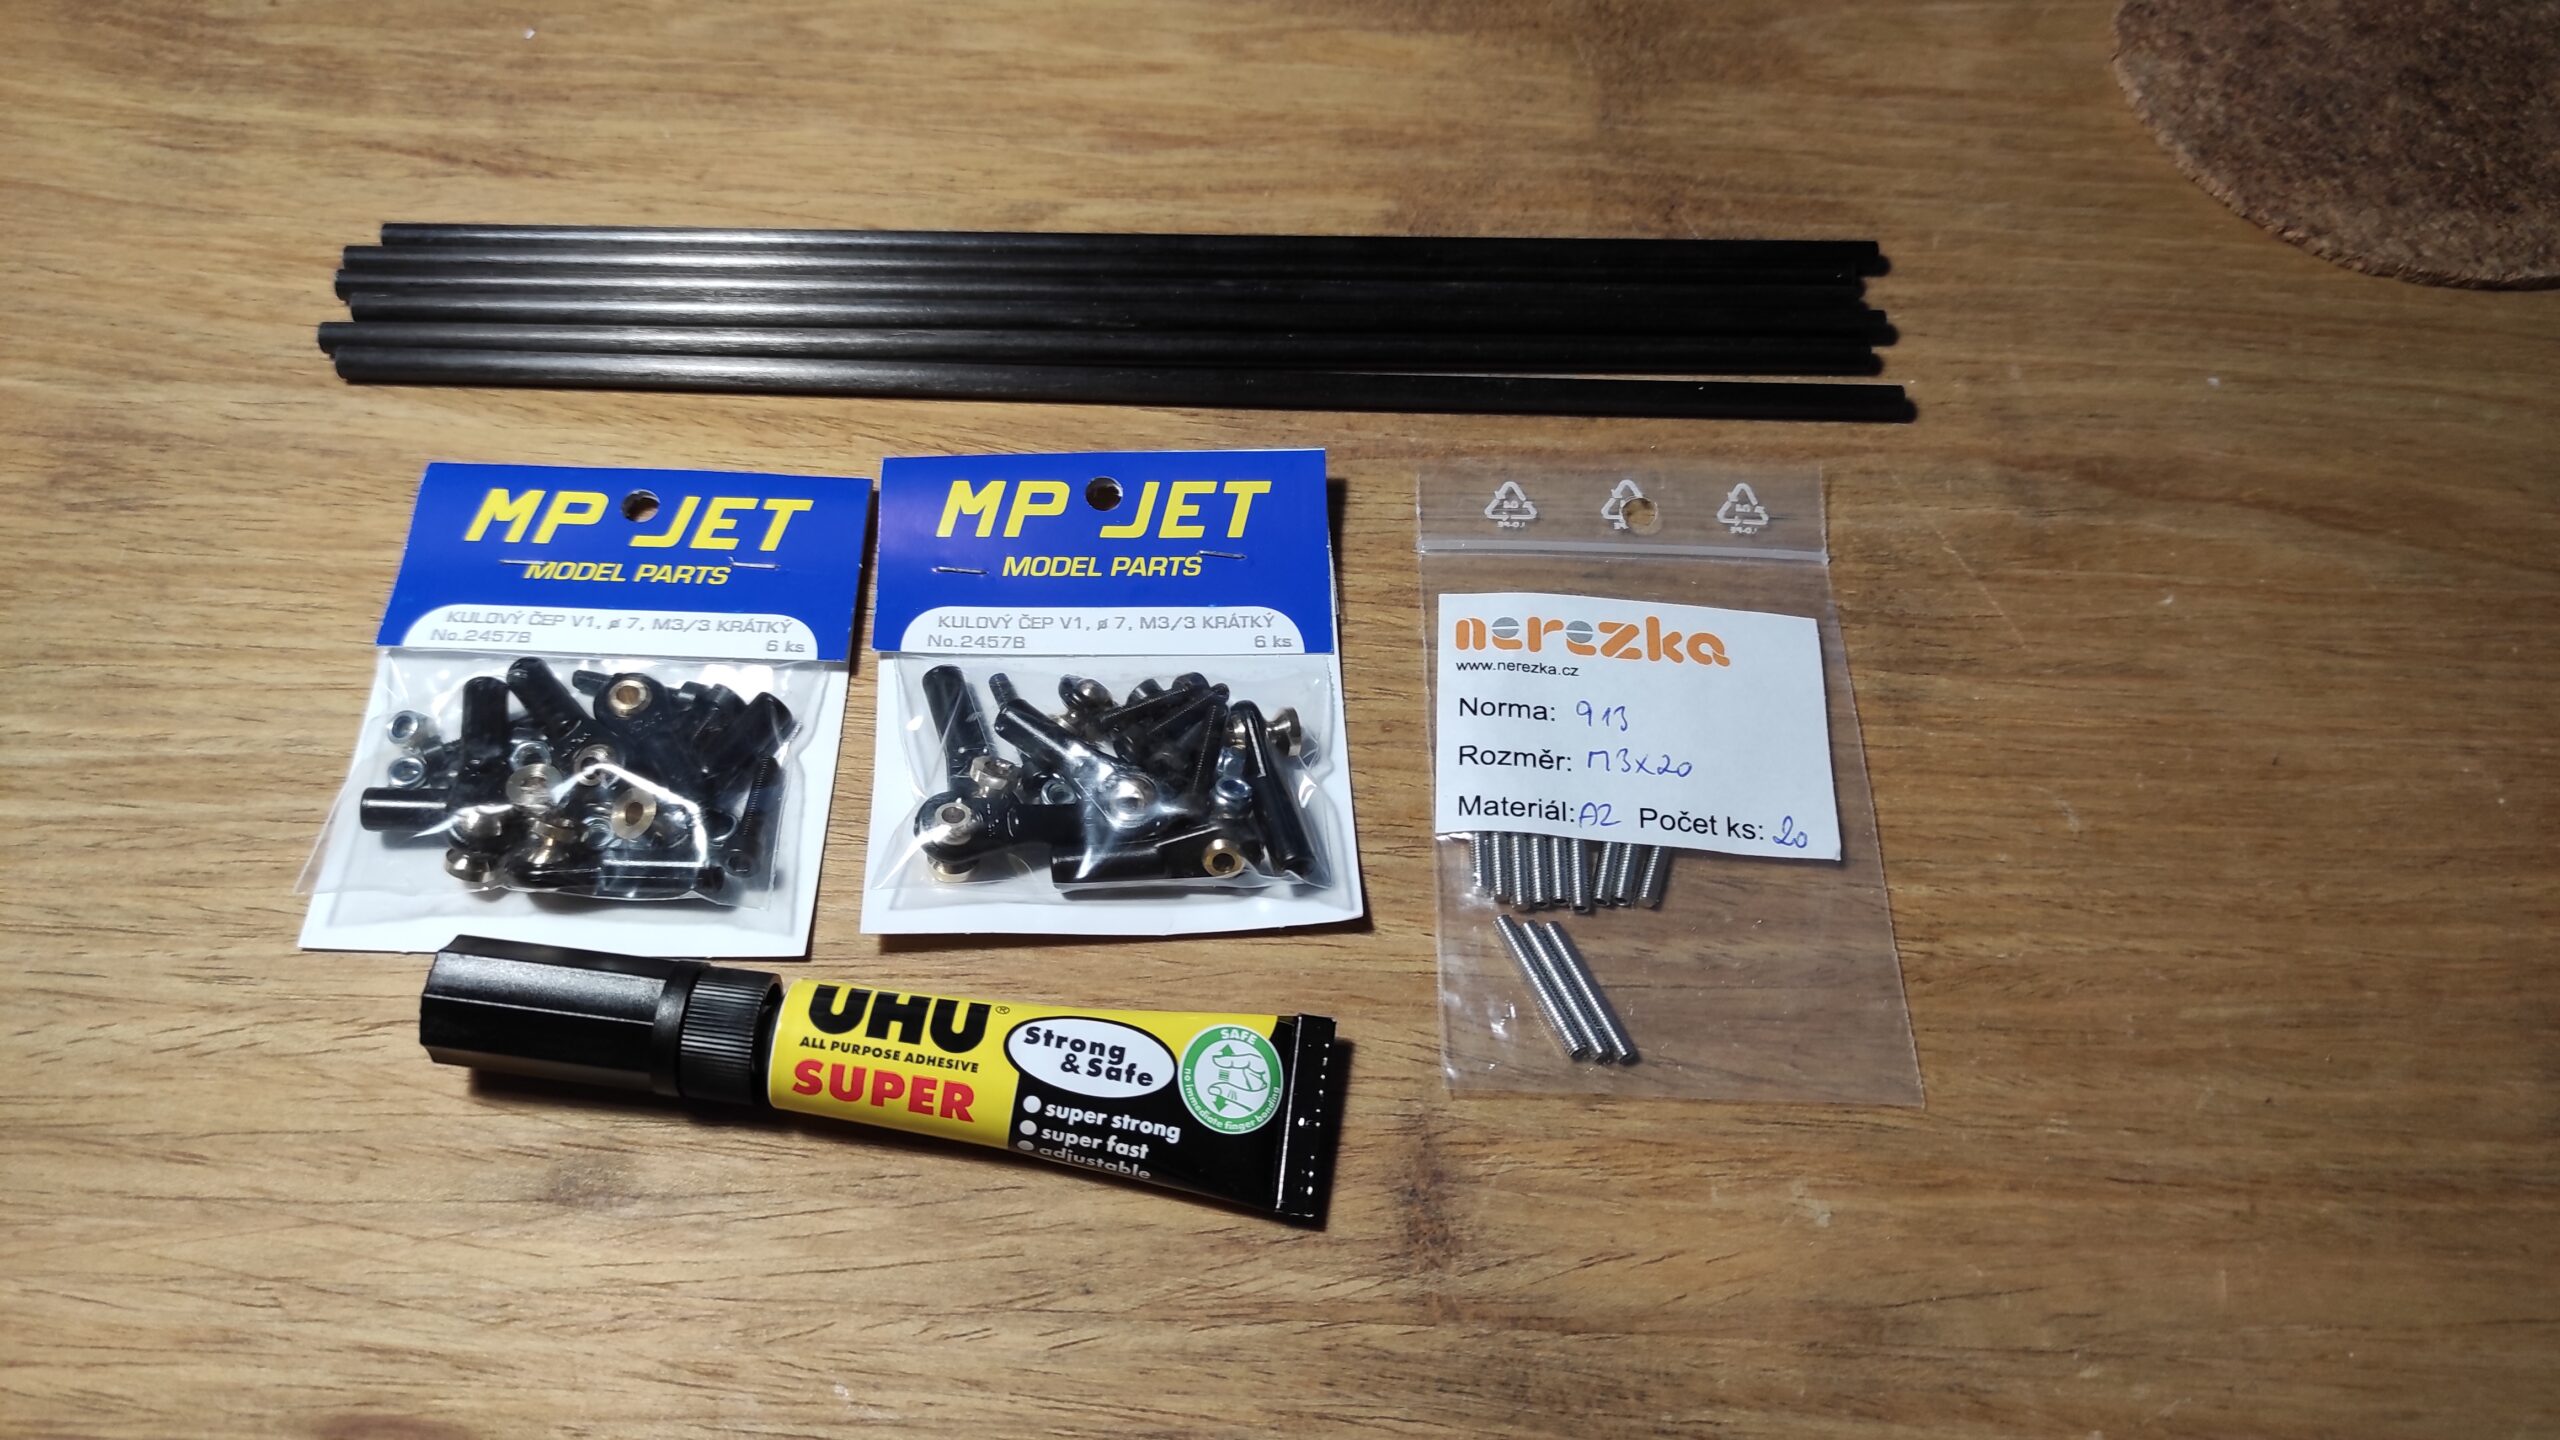
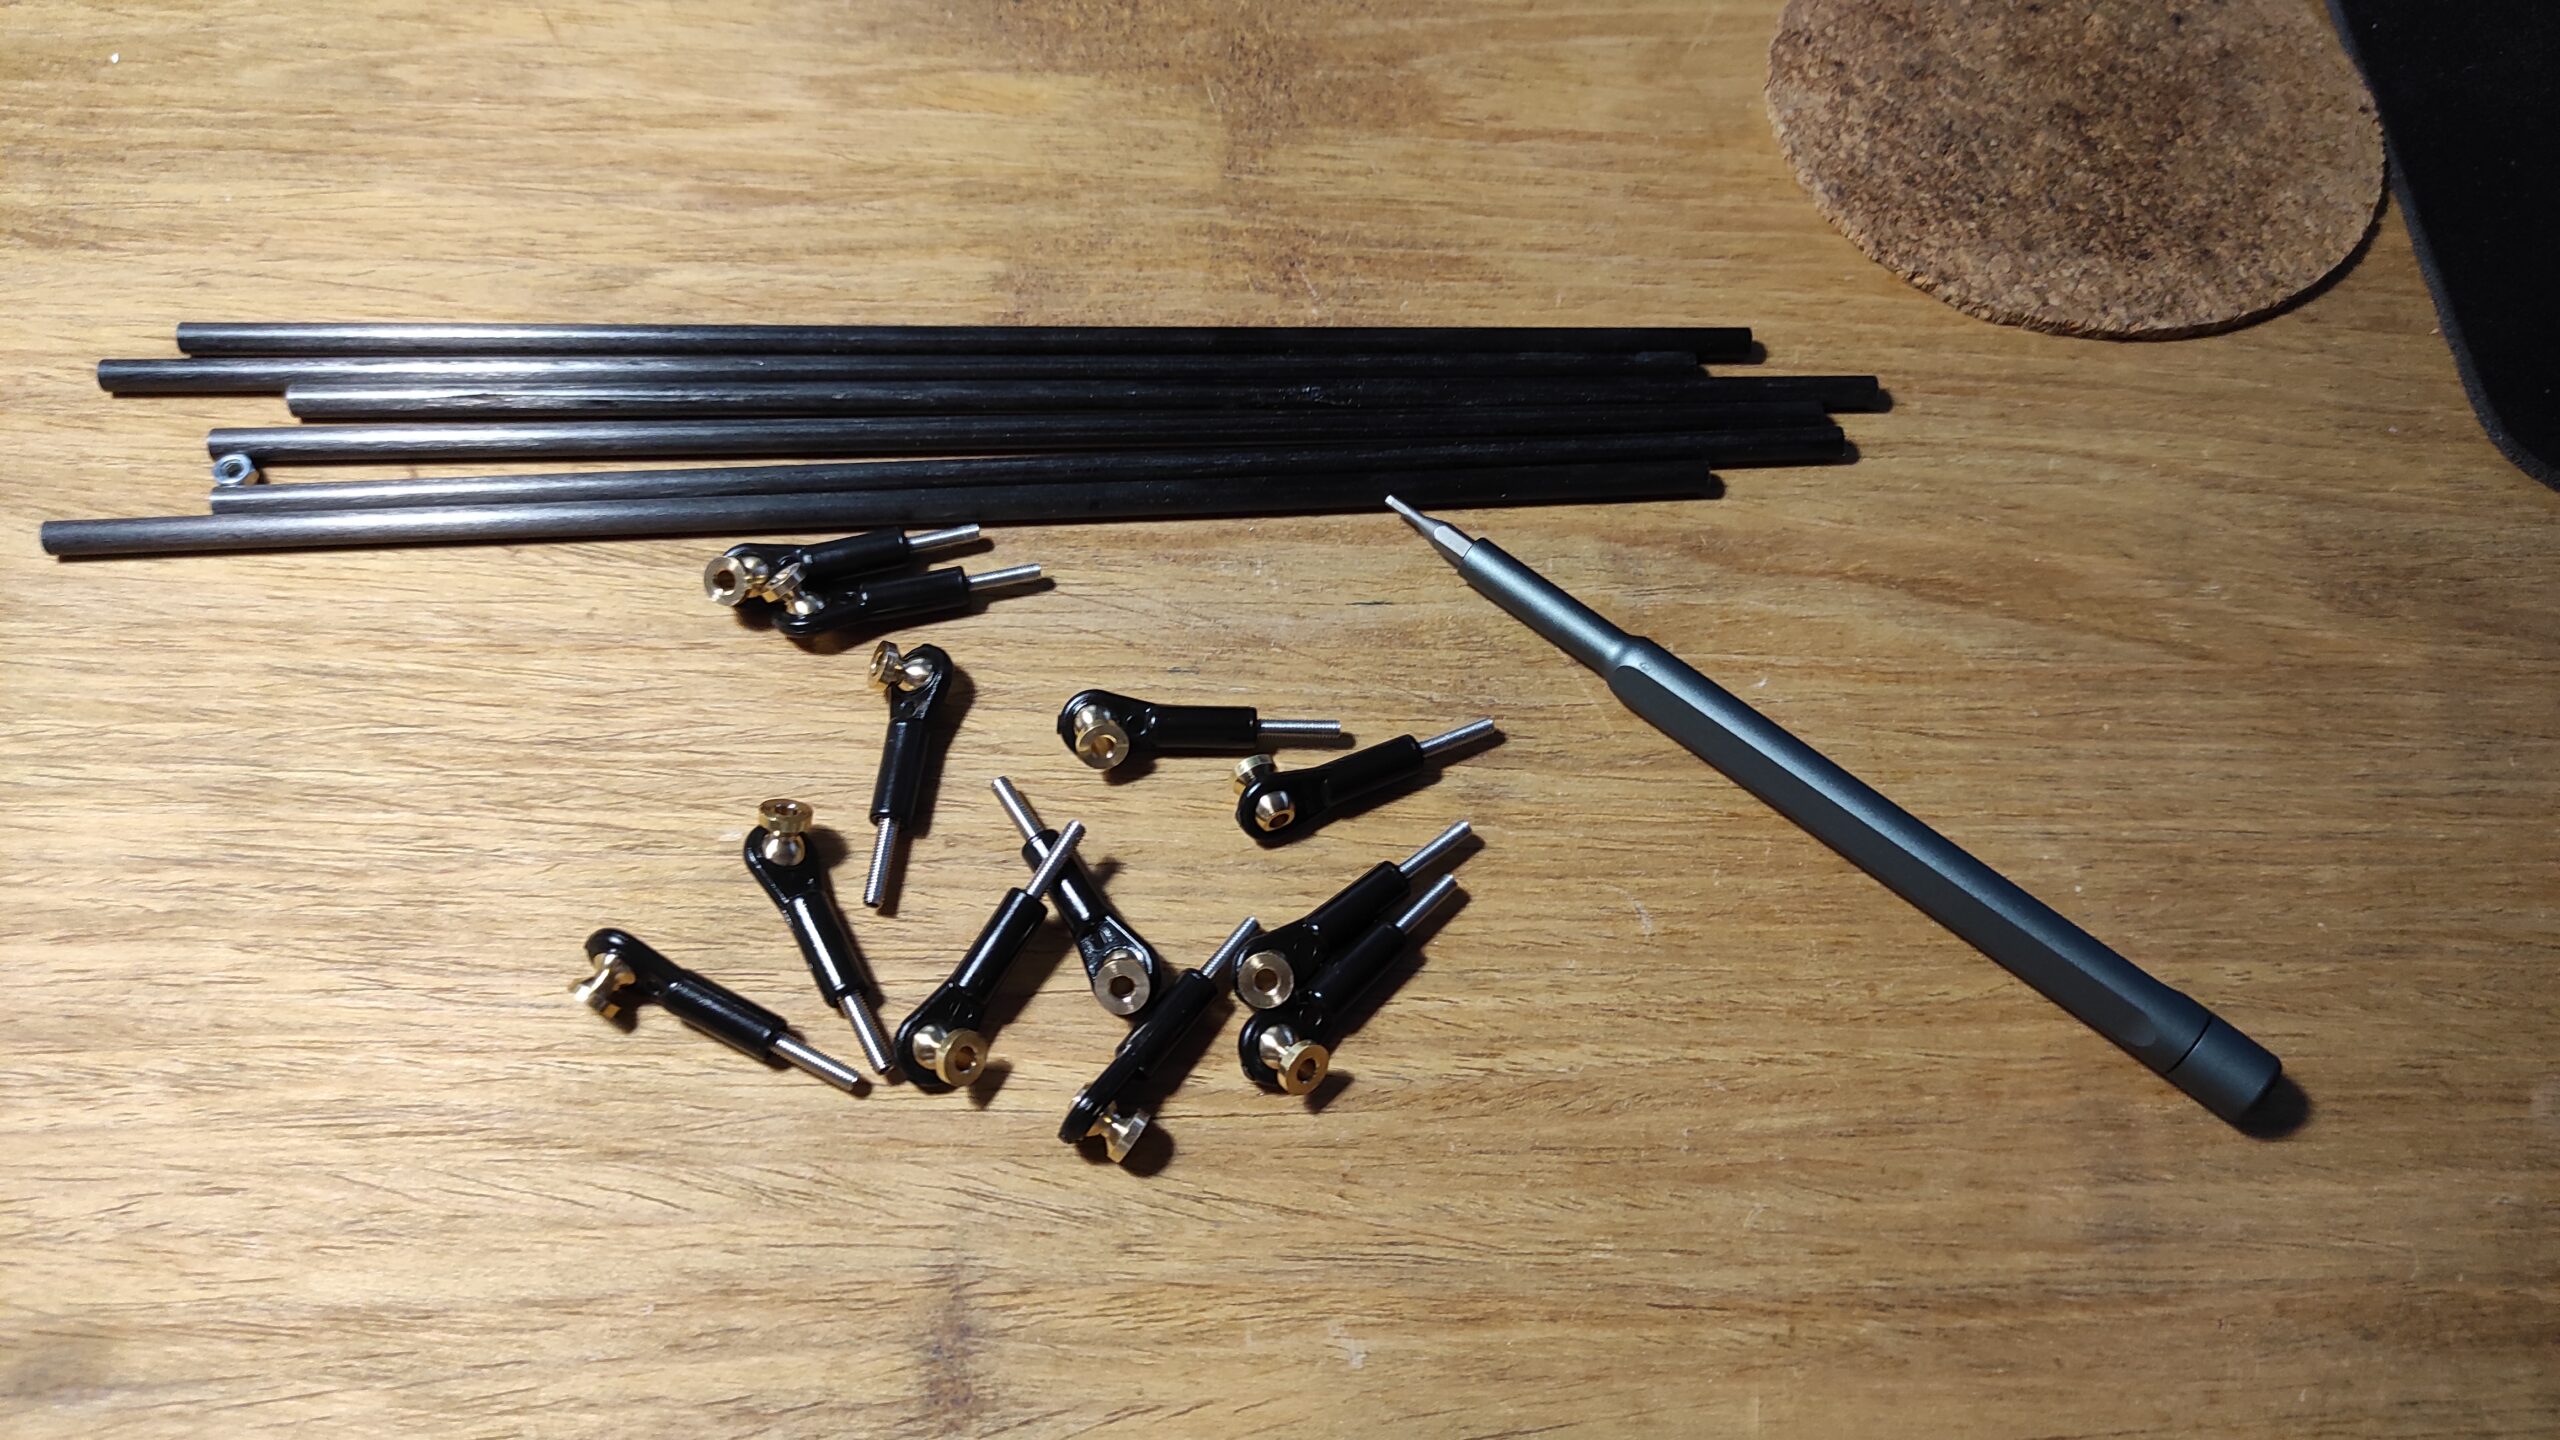
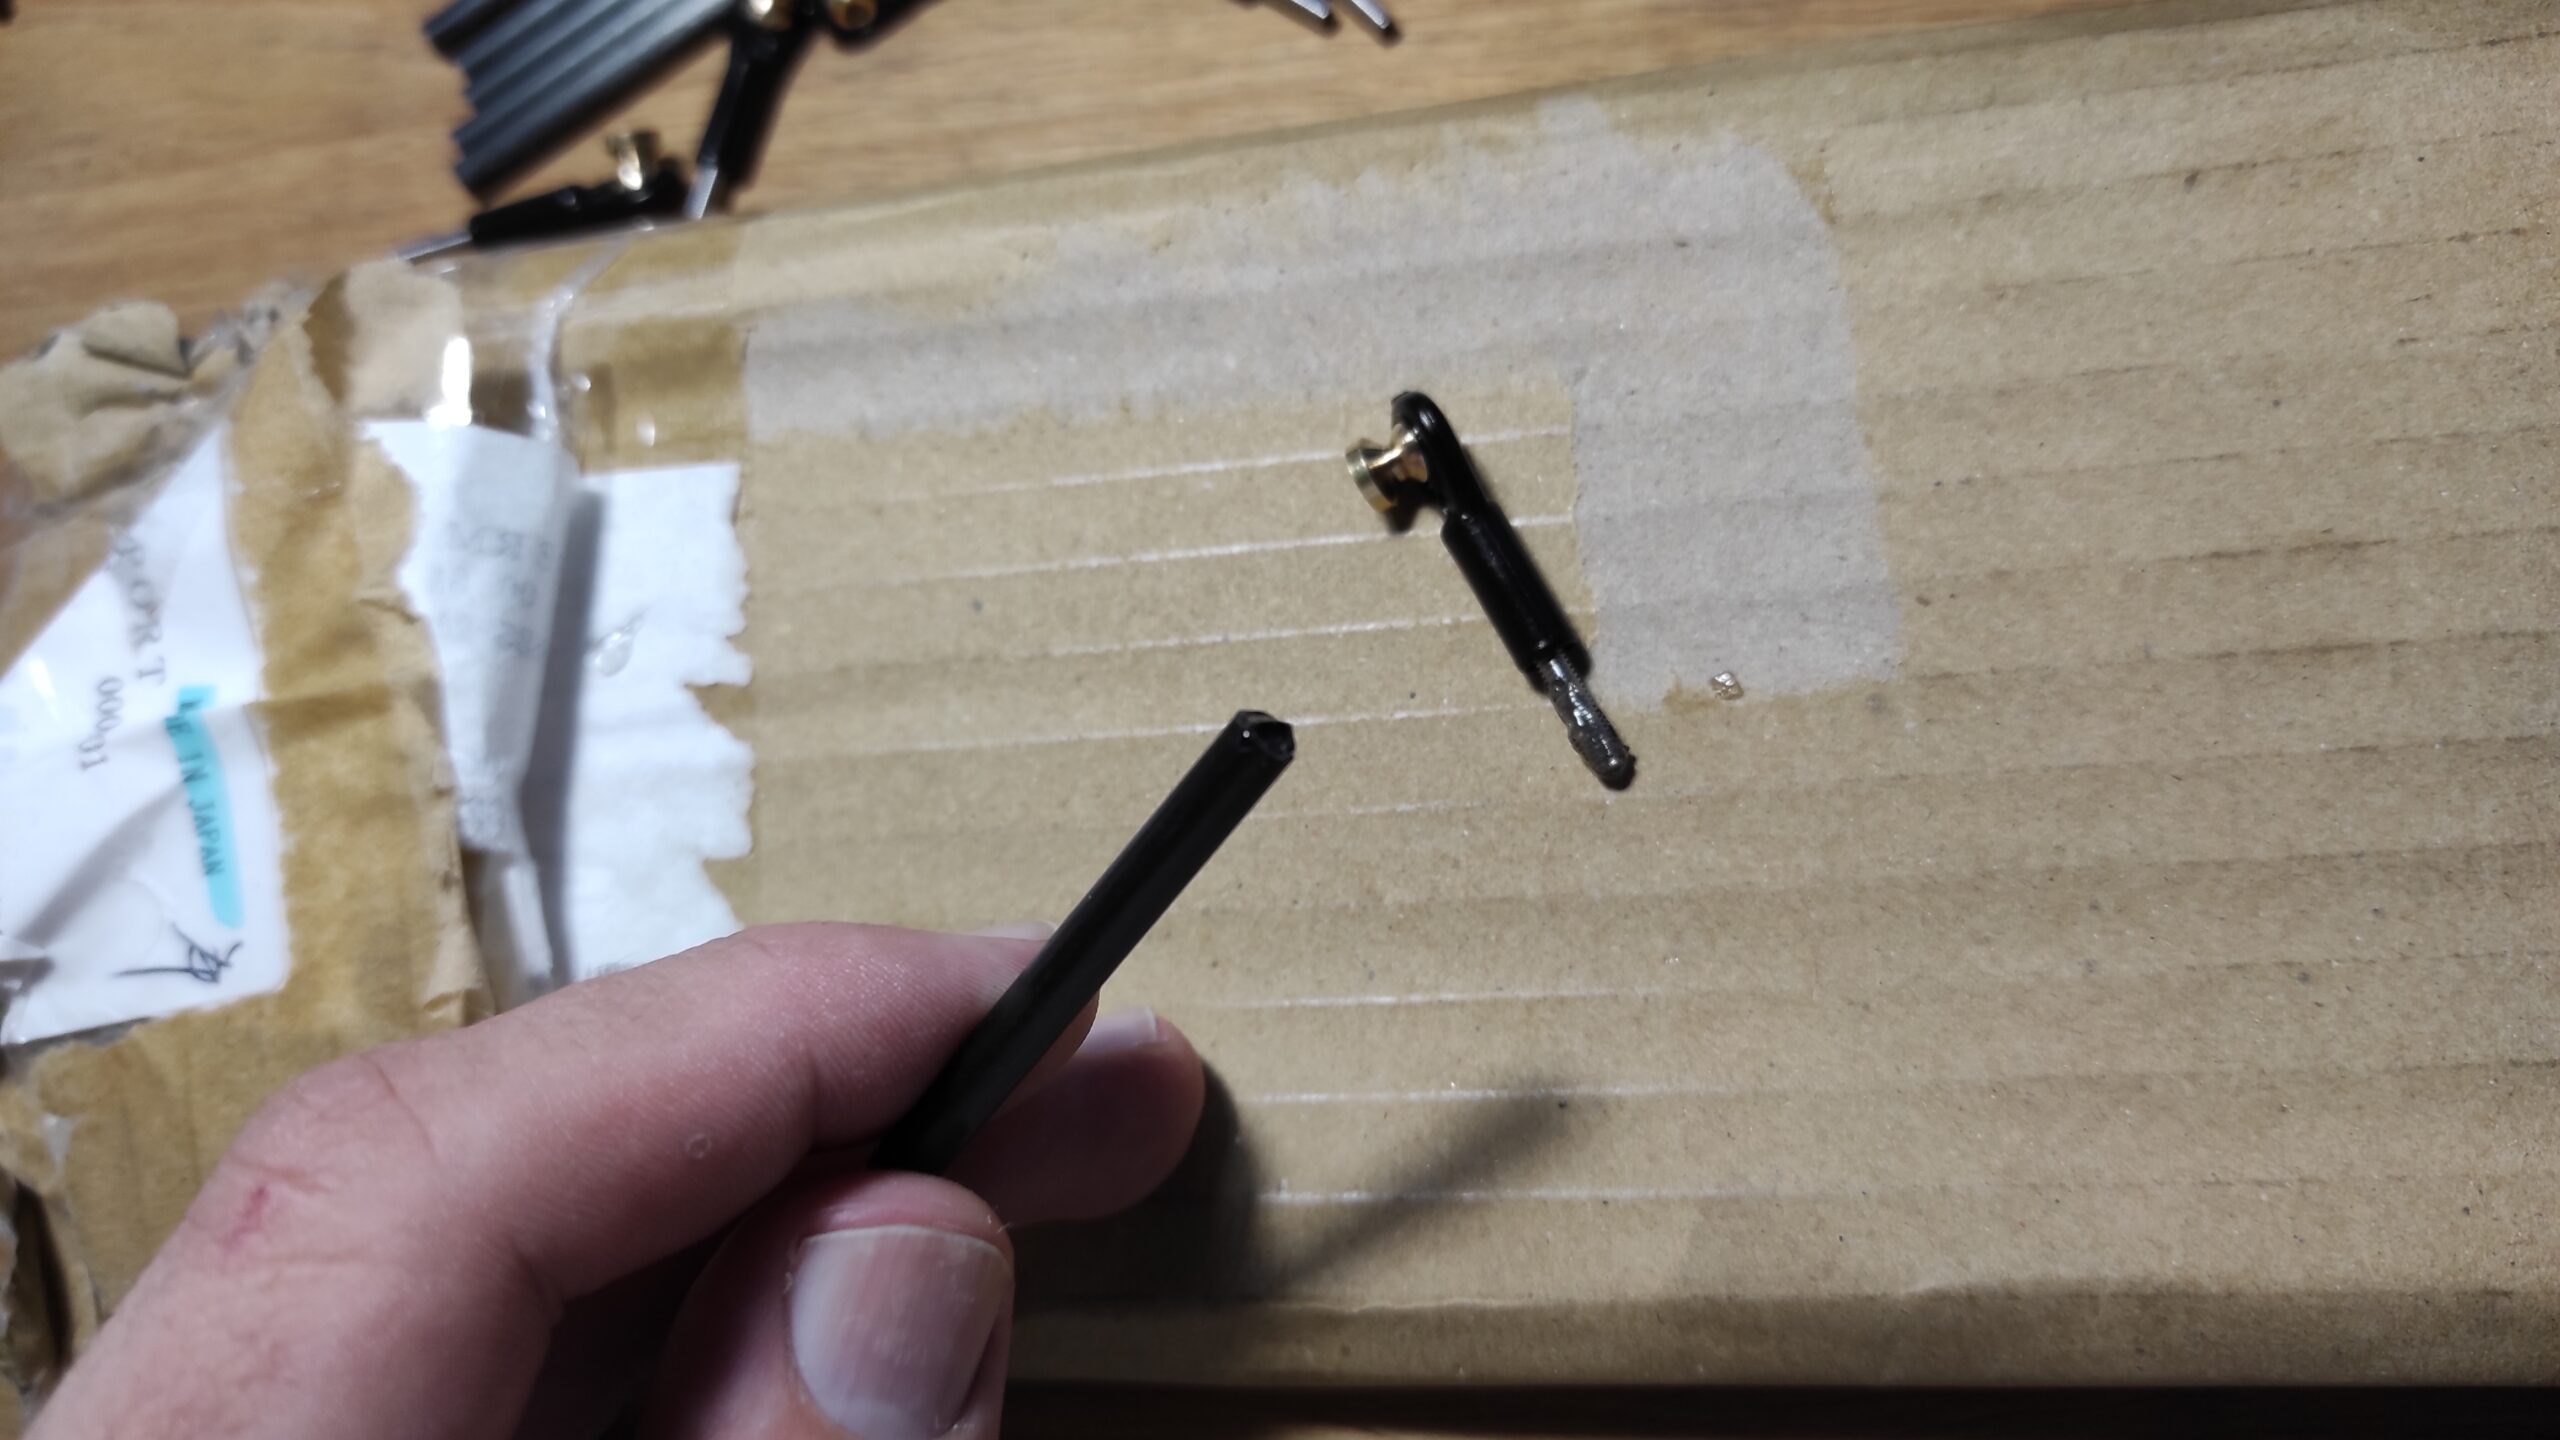
Carbon rods 6x4x240 mm
We have choosen these high quality carbon rods. Please select OD 6 ID 4 240
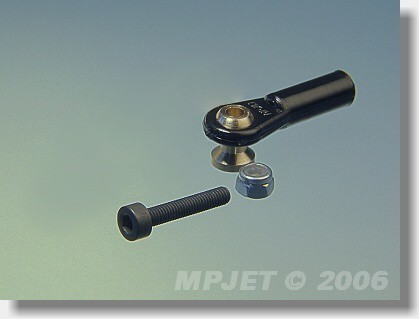
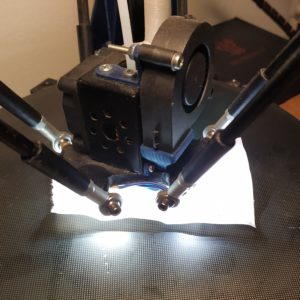
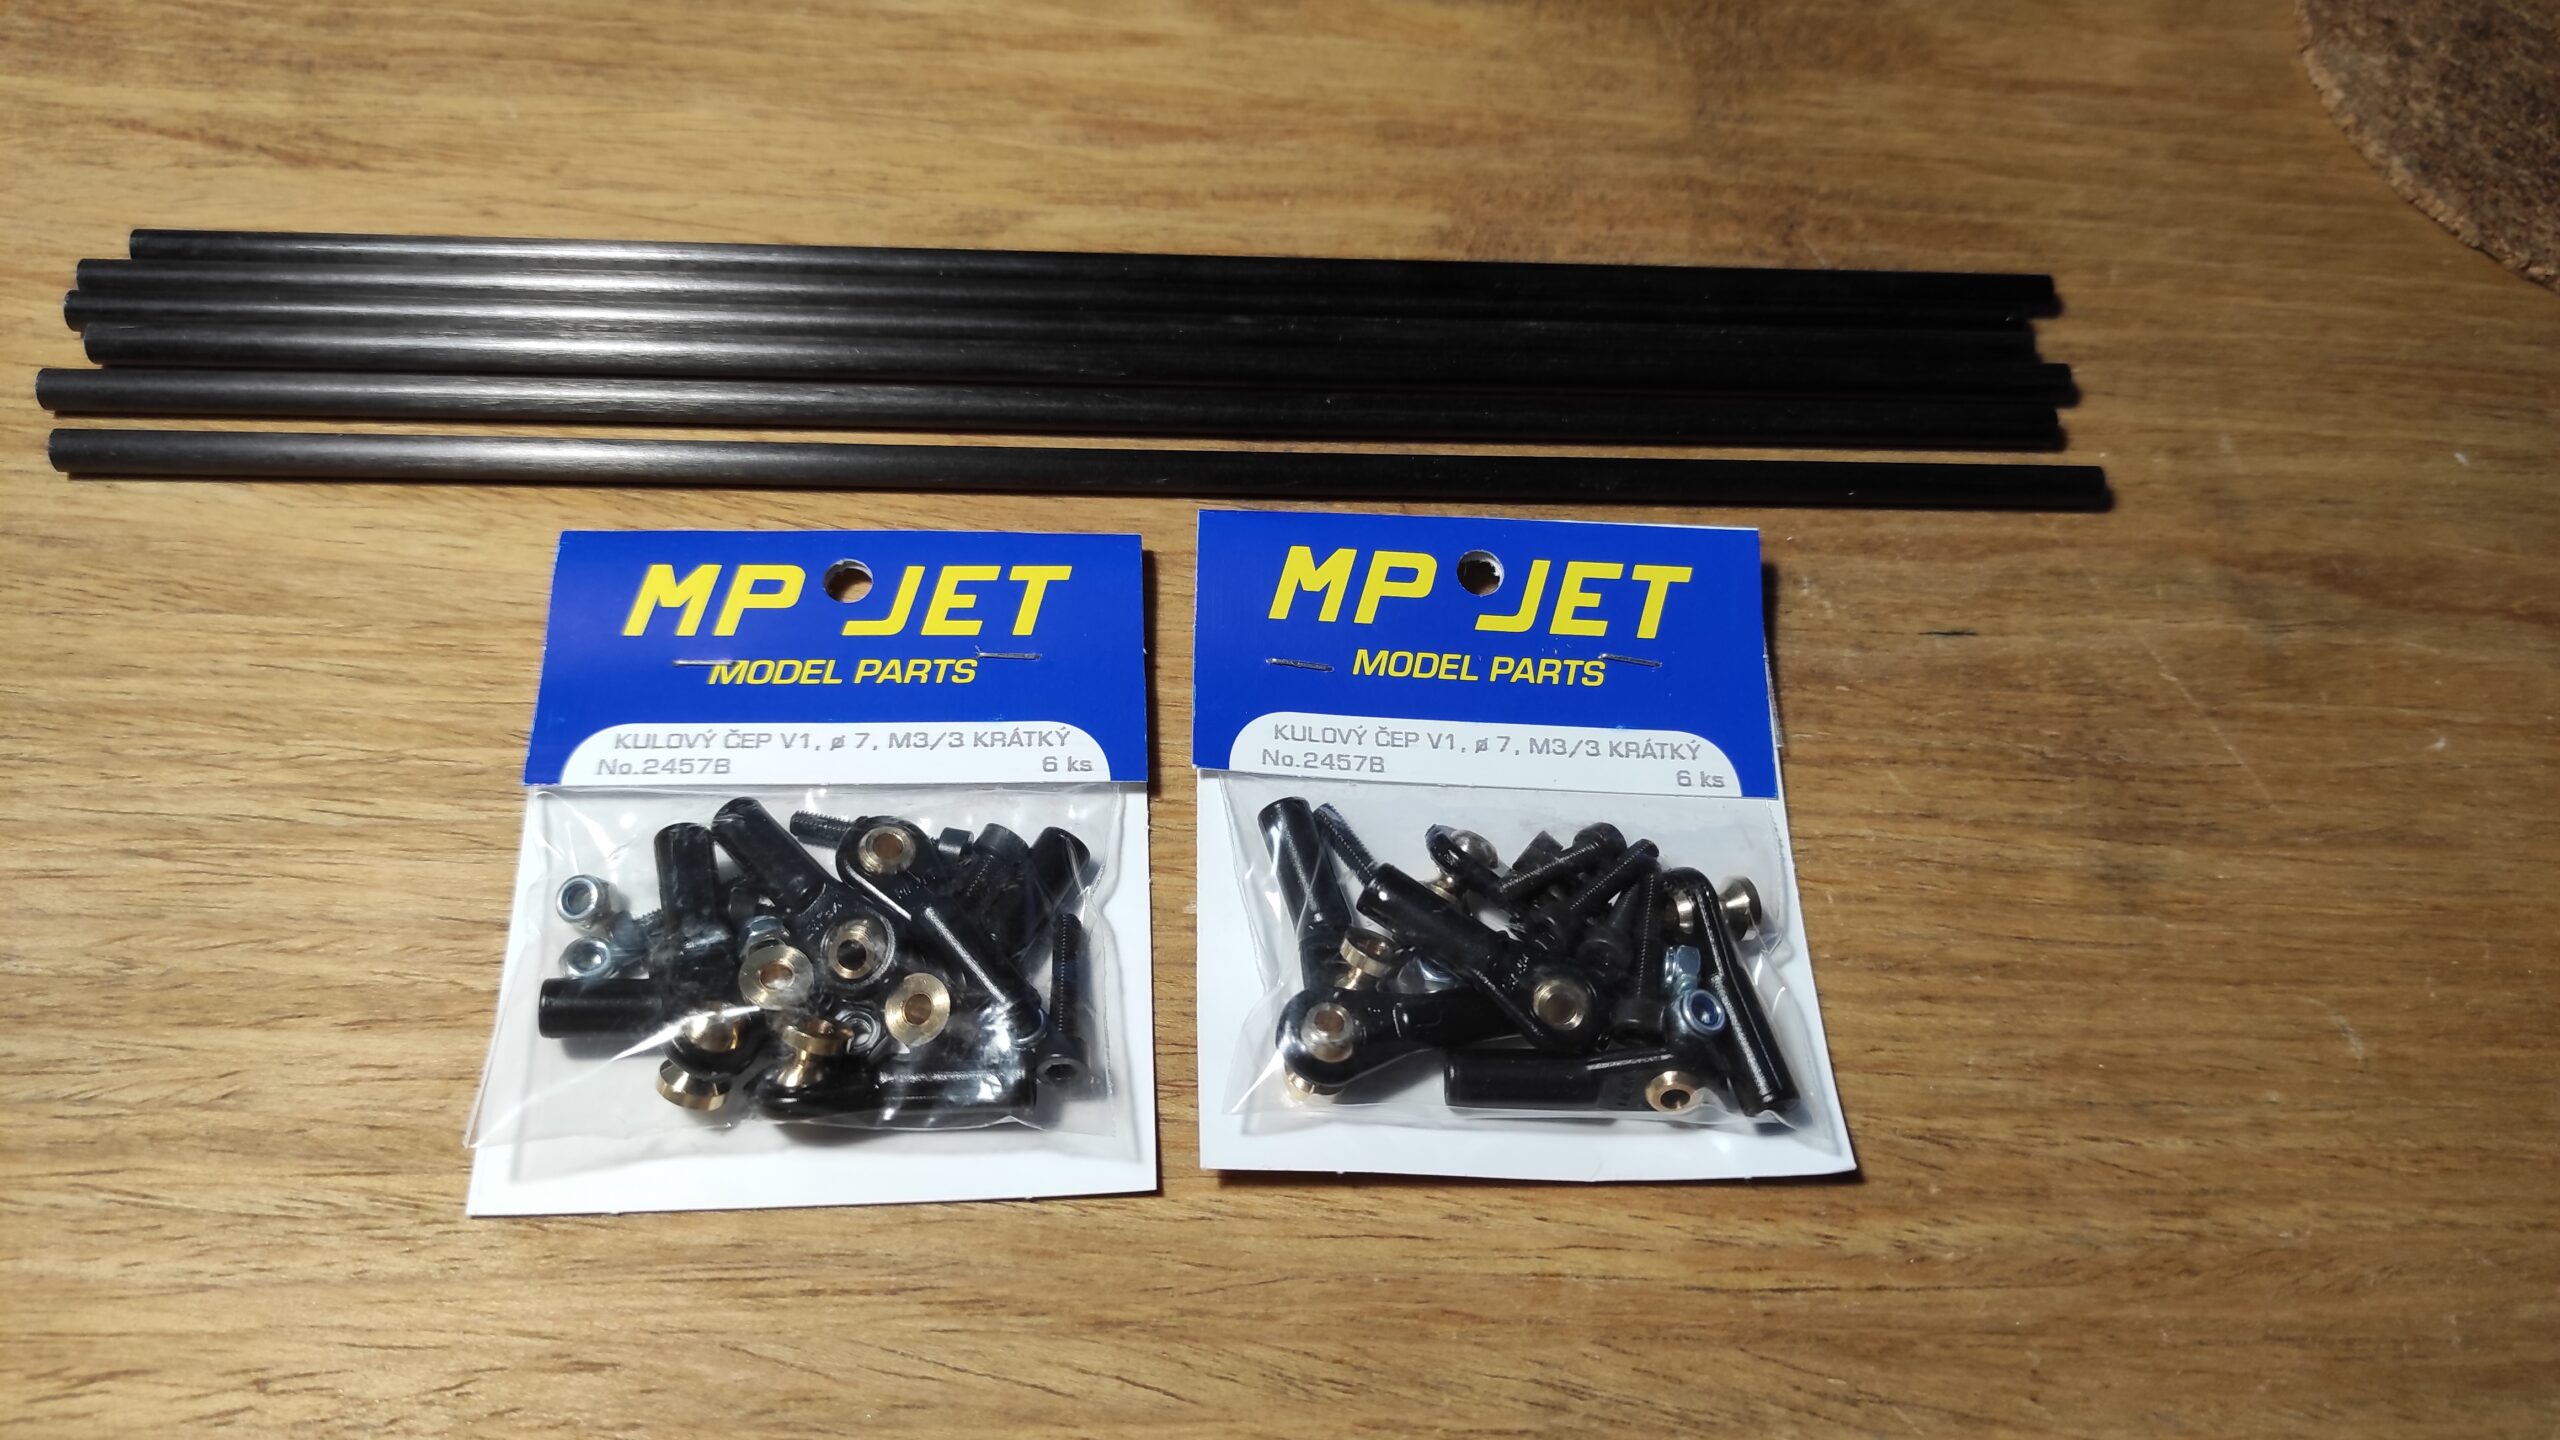
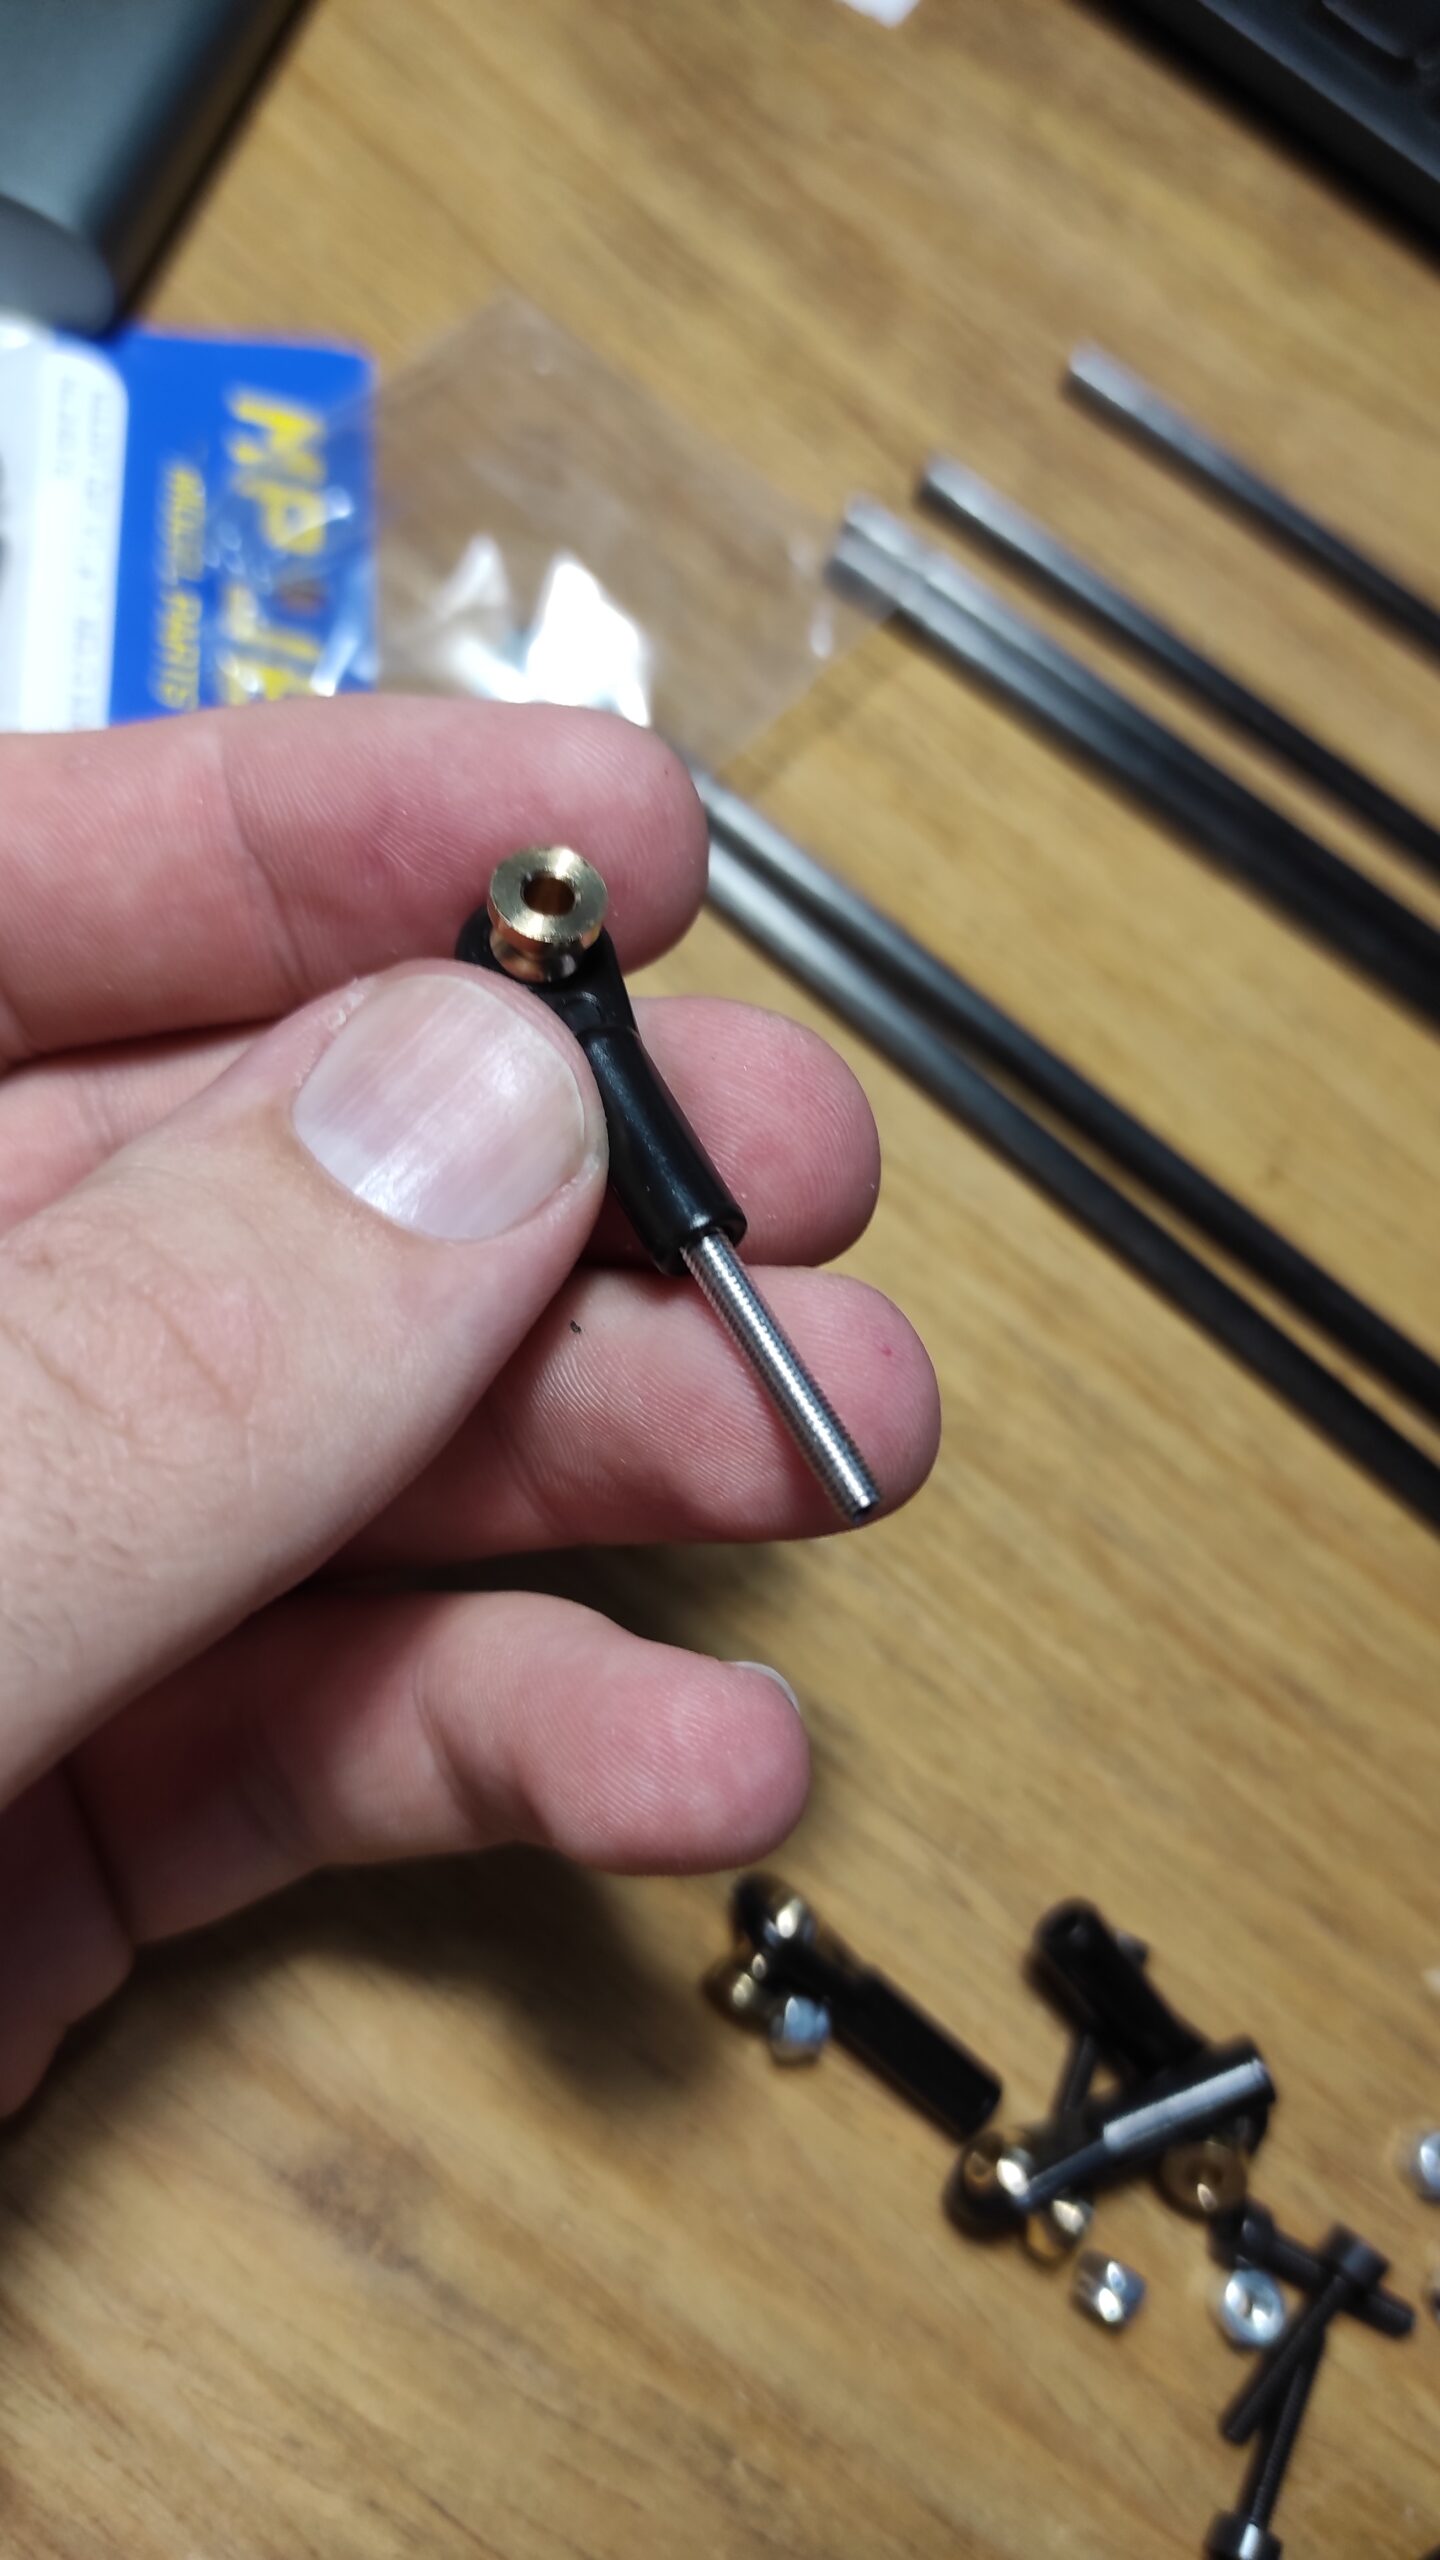
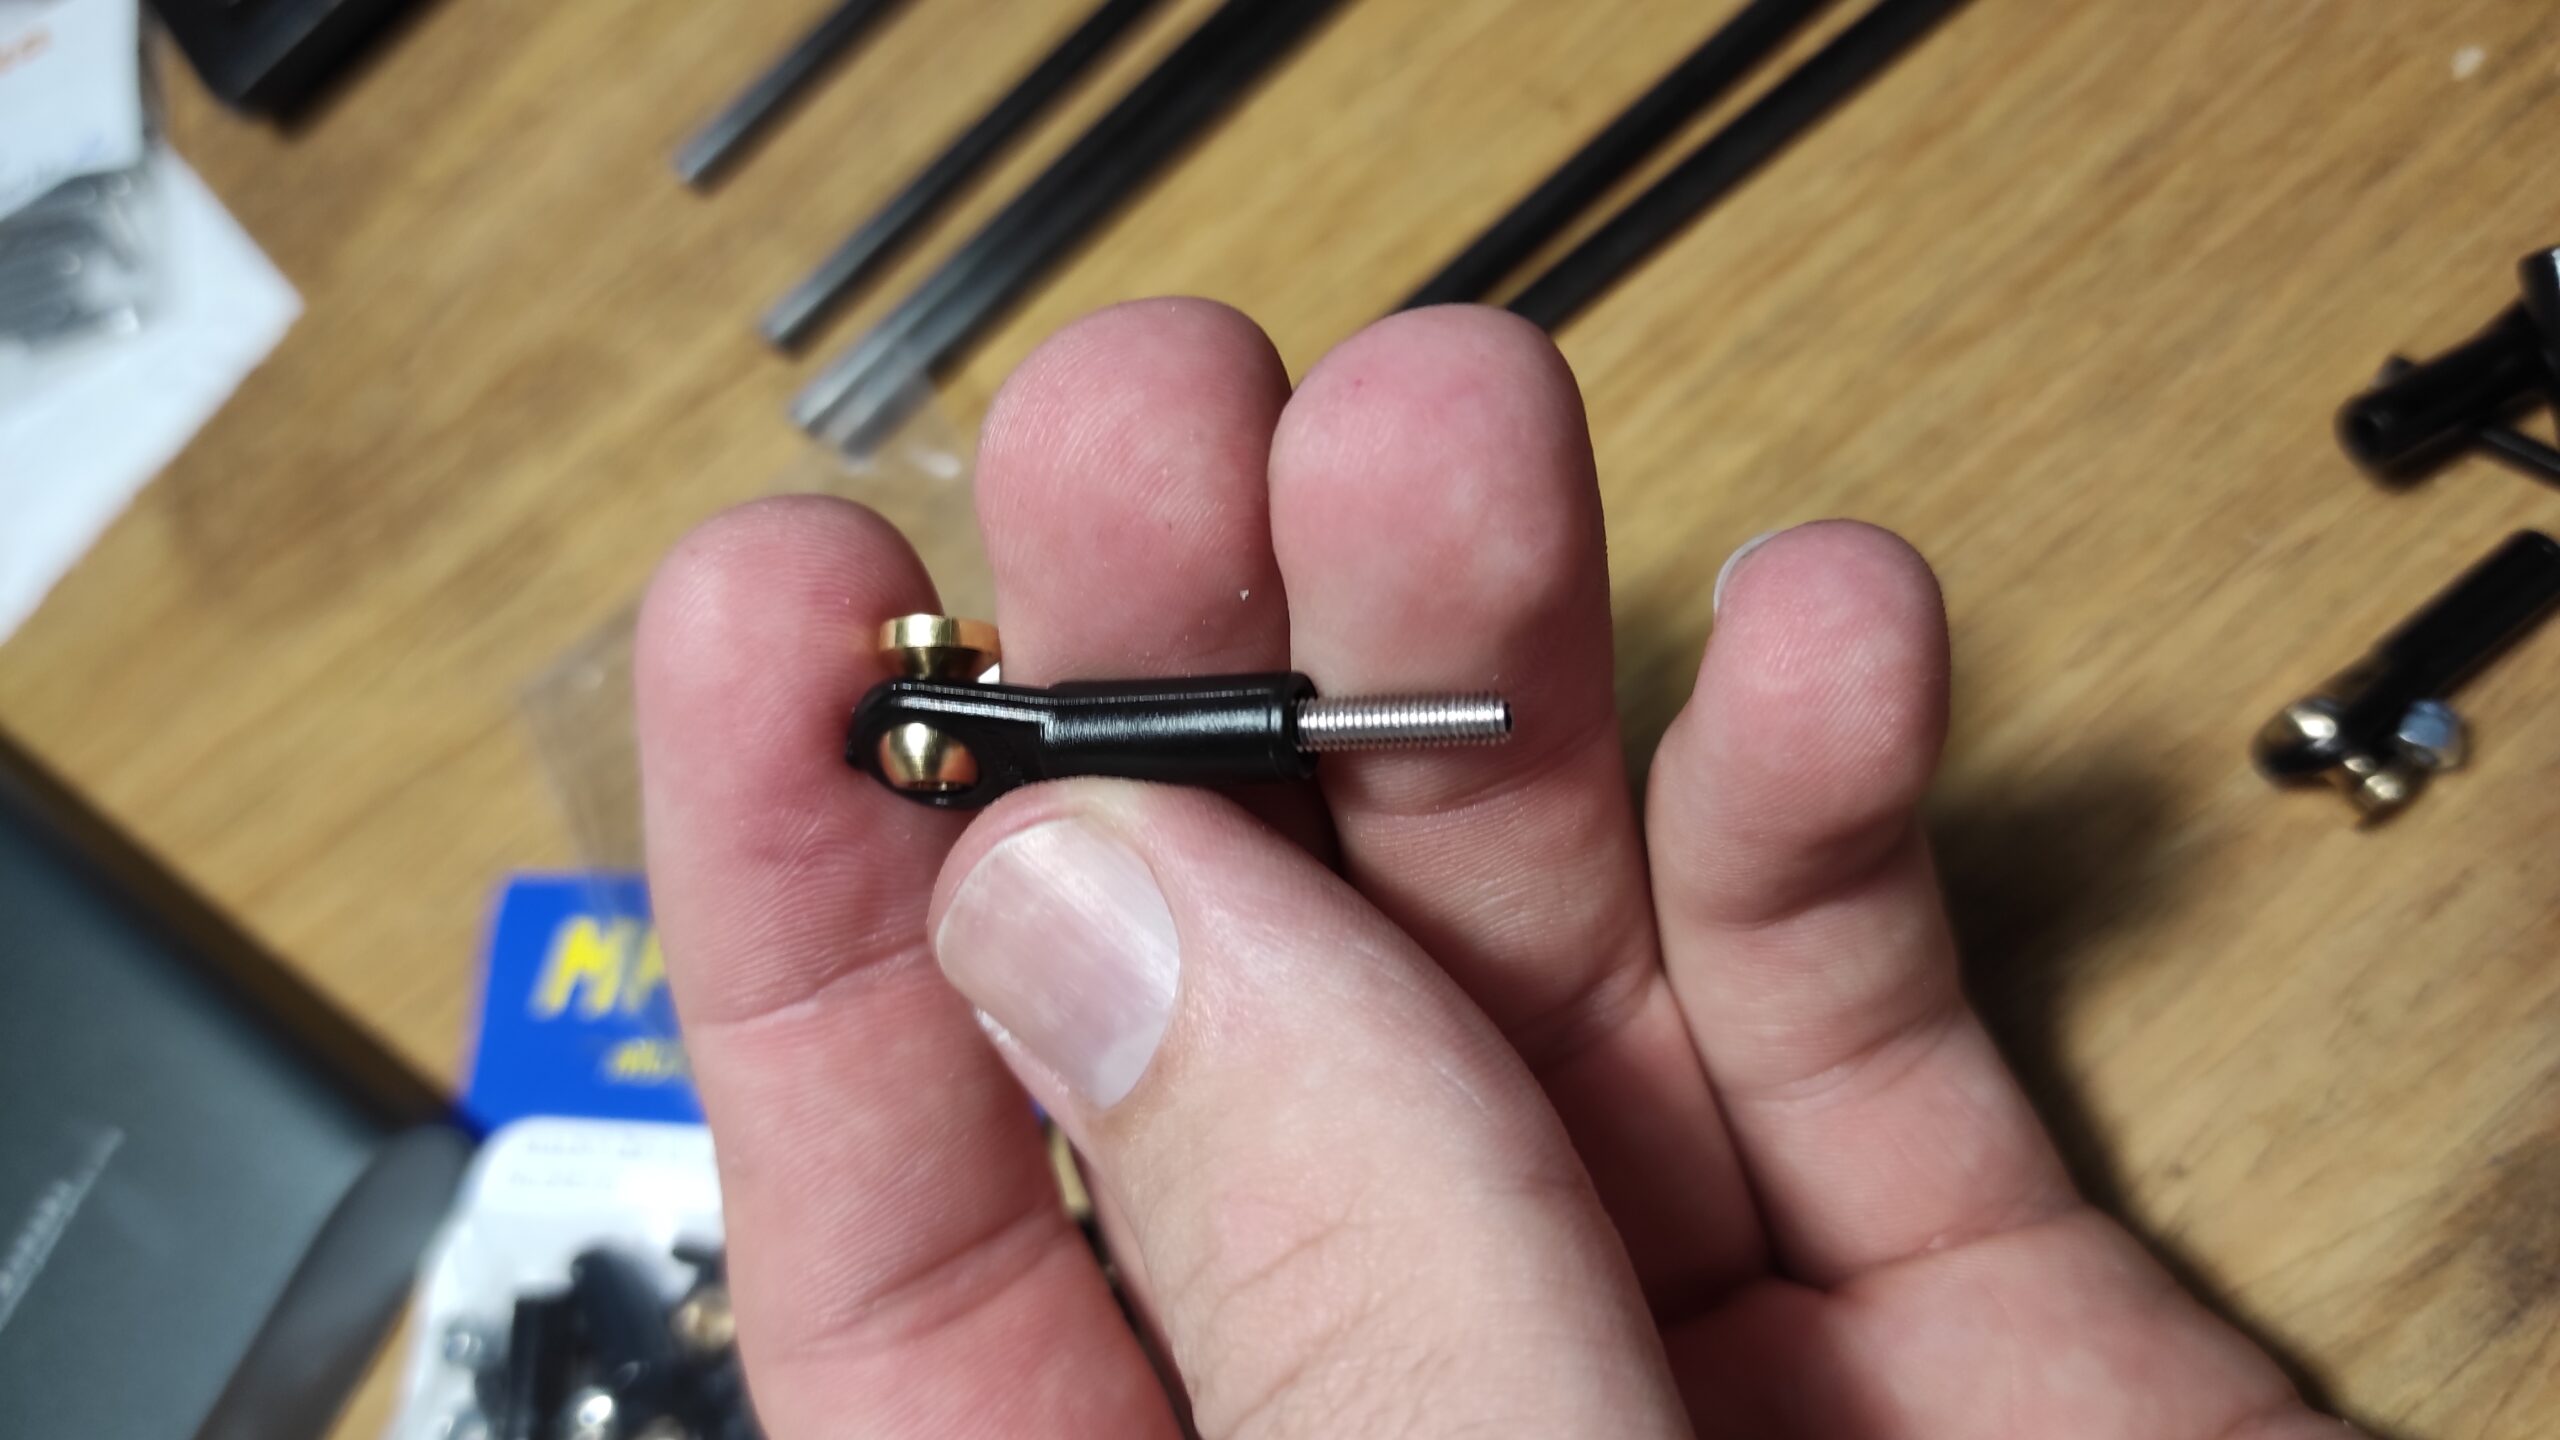
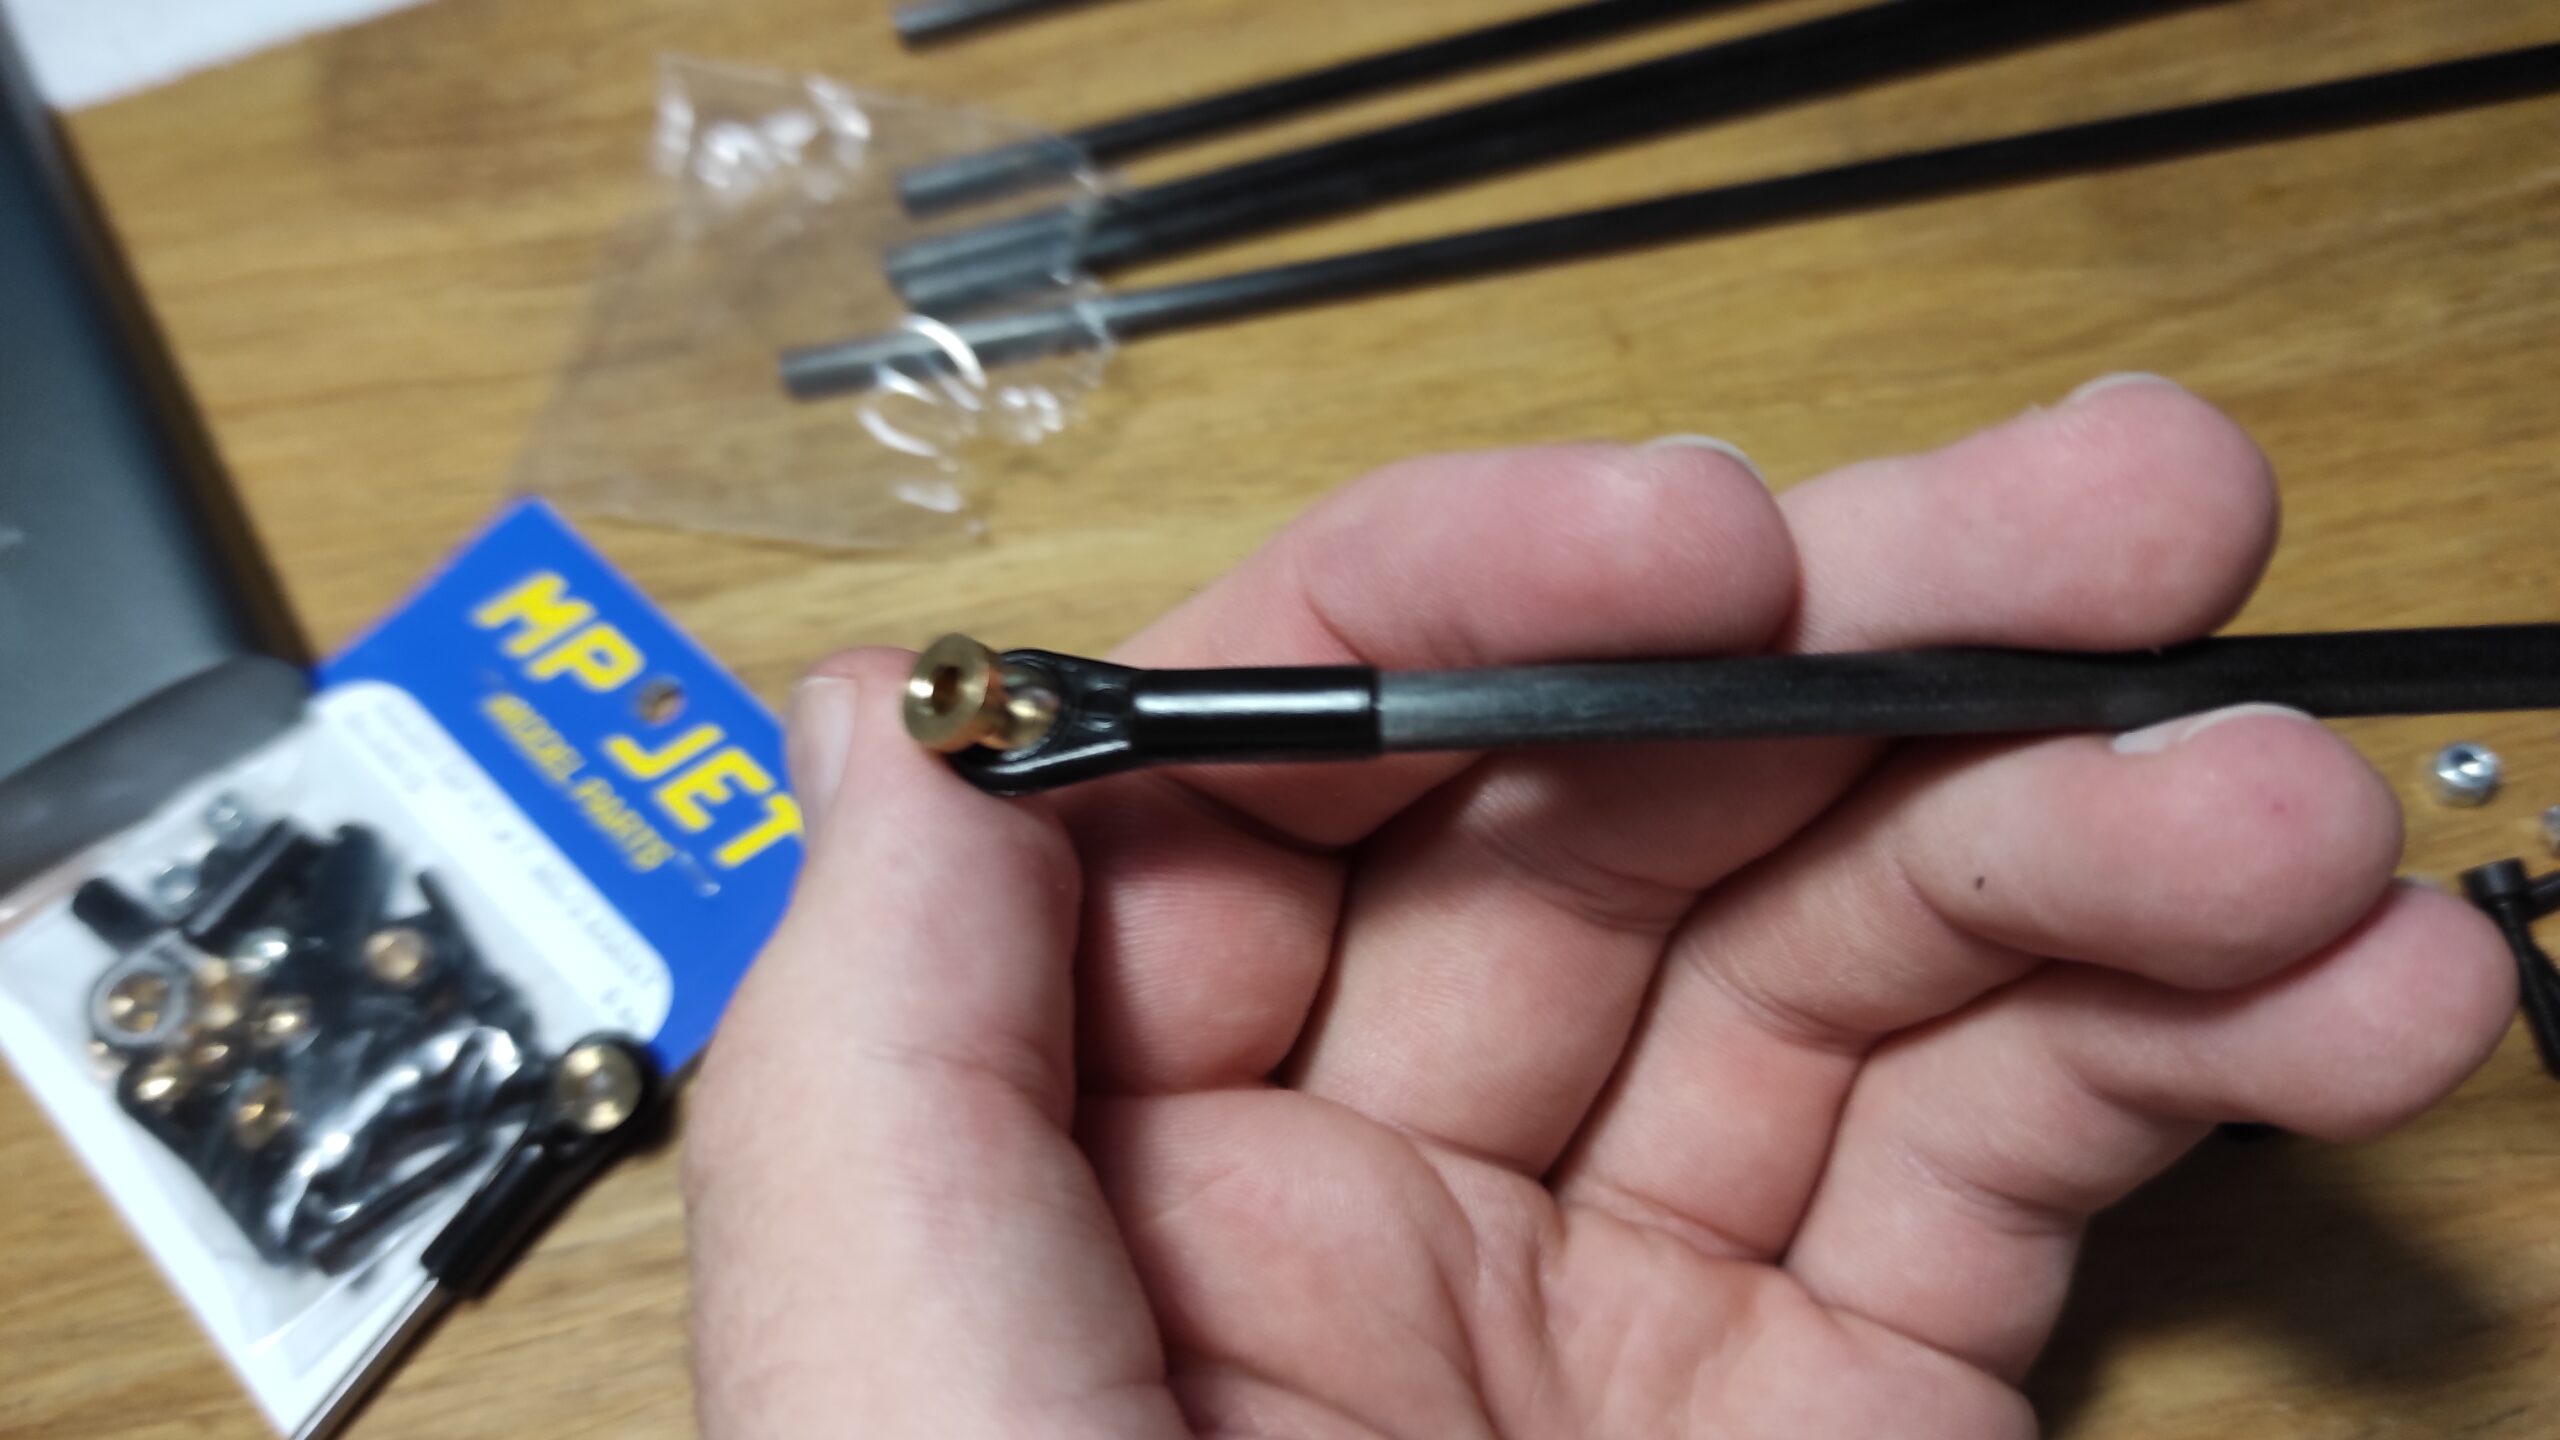
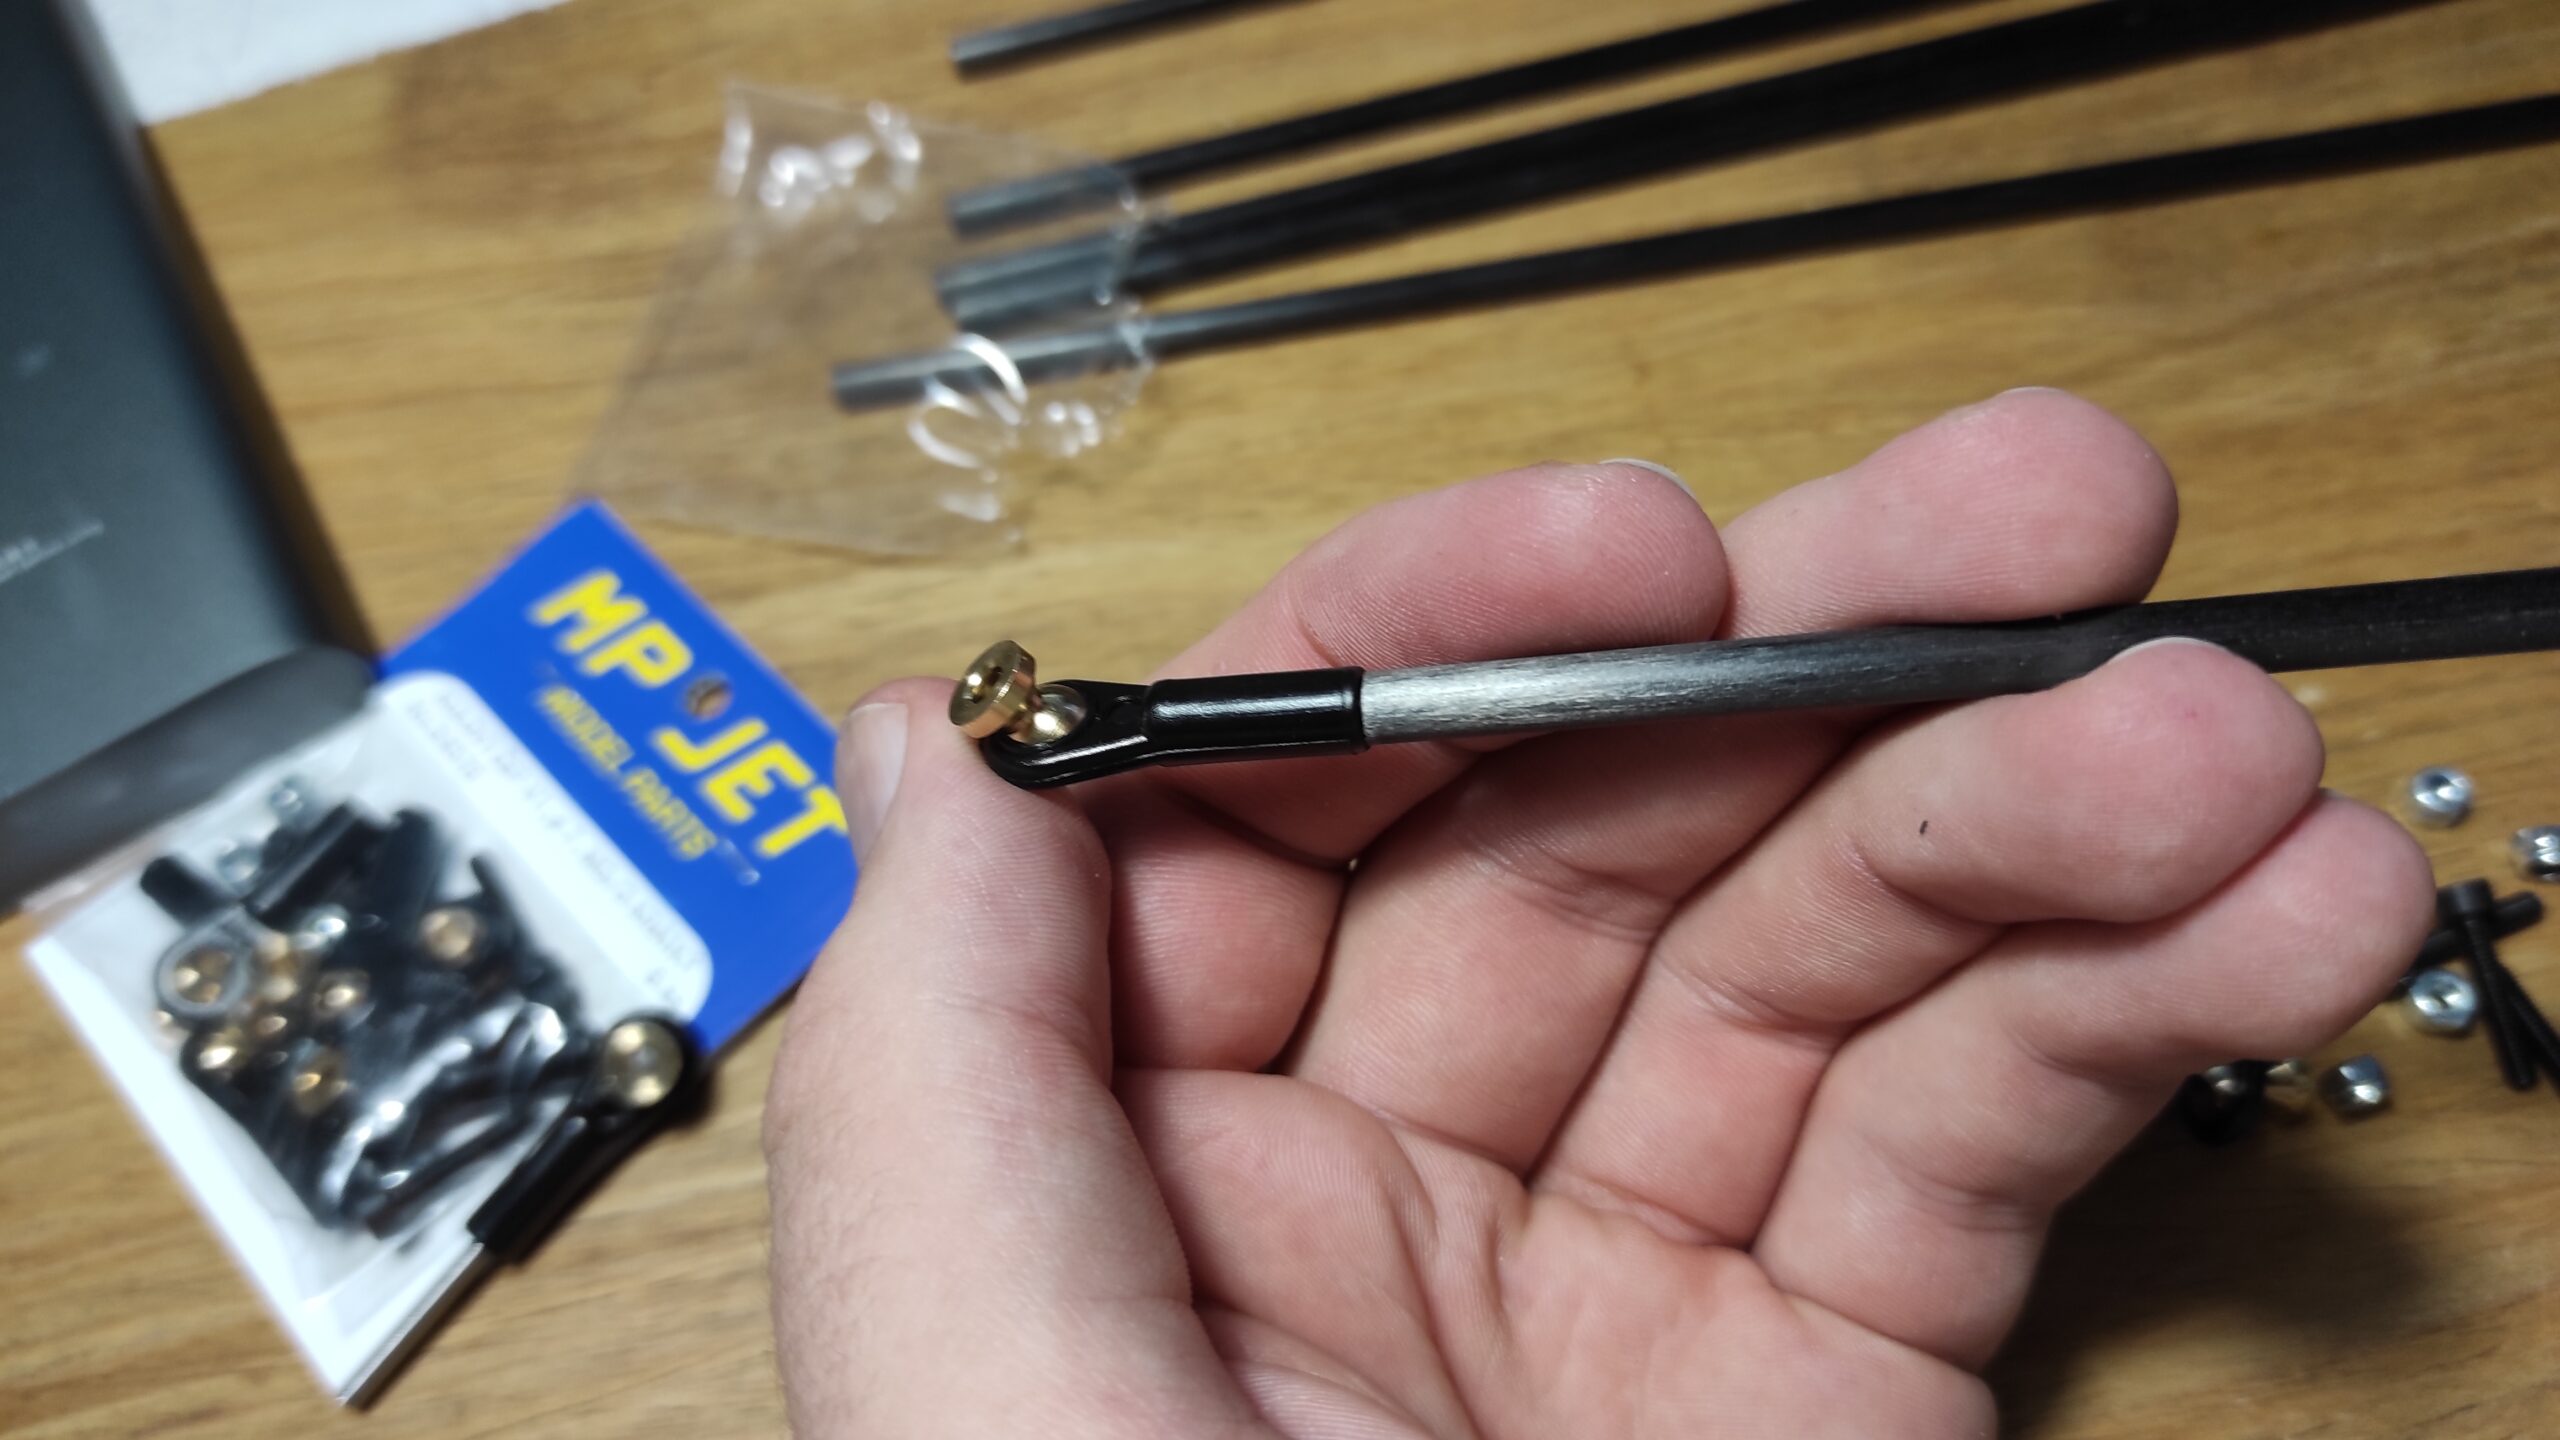
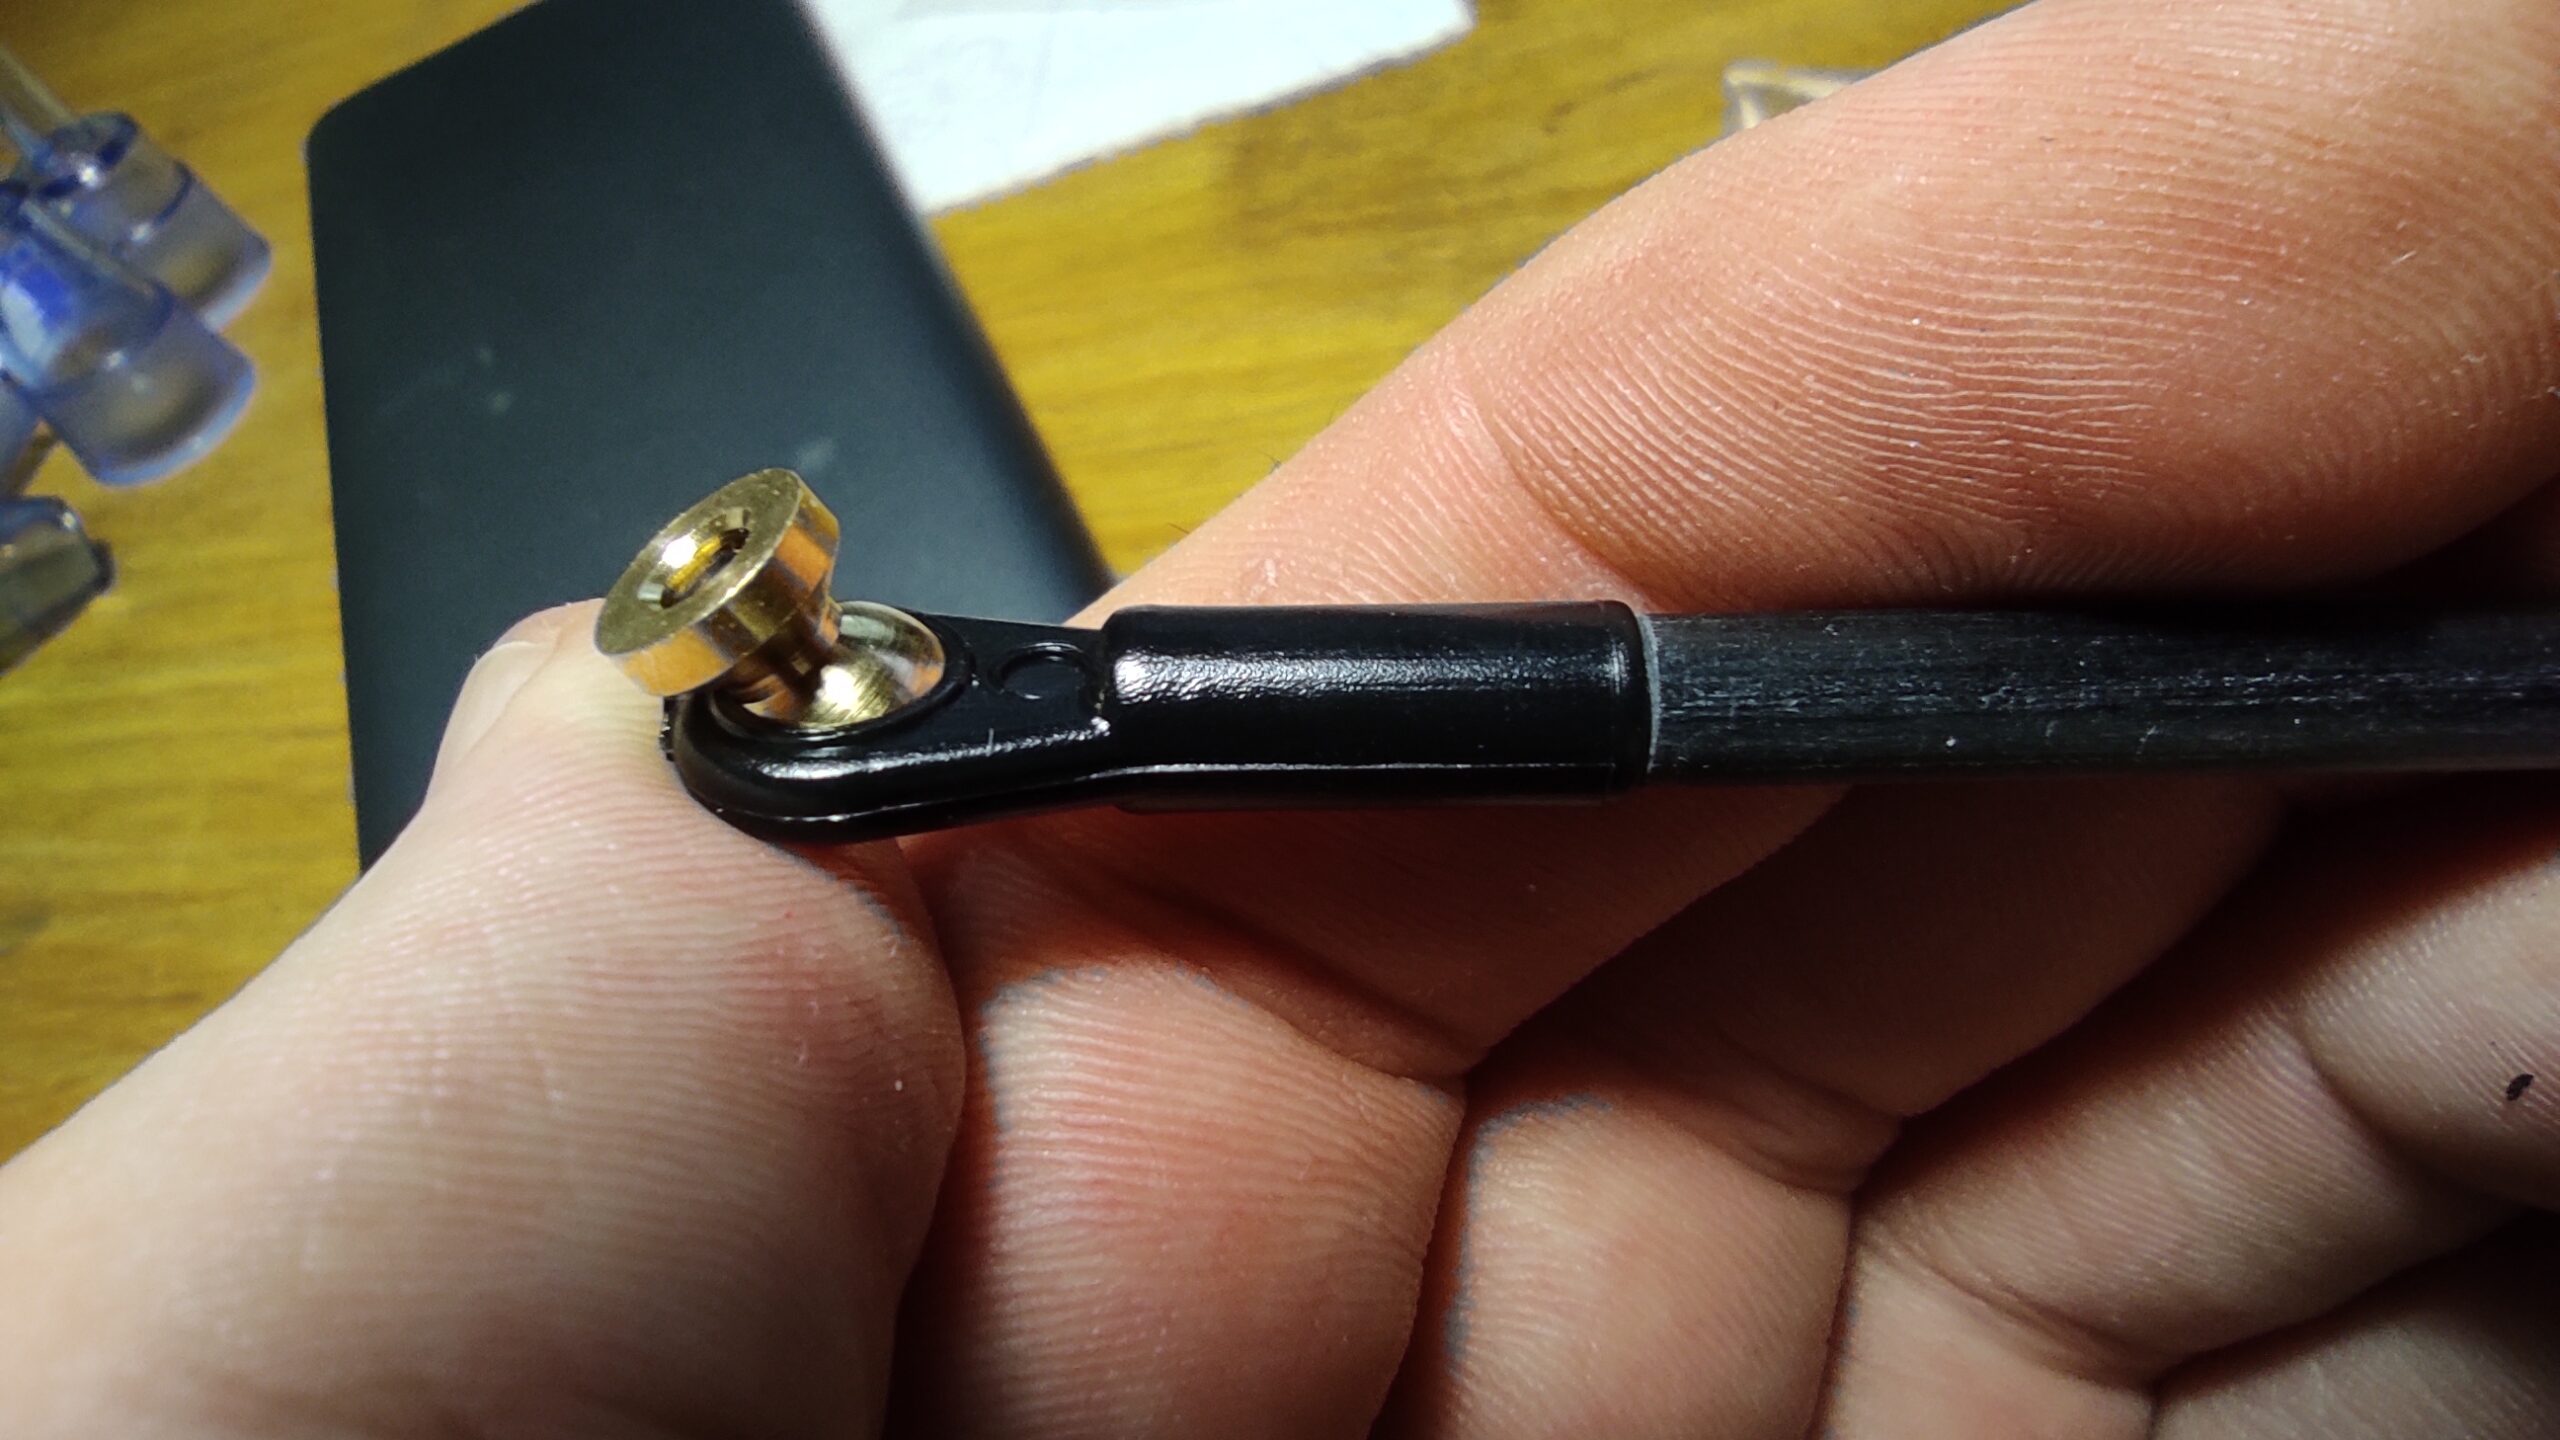
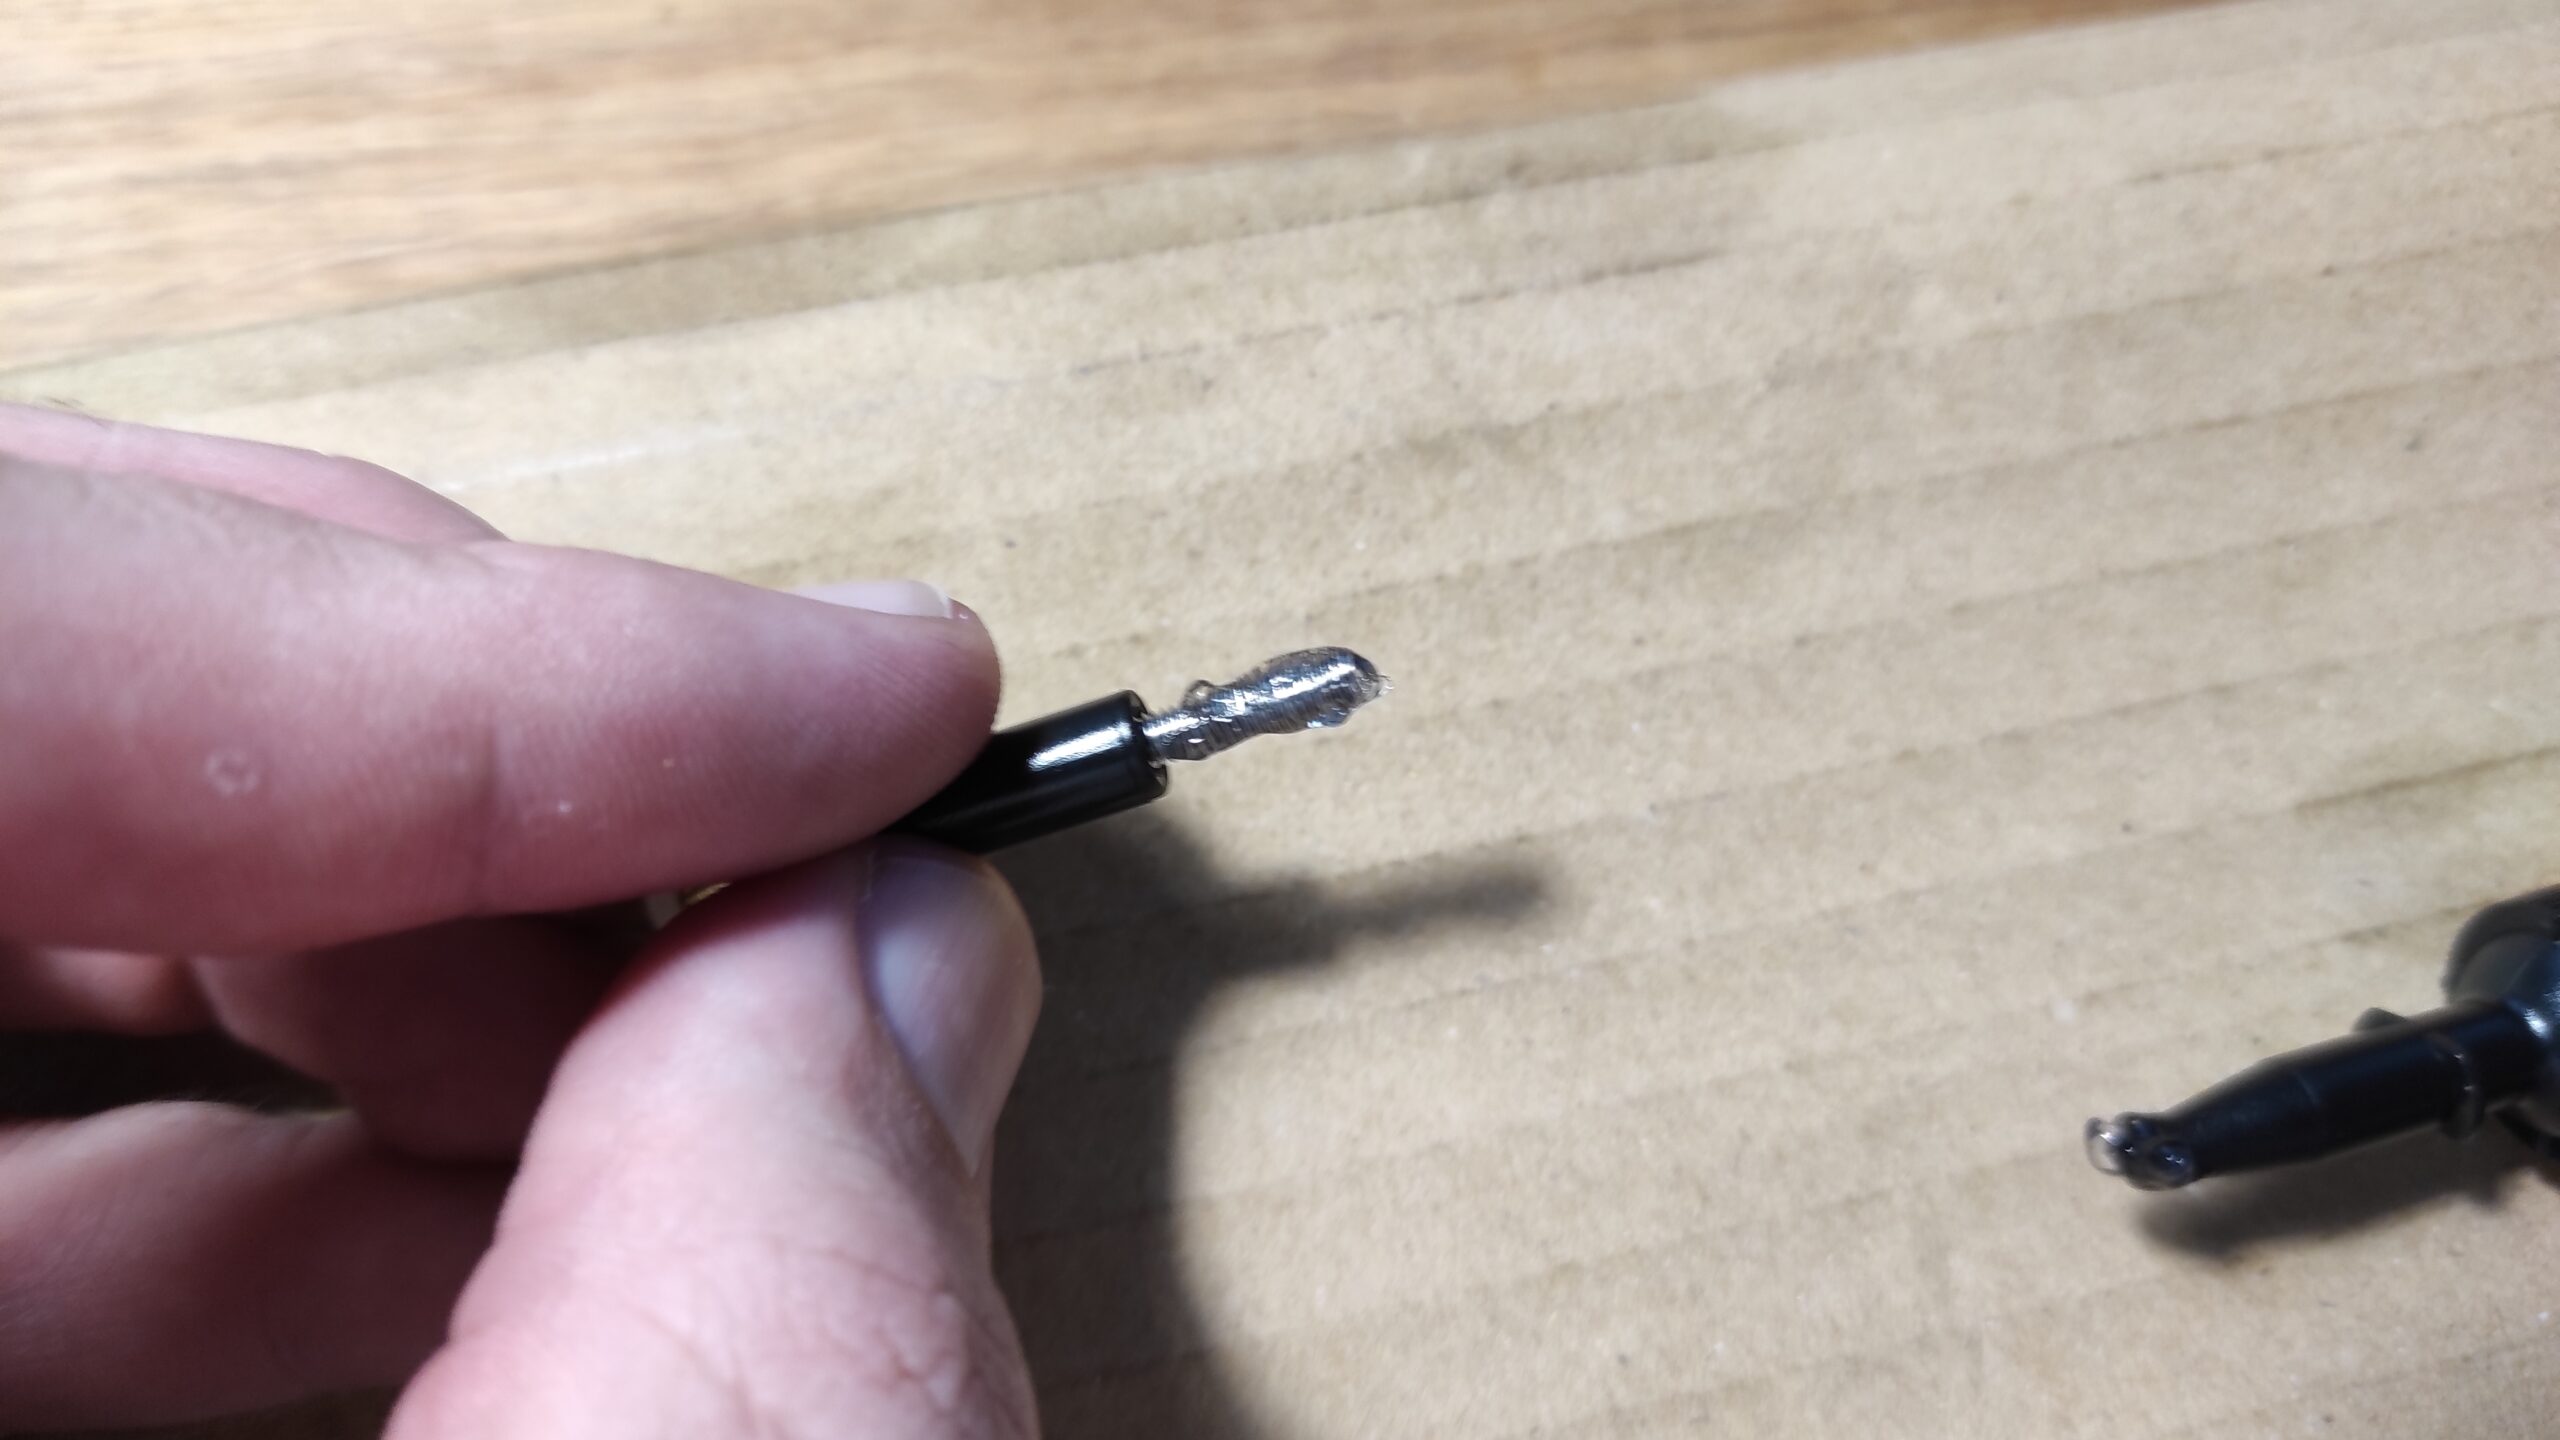
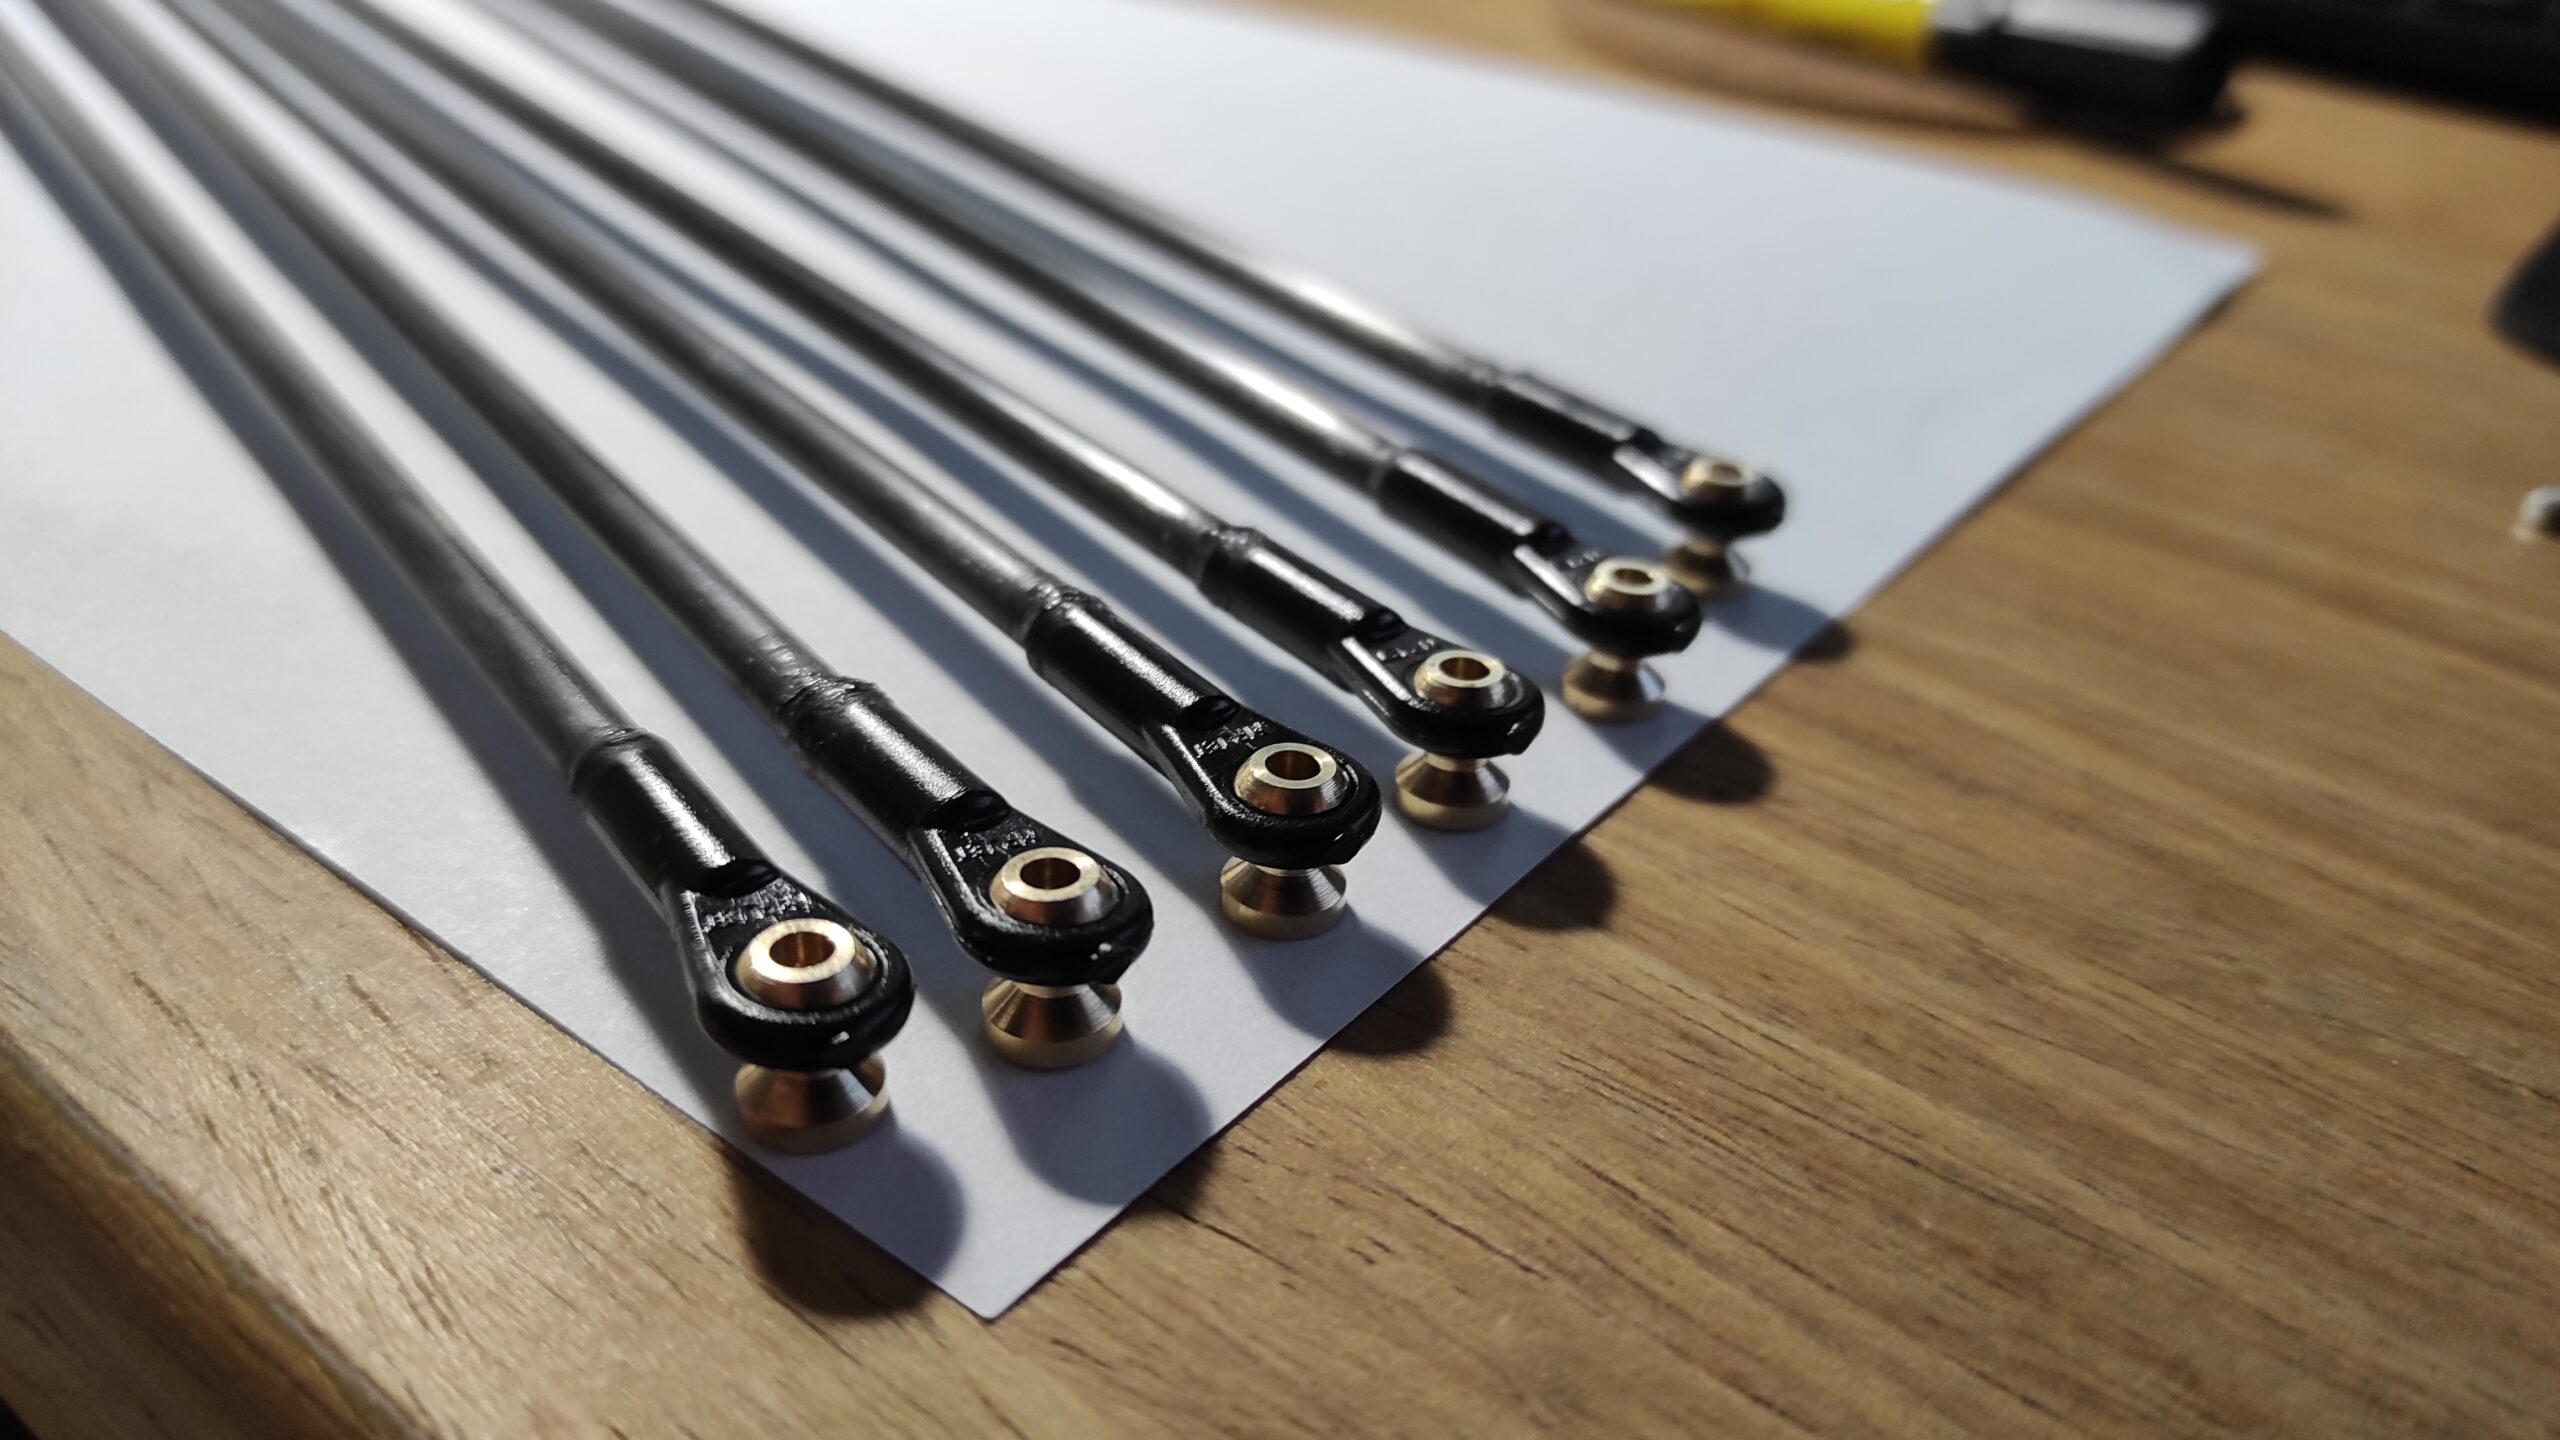
BALL LINK V1 TYPE, 7 MM DIA, M4/3 SHORT
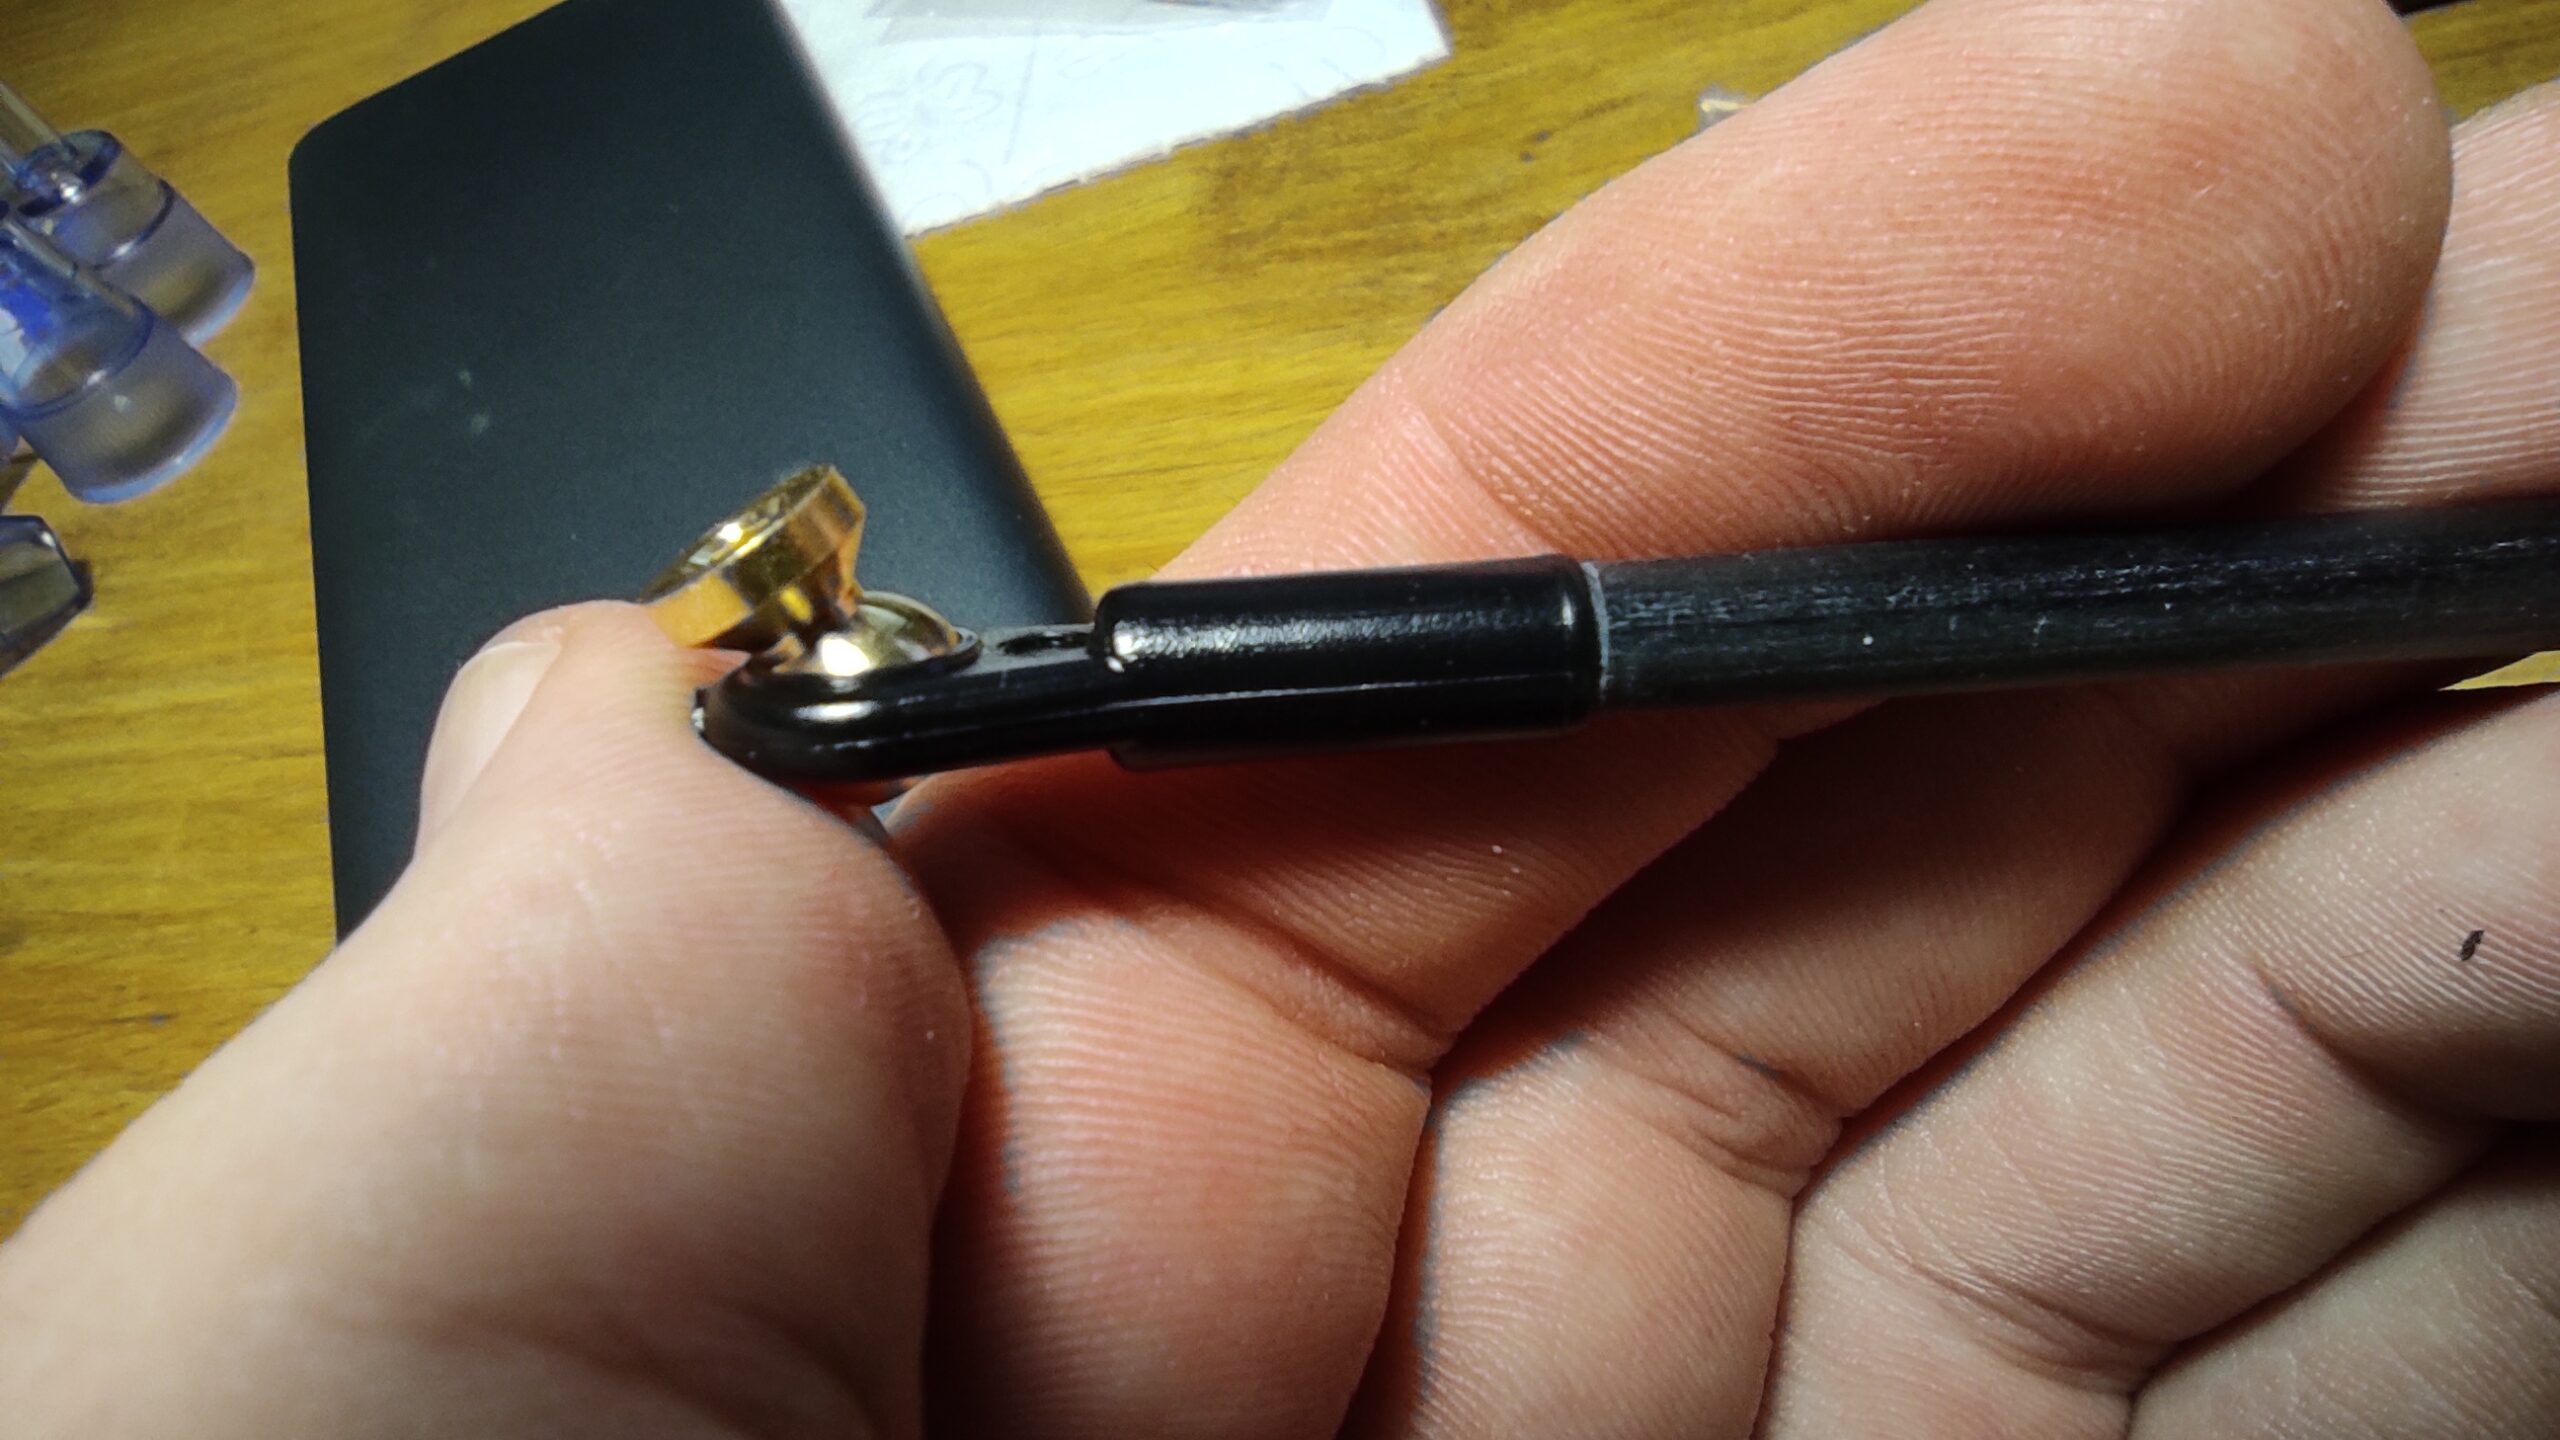
These lightweight joints help with ghosting and corner overshots. Please buy 2 packs - 2x 6 pcs. These joints have a 7 mm diameter hole for rods so there will be a 0.5 mm space for epoxy glue. You can get rid of the original brass spacers with these joints.
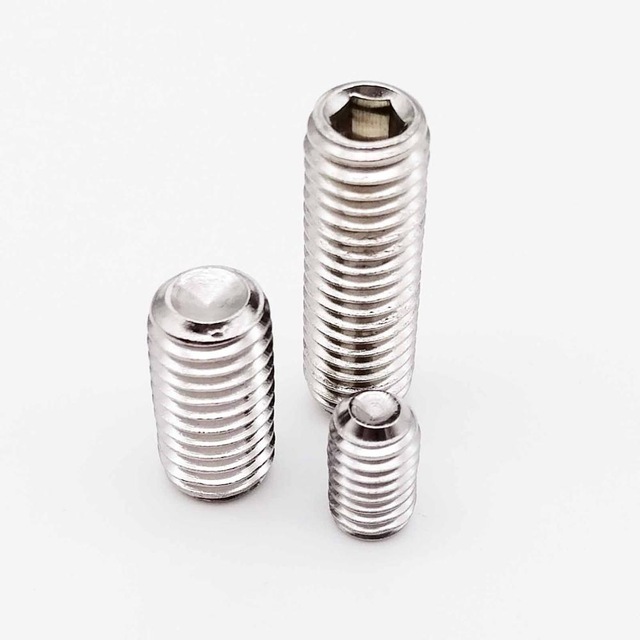
M4x20 set screw
Order this set of M4 set screws or get it at your local shop. You will need at least 12x M4x20 mm of them.
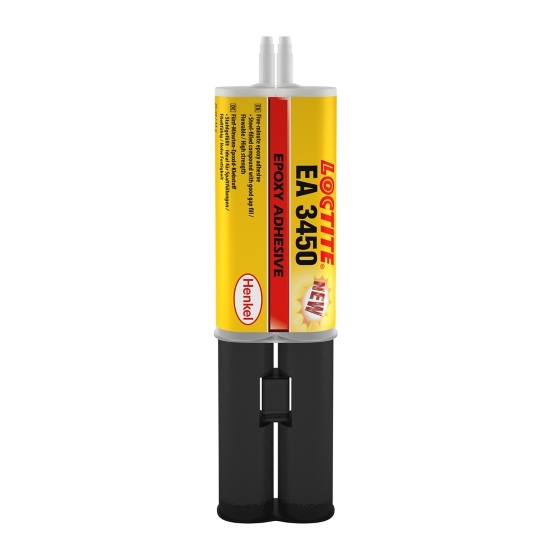
Loctite 3450 epoxy glue
Buy this or a similar epoxy glue in your country.
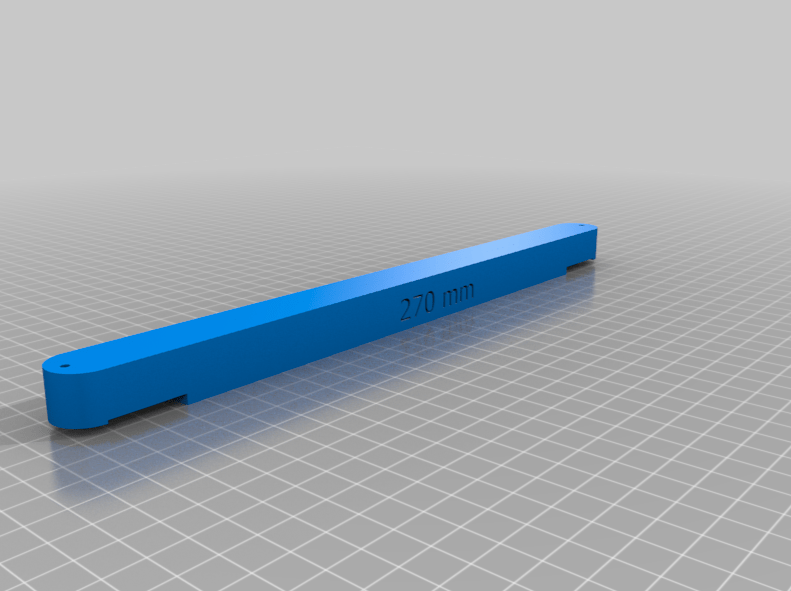
270 mm rod tool
Download these stl files for a rod tool (rod holder). It really helps with gluing the joints to the rods. This model was created by Robert Schmiedt, so you can thank him for his design.

Anycubic Kossel Marlin firmware
Why should I upgrade stock firmware? Anycubic Kossel Linear Plus Firmware Marlin 2.0 offers better performance and more options over the stock Anycubic Kossel FW.Delta calibration works much better then stock bed calibration.You can easily make changes in FW.Configuration files

Anycubic Kossel Klipper configuration
This article will guide you through Anycubic Kossel Klipper configuration. Follow the steps and create your own configuration.Klipper uses printer.cfg configuration file which is something similar to Marlin configuration and configuration_adv files.This file can be easily modified with text editors,

Anycubic Kossel Delta Calibration (Marlin FW)
Correct Kossel calibration is crucial for succesful 3D printing.Printed parts tend to bend or even do not stick to the build plate without it. More about this Marlin G33 command:https://marlinfw.org/docs/gcode/G033.html 1. Check if your FW uses calibration A common mistake
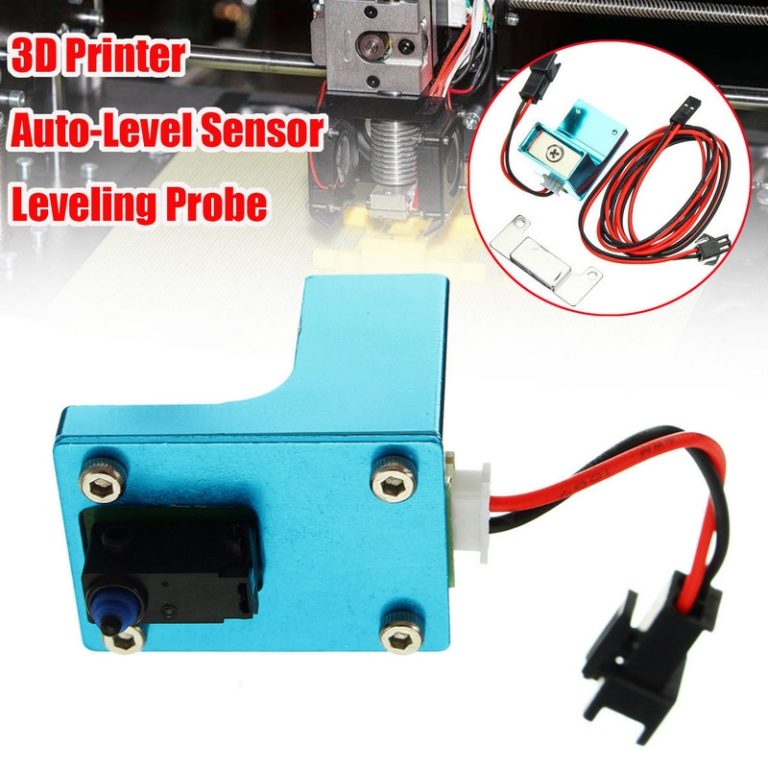
Anycubic Kossel Klipper delta calibration
After flashing Klipper, it is necessary to perform a delta calibration.Delta calibration will probe multiple points on bed and calculate rod length, tower angle, z height and other delta variables. 1. Attach and connect Z probe 2. Open OctoPrint Open

Anycubic Kossel Klipper Enhanced Delta Calibration
After a succesful delta calibration it is time to do an enhanced delta calibration.This calibration solves problems with XY dimension problems such as a 19 mm Y side instead of 20 mm. More about Klipper delta calibration 1. Download and


Hello fitted the mpjet rose joints to my kossel and they are awfully tight i applied silicone oil even tried silicone grease to no avail.
Any suggestions greatly appreciated.
Hi.
These joints are stiff, but there should not be much friction.
Although… they do not move as freely as original joints and that can be confusion for someone.
A good thing is that rods help with torque – they are used as a lever.
These joints are used by hundreds of Kossel owners, so do not be afraid.
Btw… try a lithium grease.
I must have a bad batch then as these have gone incredibly stiff after about 4 hours of printing.
Will give lithium a go thank you for the advice.
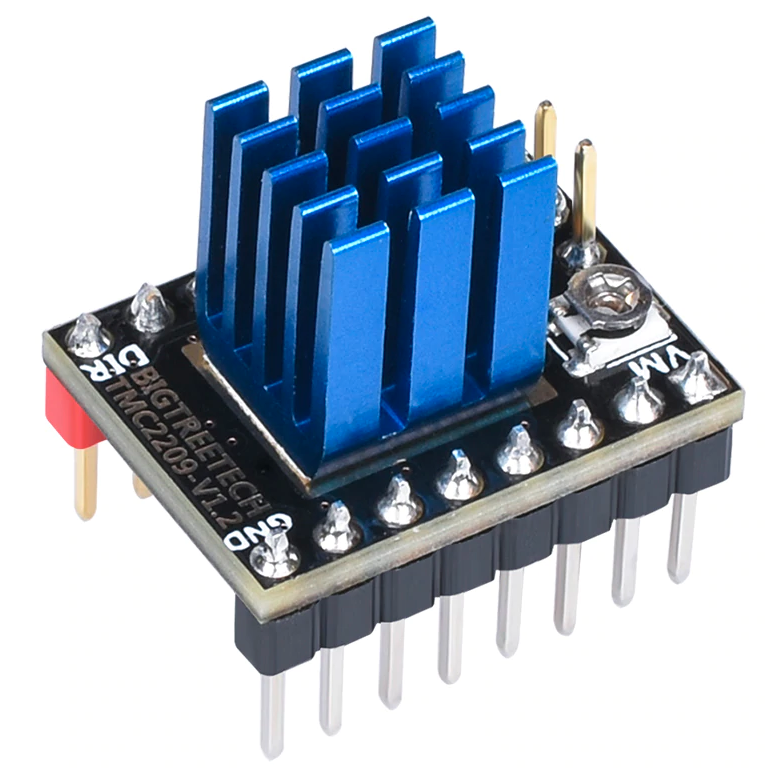
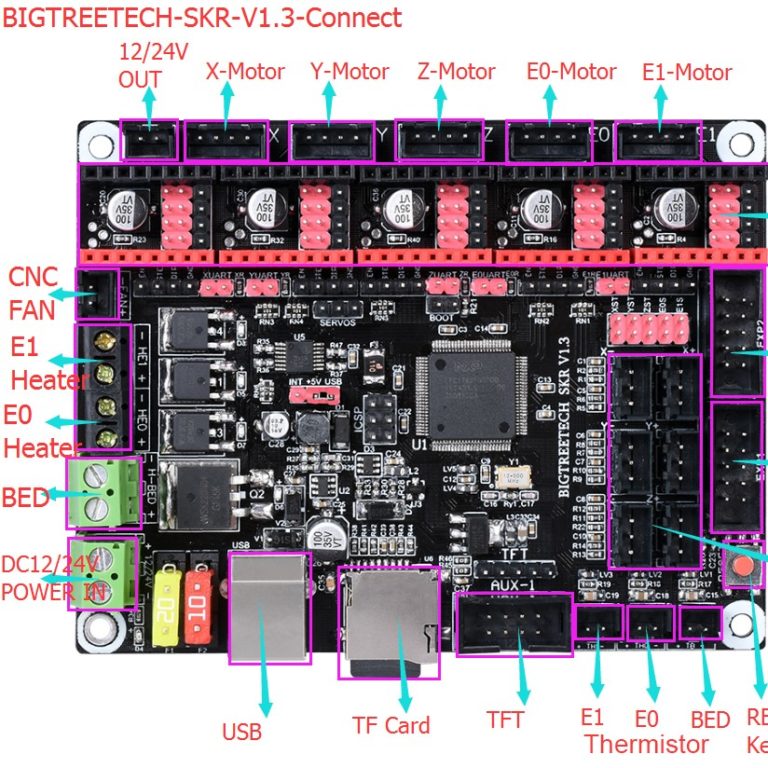
Also any advice on vref for the drivers im running 2208’s on the trigorilla currently at 0.750v?
Also thank you for all the work you’ve put in, your firmware was the only one to get my anycubic kossel linear plus working.
Hi, thank you.
Try that grease.
I run X, Y, Z motors at 0.9A and E at 0.85A.
Stock TMC2209 setting is 0.9A.
I cannot tell you the V ref, because I use UART for these settings.
But it should be easily googleable.
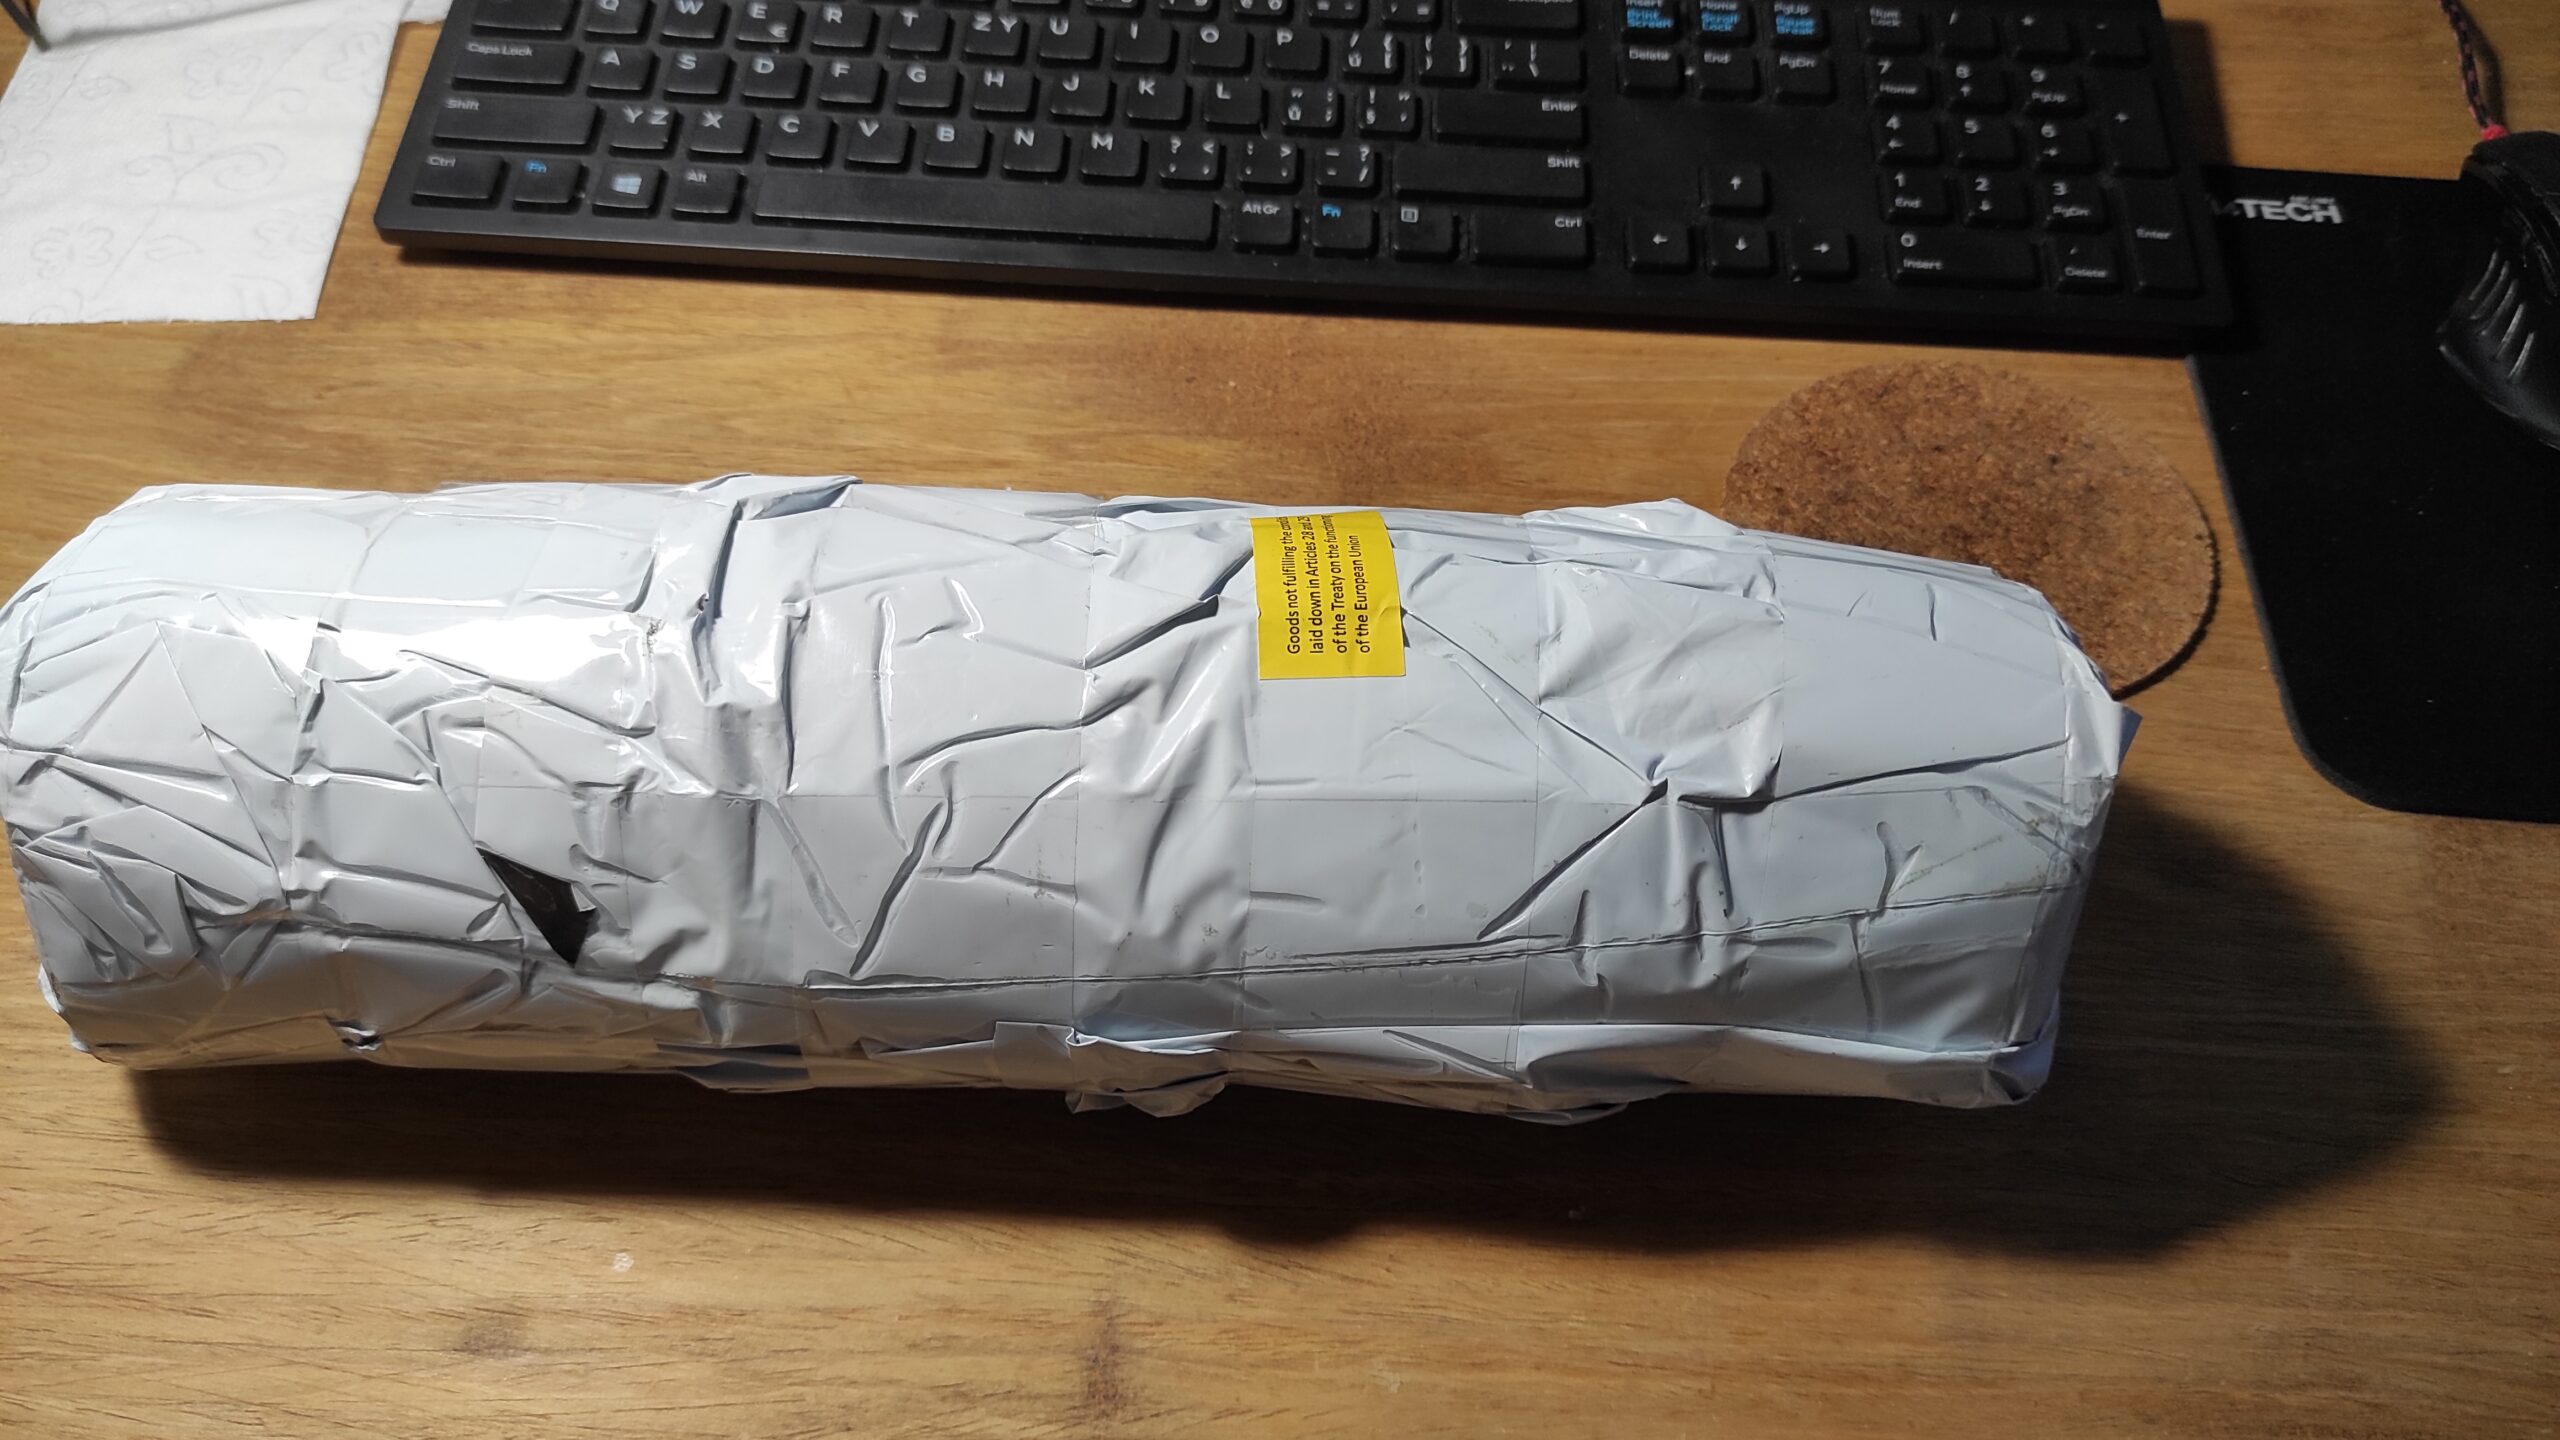
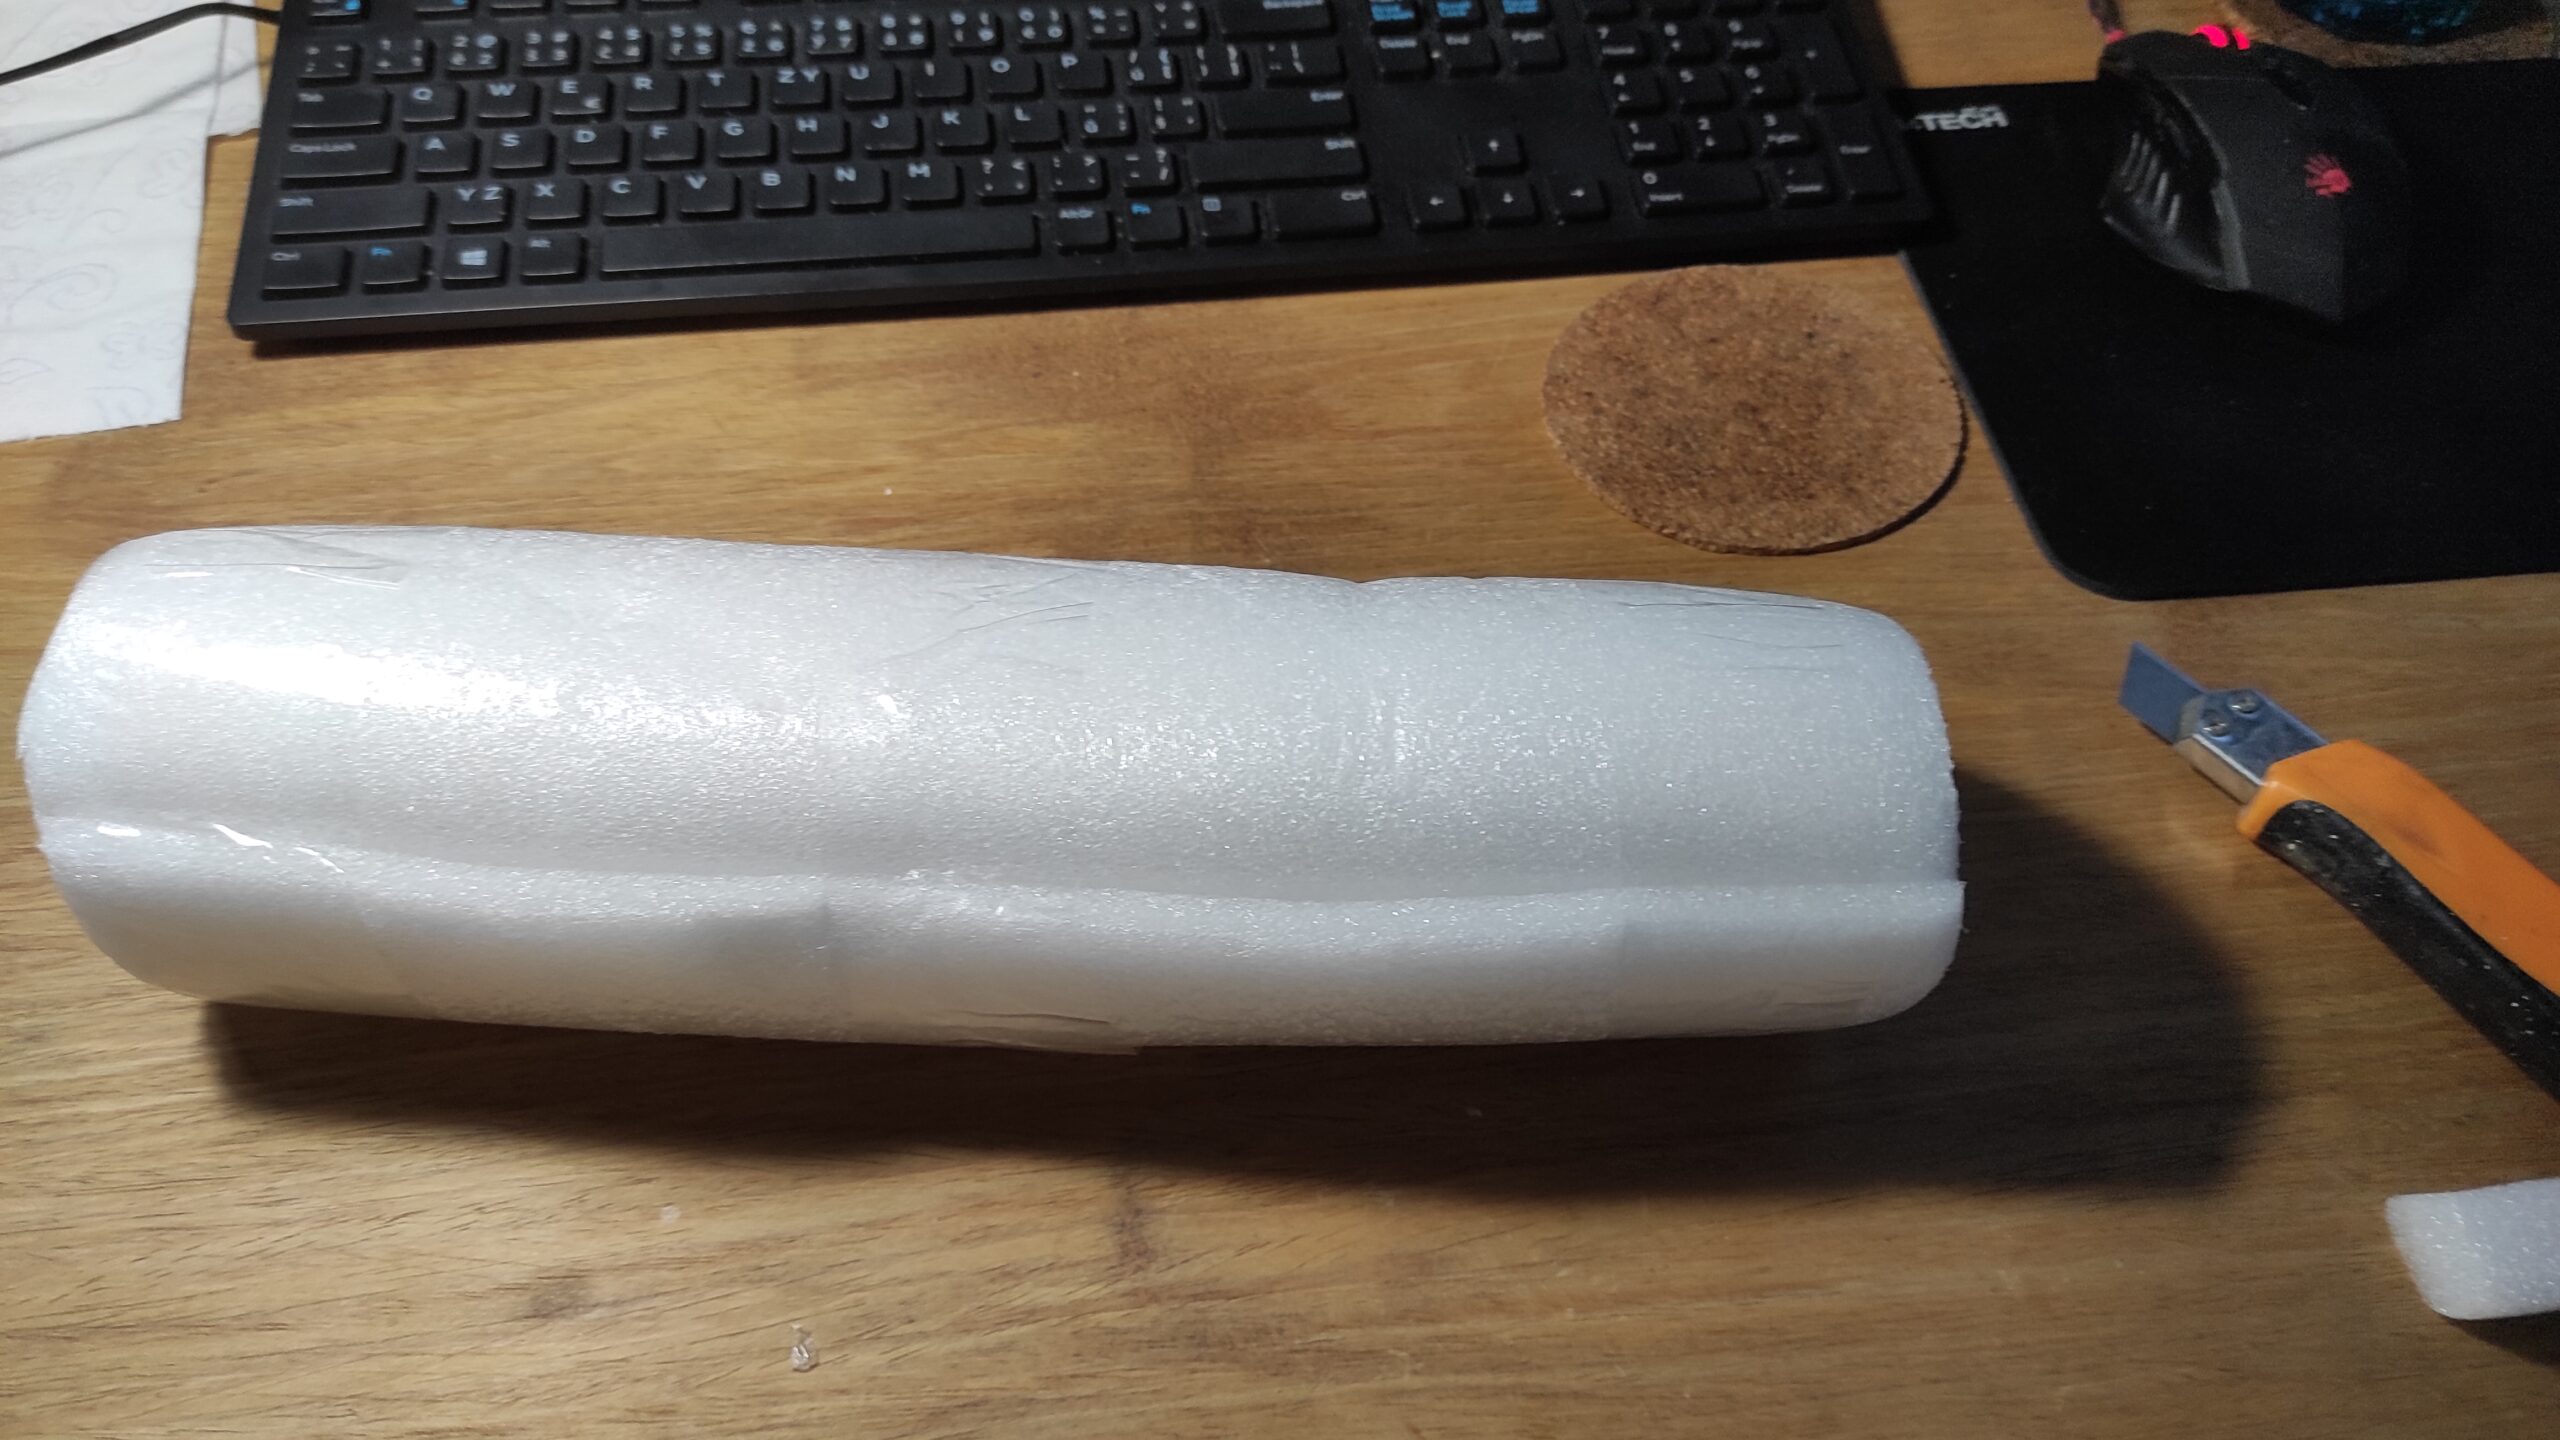
Hi there,
today the new carbon rods arrived.
The lengths of the rods are a bit different. Maybe 1mm or so. Is it bad ?
greetings
Hi, read step 3.
Hello
One question. In your description you say to order the m4x20 screws. But in the picture on the bag it says M3x20. I ordered the M4 but i cant get it in the joint without forcing it…… Are you sure M4 screws are the right ones or do i need the M3??
Hi, those set screws shoul cut a thread in the plastic part of the joint.
You need M4 set screws for this combination:
BALL LINK V1 TYPE, 7 MM DIA, M4/3 SHORT
Carbon rod OD 6 ID 4 240
Ok worked out after all. Had to use a little bit of force to screw them in, but all is fine now.
Thanks
I am glad to hear that.
What is your recommended method for cutting the rods to length?
Coping saw? Hacksaw?
Hi, I did not cut them.
But I would use a hacksaw for metal, it has tiny teeth.
Another solution would be using a dremel and some cutting accesories.
Any reason you didn`t go for mag ball upgrade?
Weight, speed limitations.
Using magnets which are really heavy and usually do not have enough force to hold together in high acceleration movements is not such a great idea…
Just collected all the necessary parts. Please, edit your post about the rod jig. If you don`t want to cut the rods, it`s totally useless…
Hi, I have added information to that part.
I thought that the information about cutting or not cutting the rods about 4cm lower on the page was enough…..
But!
The problem with not cutting them is that you will loose some of the printable height.