Correct bed calibration is a crucial step to successful printing.
Without proper leveling you can damage your bed surface and nozzle or you will start printing in the air.
This method is called “paper method”.
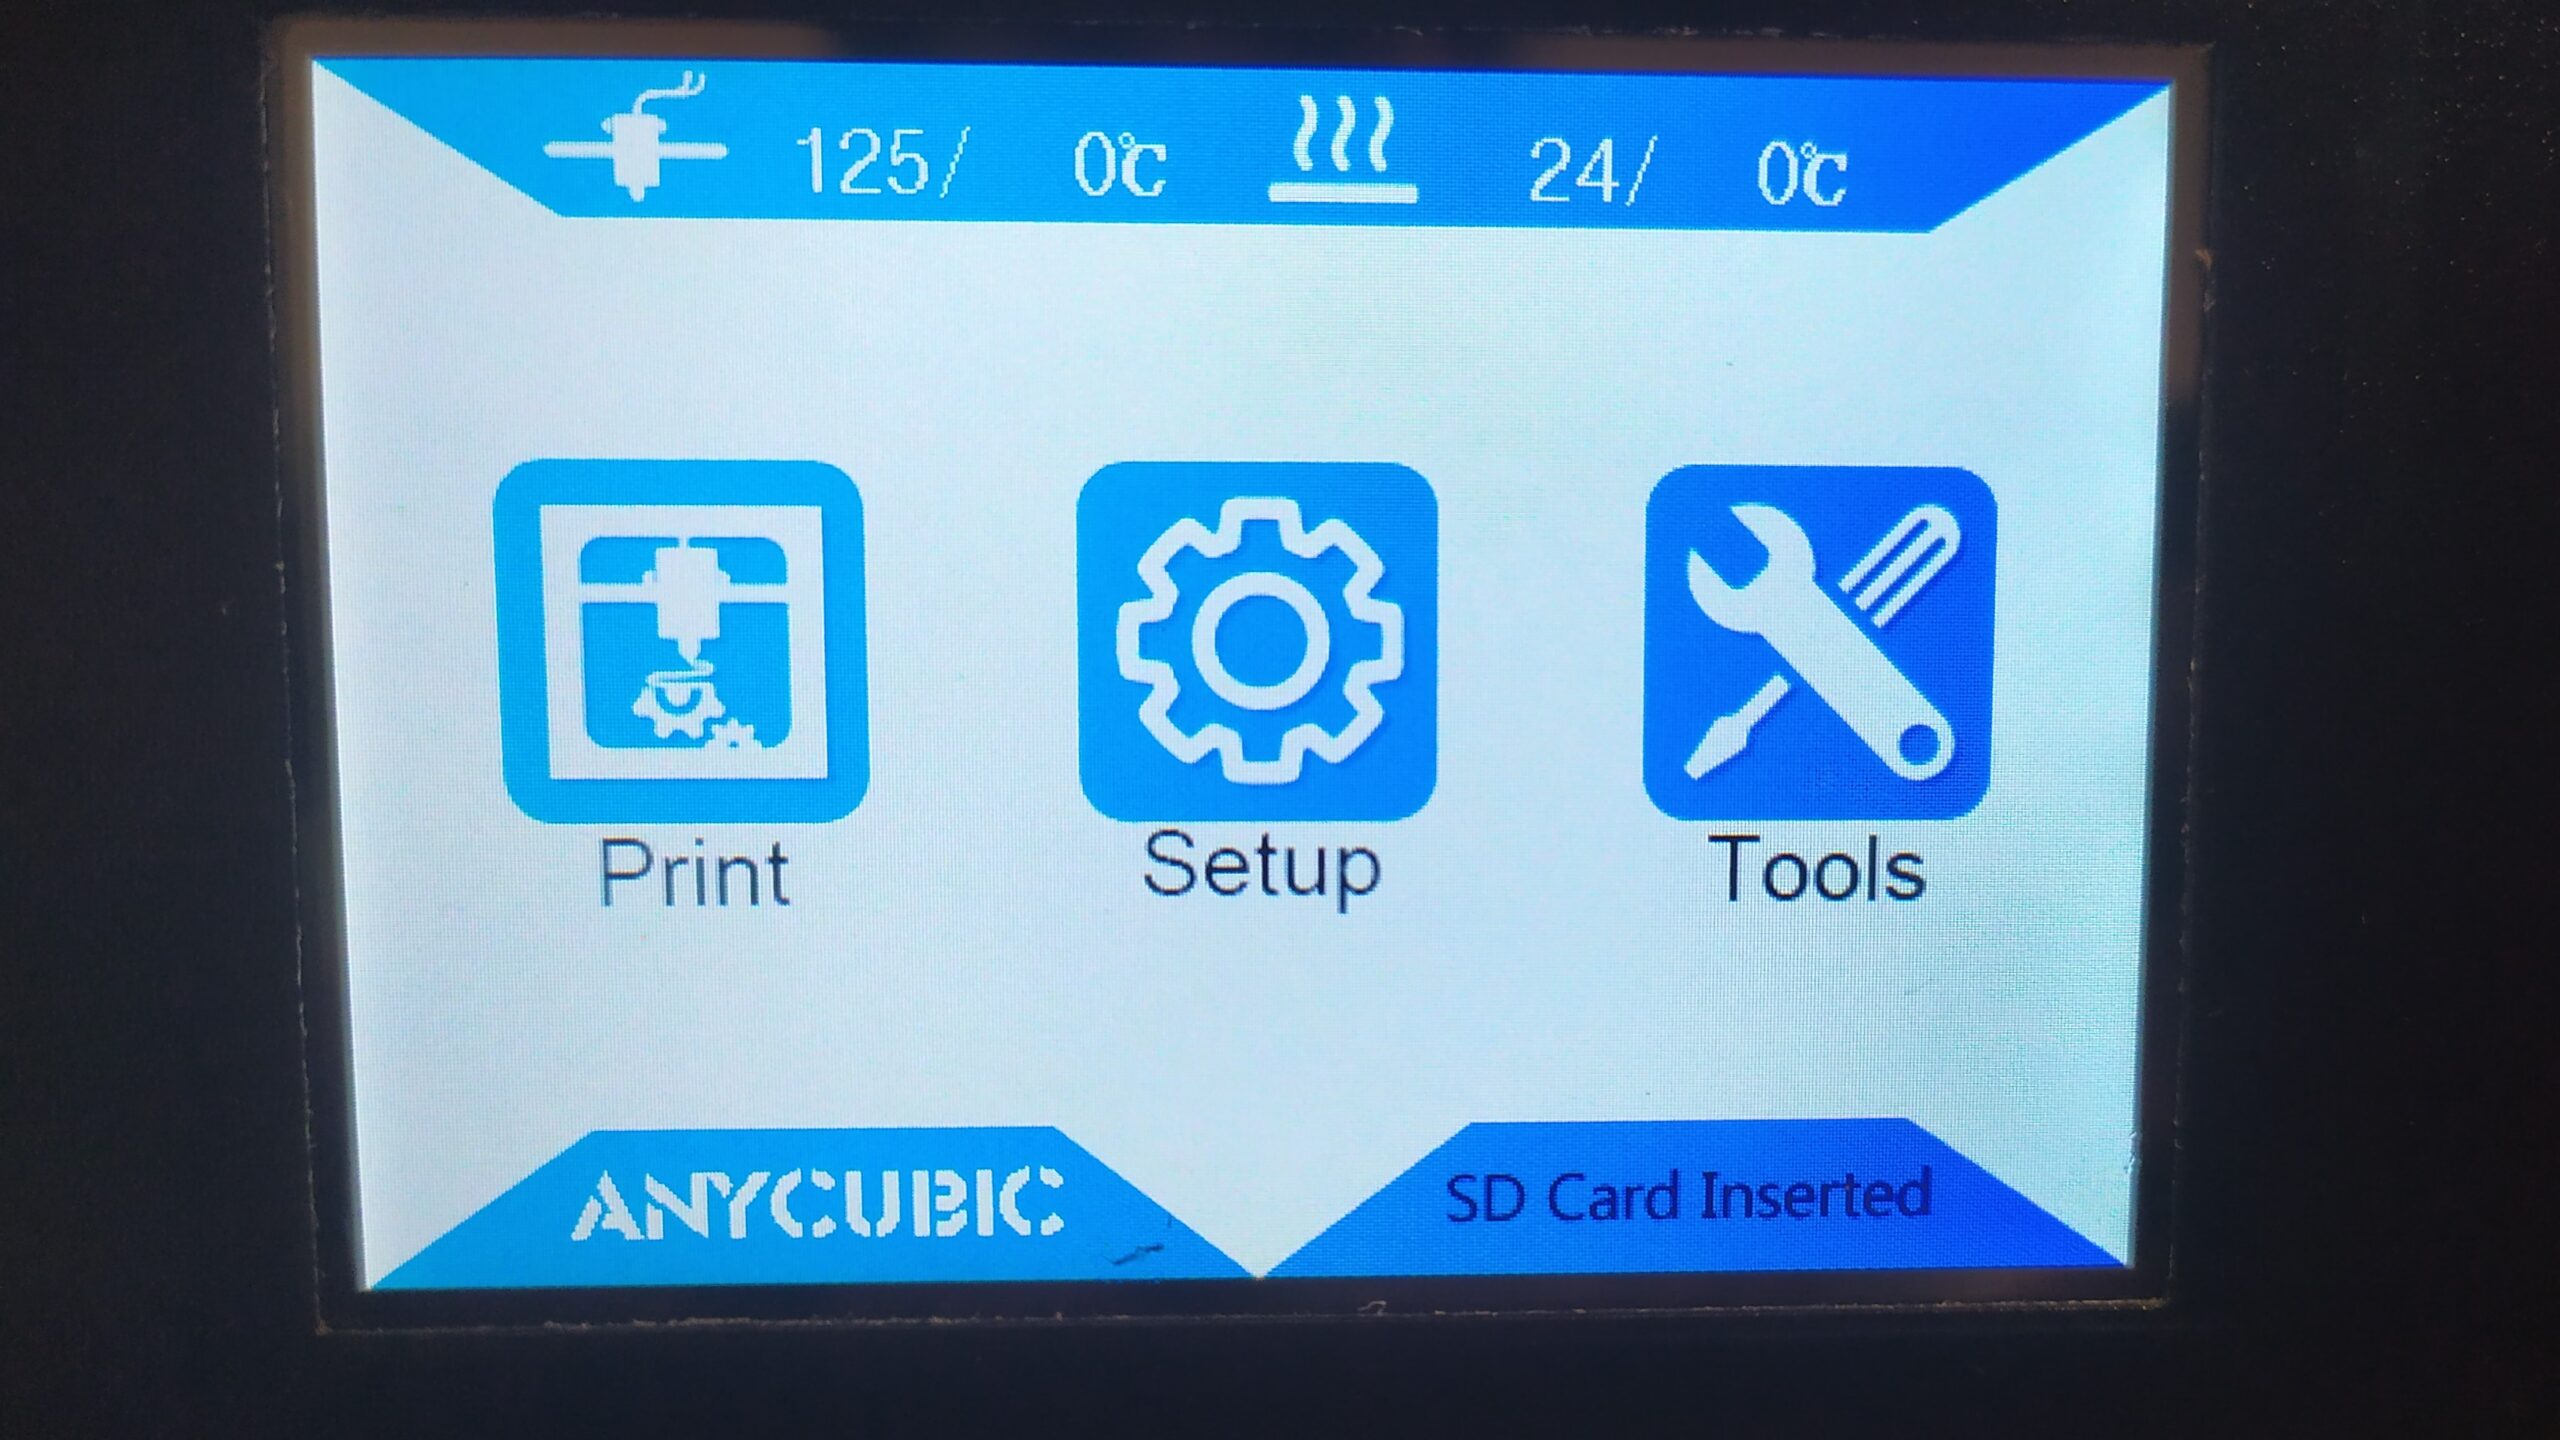
Click on Tools
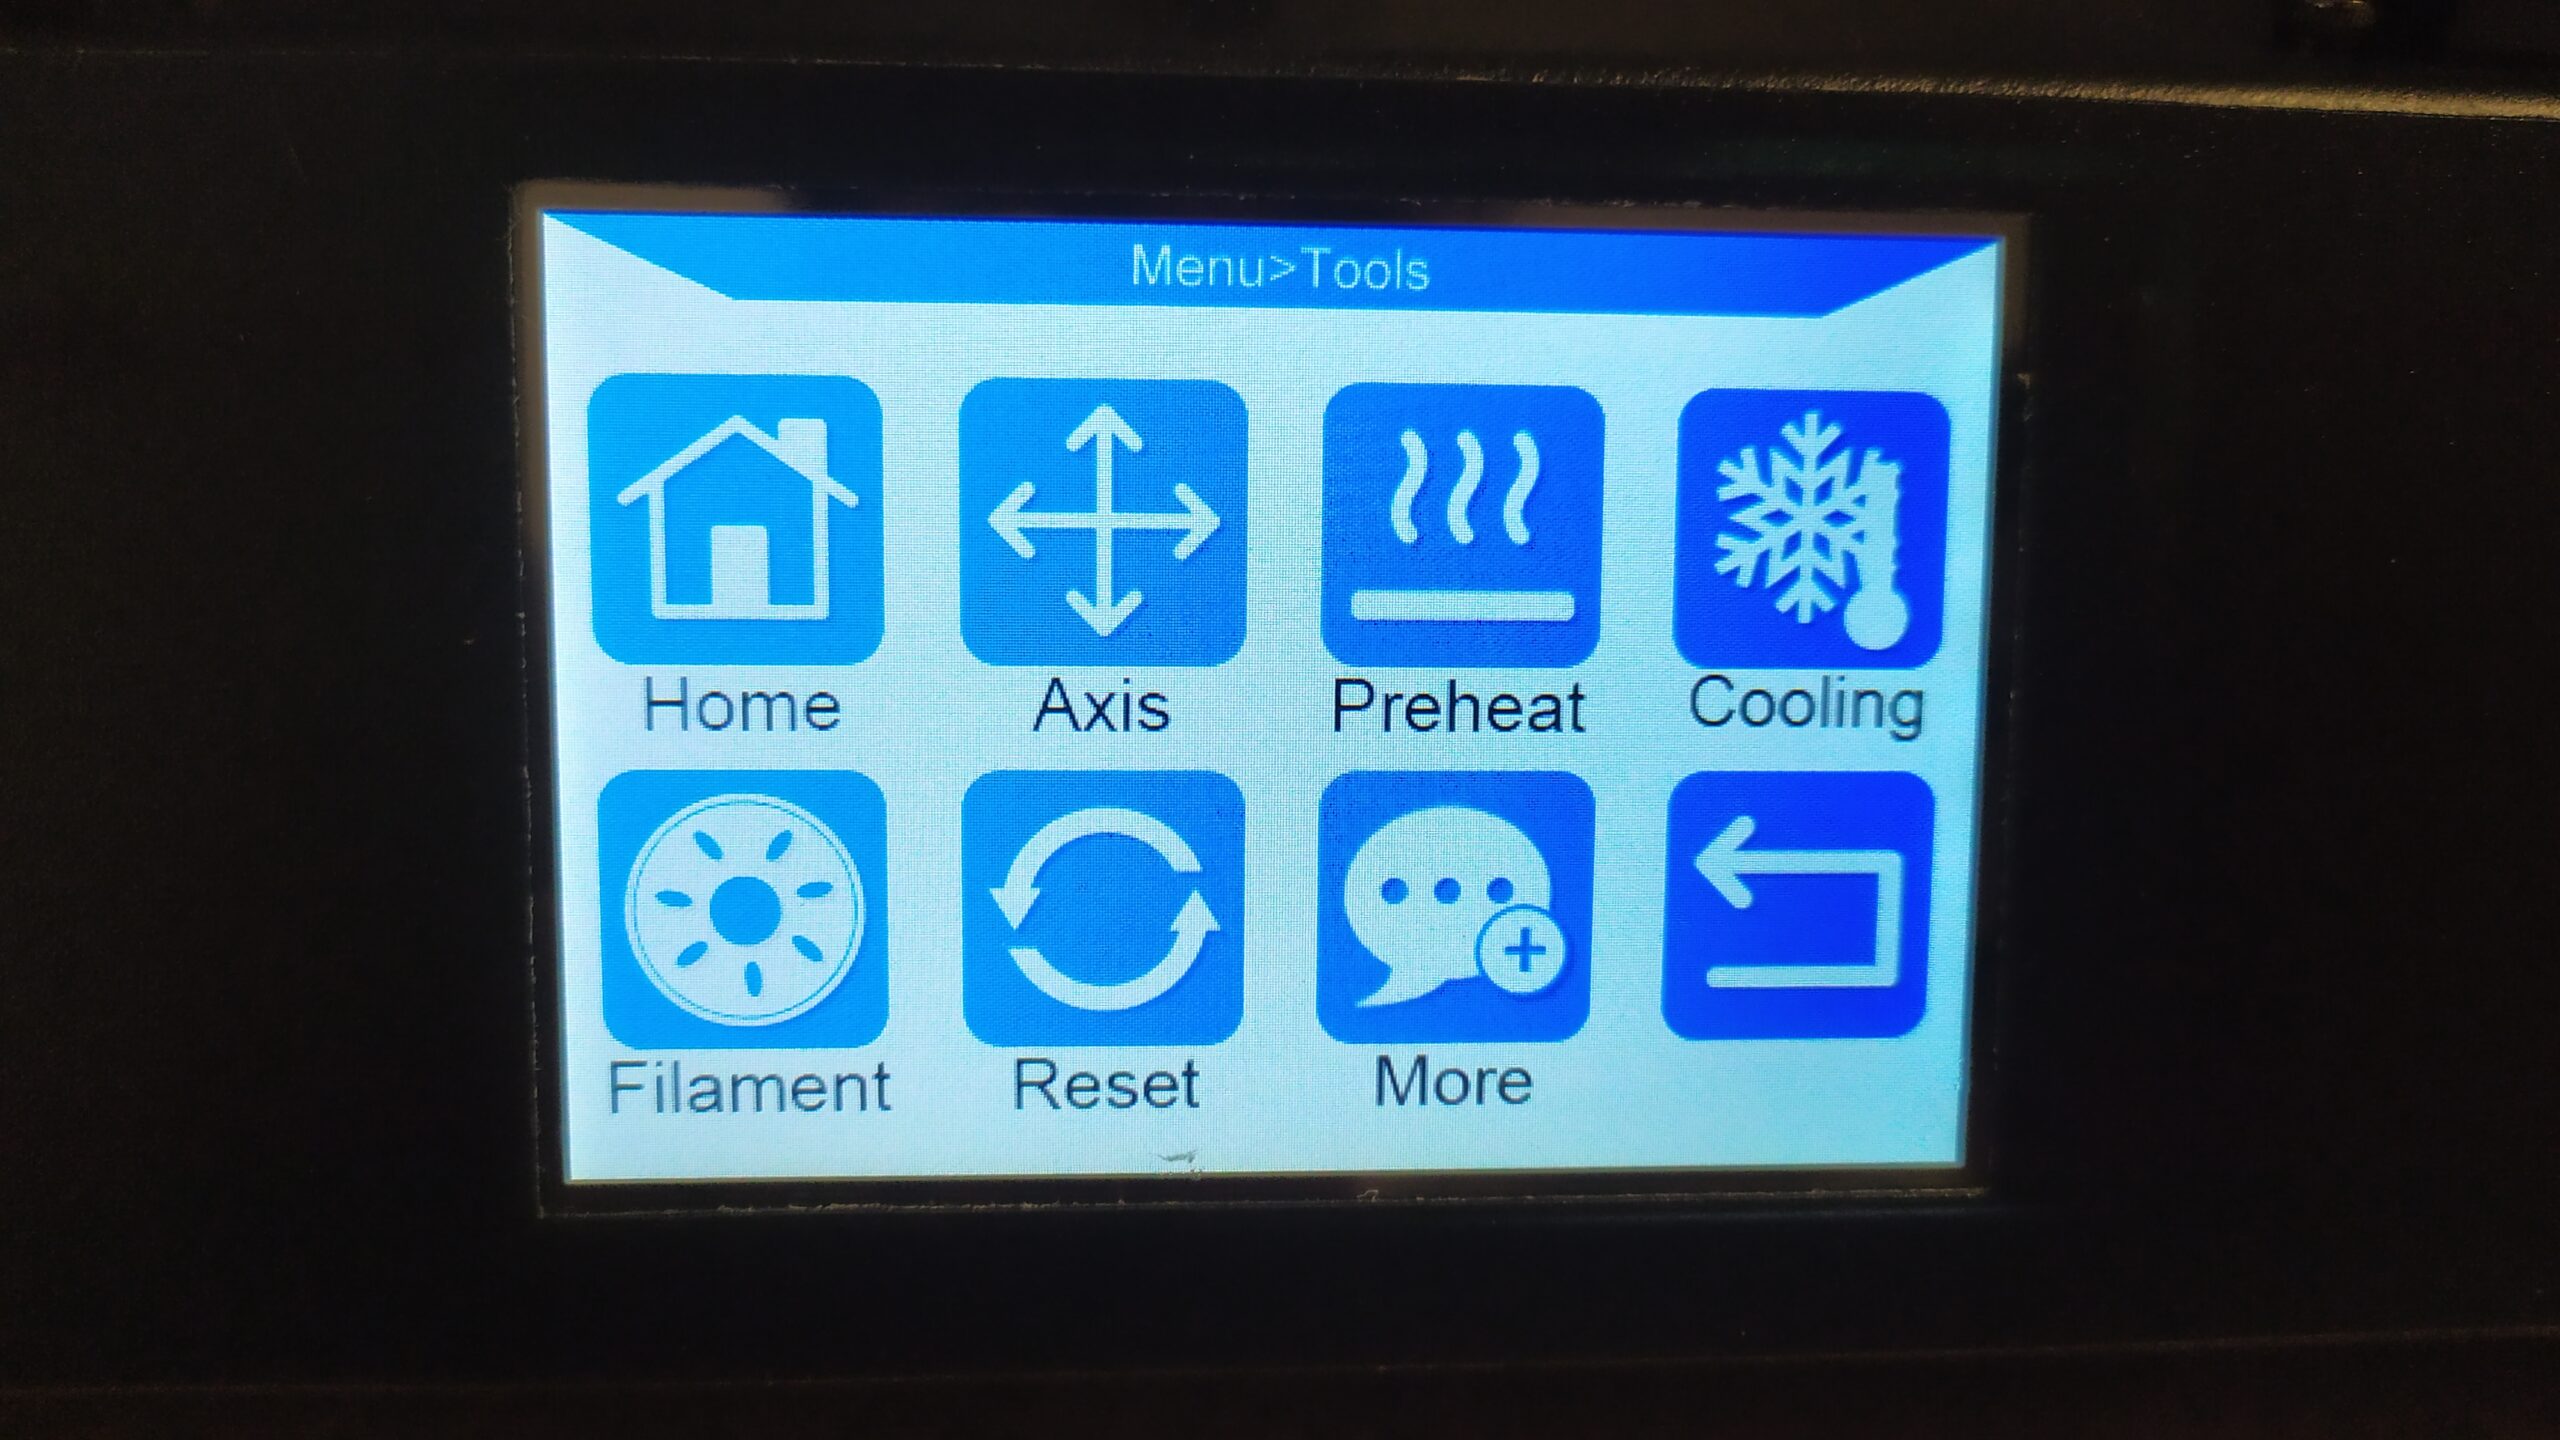
Click on Home
Click on Home All
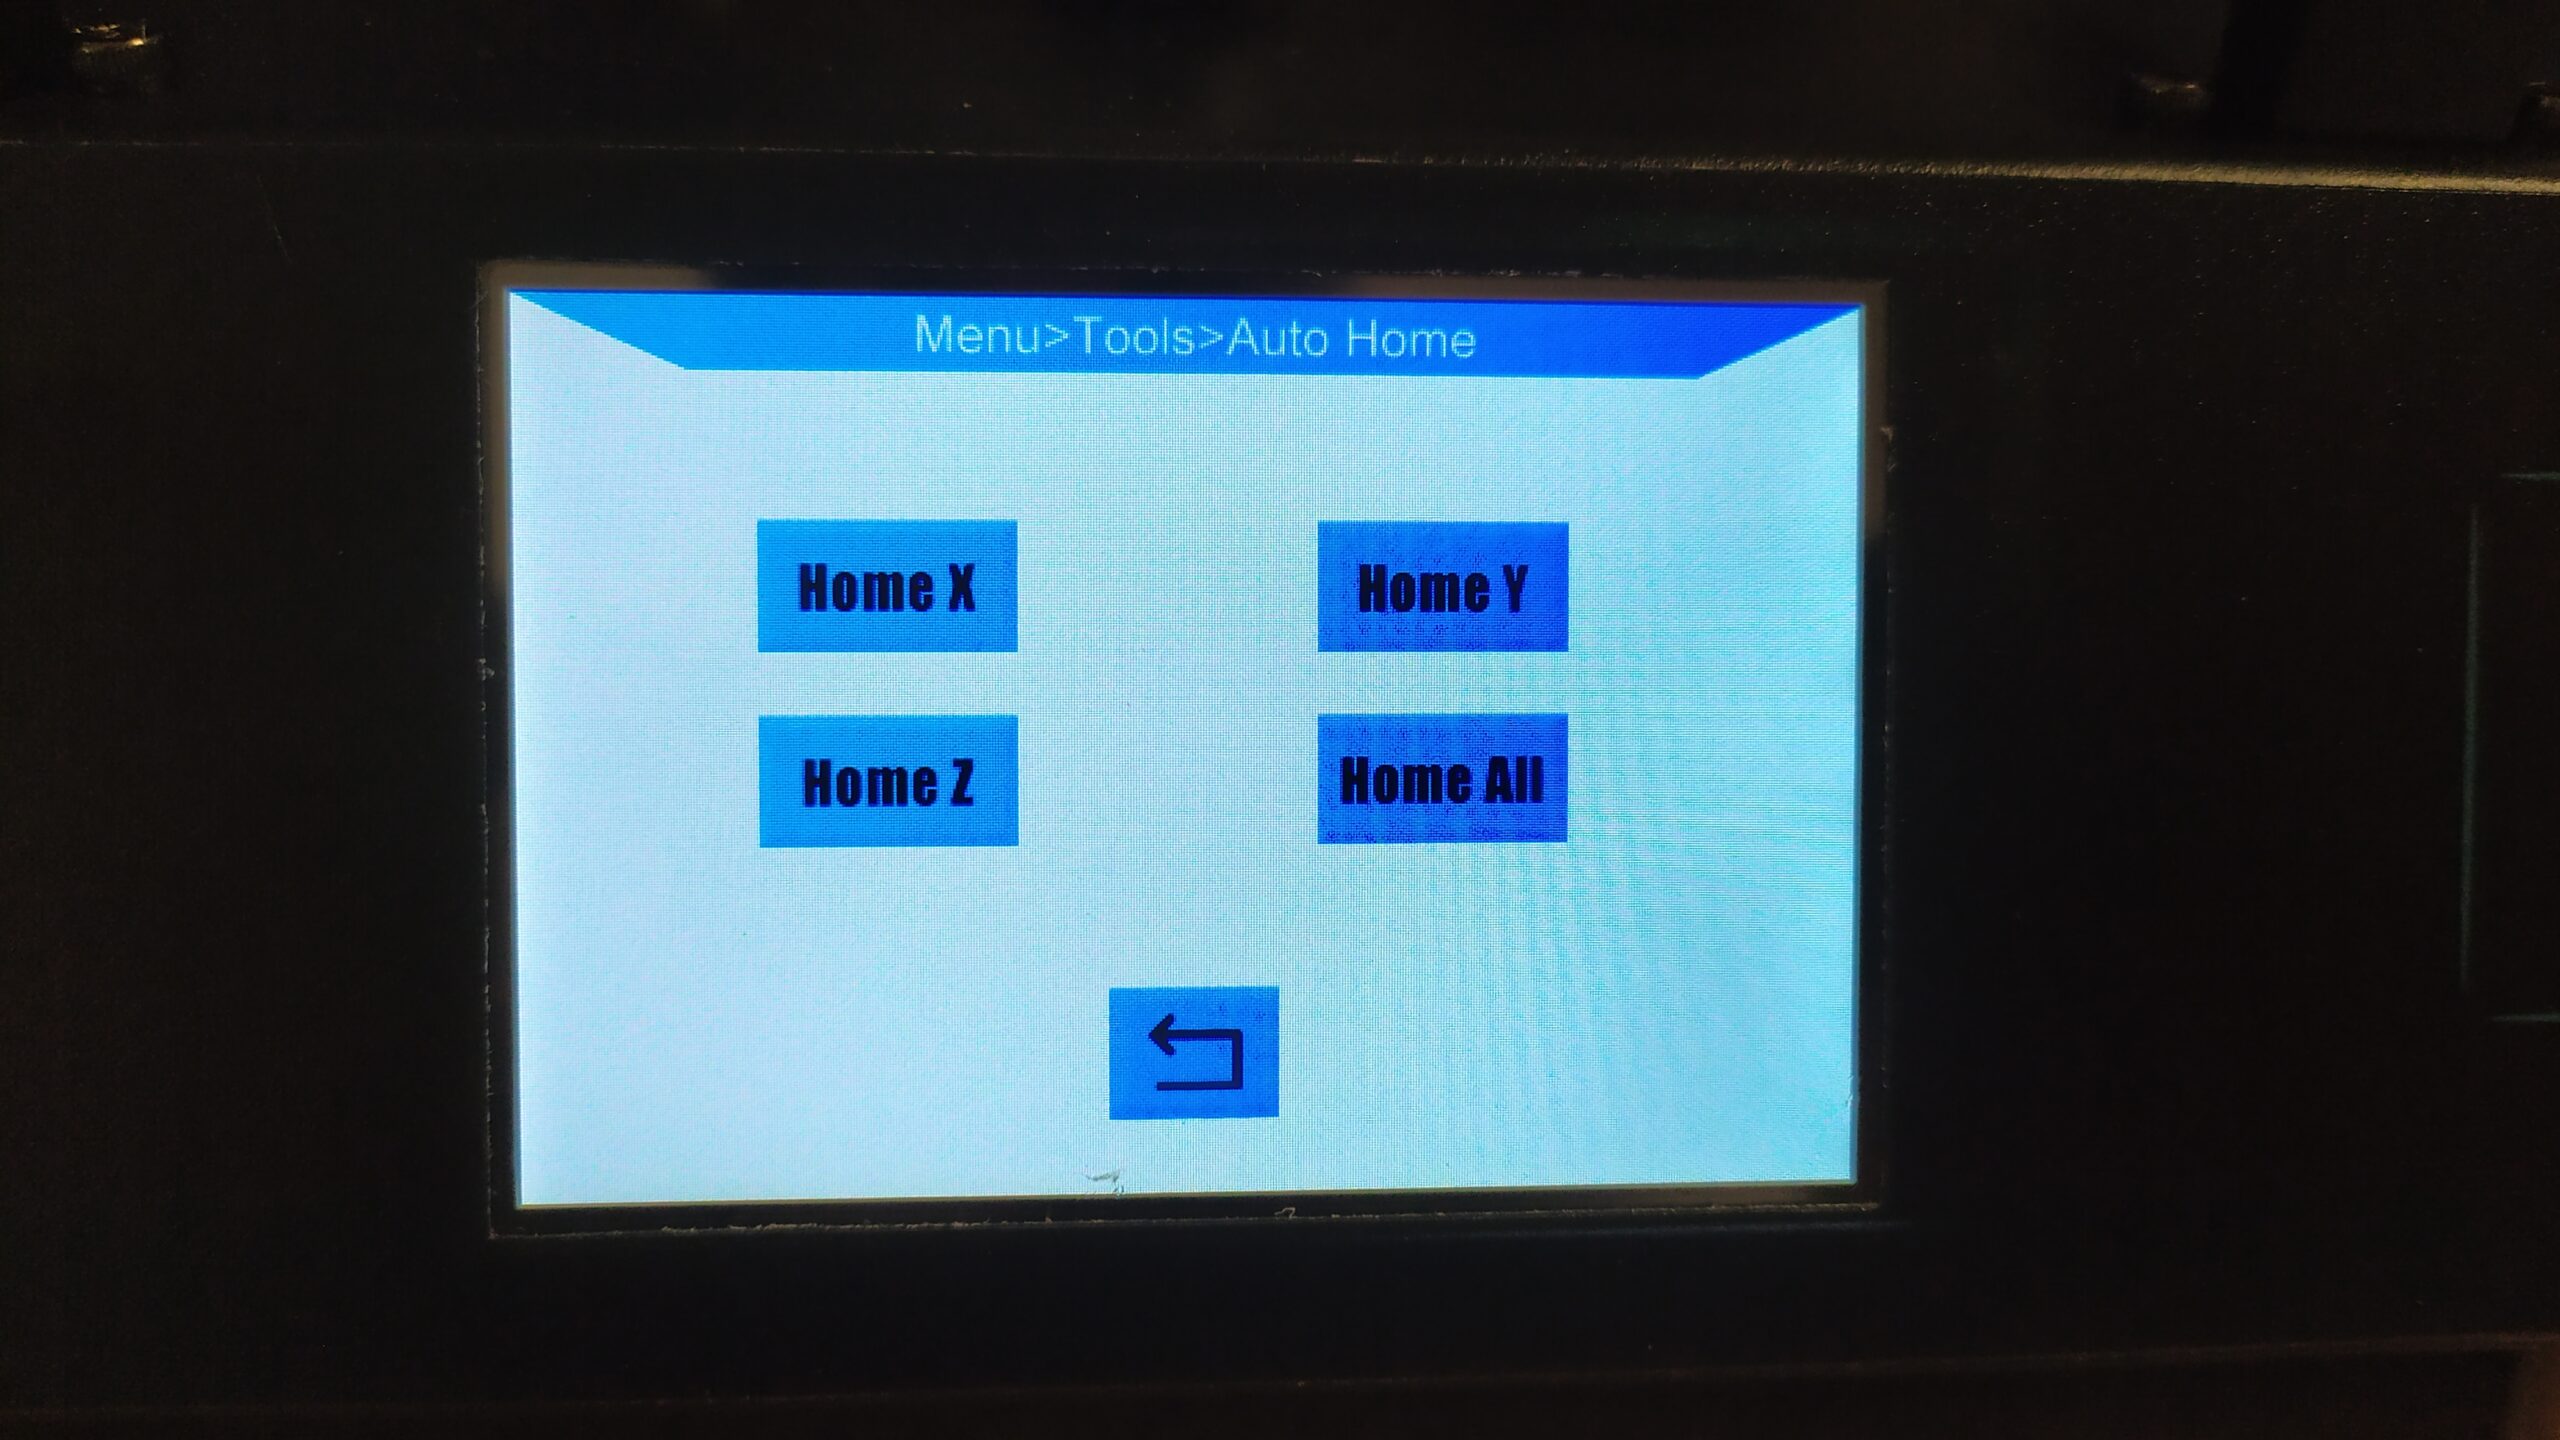
The printer will home all axis at this position.
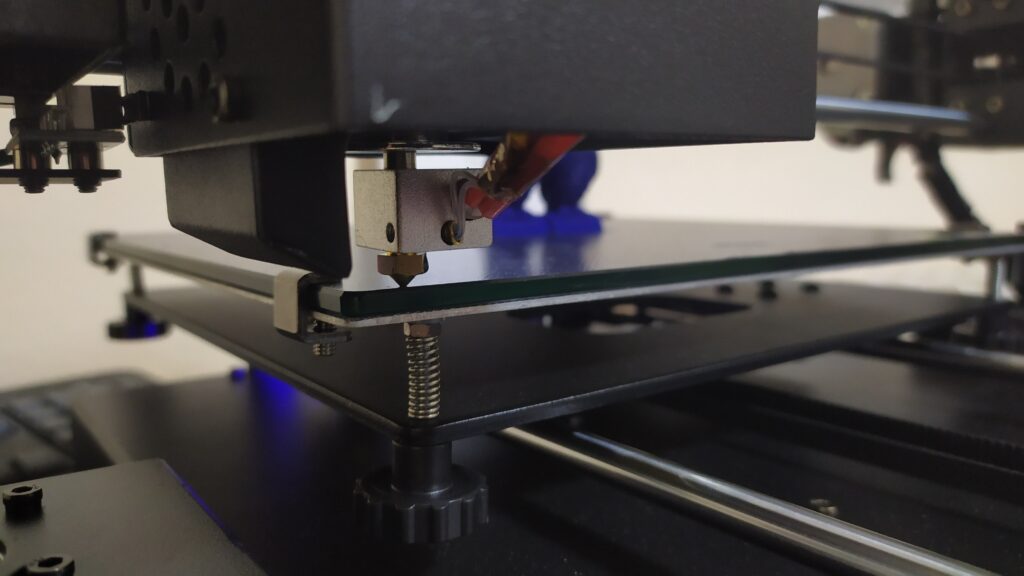
These are the bed adjusting points.
You should start at mark “1” which is the front left corner.
I always do this calibration two times in a row to achieve better results.

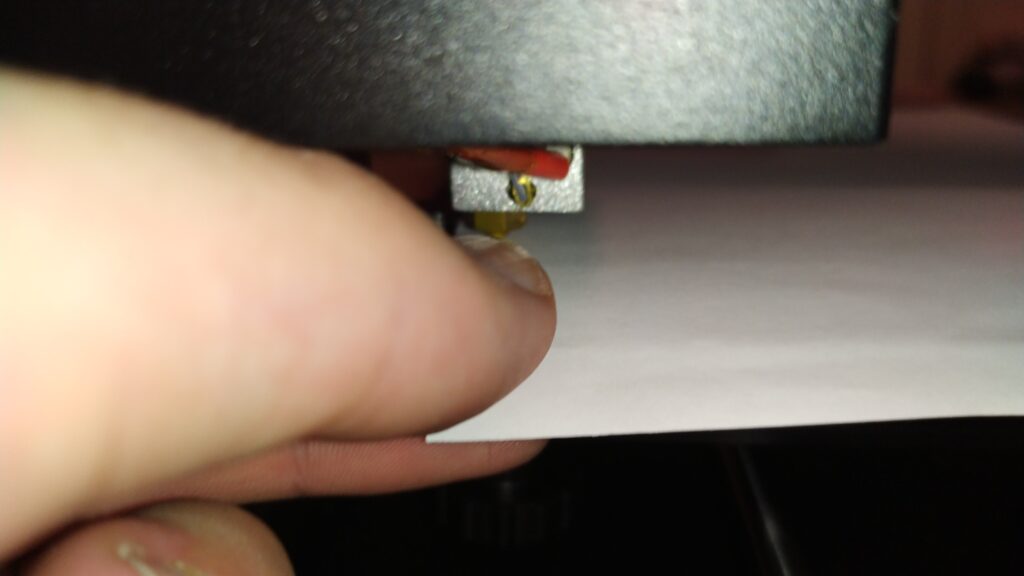
Use a sheet of a thick paper or the original bed cover.
Standard 80g A4 paper is not thick enough – thermal expansion will cause the bed and nozzle to come closer and you will start printing too low.
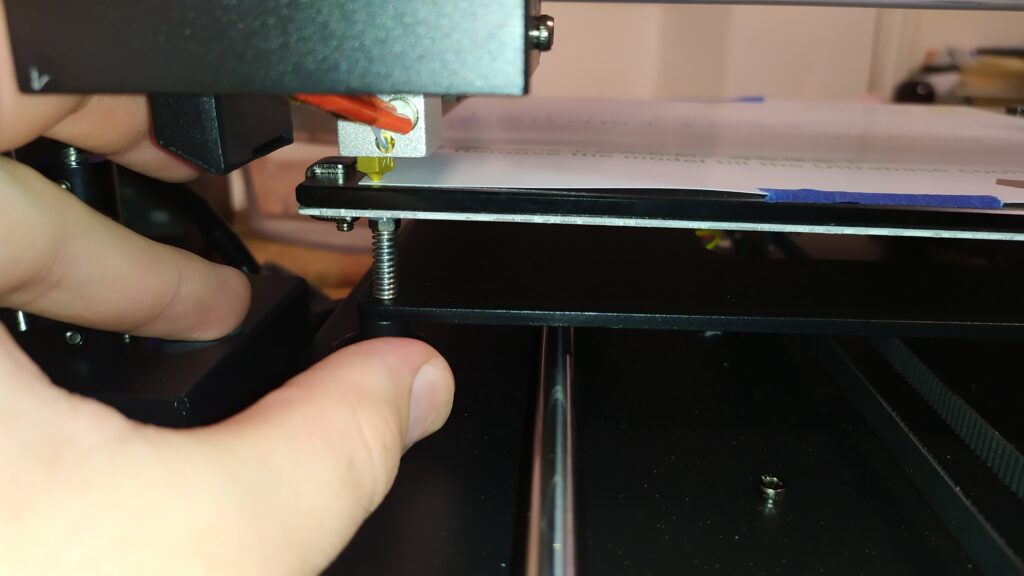
Rotate the knob unless you feel friction/pressure while moving the paper sheet between the nozzle and bed.
Calibrate all 4 corners the same way and you are good to go.
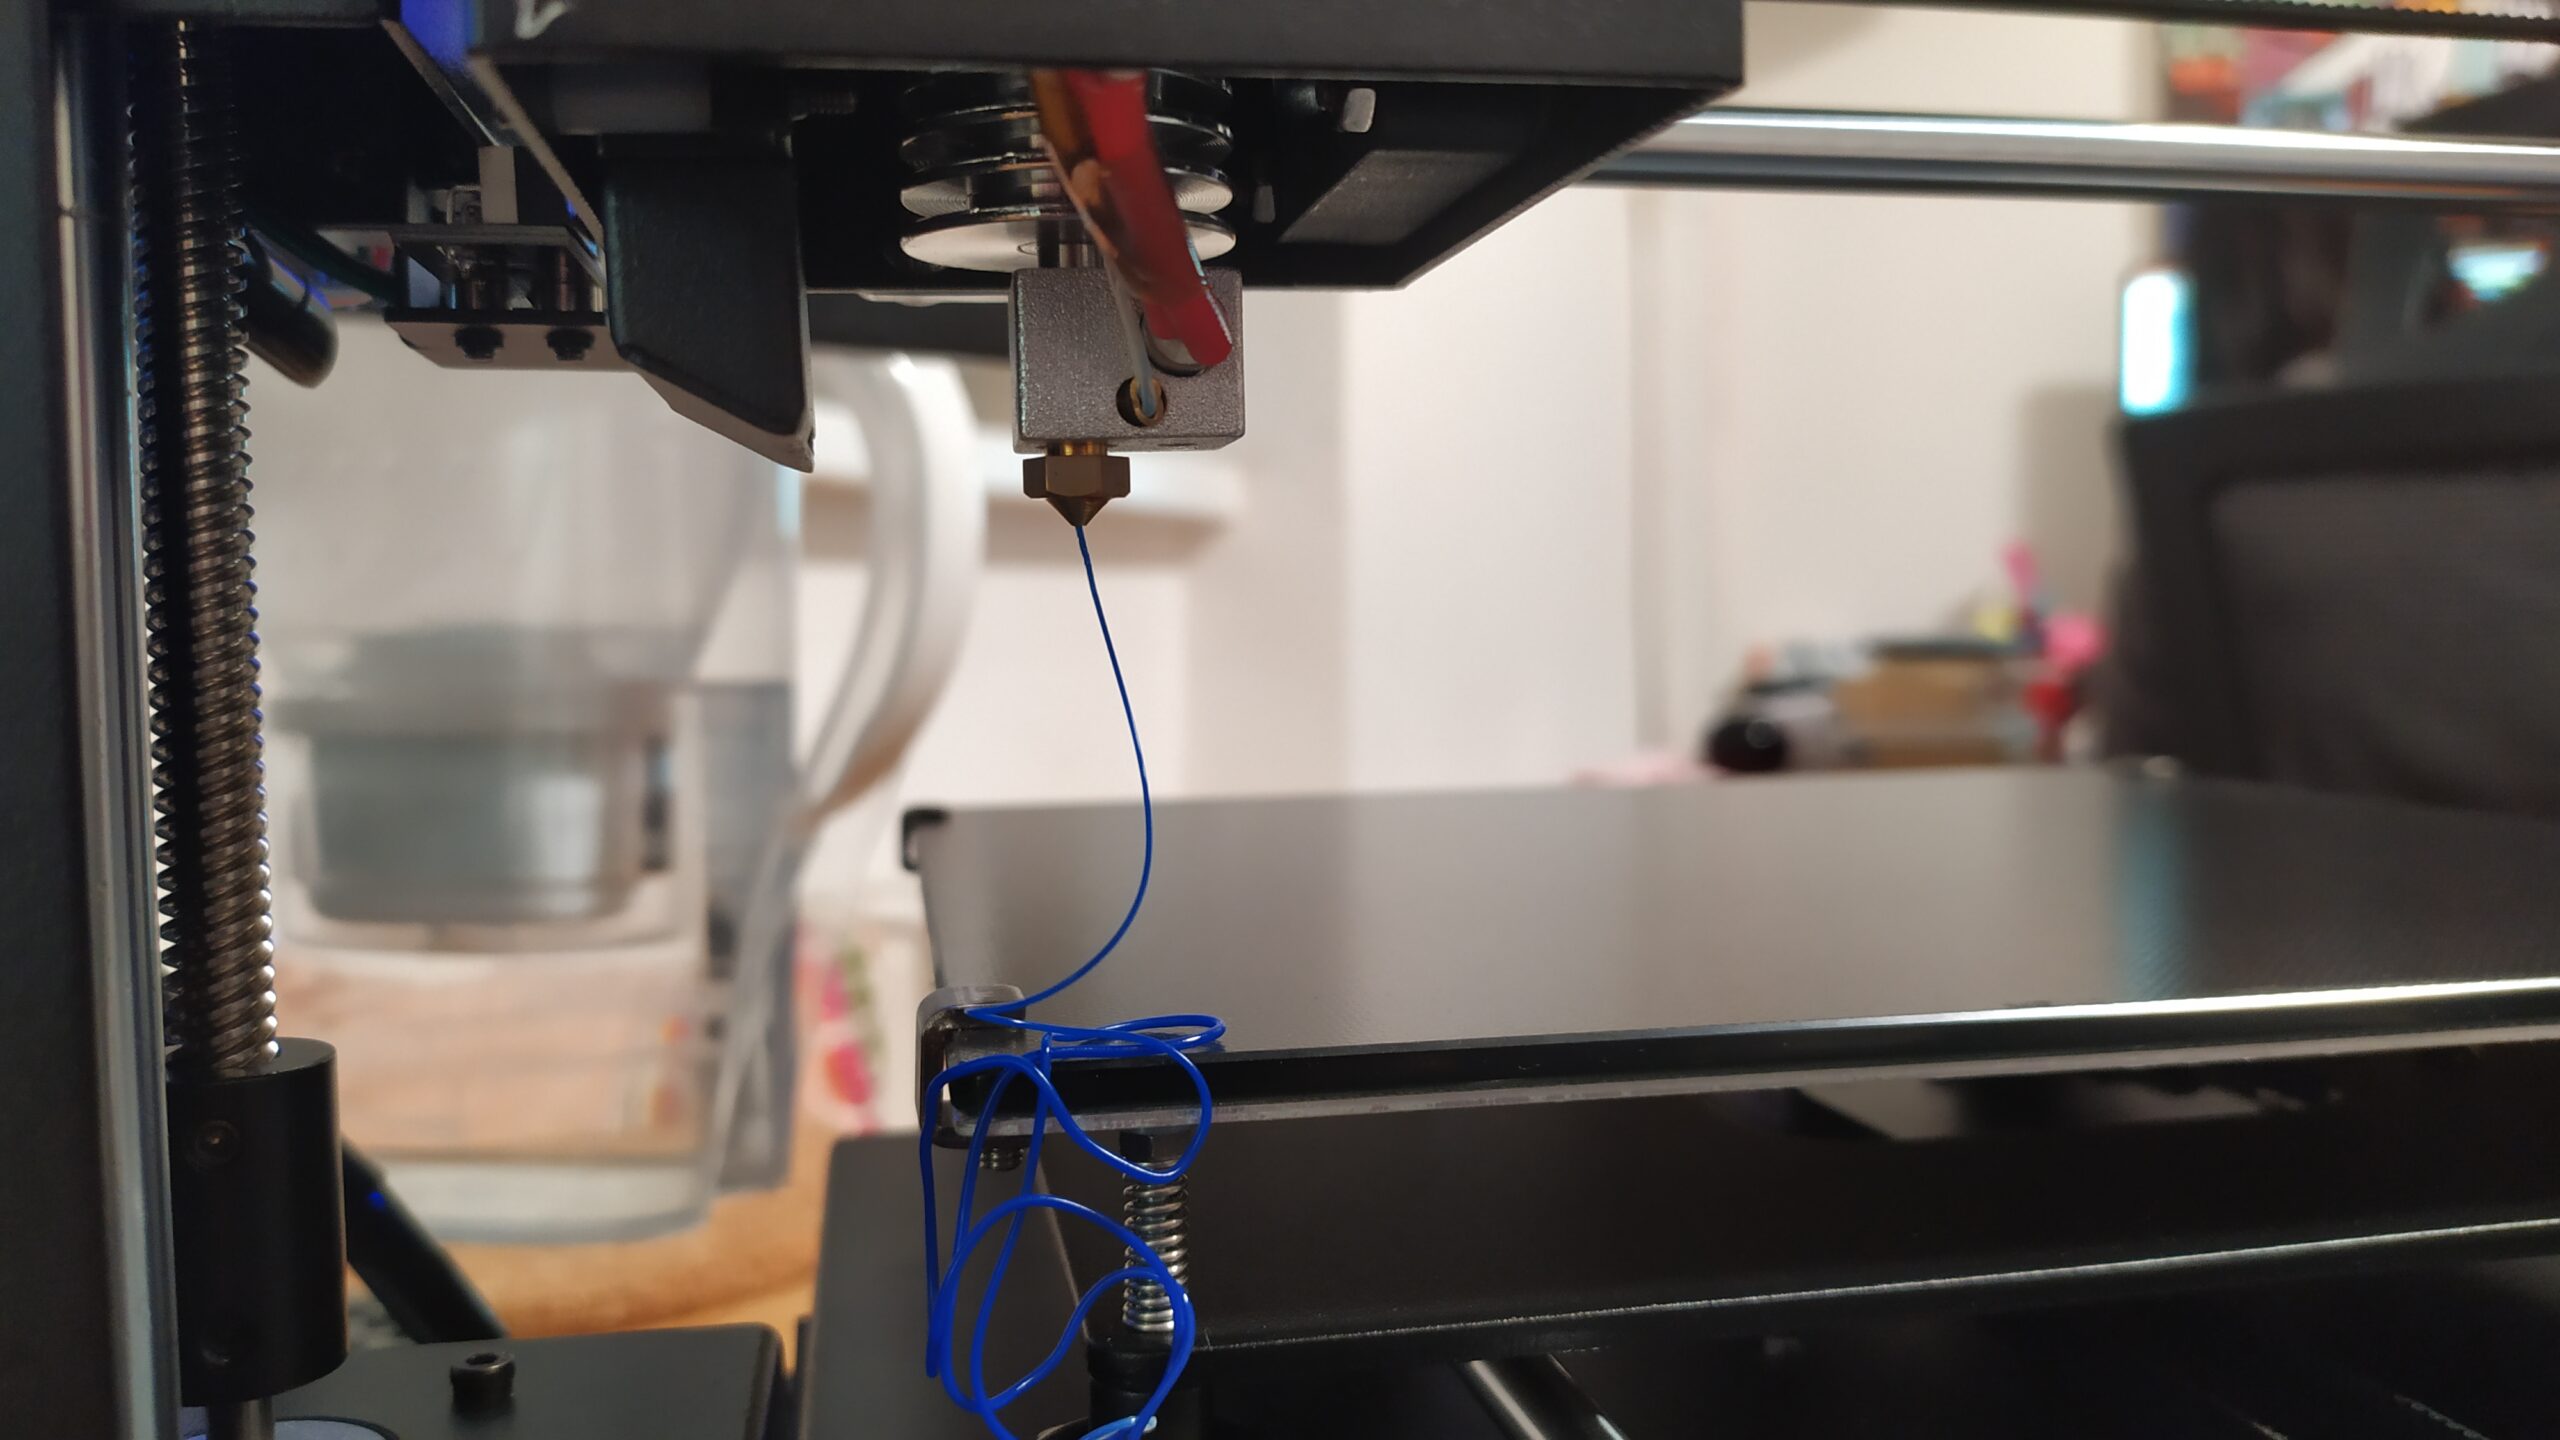
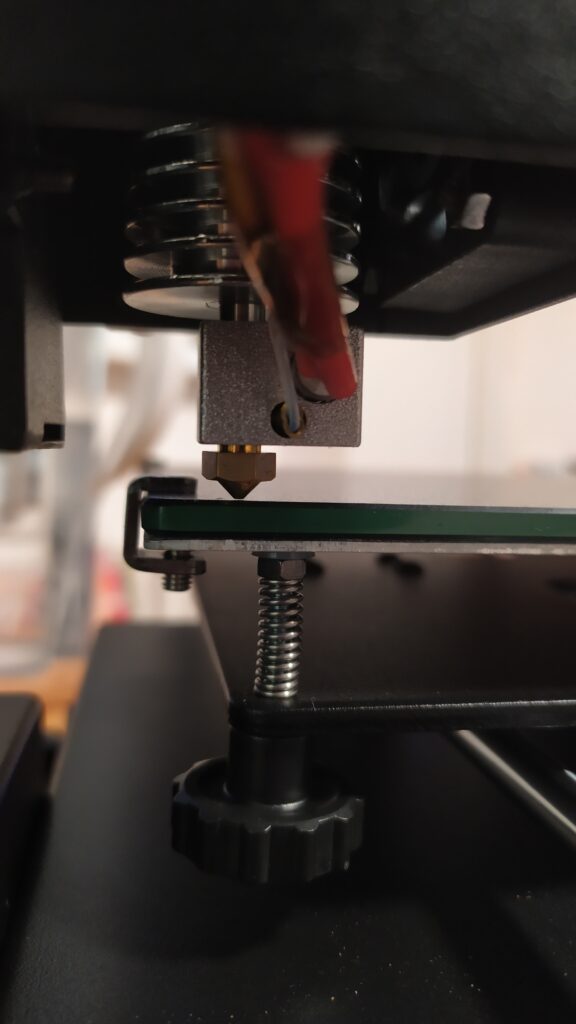
As you can see in the picture below, there is a small gap between the nozzle and bed after the calibration.
This is intended and the gap height should be equivalent to the paper thickness.
The gap will disapper after the printer will be heated up, this is called thermal expansion.

What is >Level the bed corner by corner?
There was no logical transition from Home Your Printer to Level by corner.
Very confusing.
Well..
Level it first at the first corner, continue to the next corners one by one…
Nice info. I’m having a unusual problem. When I press “Home Z” the print head pushes against the build plate. I’m thinking the previous owner of this printer never recalibrated the Z stop switches after replacing the build platform with a thicker glass type. Is there a calibration procedure to adjust those that you know of?
Thanks
Robert
Hi, you can change the z height/distance or use calibration knobs to lower the buildplate.