After bed calibration it is time time to print something.
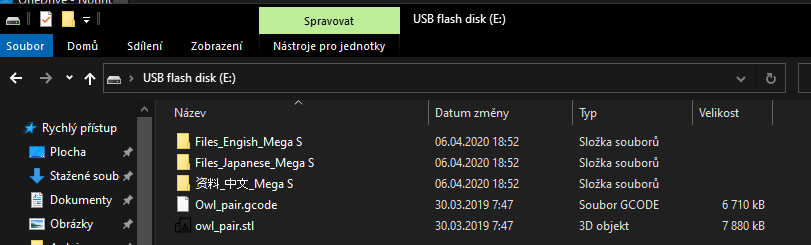
Anycubic has prepared and sliced a model with two owls which you can find on the SD card from the printer package.
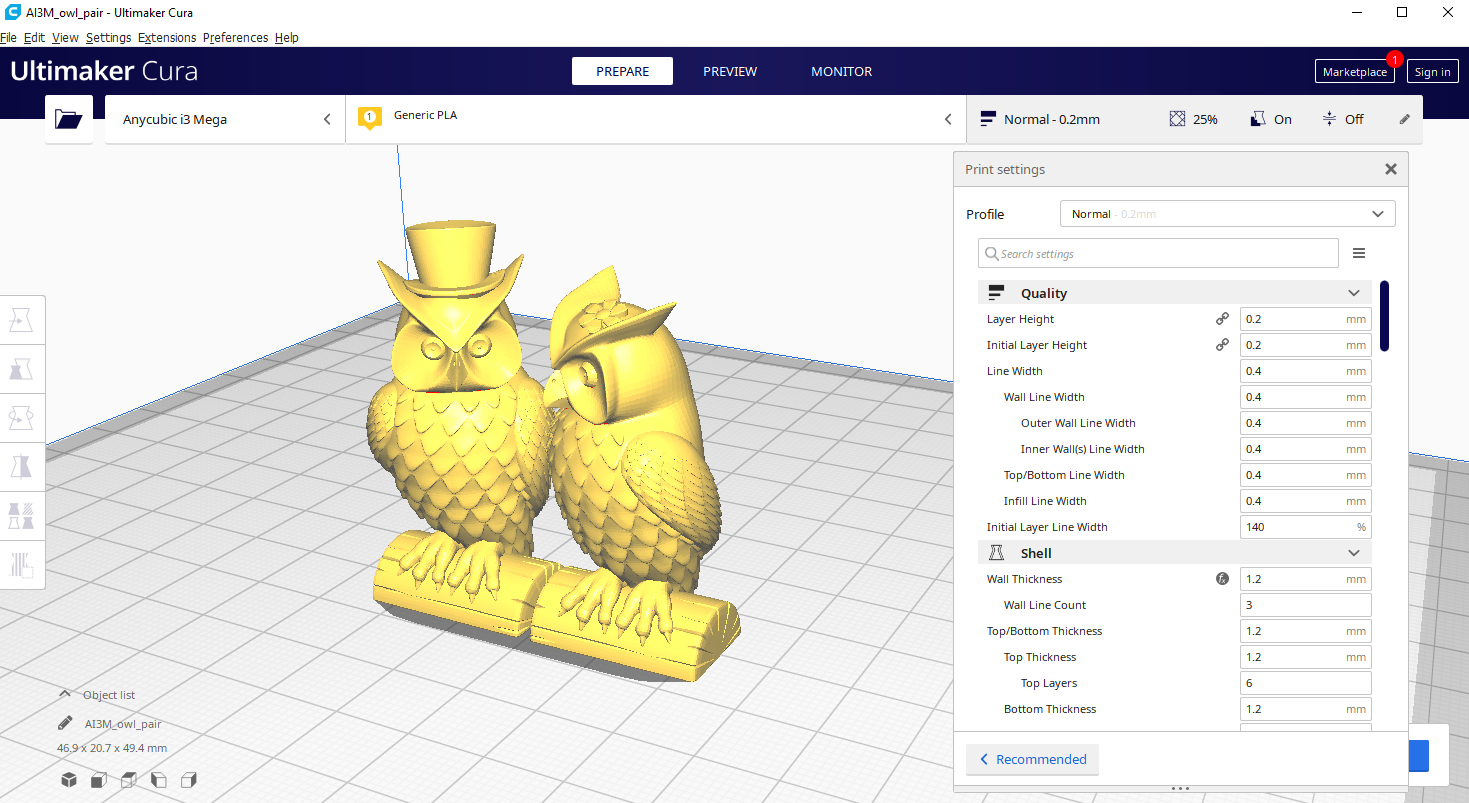
This is how the test file looks like in the Cura slicer.
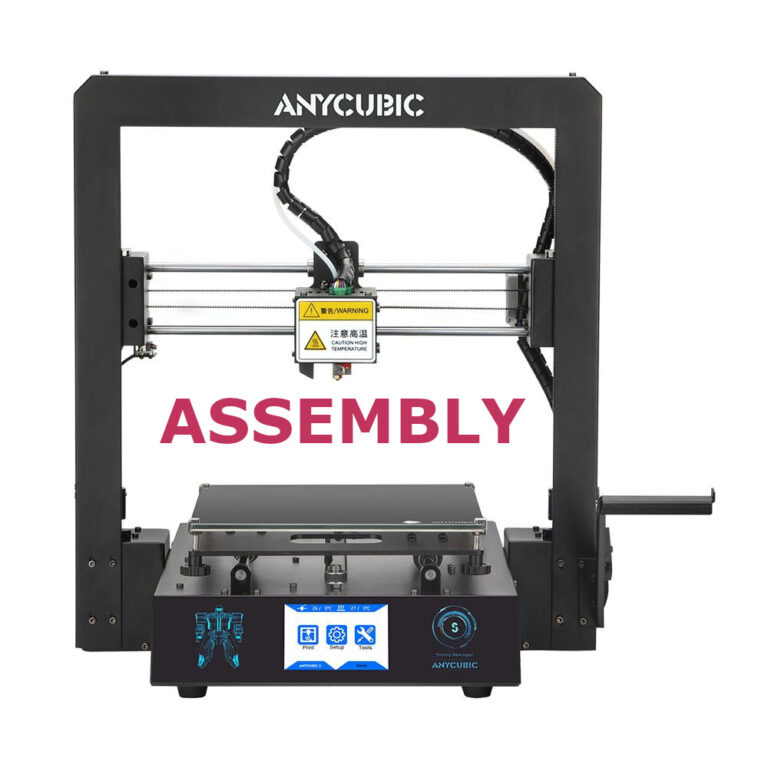
Before printing anything you need to prepare the 3D printer.
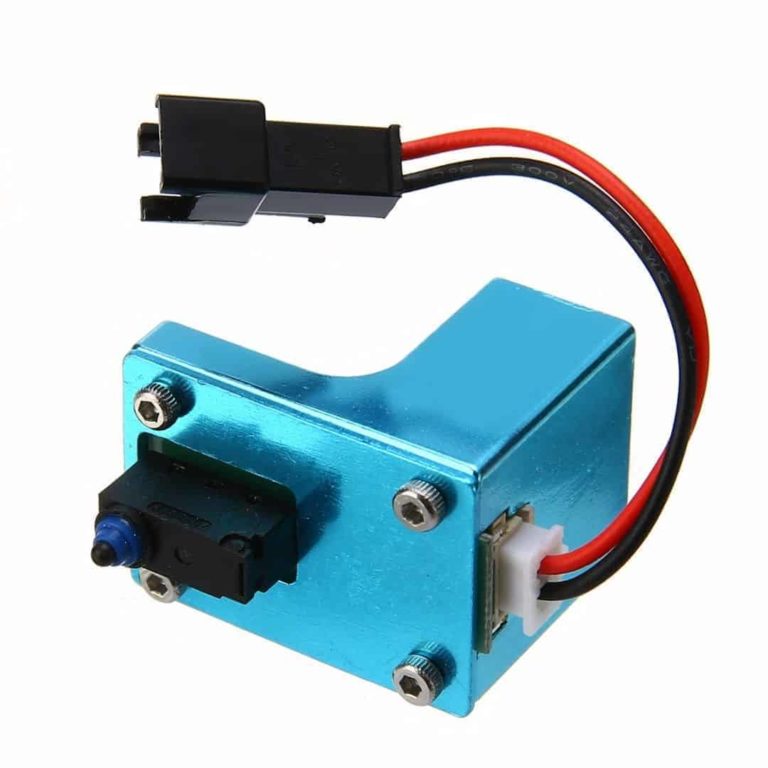
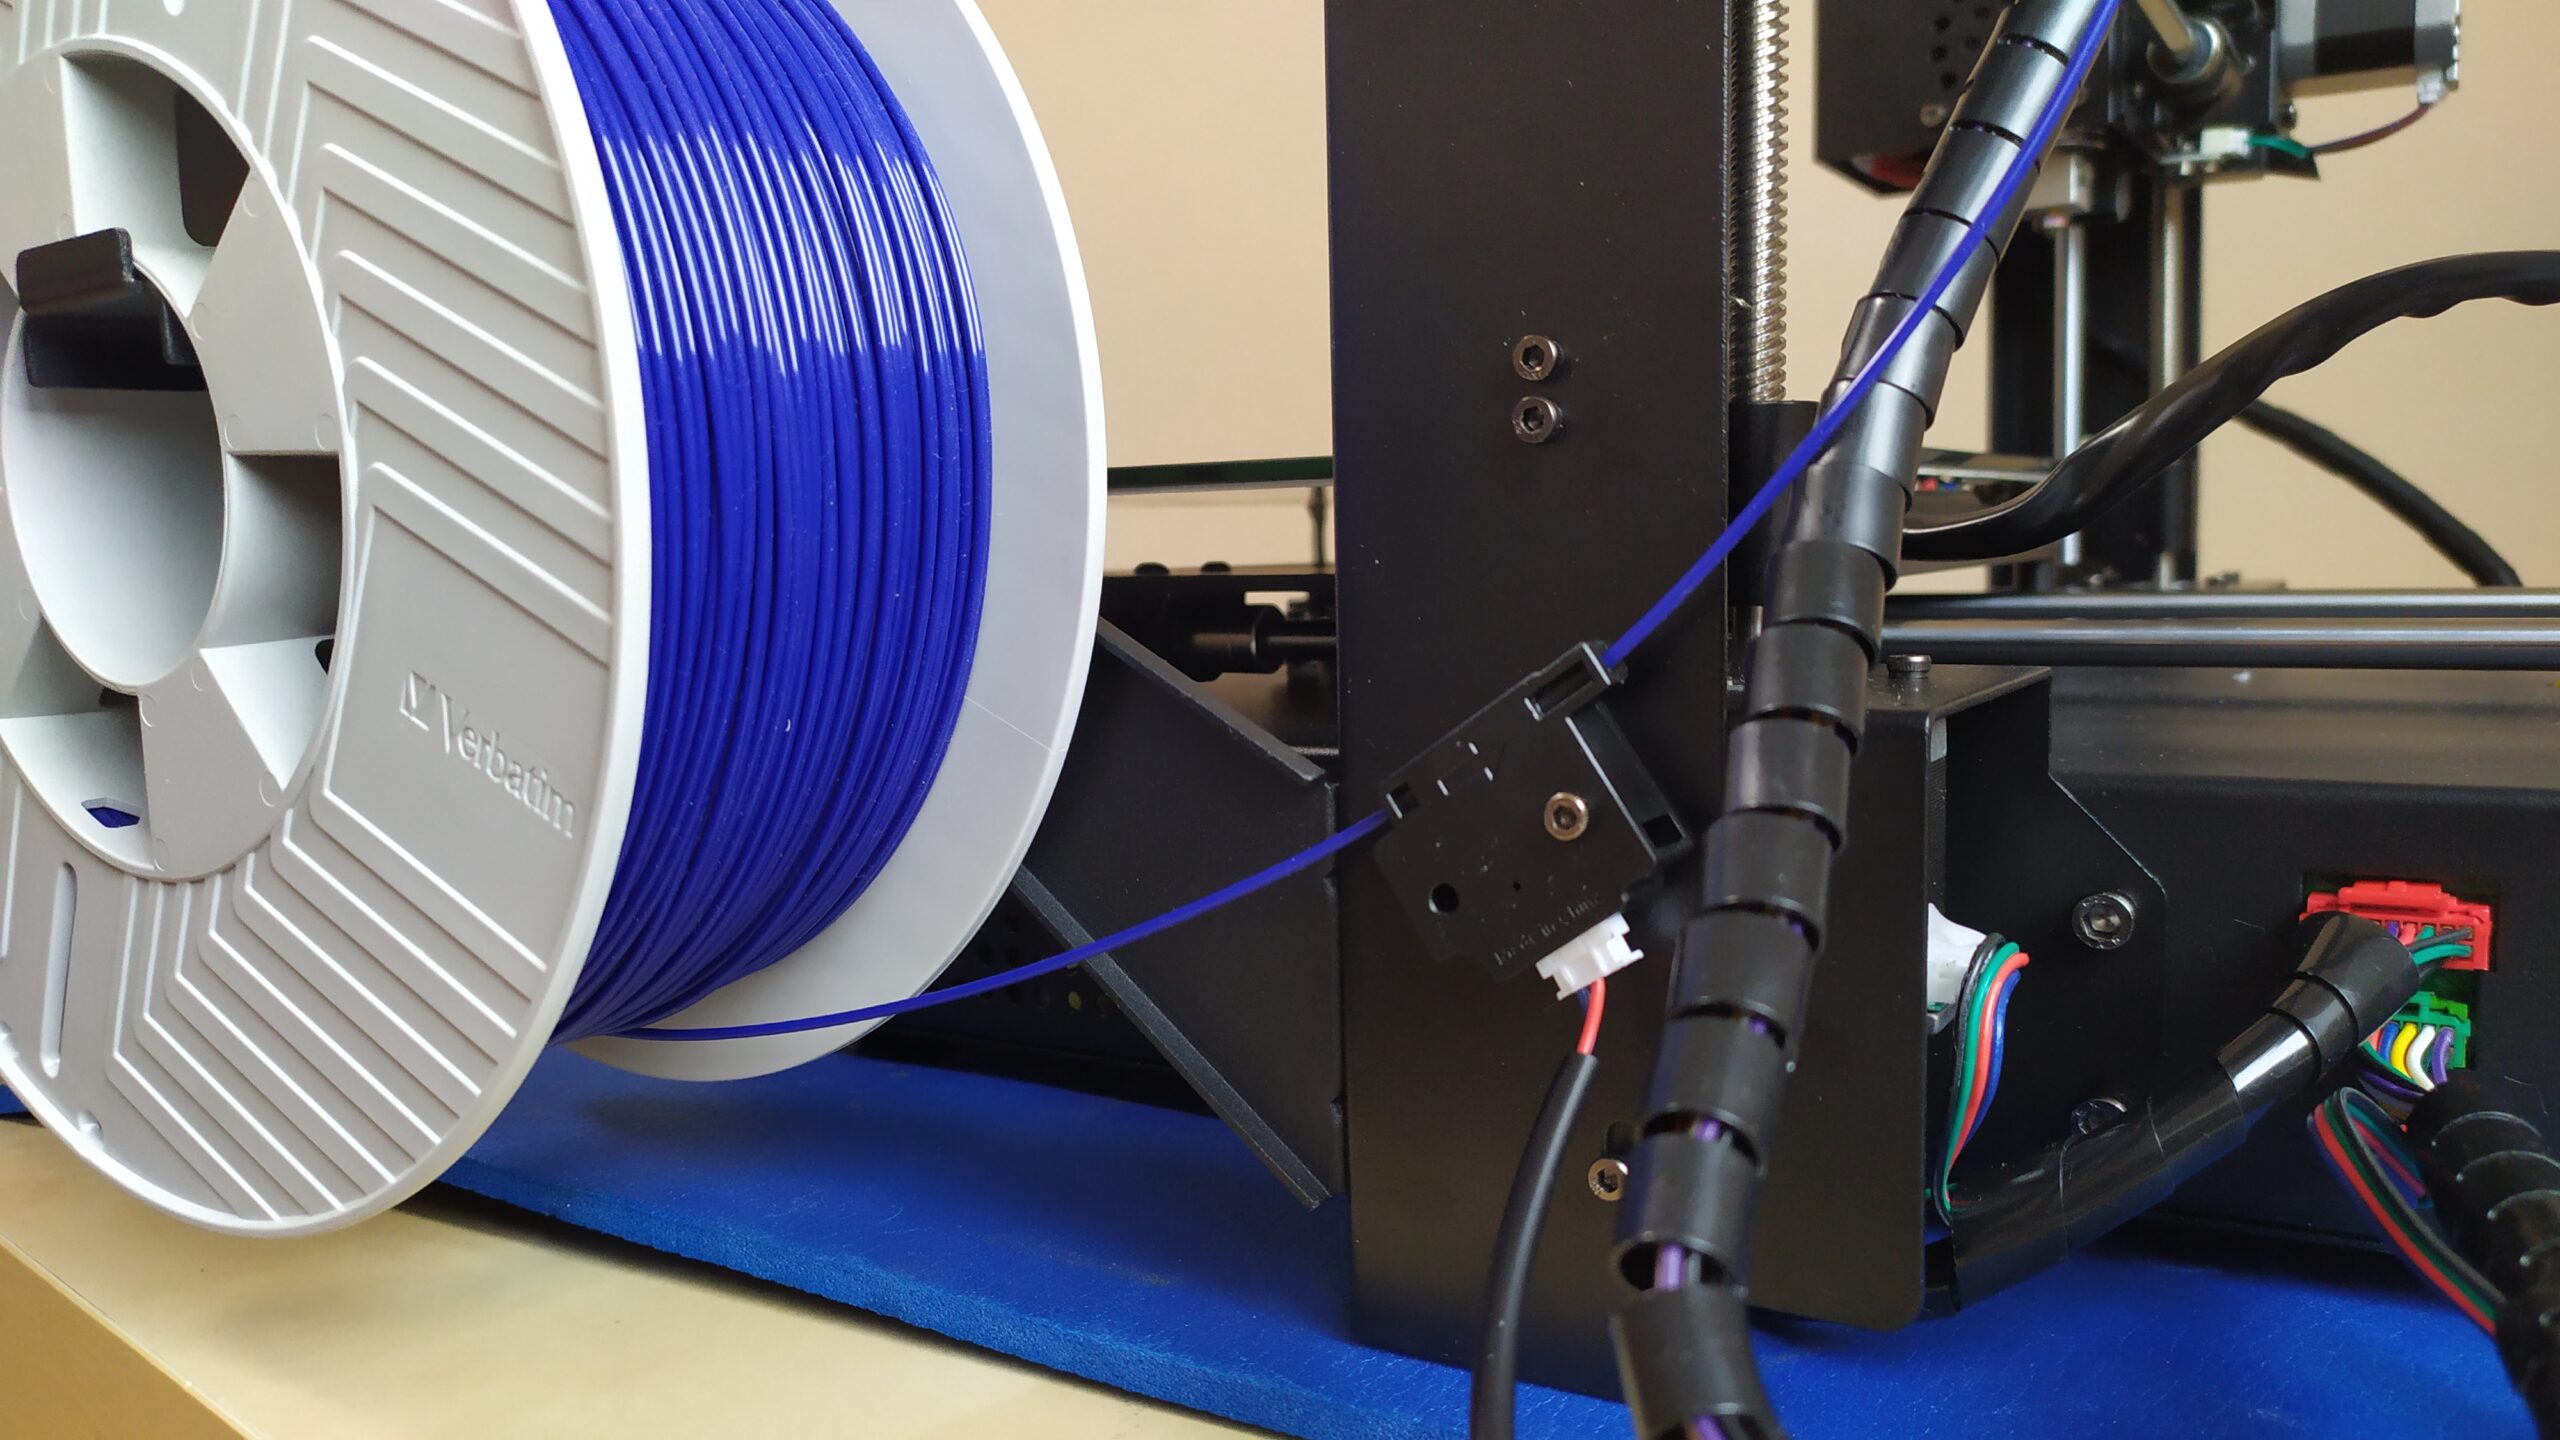
Put filament roll on the filament holder and take it through the filament run-out sensor.
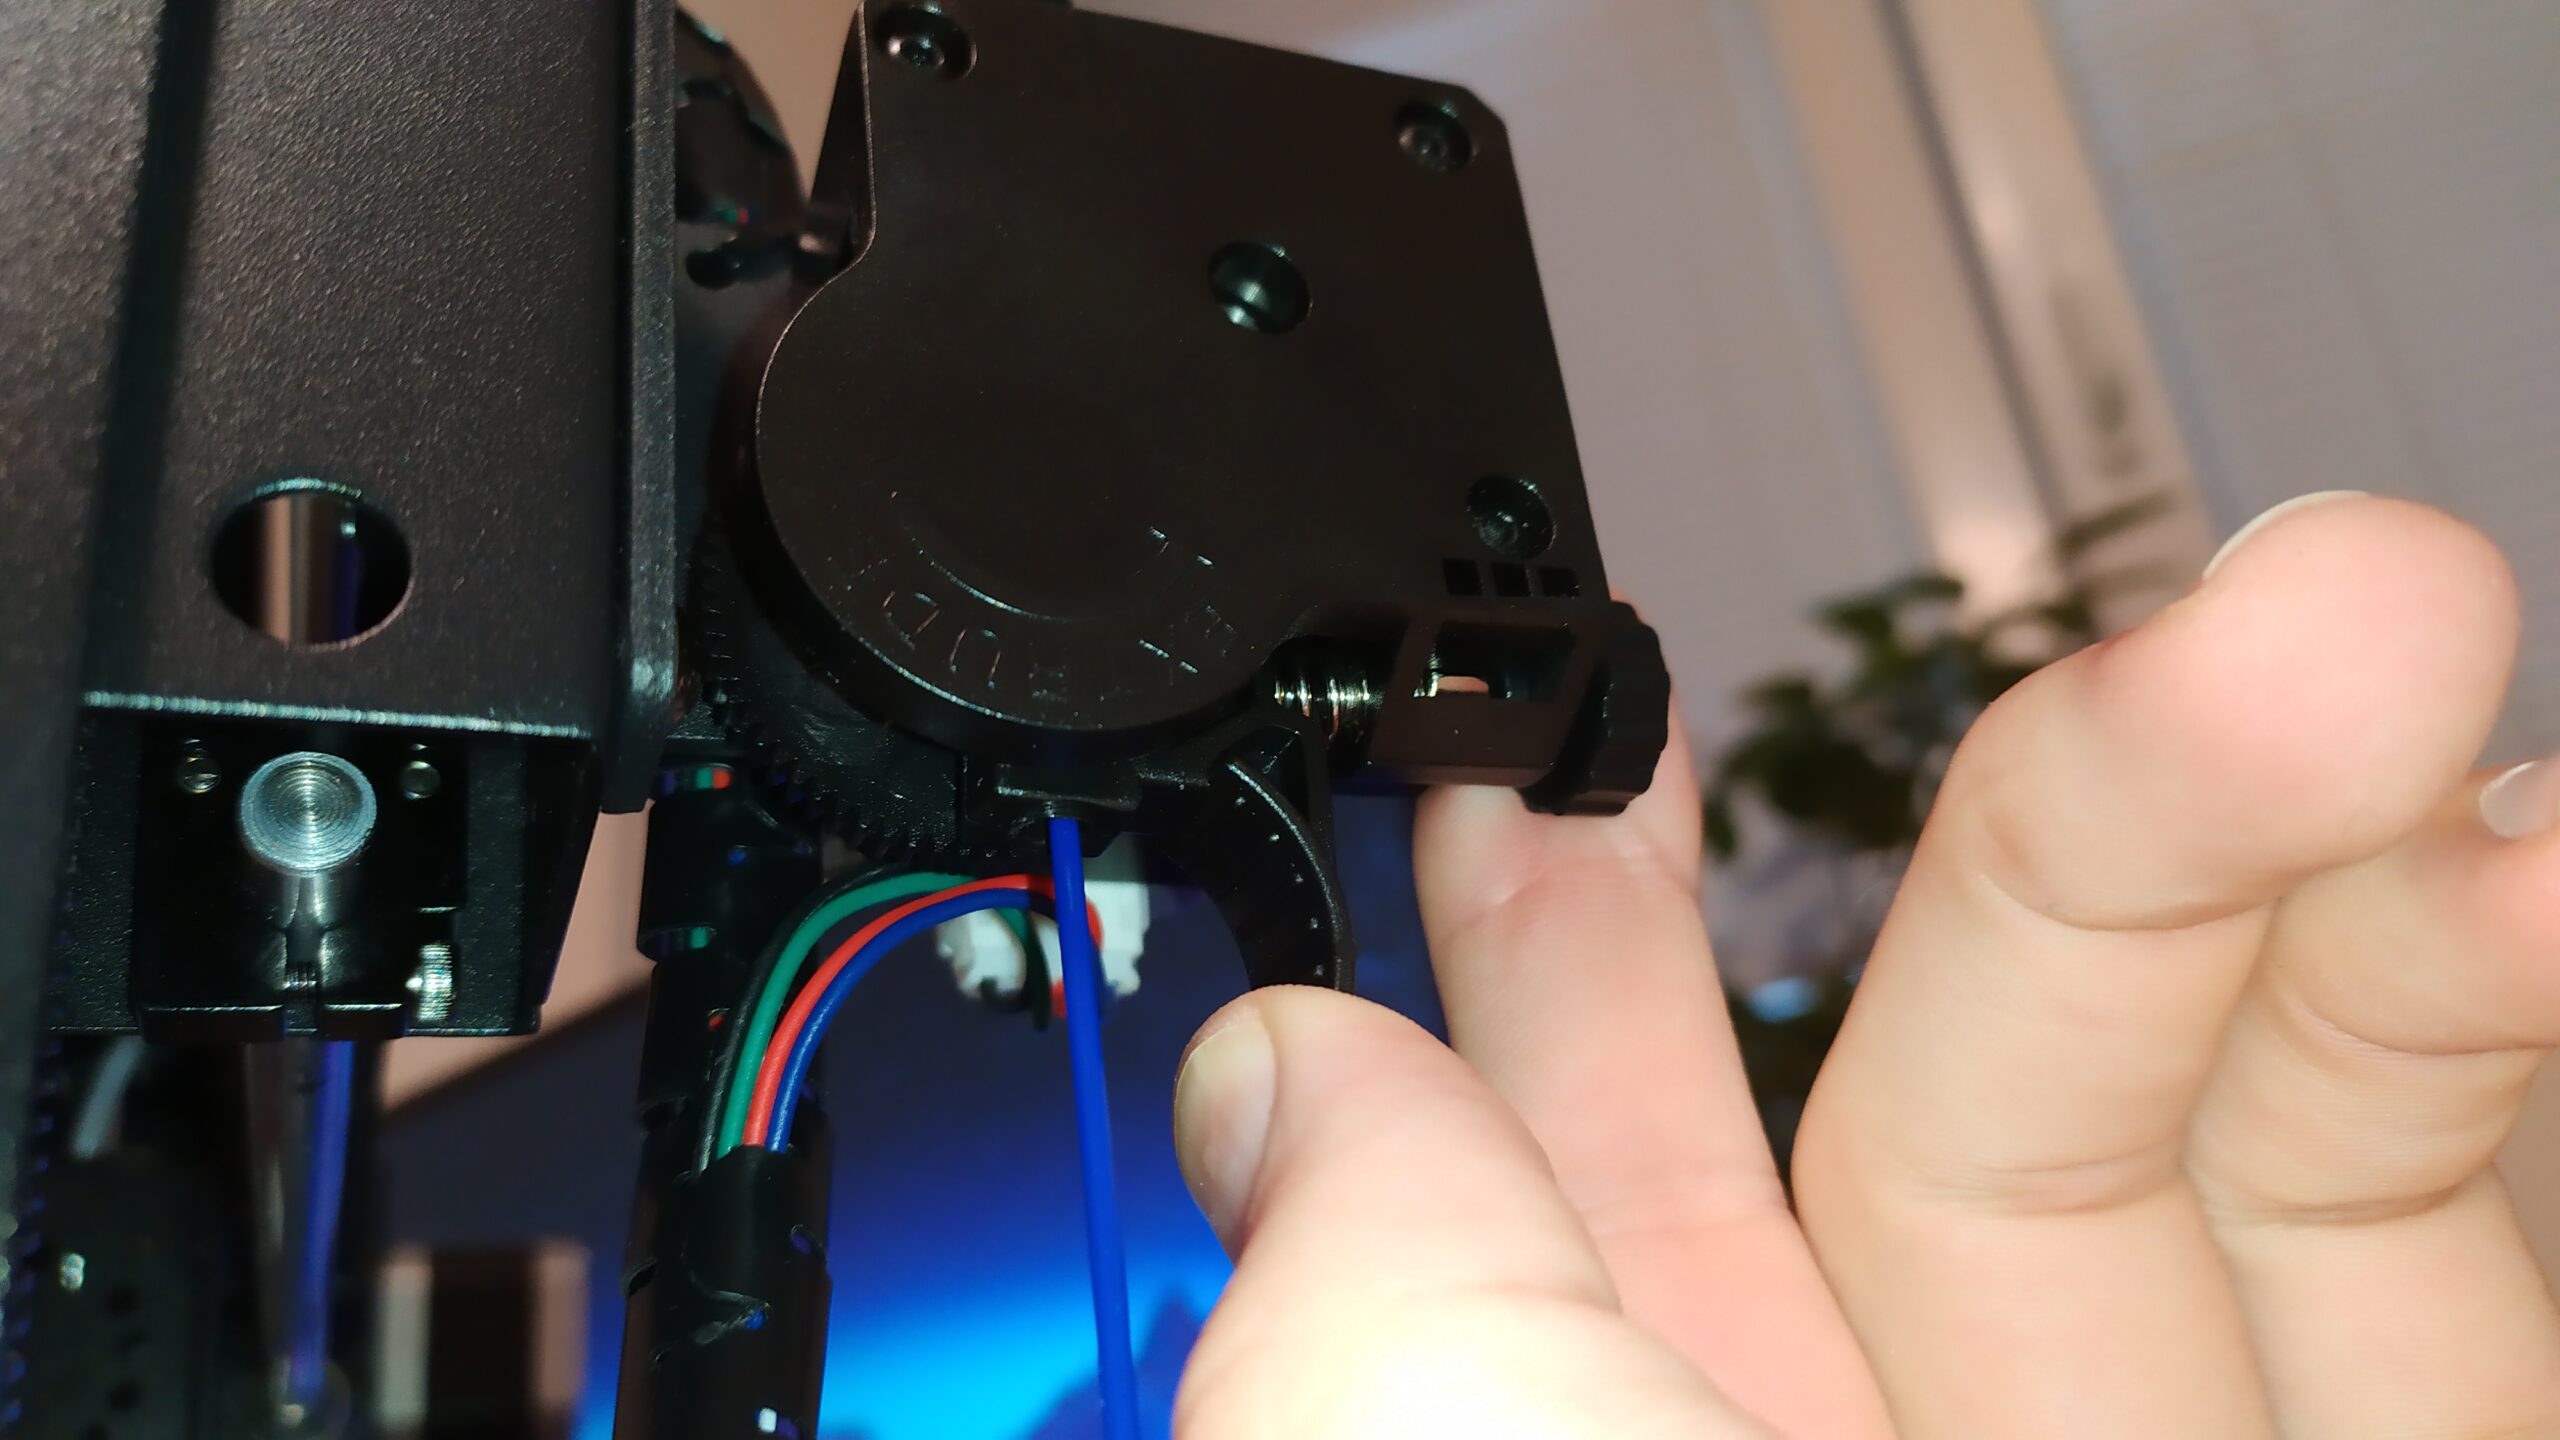
Prepare the extruder – put filament inside.
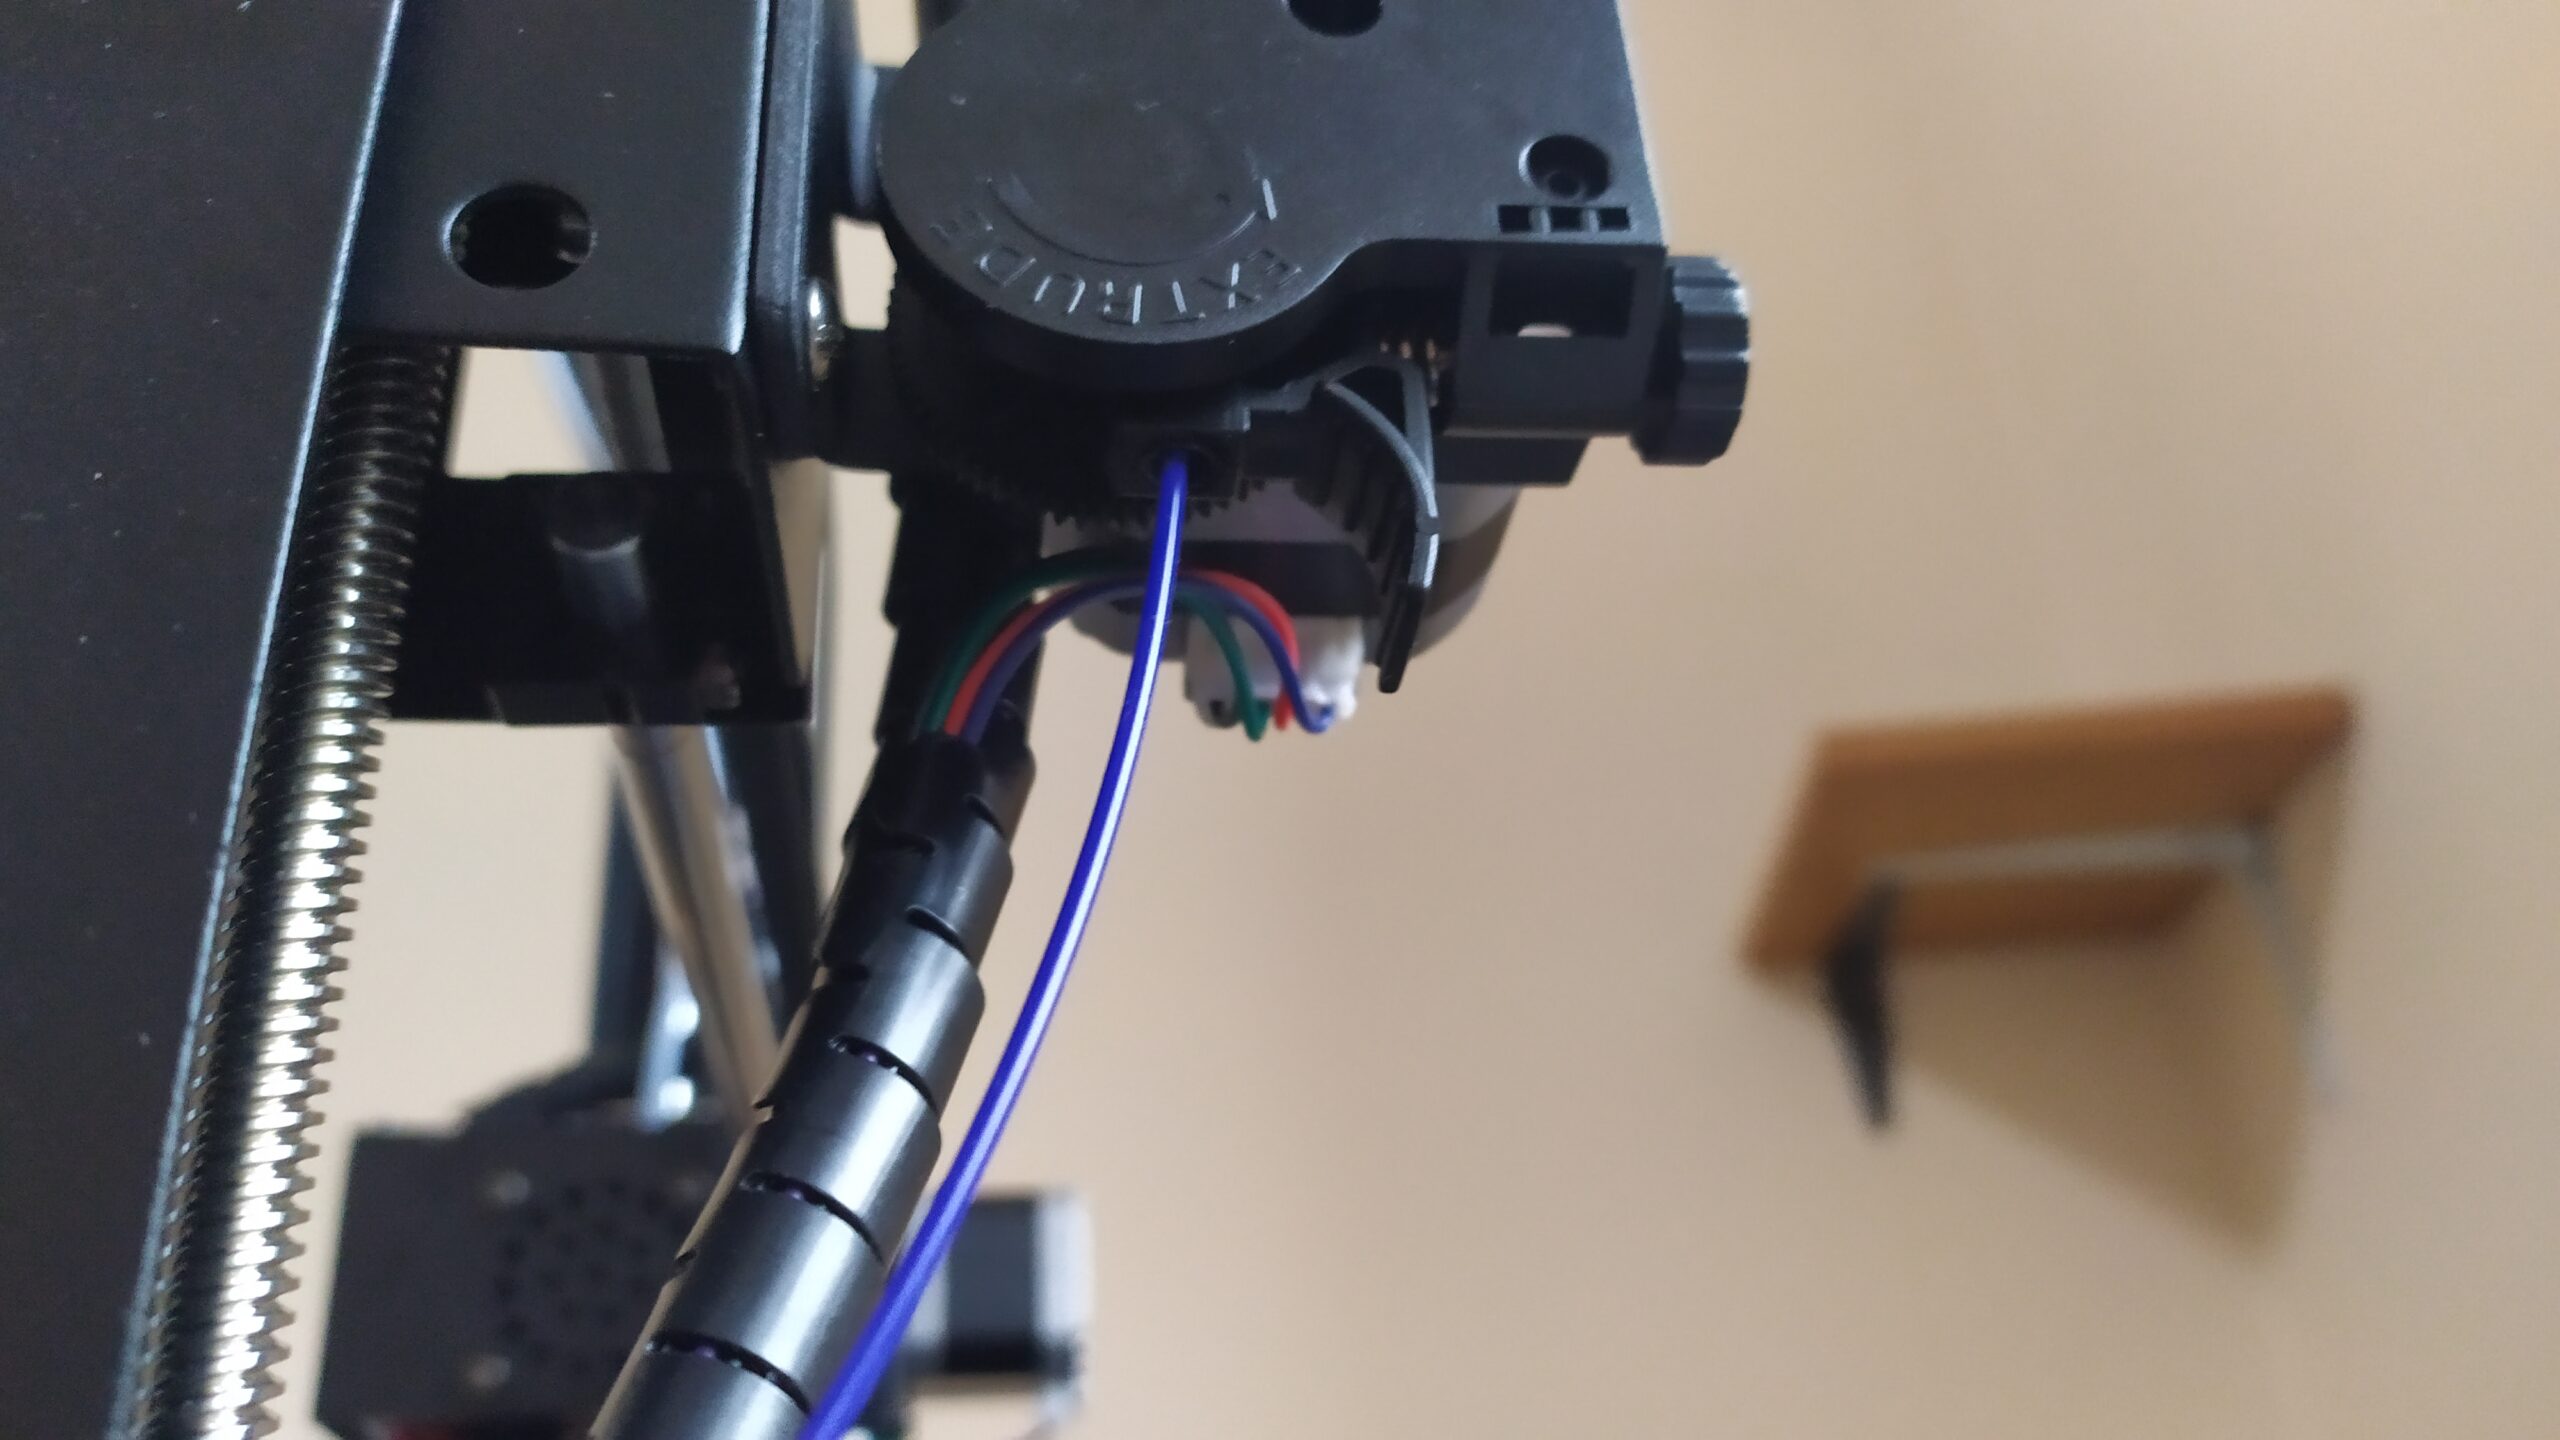
Apply pressure – Push this part with a finger counterclockwise and push as many filament as you can through the extruder and bowden tube.
Now is time to move filament through the nozzle.
Anycubic i3 Mega S has already defined procedures like filament in and filament remove and we will use them.
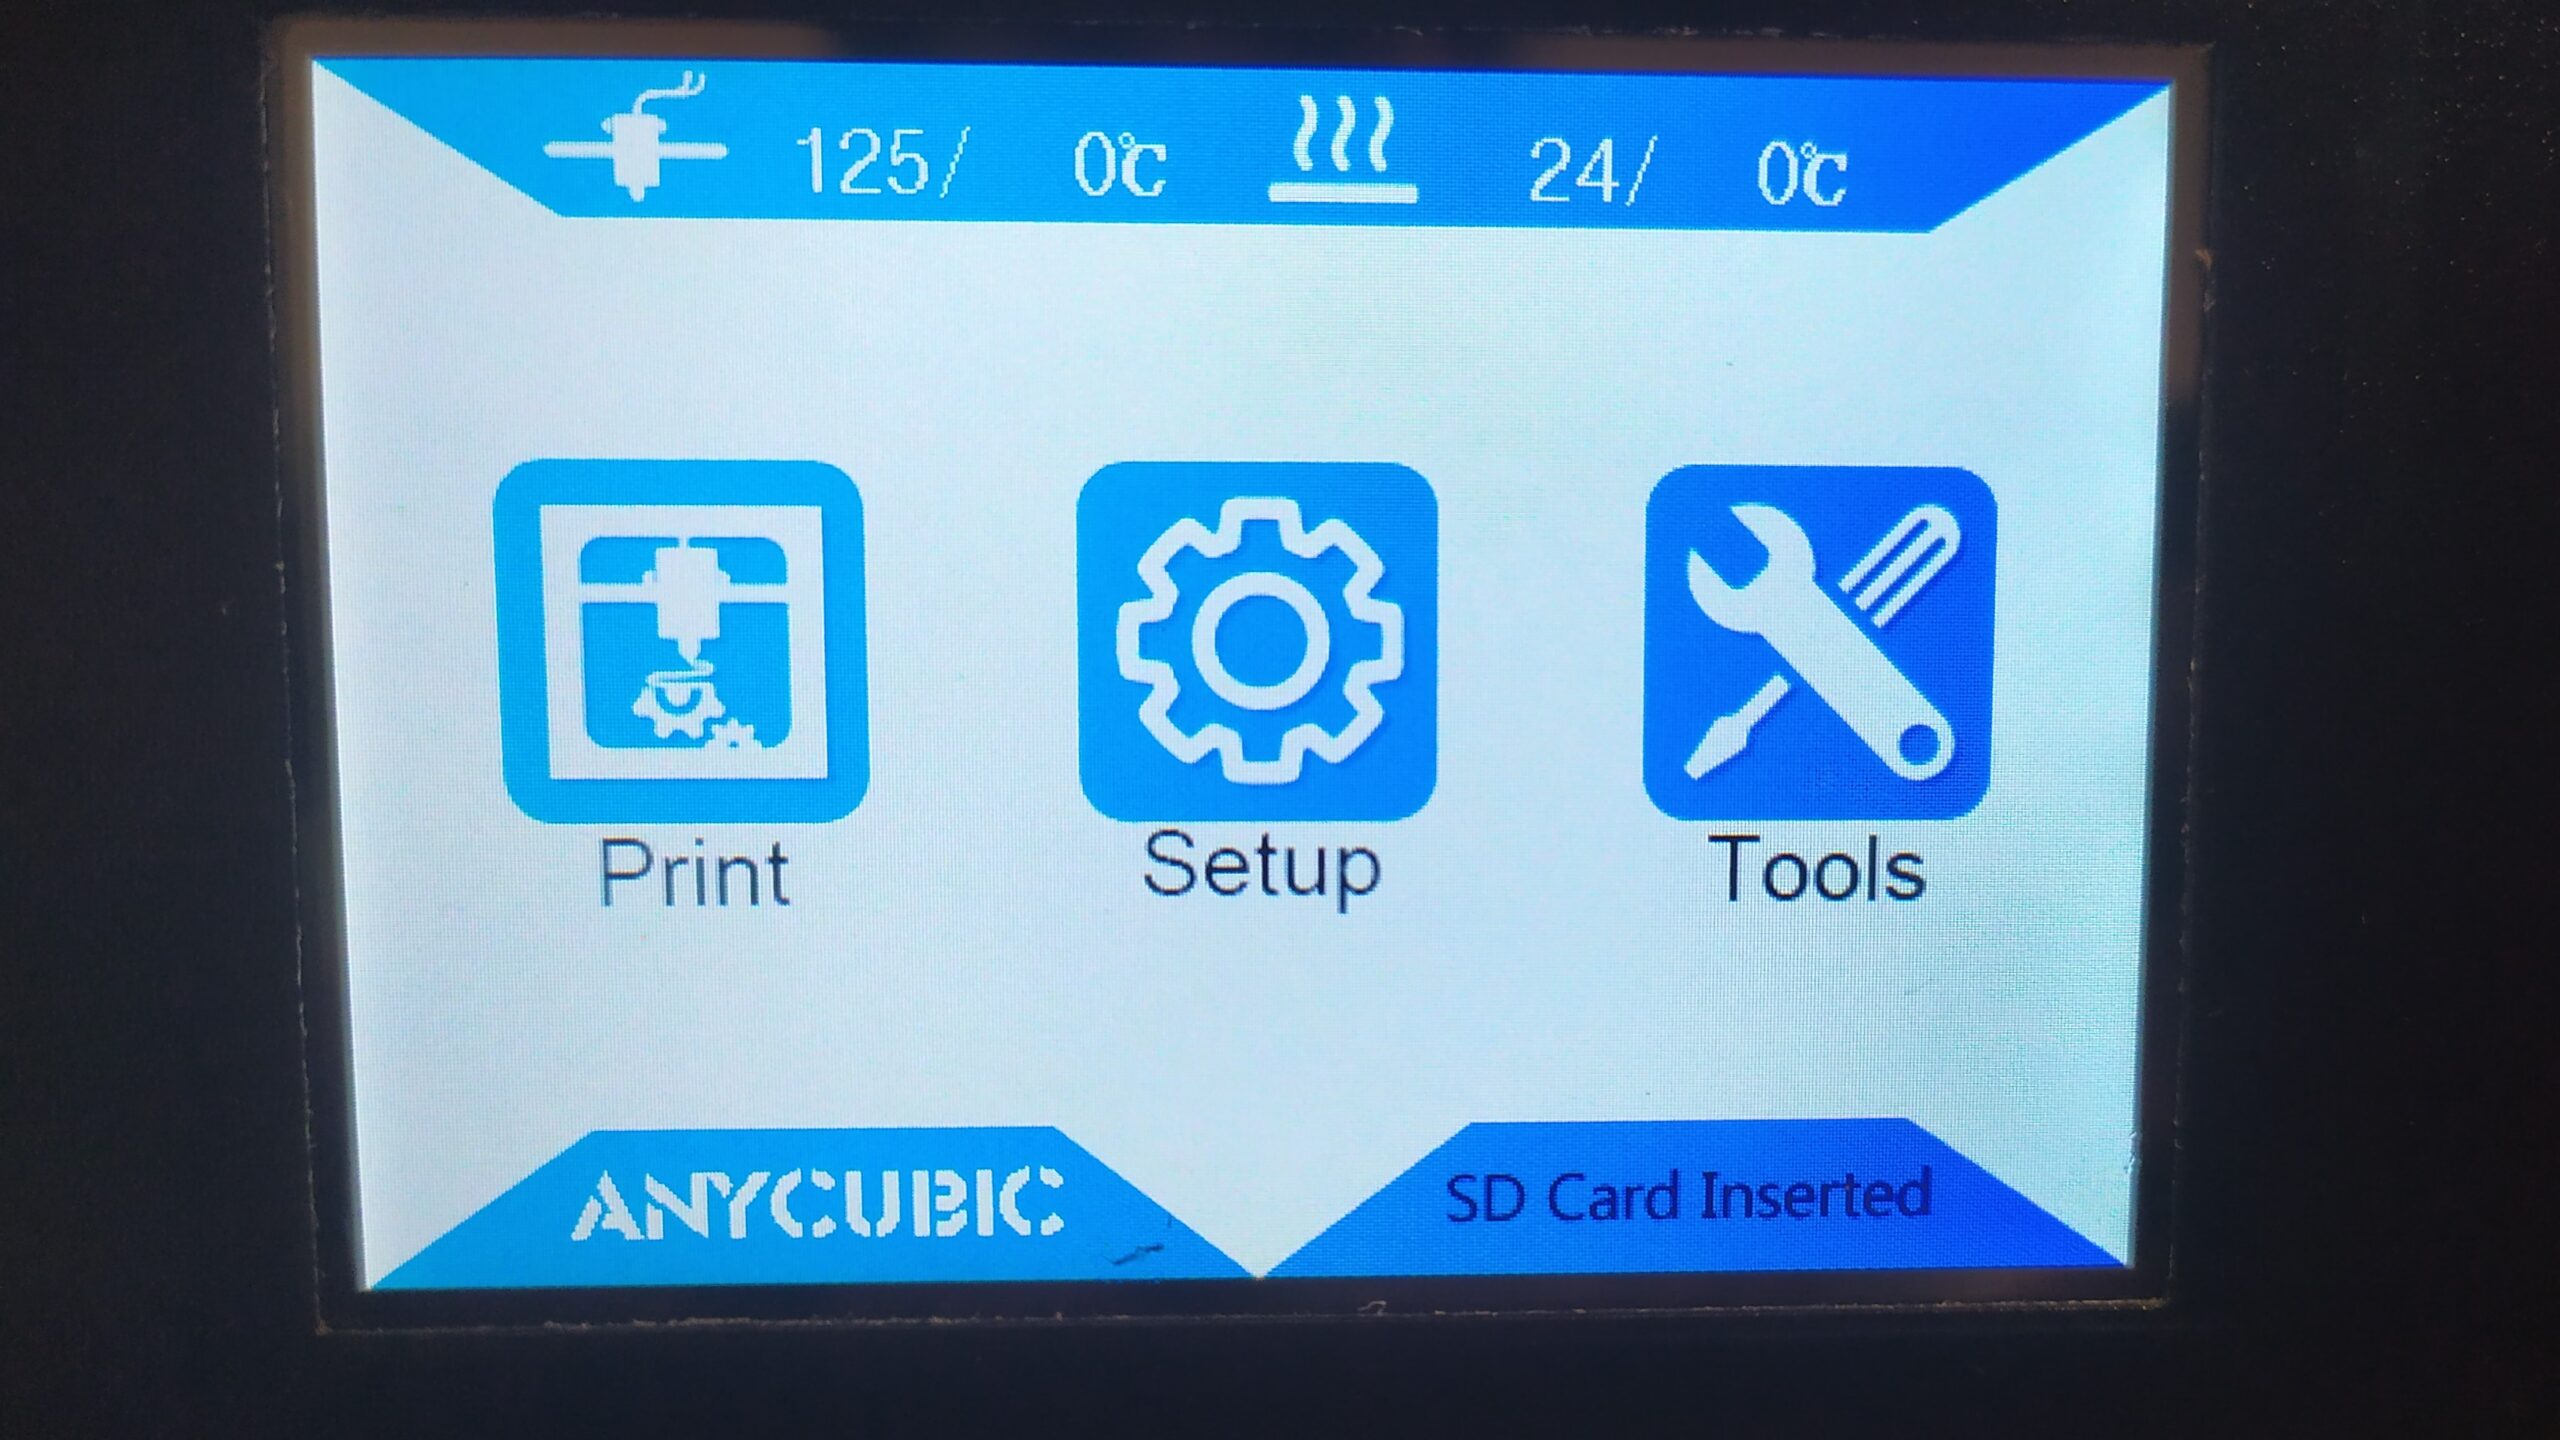
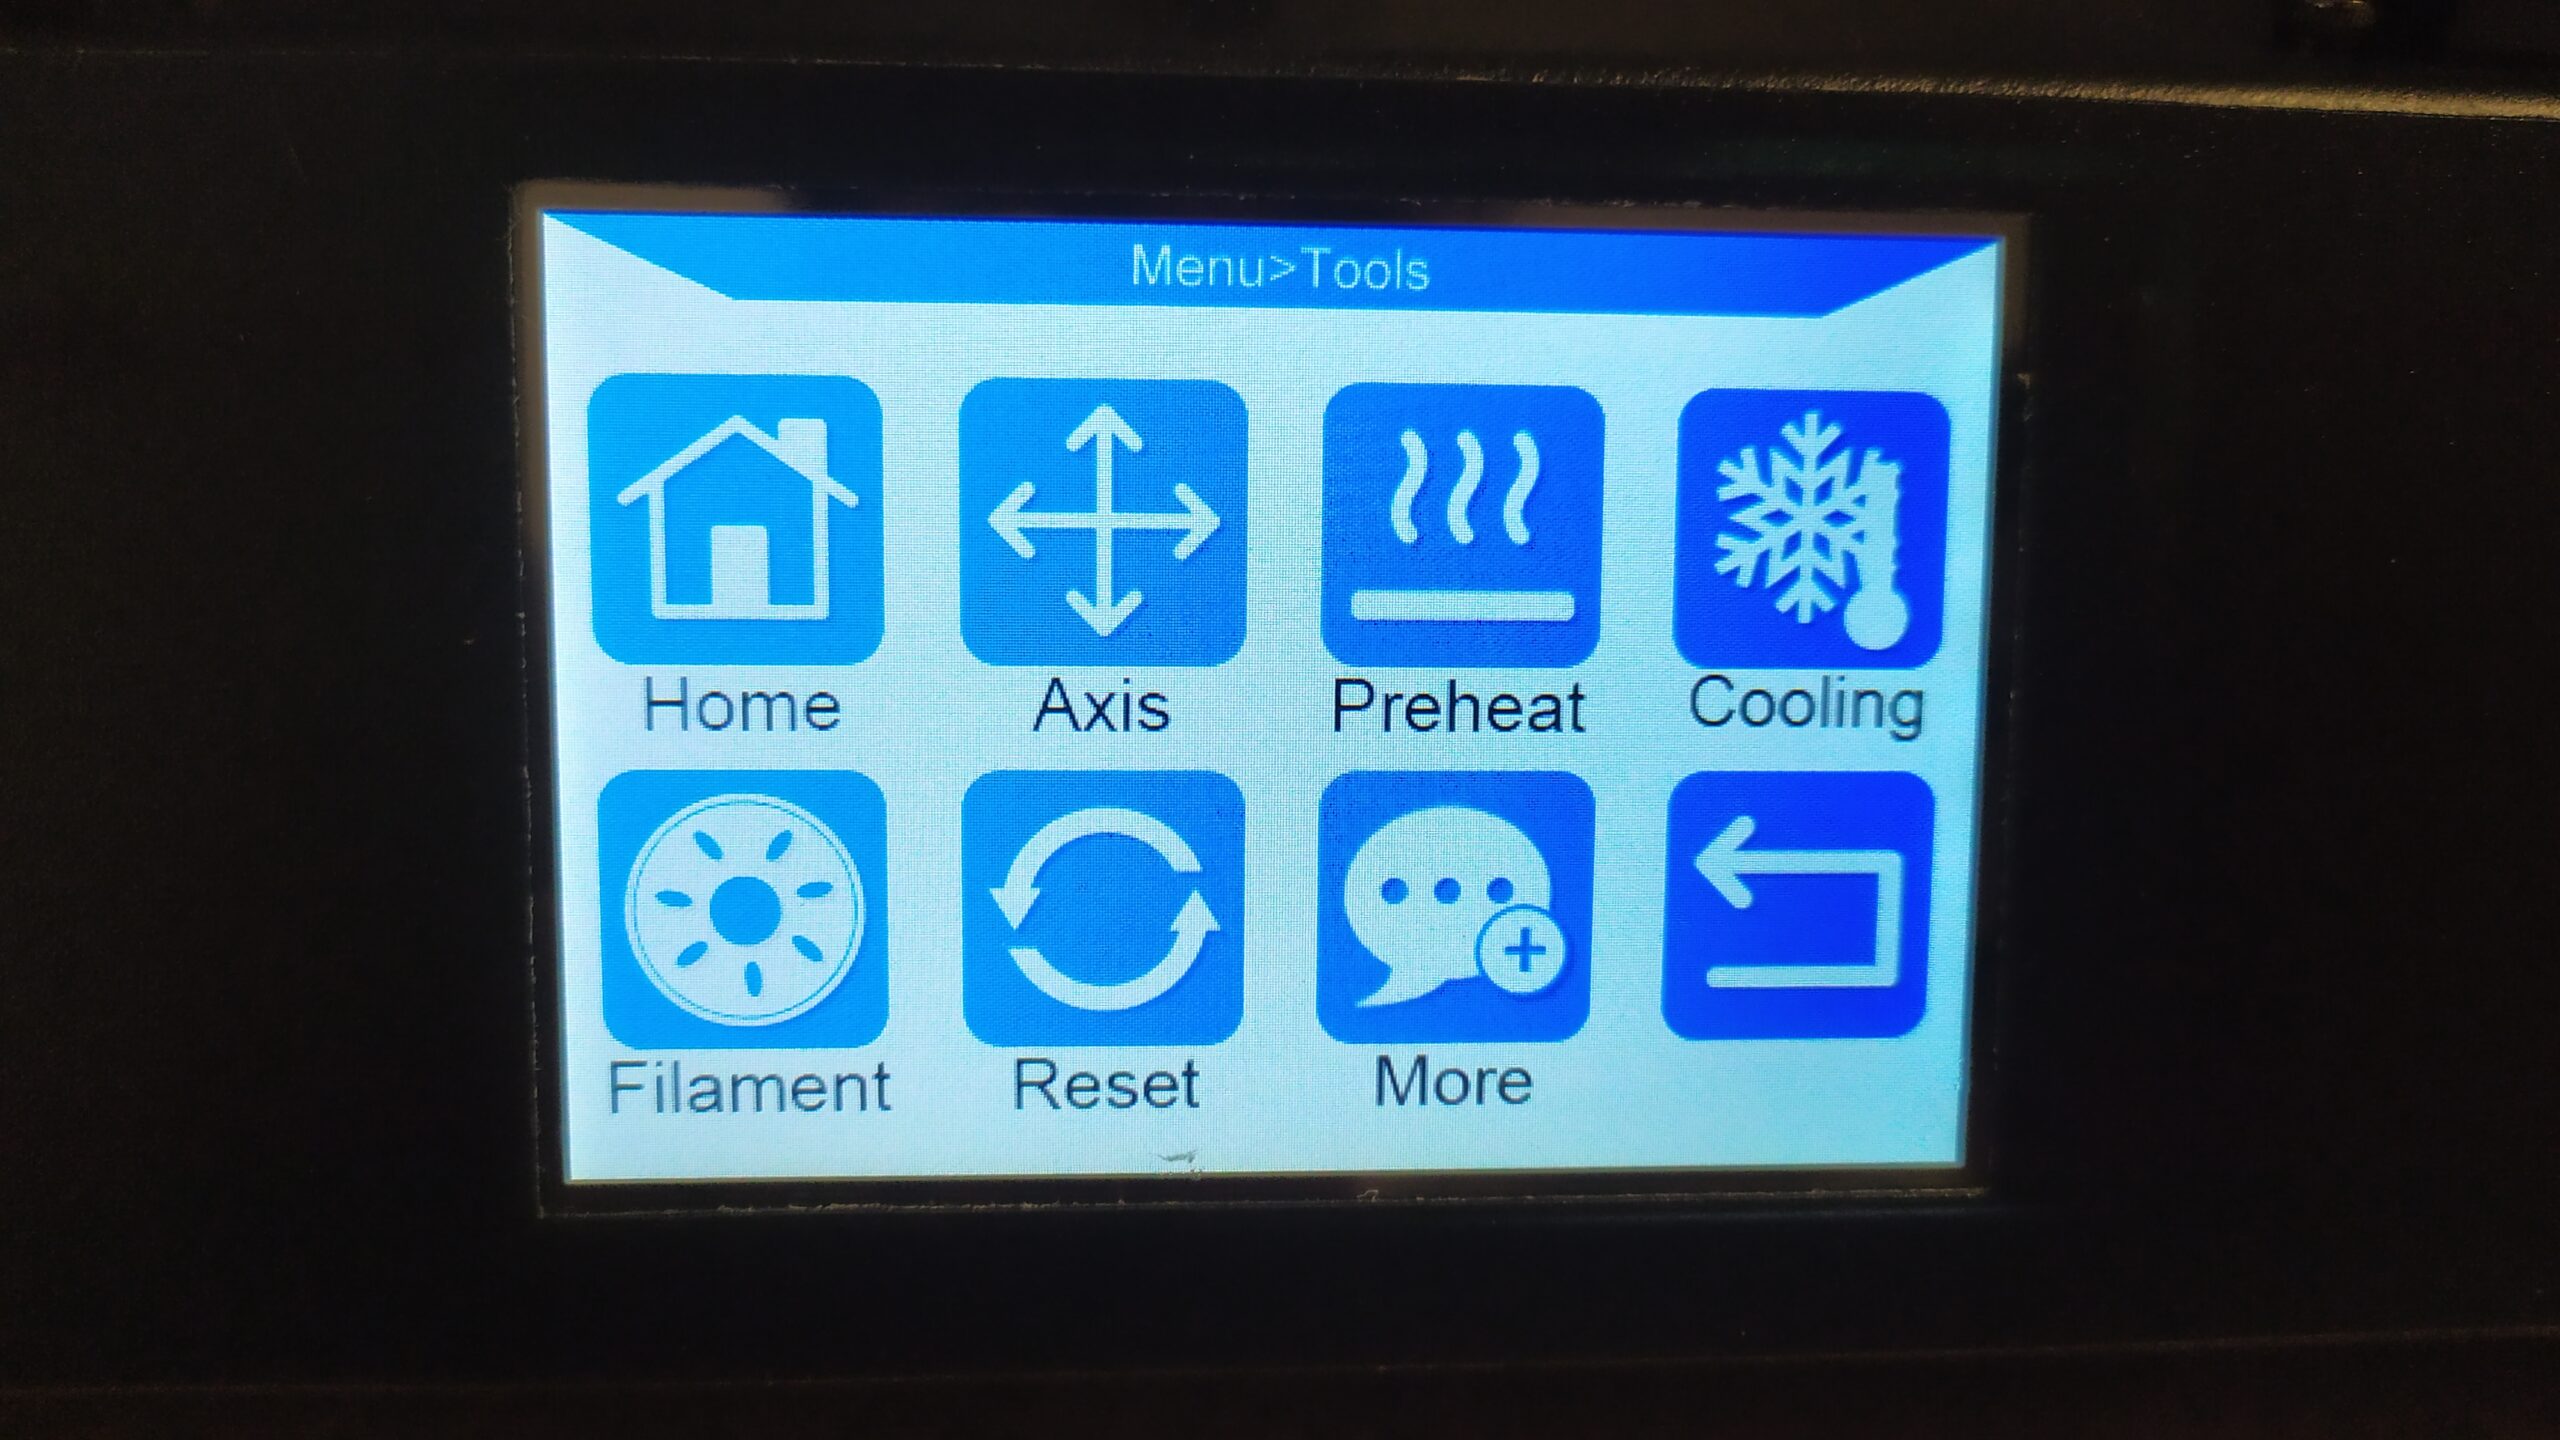
Click on Tools in the LCD menu.
Click on Filament in the left lower corner.
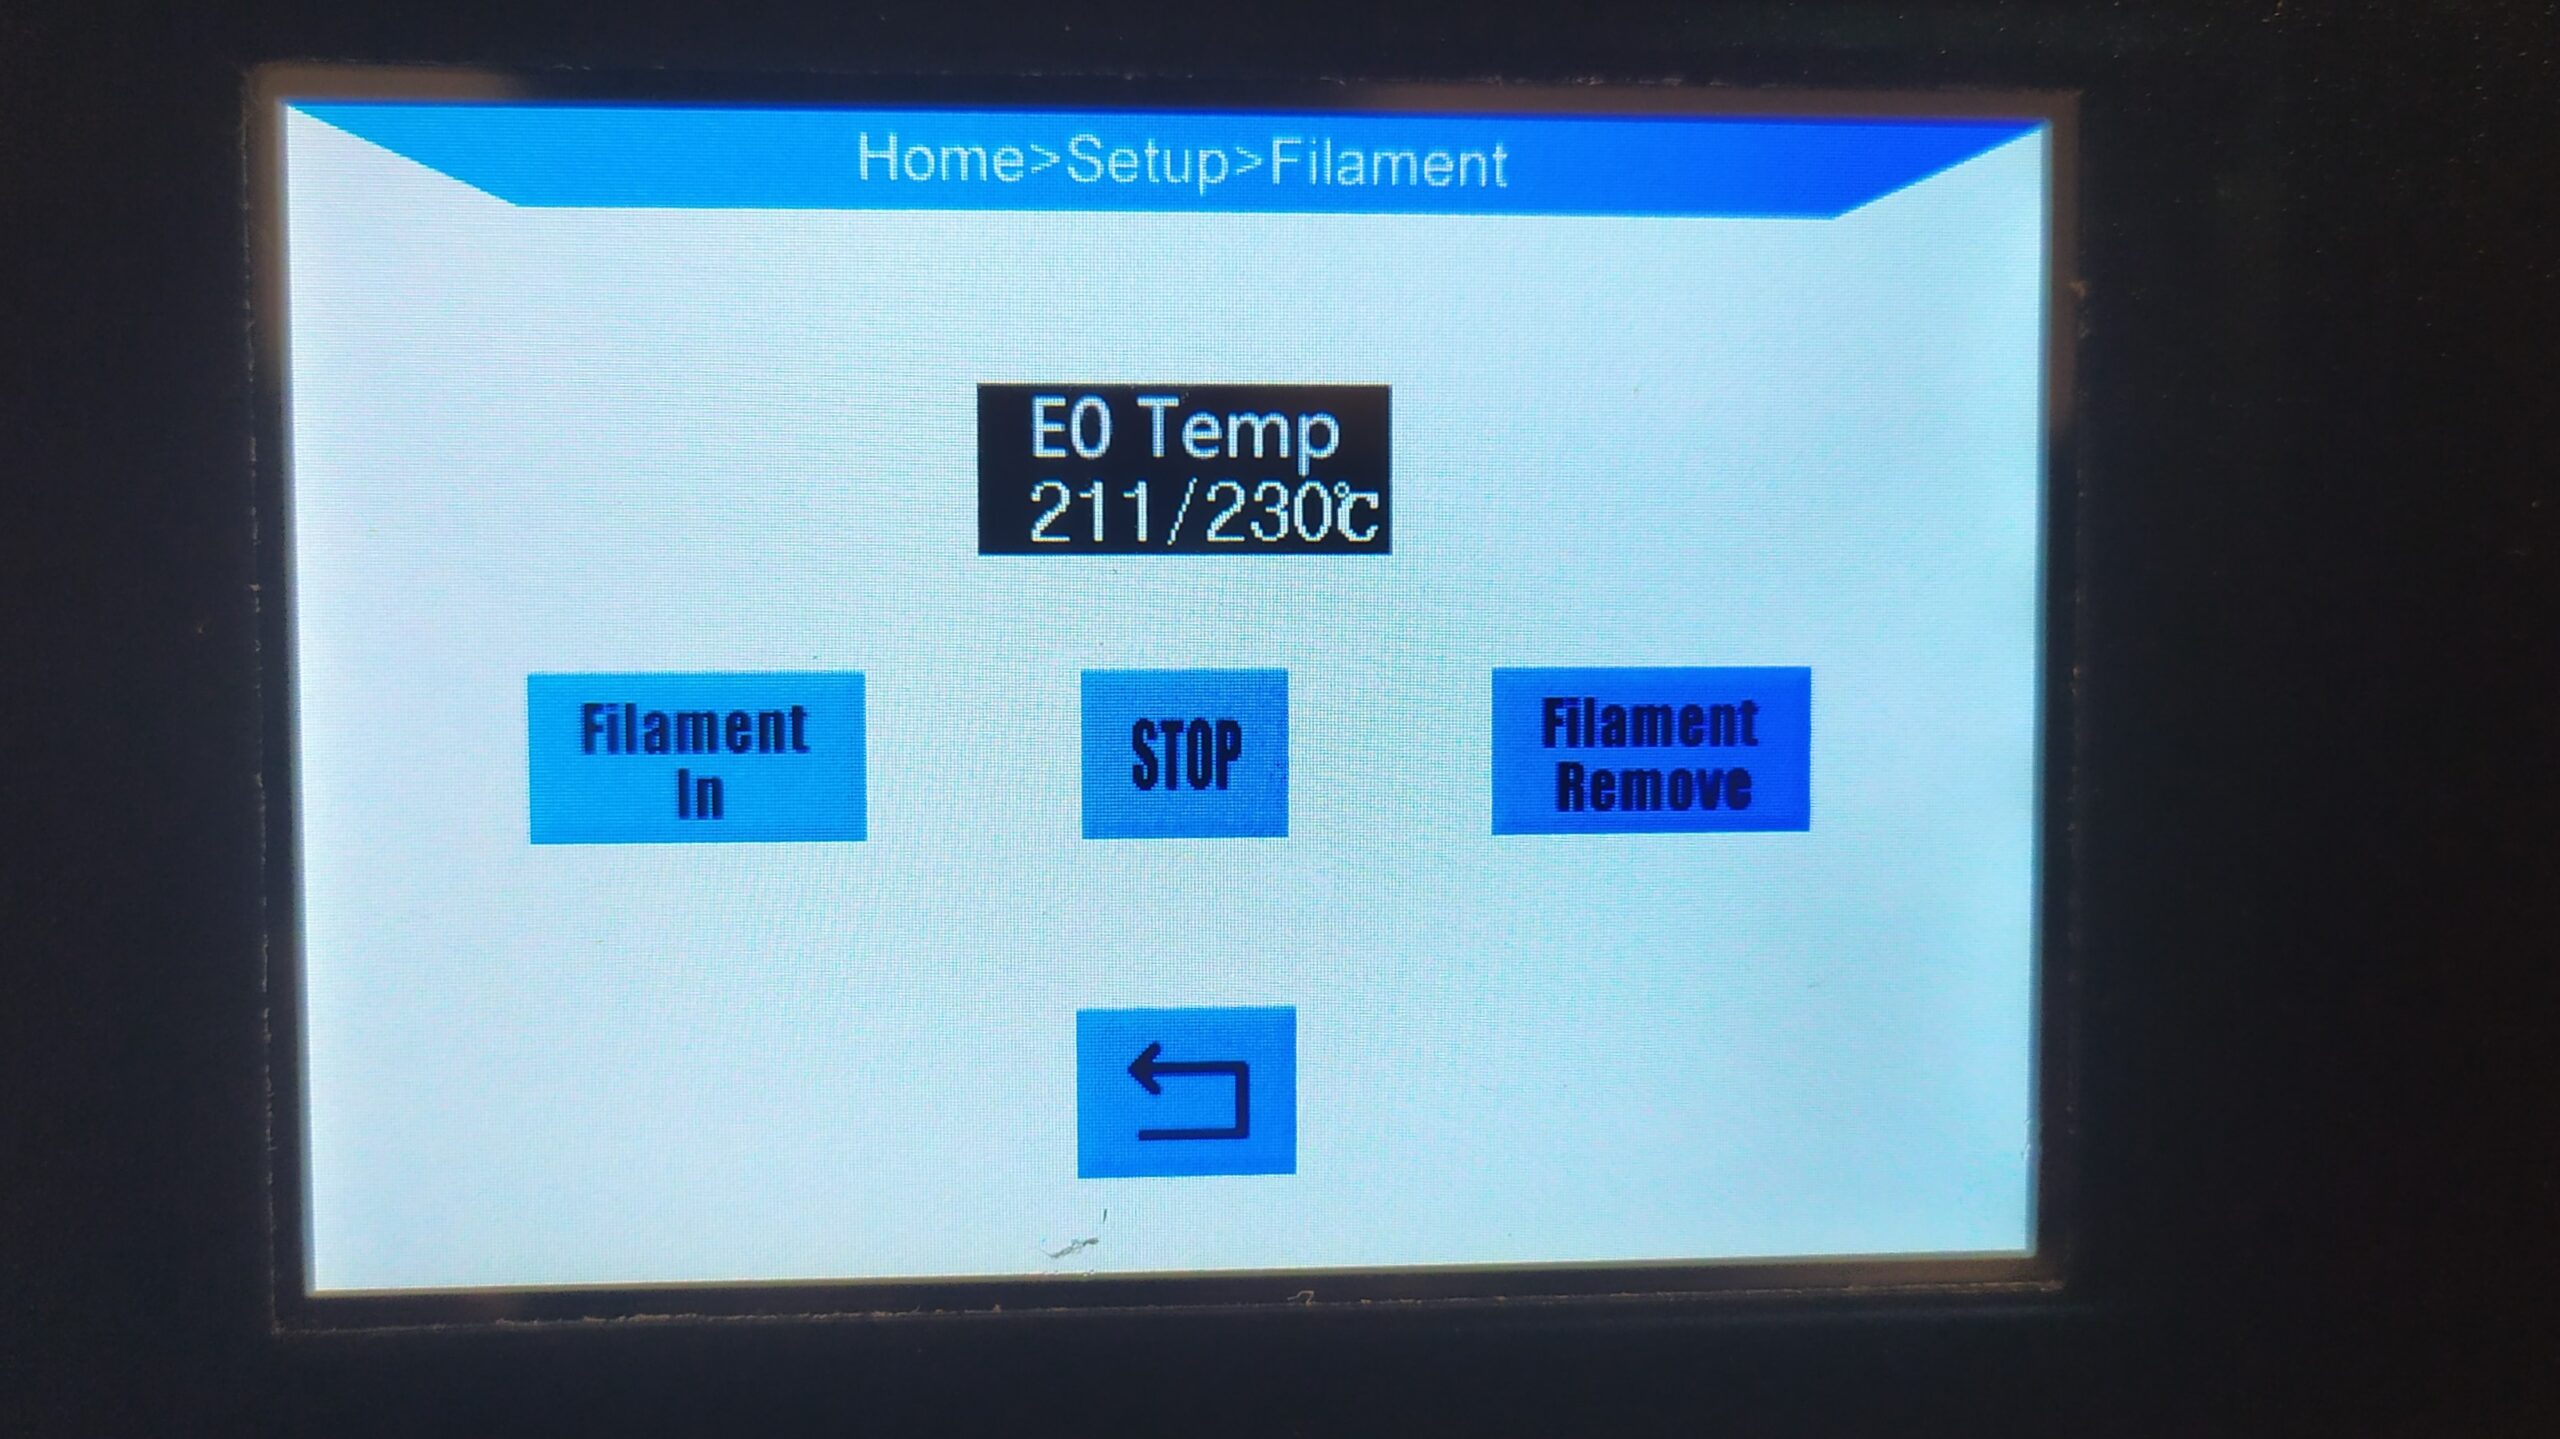
Click on Filament In.
This feature heats up the nozzle to 230°C and it starts pushing filament in until you press STOP.
Press STOP when the filament starts flowing through the nozzle.
Insert SD card from Anycubic into the printer.
You can locate SD slot next to the filament holder.

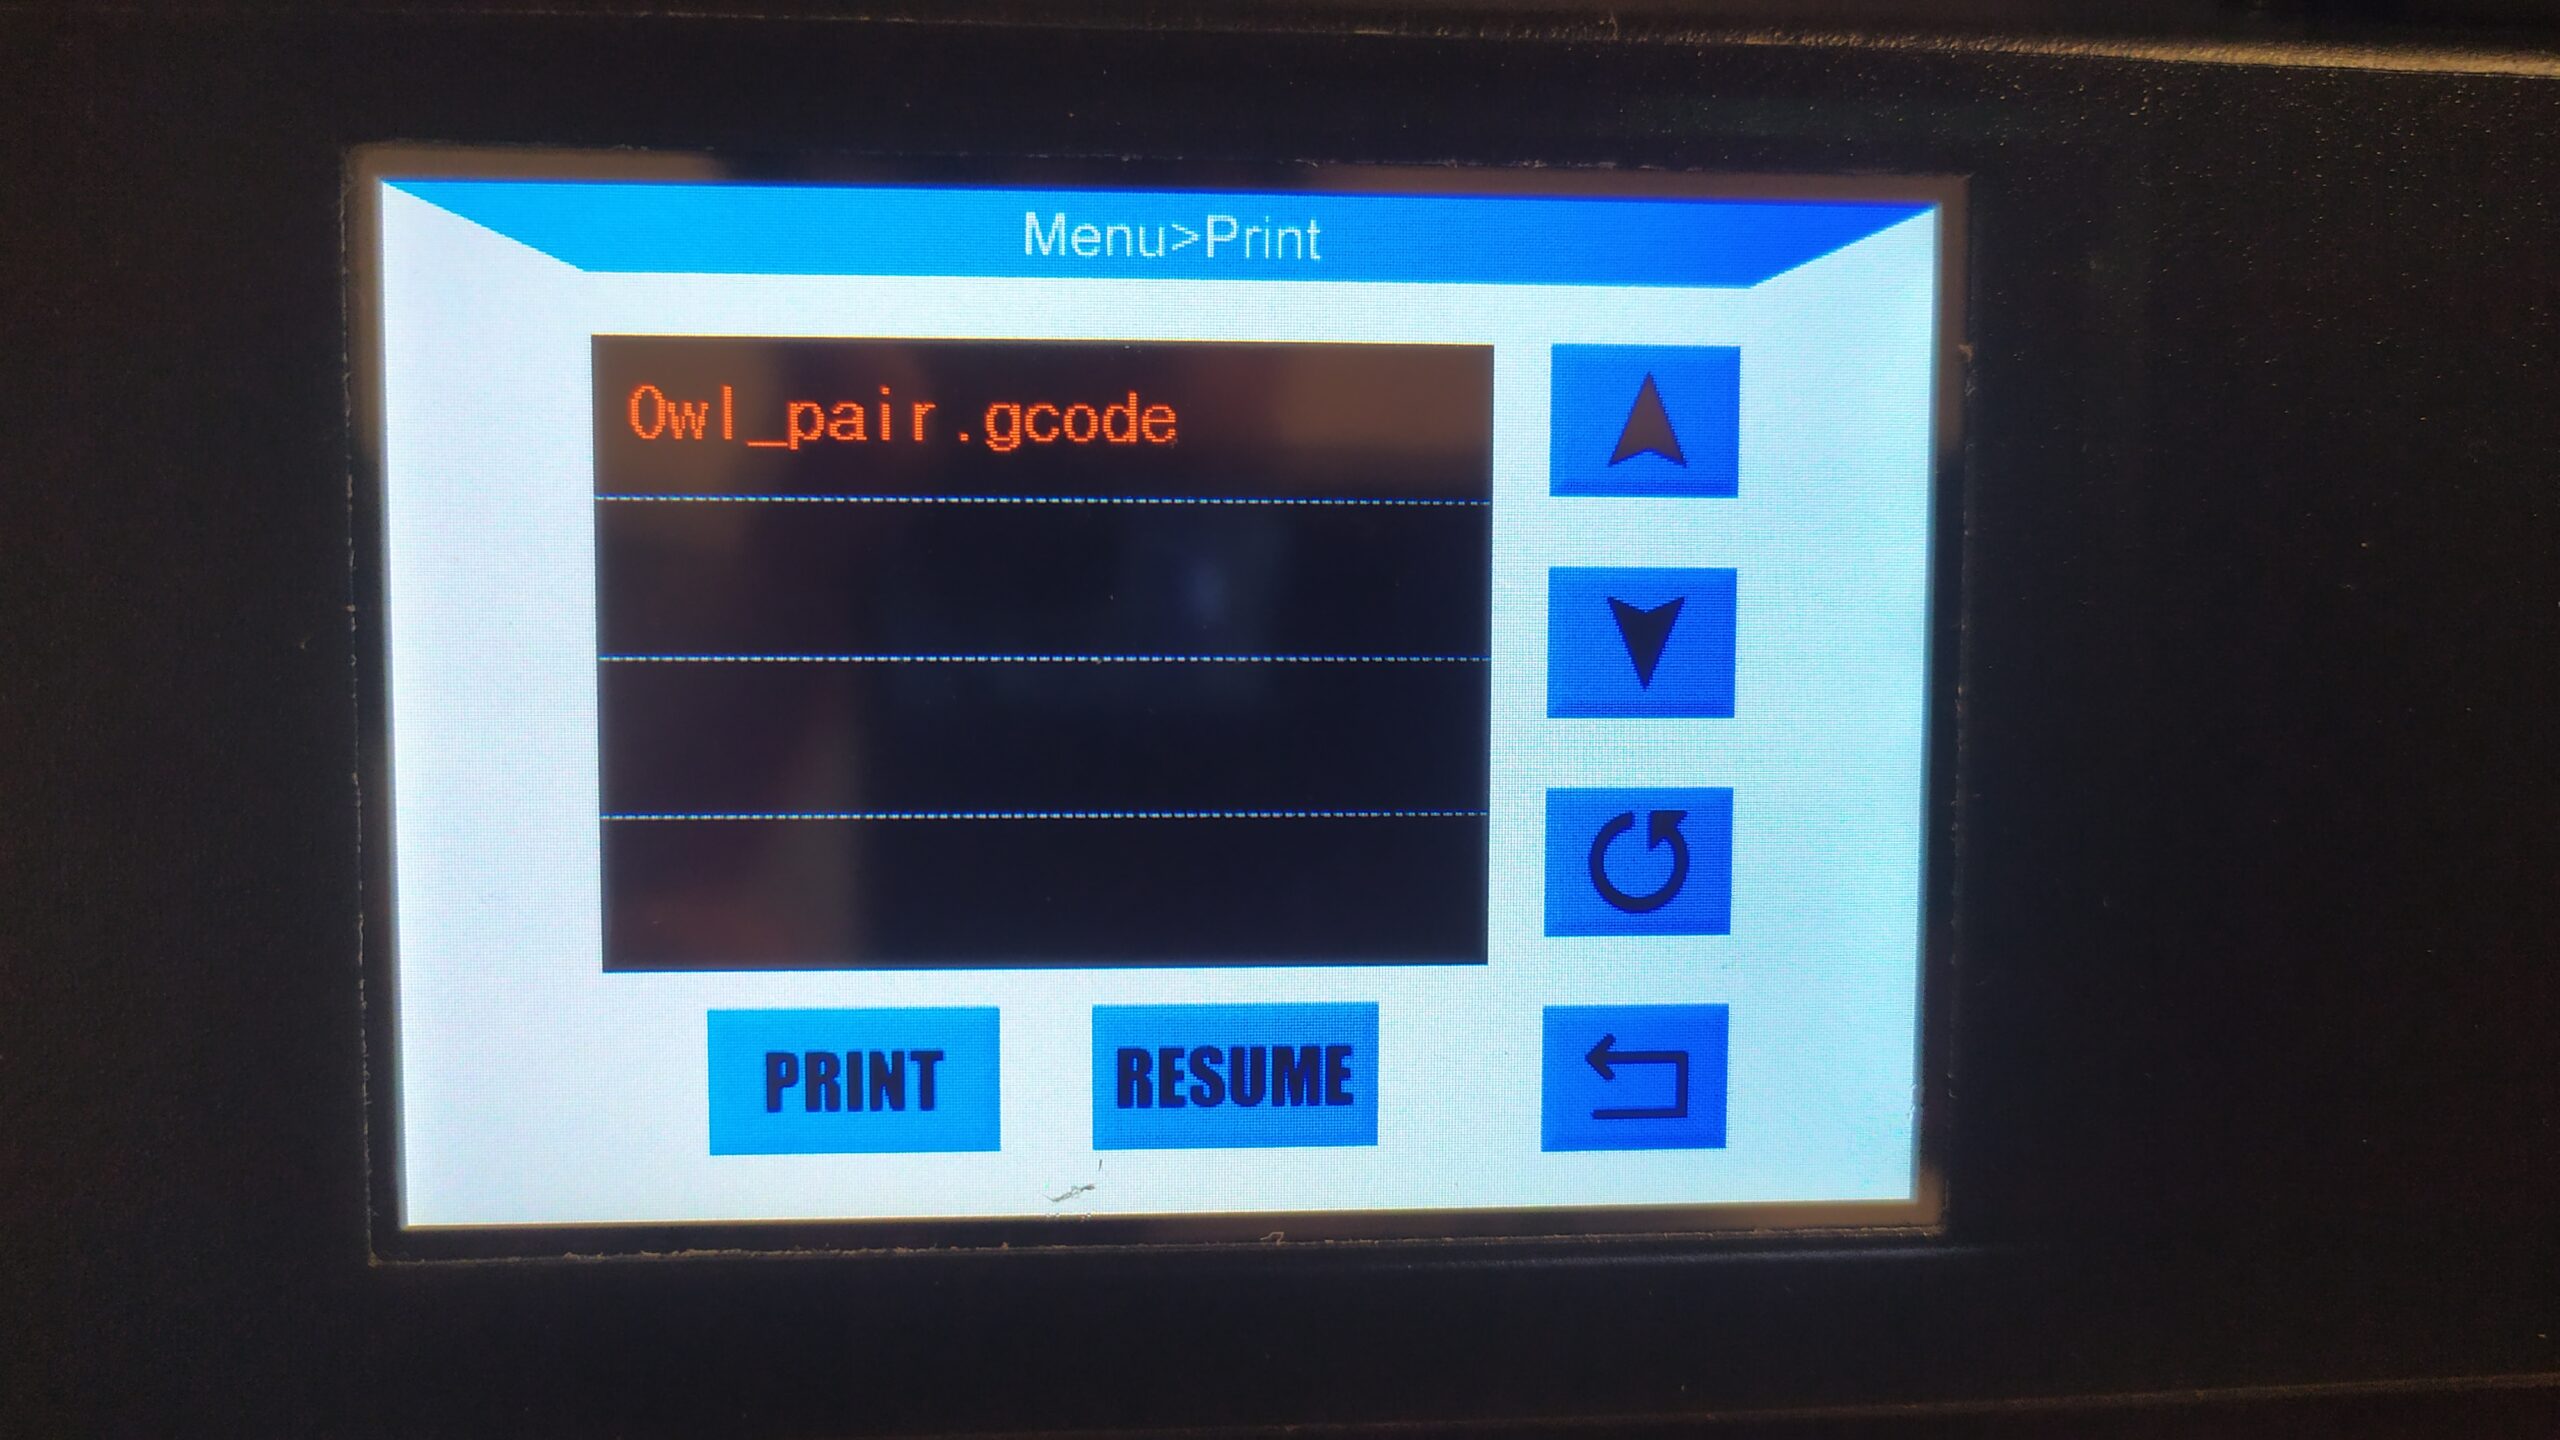
Click on PRINT.
You will see only this file from your original SD card.
Click on PRINT
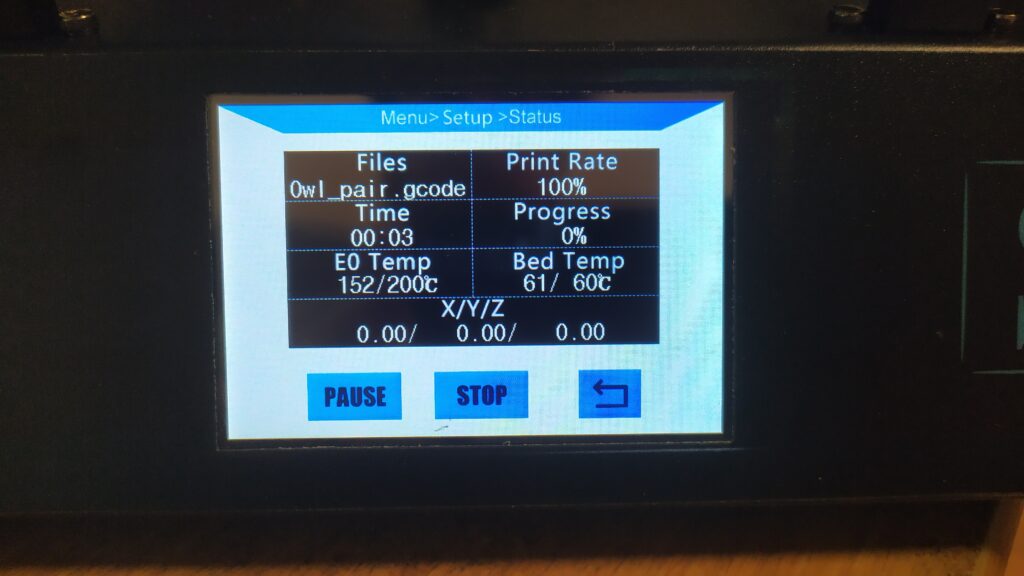
As you can see in this picture, bed has already reached desired temperature – 60°C.
Extruder is heating up at the moment to 200°C.
Once the temperature is achieved, printer will home to (x, y, z)= [0, 0, 0] and will start printing.
Very carefully watch the first layer.
If the nozzle touches the bed, you need to press STOP on LCD and recalibrate your bed.
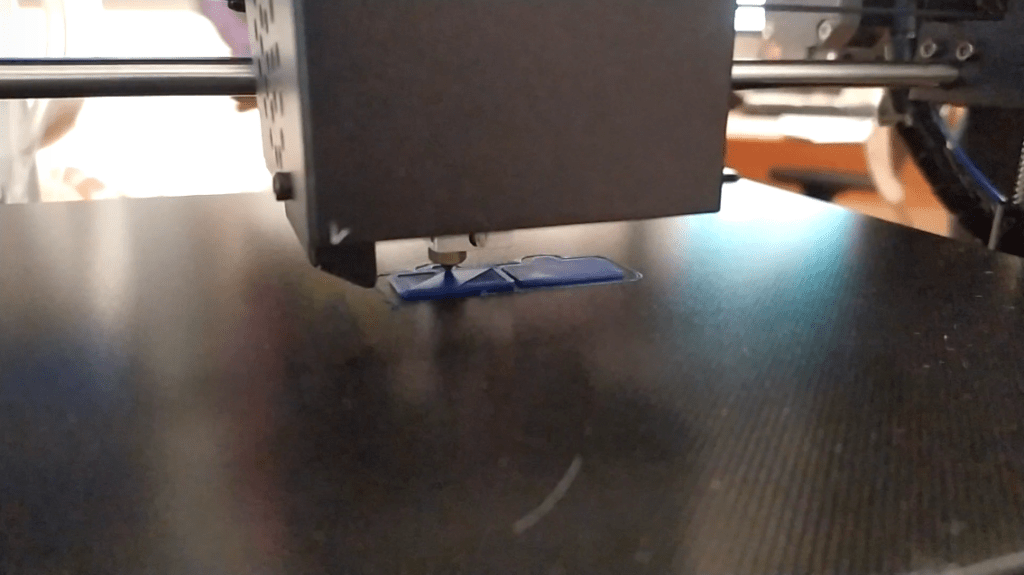
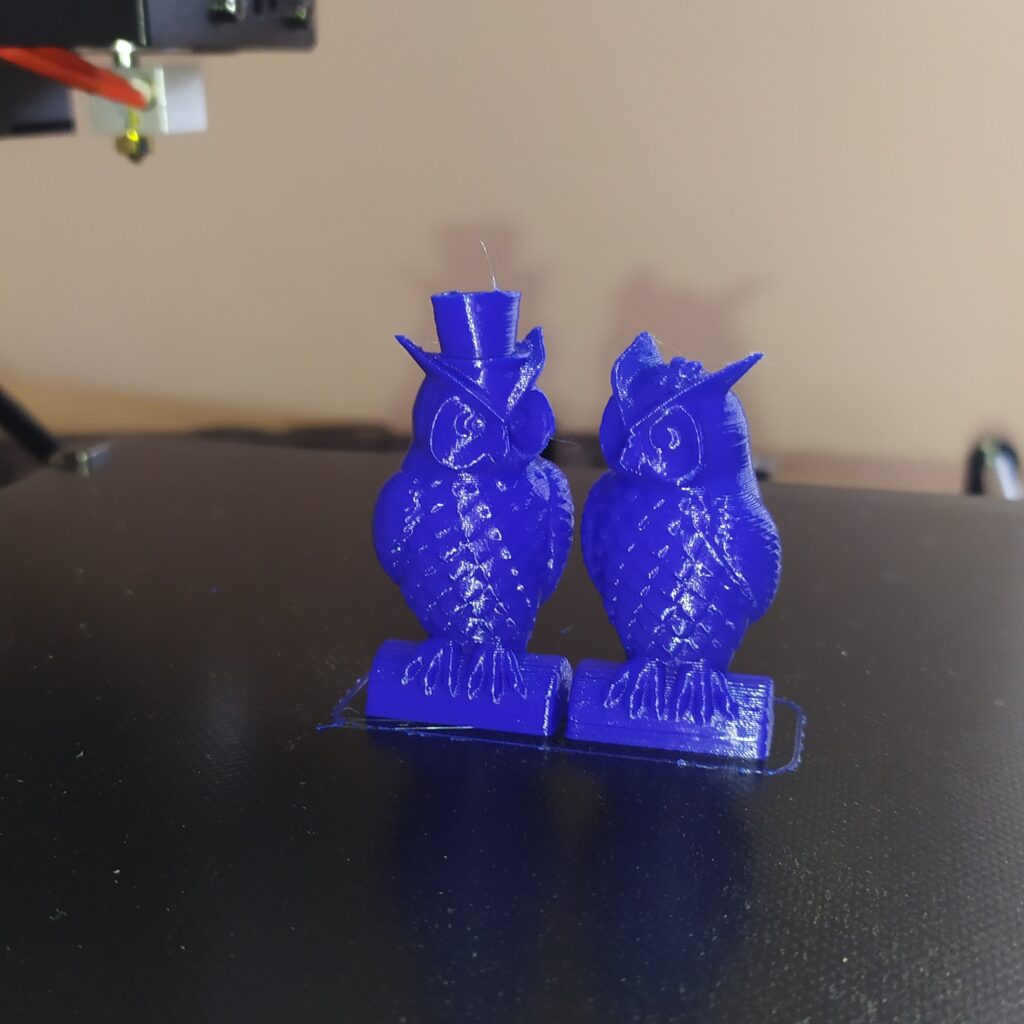
Layer by layer, the model is being printed.
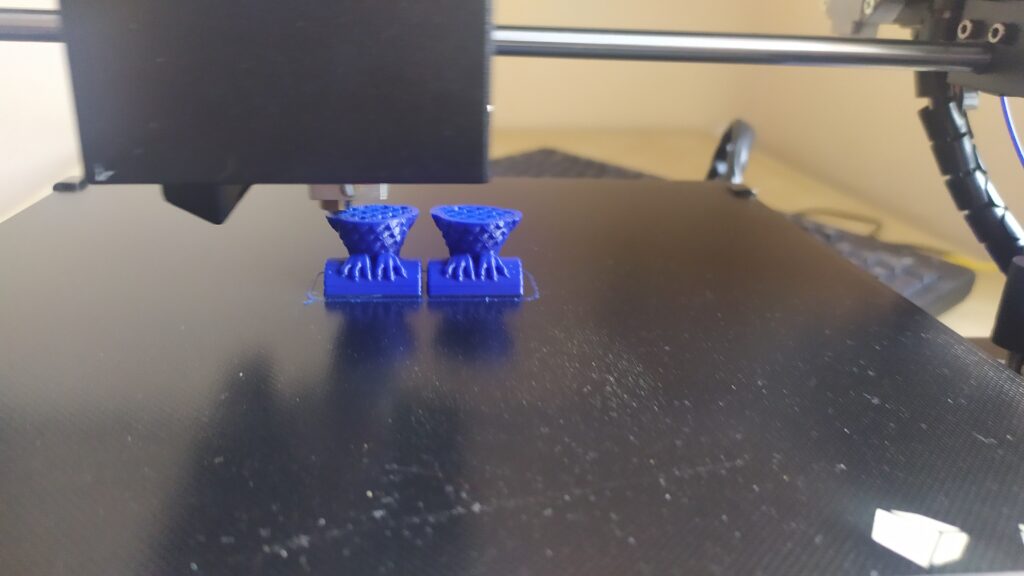
Heureka. your test model has beed printed.