Anycubic Kossel E3D V6 Upgrade

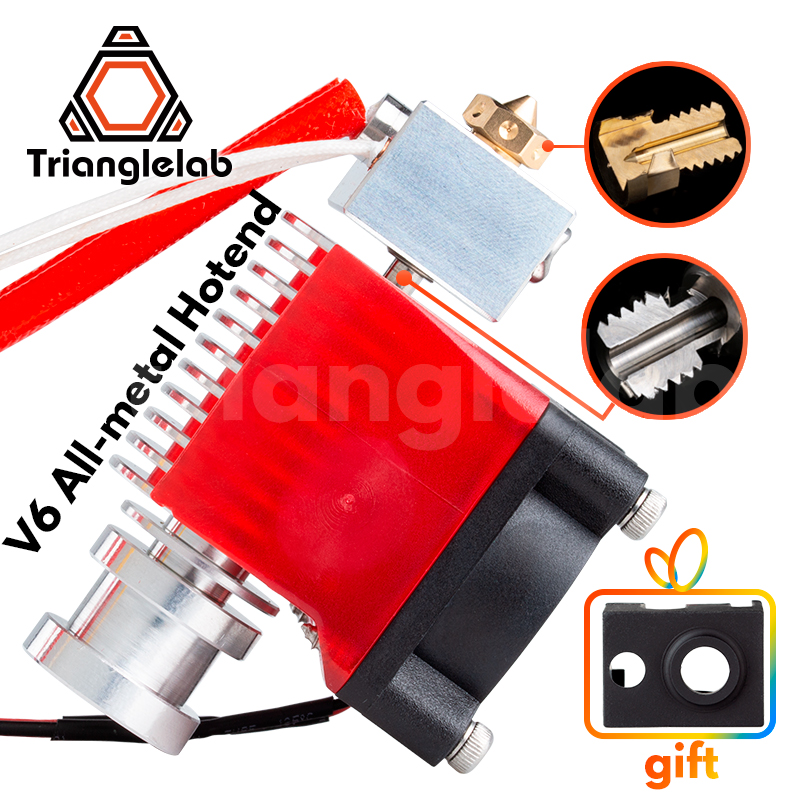
TriangleLab V6 complete set
You will need a good quality V6 hot end set. I prefer Trianglelab, because their products are well tested by thousands of people and I use it on multiple 3D printers without any problems. Do not forget to choose the correct type.
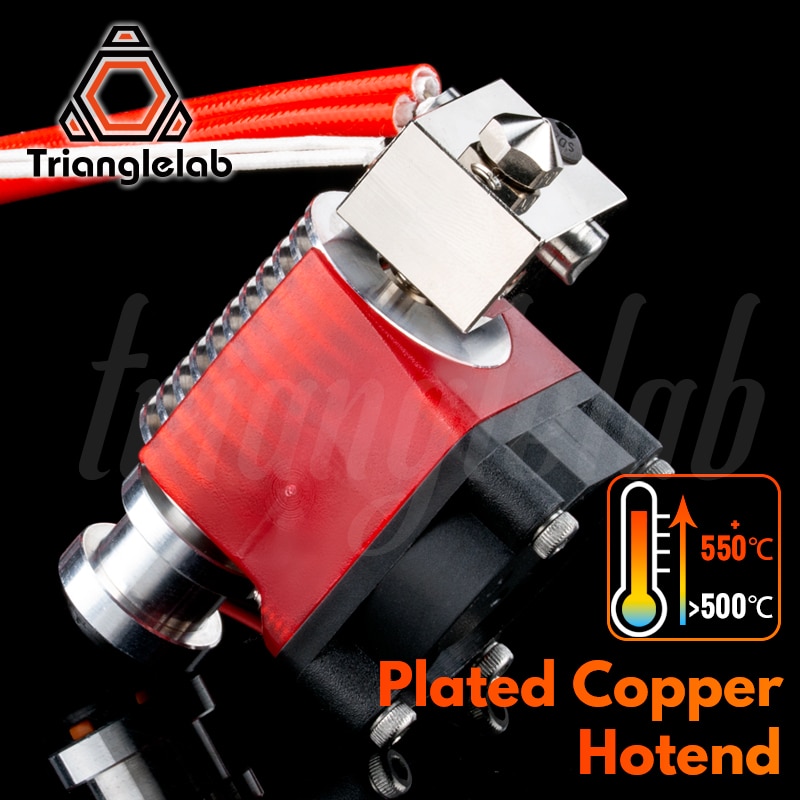
TriangleLab V6 complete set
If you want even better hot end, you can buy this one. Hot end and nozzle are made from copper and are plated with a very hard nickel material.
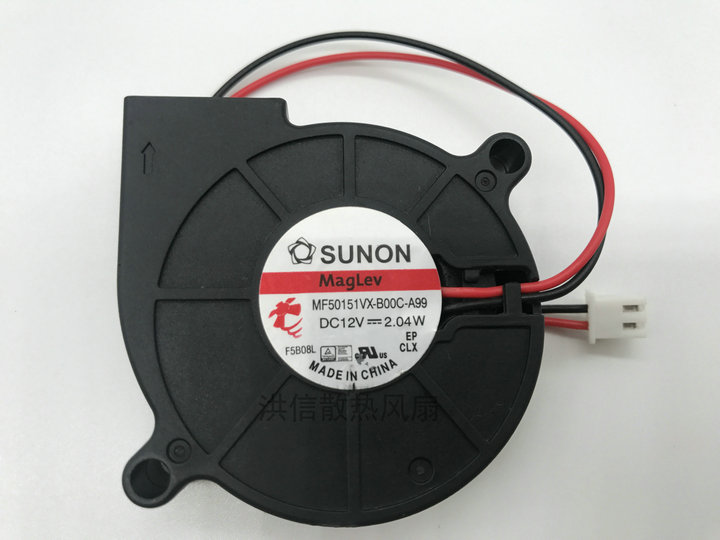
Sunon 5015 cooling fan
Good cooling fan is necessary for good printing results. I have tested a lot of them and these two are winners. Sunon is one of the best fan brands, but is kind of pricy.

3D-Spring 5015 cooling fan
You can also buy cheaper cooling fan such as this, but it will be louder and the CFM (air flow) will be lower.
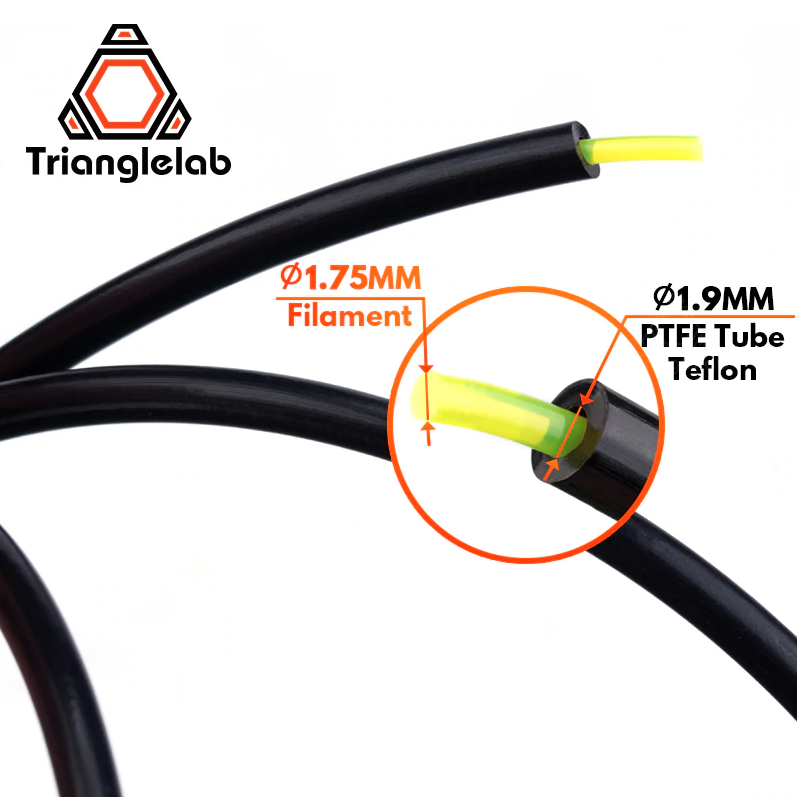
PTFE (bowden tube)
Order new , good quality PTFE tube (bowden). This one works very well and can withstand 250-260°C.
Hi Lukas,
I’d like to ask: what are your retraction settings for successful prints with PLA?
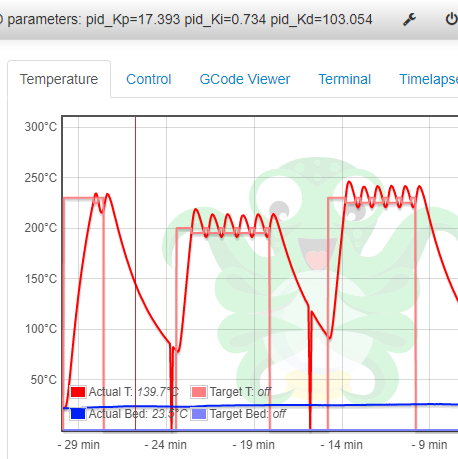
Hi, I have been using 4mm retractions with 30mm/s.
Hi Lukas,
In this guide multiple times you say use M3 bolts, but you never state their length (that I am aware of). Would you please reply with a parts list? As in:
2x M3 10mm
3x M3 8mm
2x washers (size)
Thanks in advance!!