Retraction is an extruder movement when the filament is pulled out of the nozzle and pushed back when needed.
Retraction works simply – when the nozzle moves between printing areas, extruder takes the filament out of the nozzle and pushes it back when the nozzle is in the next printing area.
You can tune retraction distance, speed, acceleration and also enable or disable z hop.
The difference between printing with and without rectraction can be seen below:
Open your slicer – Cura in this example and find retraction settings.
Turn it on and try to print something with default values.
If you are still not satisfied with the results, continue with the next steps in this guide and tune the settings.

I have tried to explain retraction settings the best way I can – with a lot of pictures and some text.
I hope that you will like this article.
Please do not forget to reslice the model after every settings modifications and print the new file.
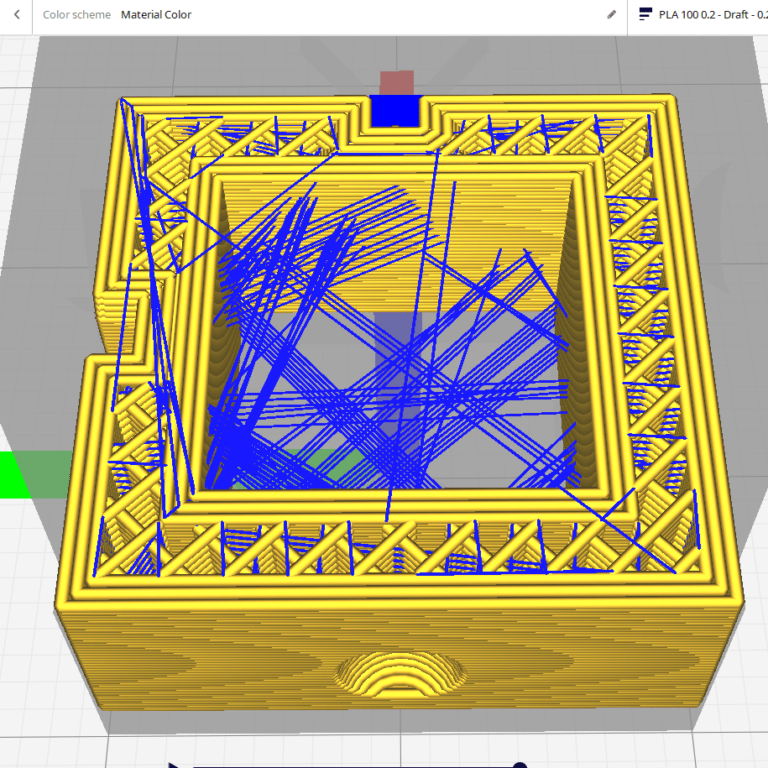
There are many retraction test models on Thingiverse, but I really like this one.
It tests retraction on both XY axis between 4 towers insead of simpler models with only 2 towers.
Thank the author with a like button.

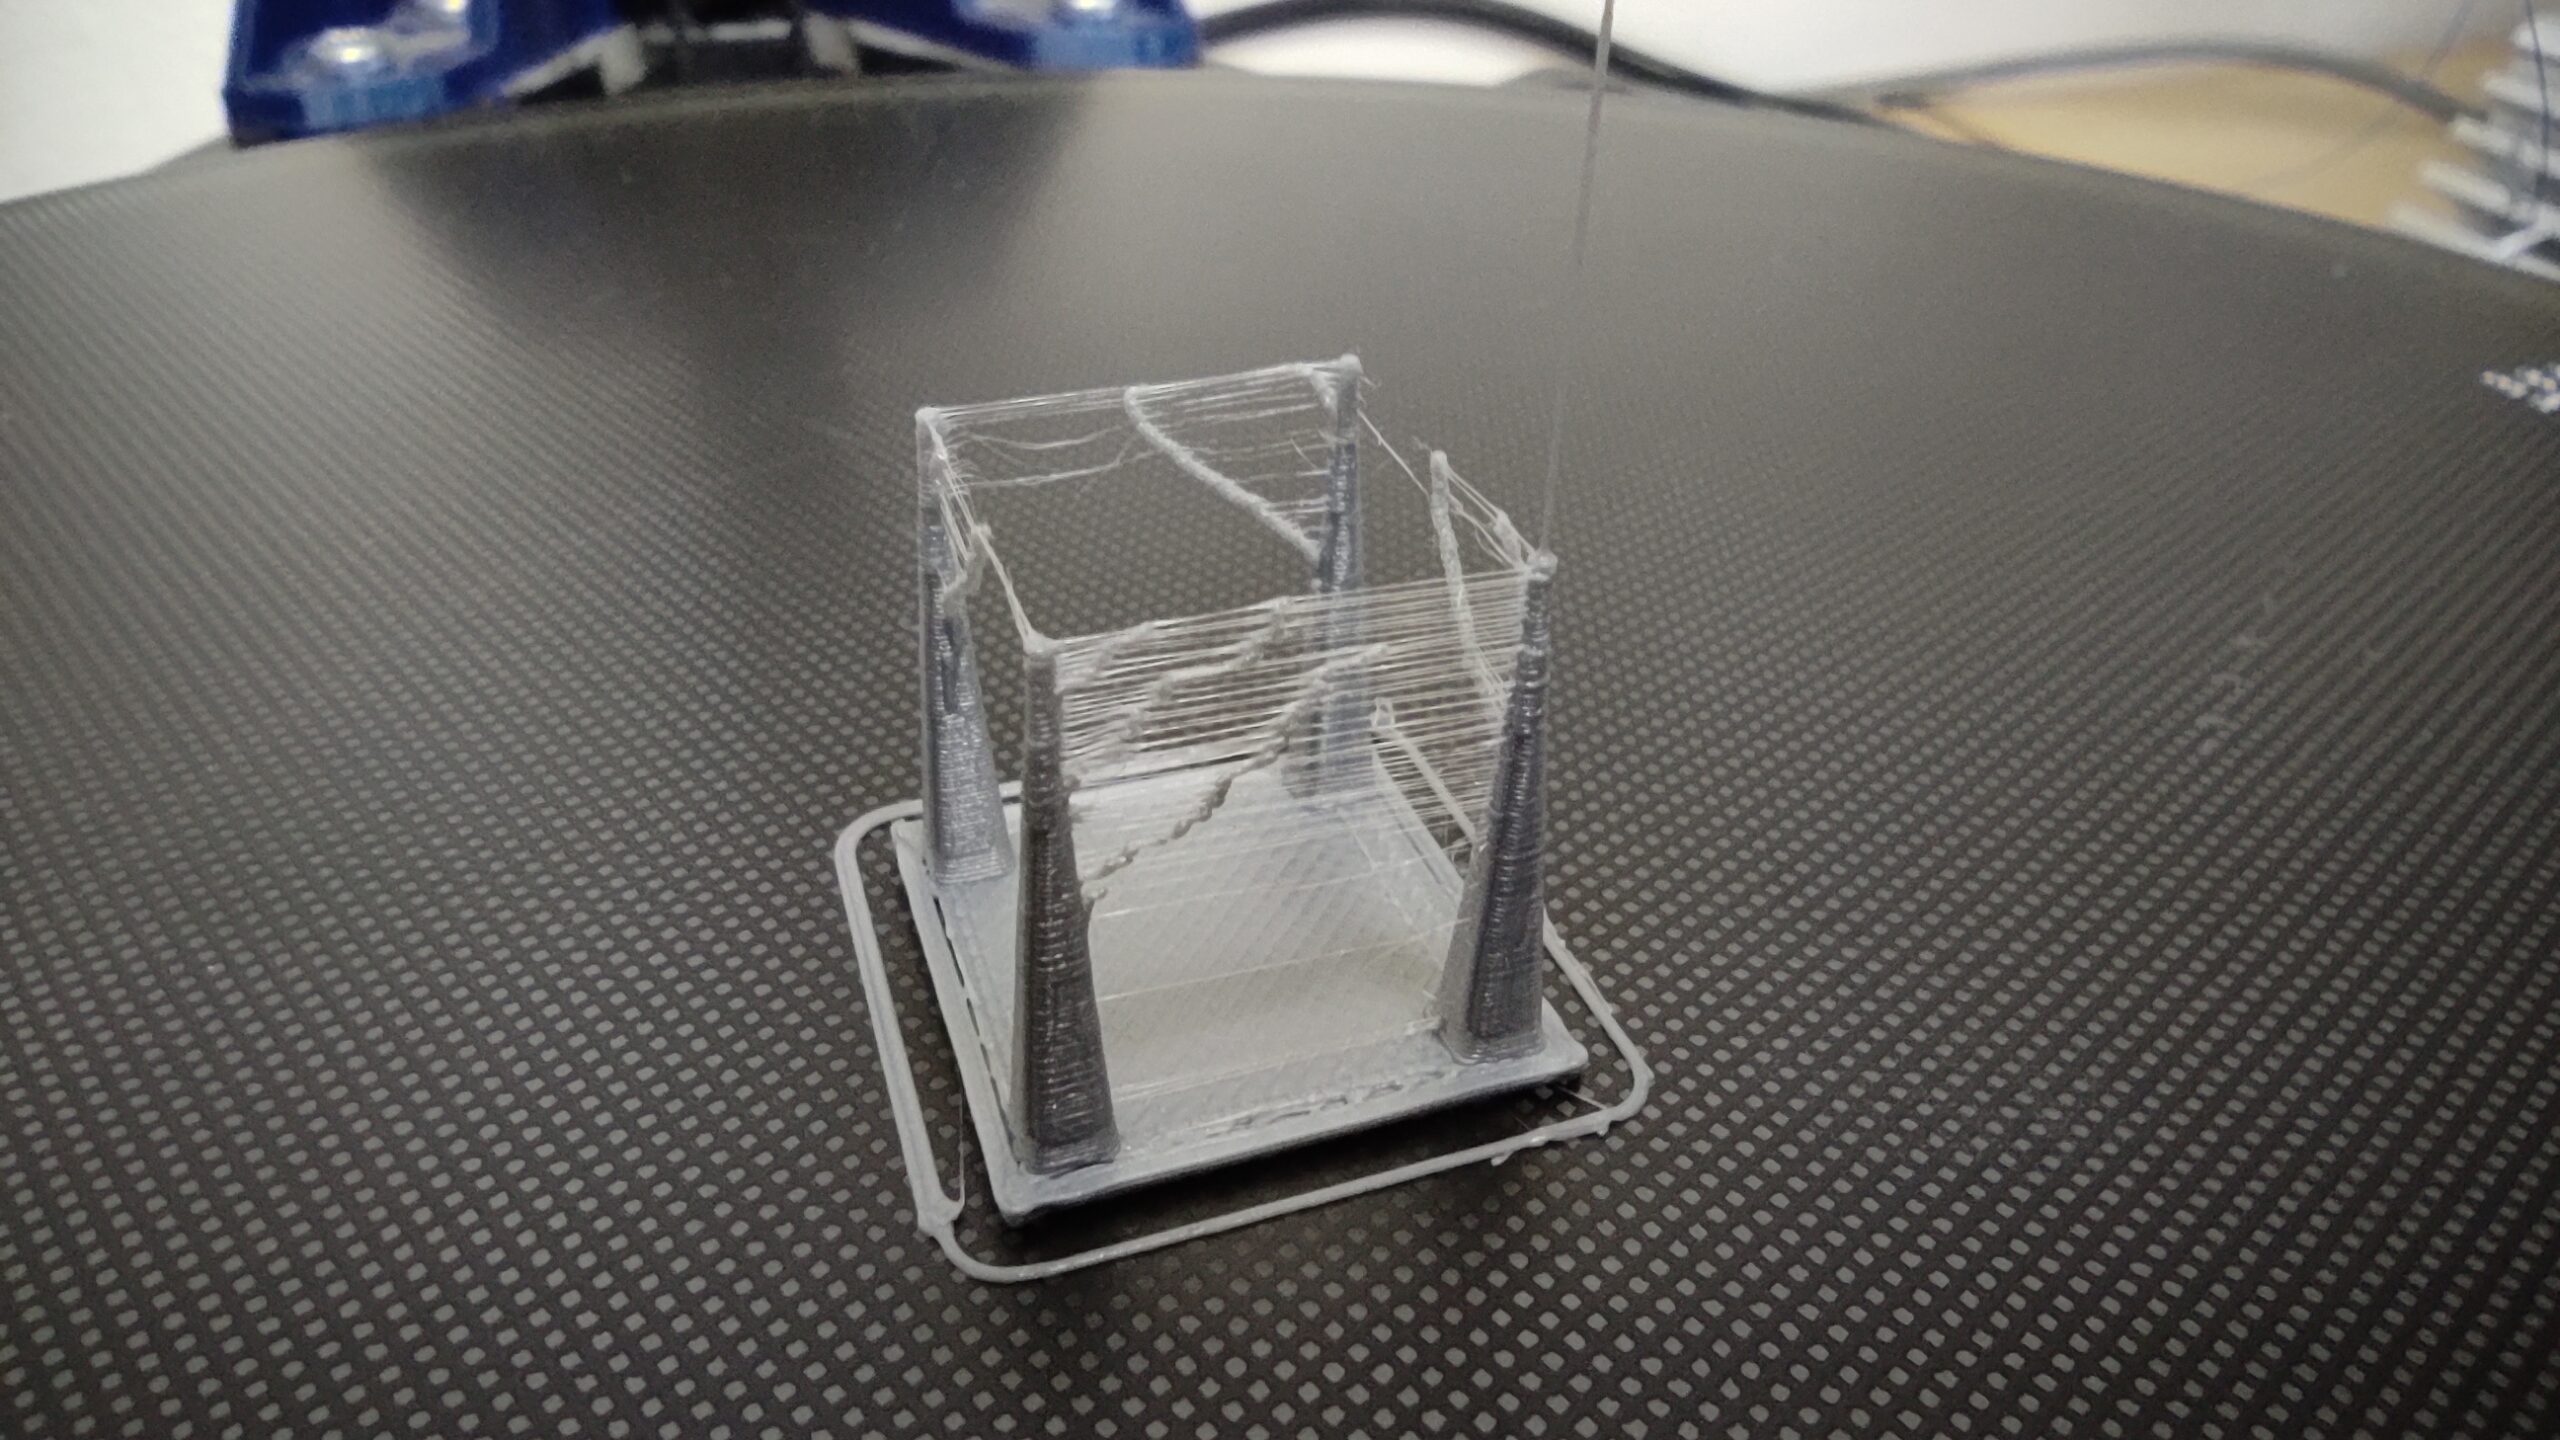
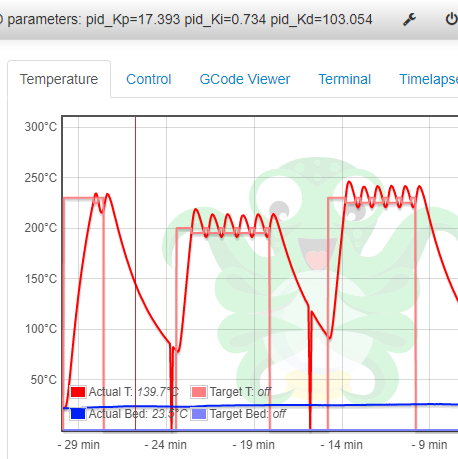
My first calibration round was with 215°C for PLA.
I started with 2mm retraction and a 55mm/s retraction speed.
Why 215°C?
Because my “default” printing speed is 180mm/s and without turning the temperature higher a little bit, the layer do not stick together.
You can see the results for 2-6 mm retraction distance.

More pictures with this retraction tuning failure:
It is possible that your speed and temperature settings are really off and your retraction still does not work as it should.
At this point try to print a temperature tower or modify your speed settings.
As you saw earlier, it can happen that your retraction tuning will not be successful.
Try to modify your slicer settings.
High or low temperature is usually the cause of these problems.
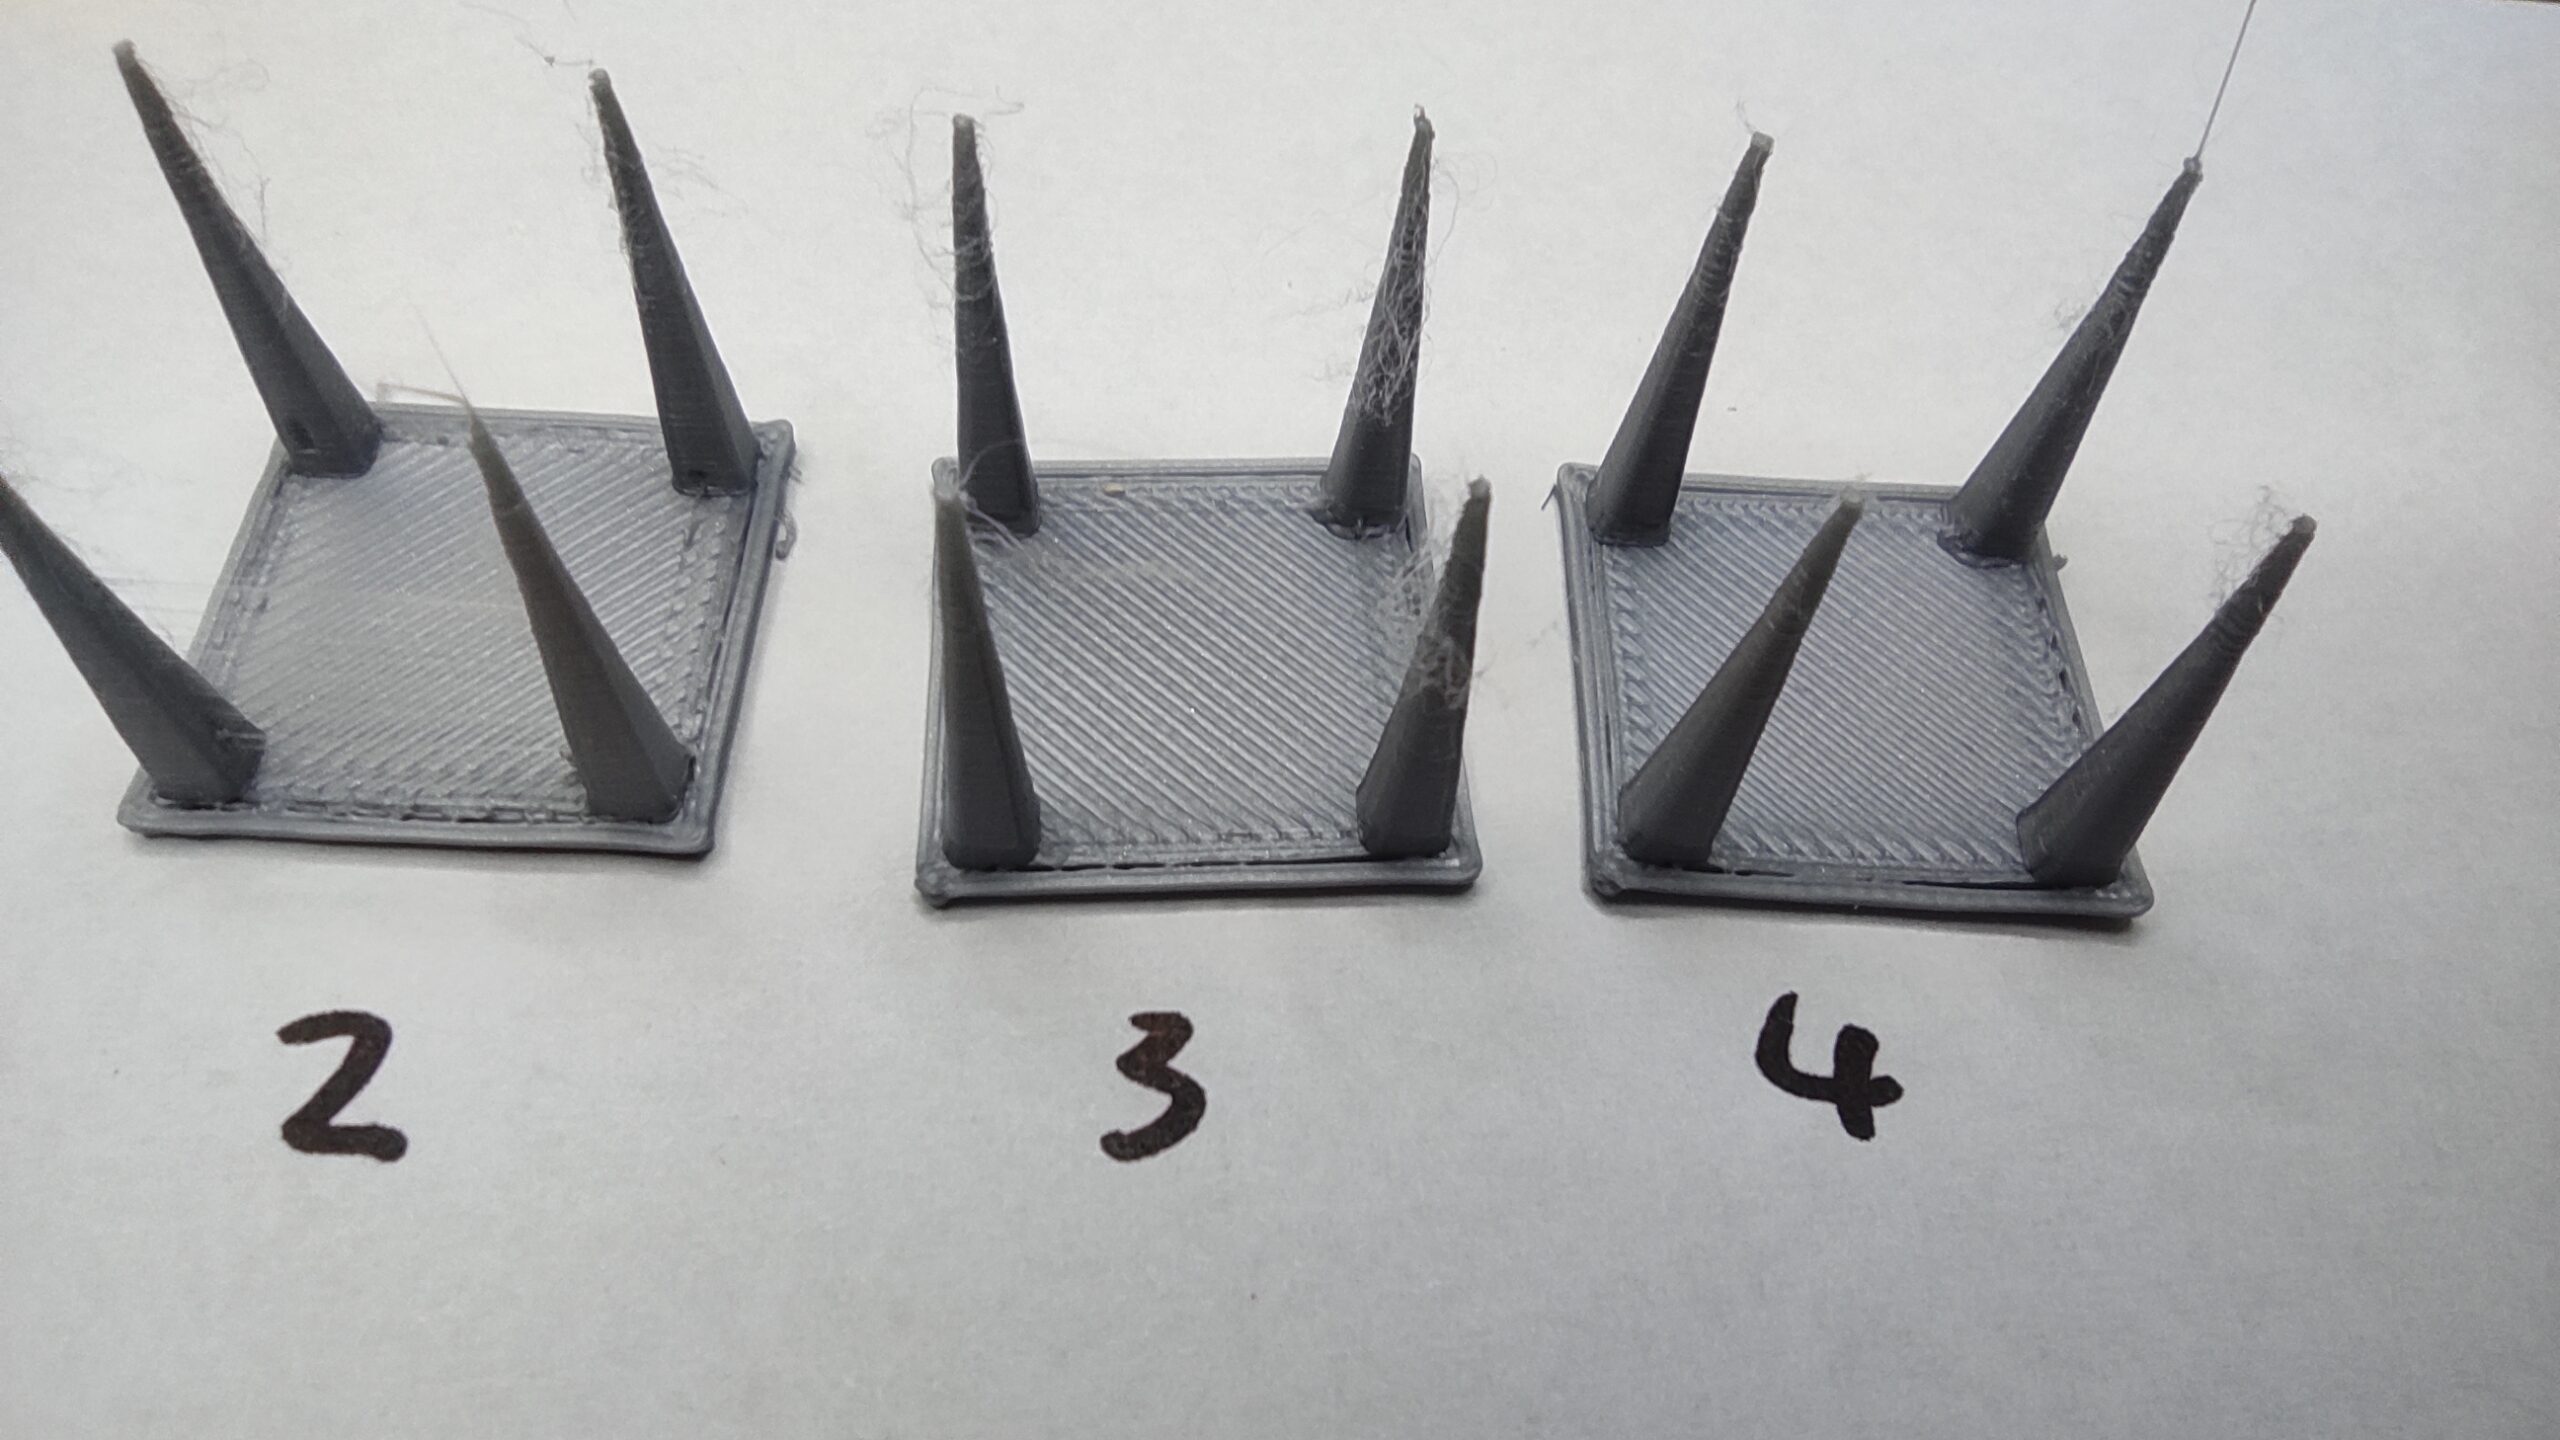
This set of calibration models was printed with a lower temperature – 205° C, which is a standard PLA printing temperature for about 60 mm/s and a V5/V6 hot end.
You can see the results for 2-3 mm retraction distance in the picture below.

This temperature worked much better.
You can see only small strings between the towers.
If you are still not satisfied with your results, try different retraction speed or a larger retraction distance.
I wanted to test the retraction with a lower temperature – 195°C.
You can see the results for 2-4 mm retraction distance in the picture below.
This temperature is ideal temperature for printing this PLA type (in this case Gembird silver).
215°C did not work well.
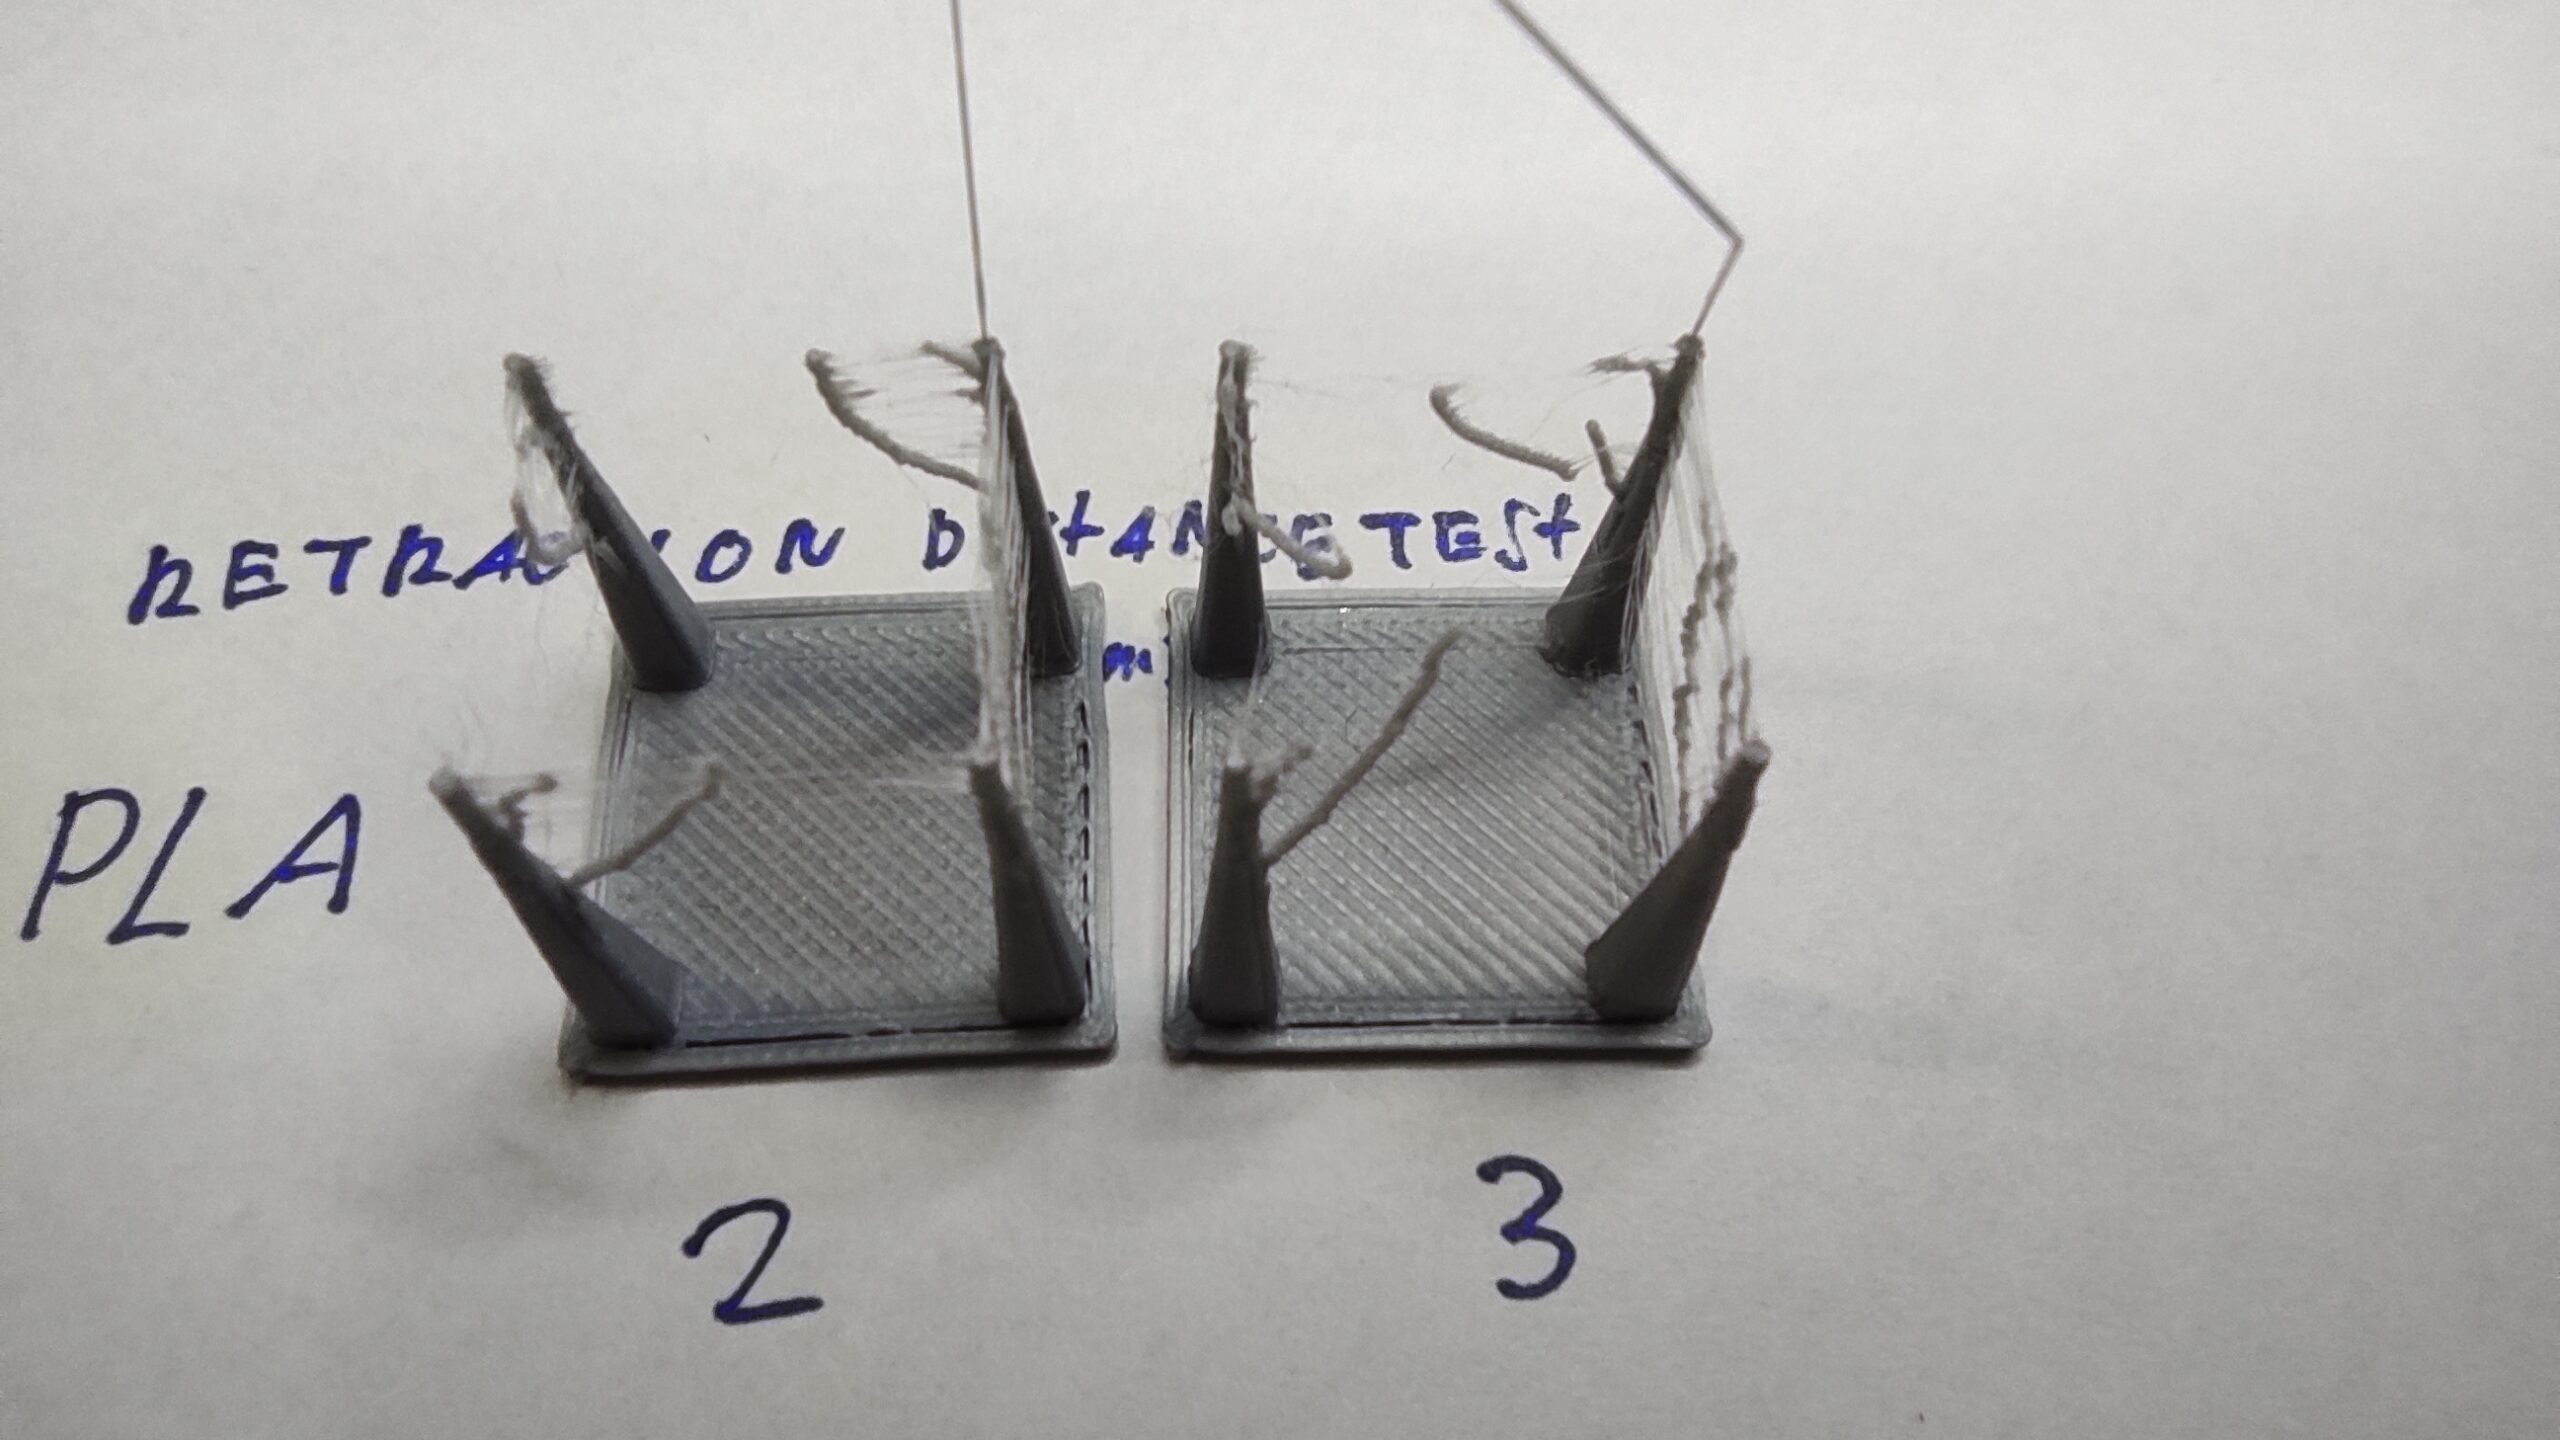
205°C was better, but there are still some larger strings visible.
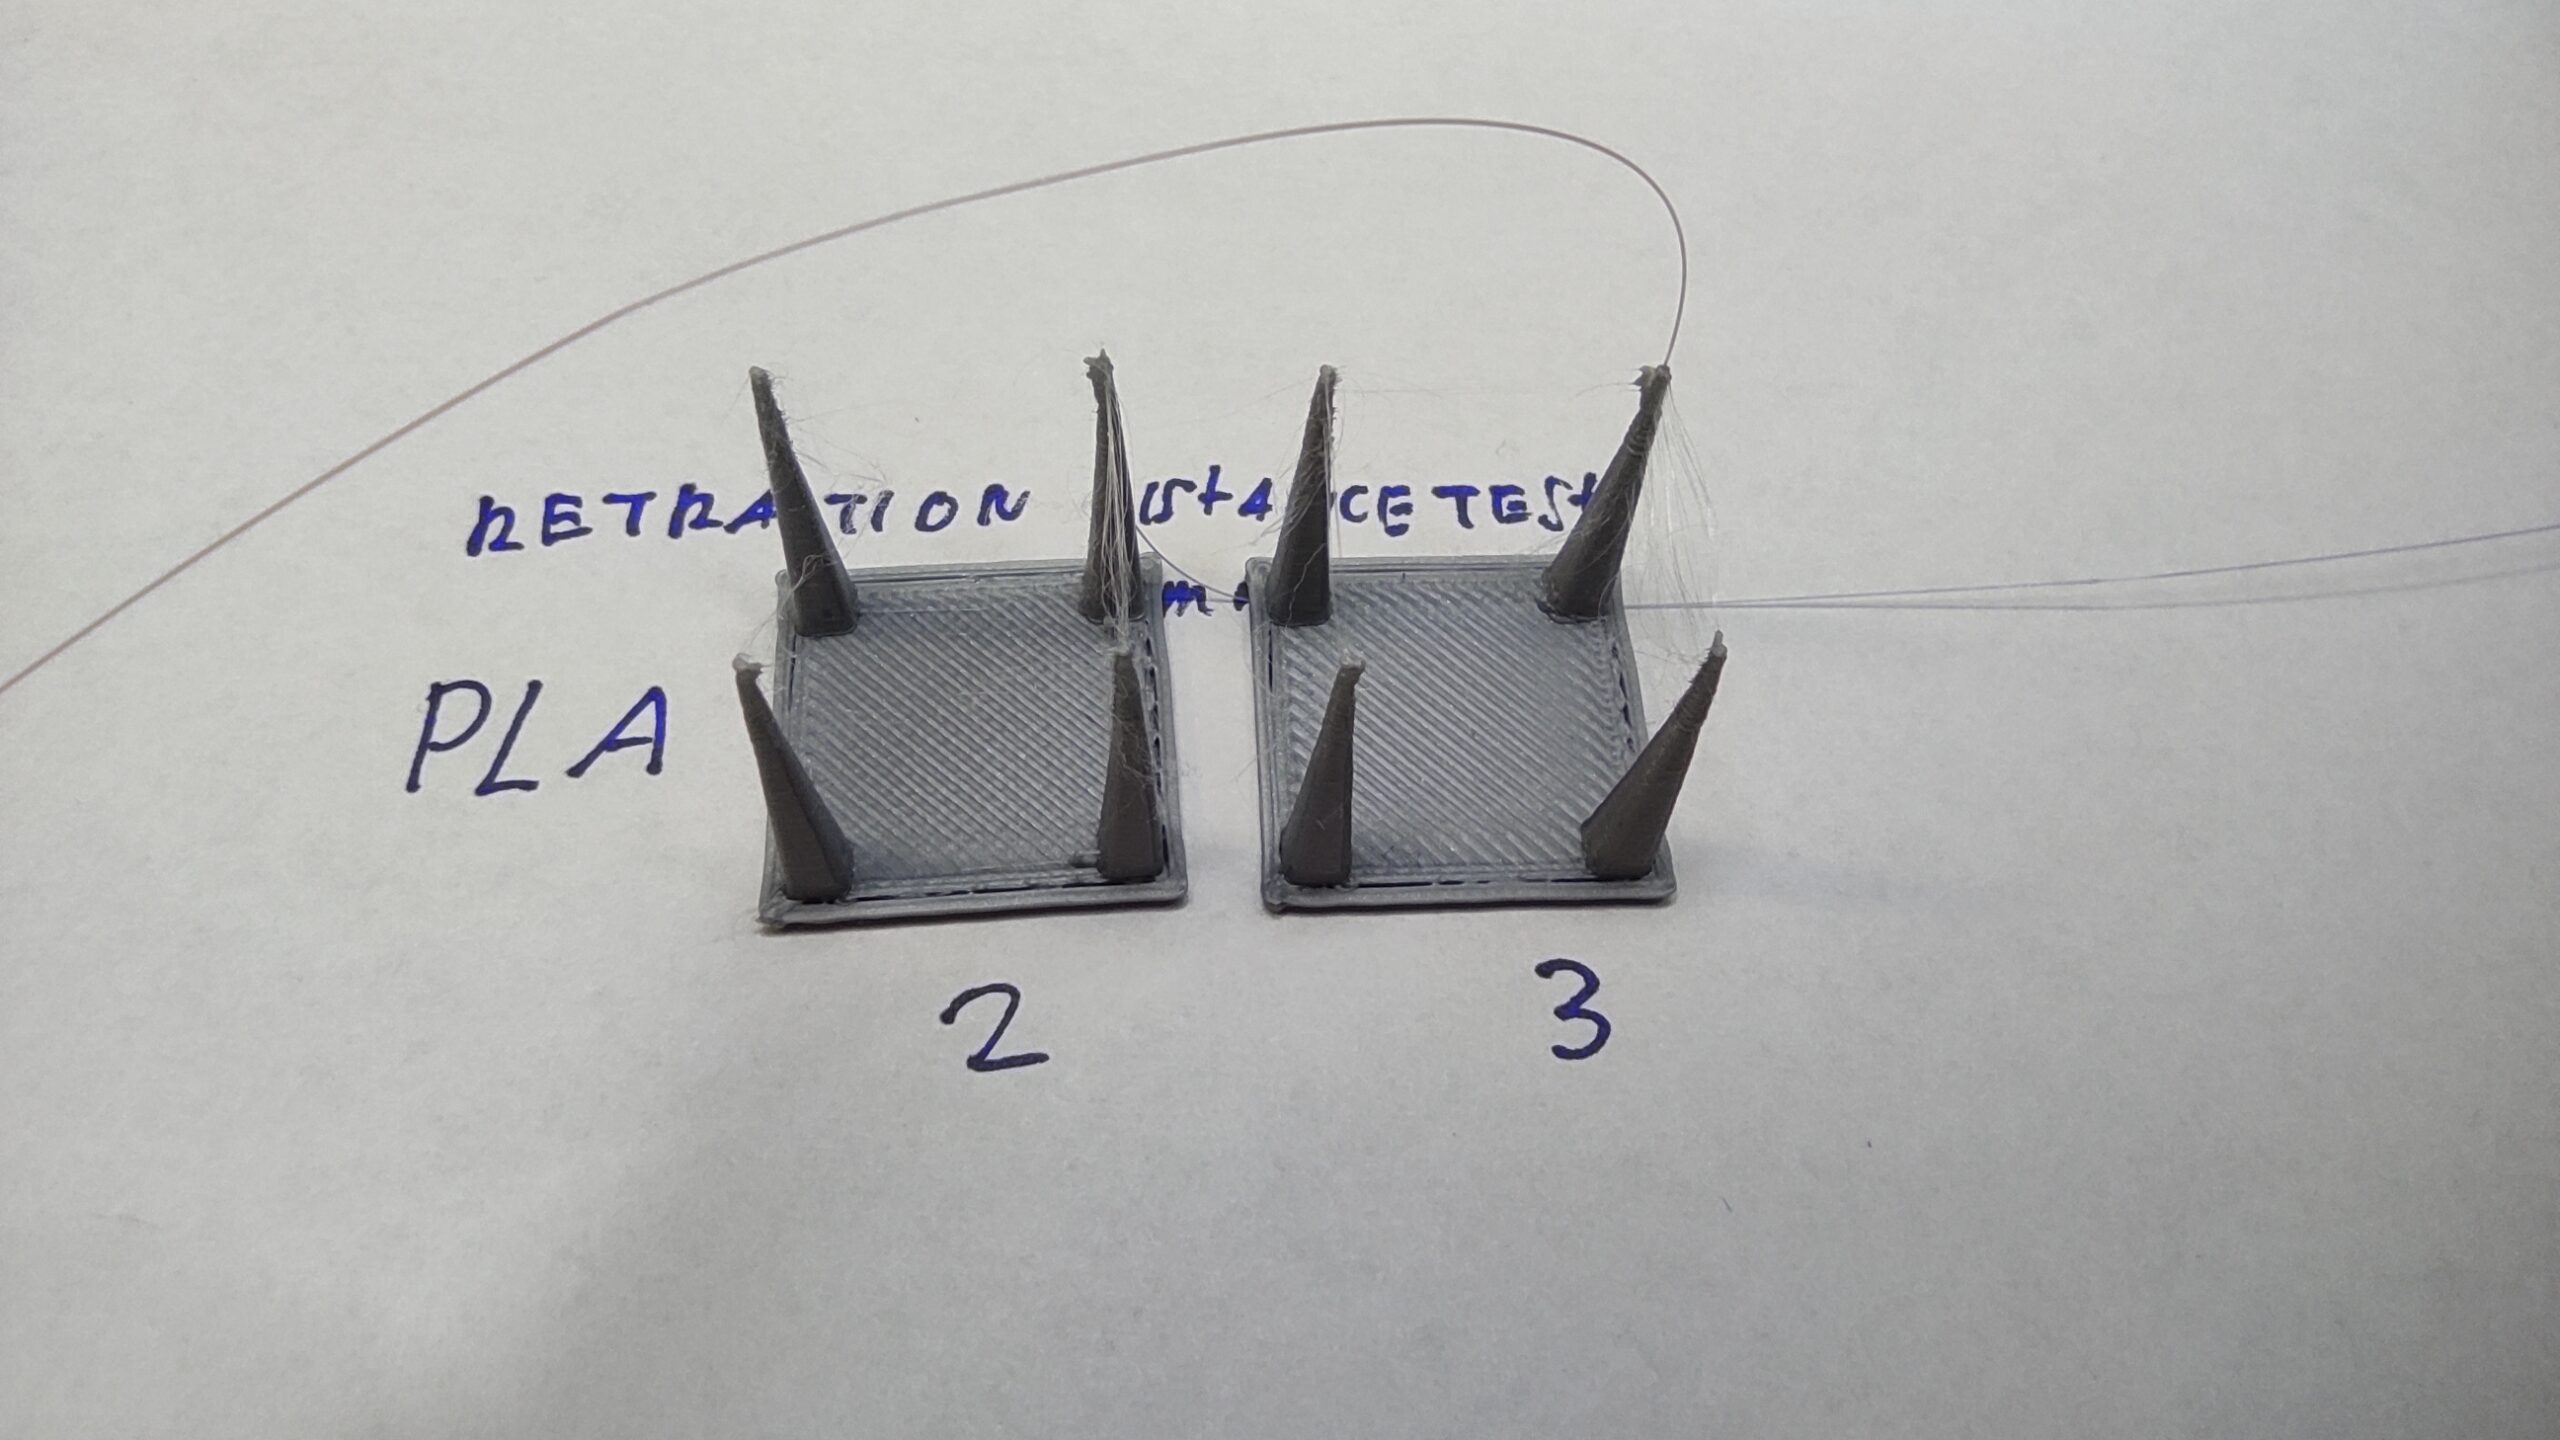
And 195°C with a 4 mm retraction distance is our winner.

This is golden information! Your work is saving me a lot of time and failures!!!