Octoprint is awesome feature for our Anycubic i3 Mega S printer.
You can print without touching the printer, just by sending a file via internet browser and OctoPrint interface.
Connect a camera and control your printer, make timelapses…
Installation is not difficult, you will need a computer, Raspberry kit and download a few files and programs.

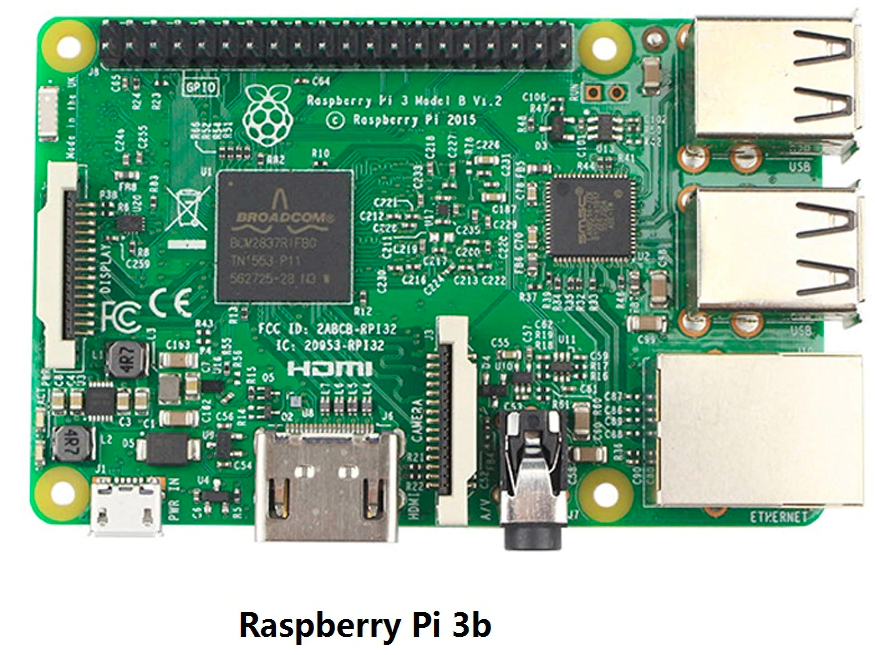
You will need a Raspberry board.
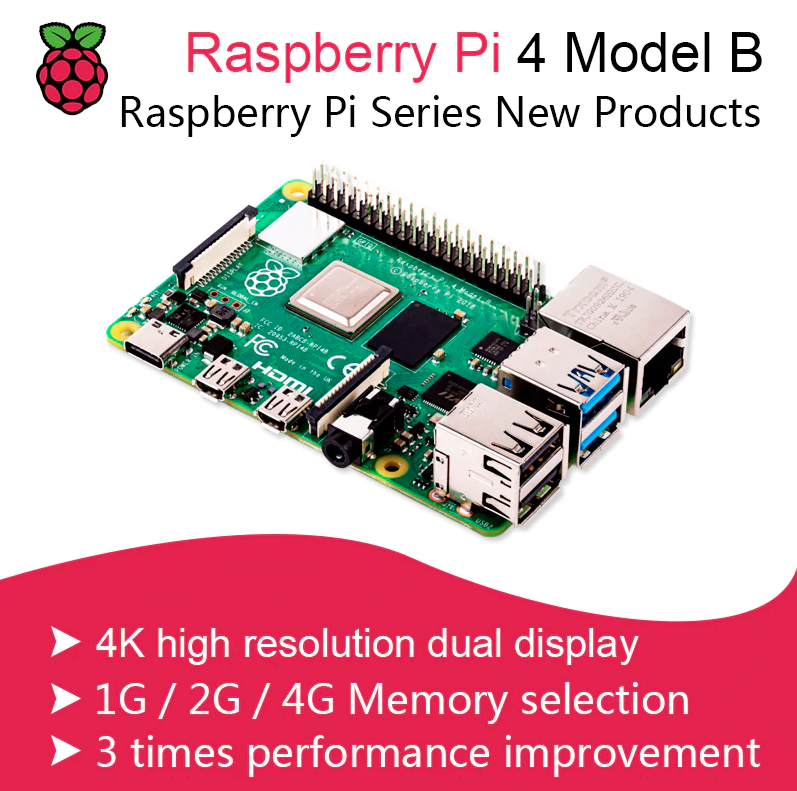
I recommend using at least Raspberry 3B which is suitable for Octoprint and full HD – 1080p video streaming.
But… the price difference between Pi4B and Pi3B is almost zero, so buying a newer Pi 4B is recommended.
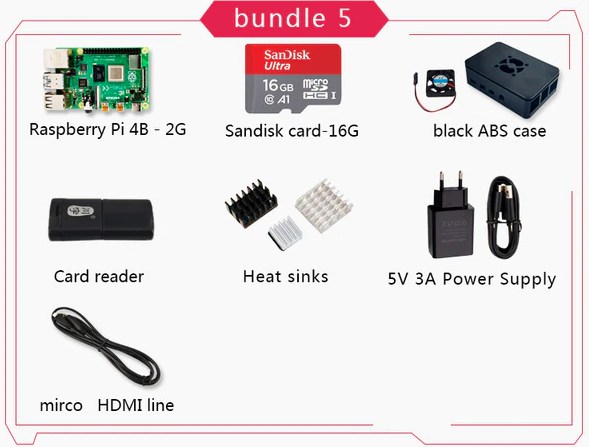
You will also need a Raspberry case, USB cable, 5V 3A power supply, heat sinks and some good quality micro SD card.
You can order complete set here:
Or you can order just a board and get the ramaining parts elsewhere.
This is optional.
You can use SSH in Putty to connect to your Raspberry if you have any issues.
Optional.
This awesome tool will help us to find IP address of Raspberry in your network.

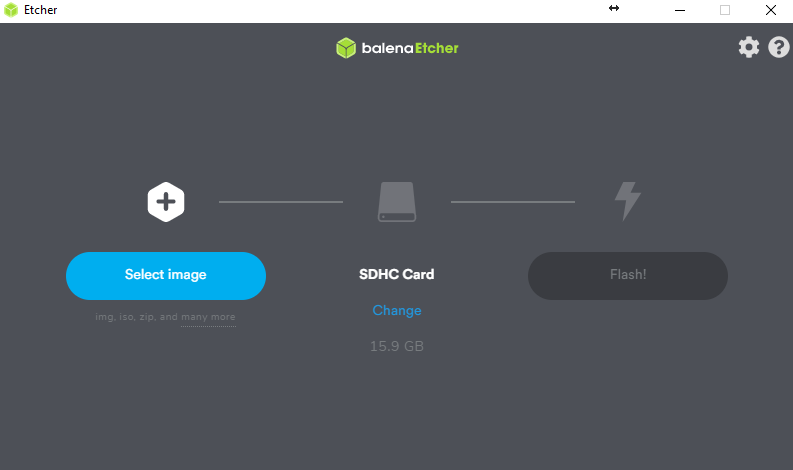
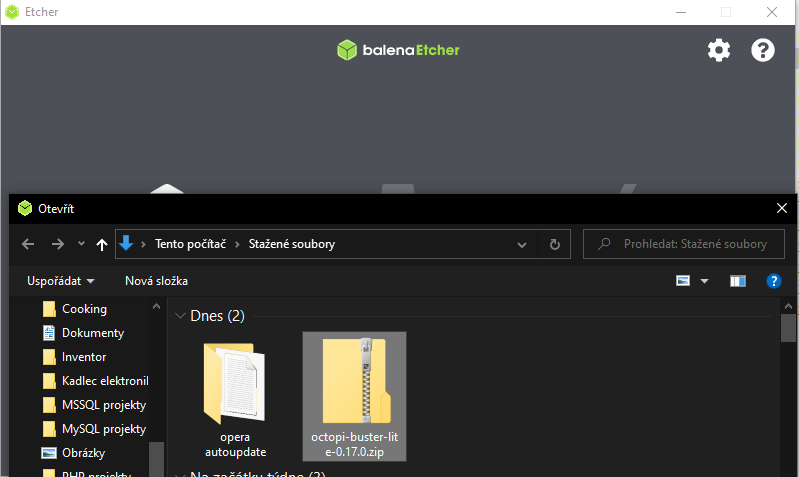
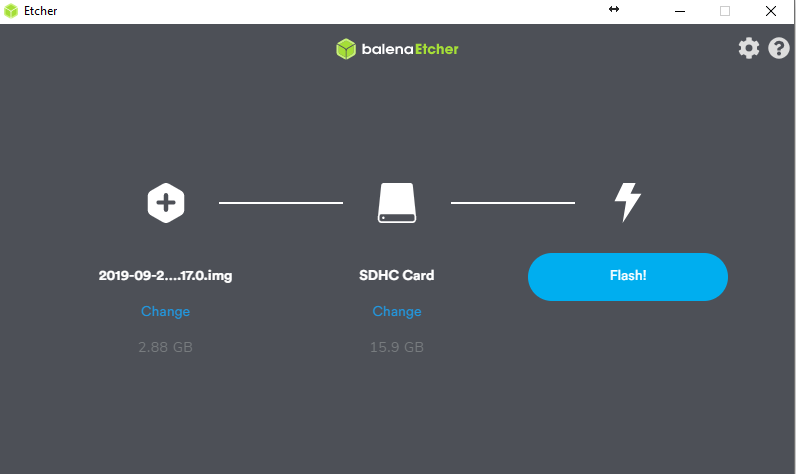
Run balena Etcher and click on Select image
Click on the downloaded octopi image, it is usually in the download folder.
Now insert and select your SDHC card.
Select the correct Drive – in this case 16GB SDHC card.
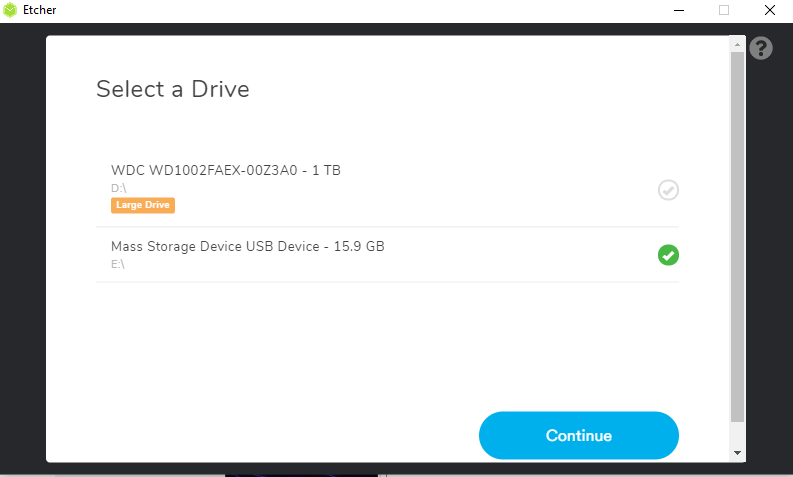
Click on Flash!
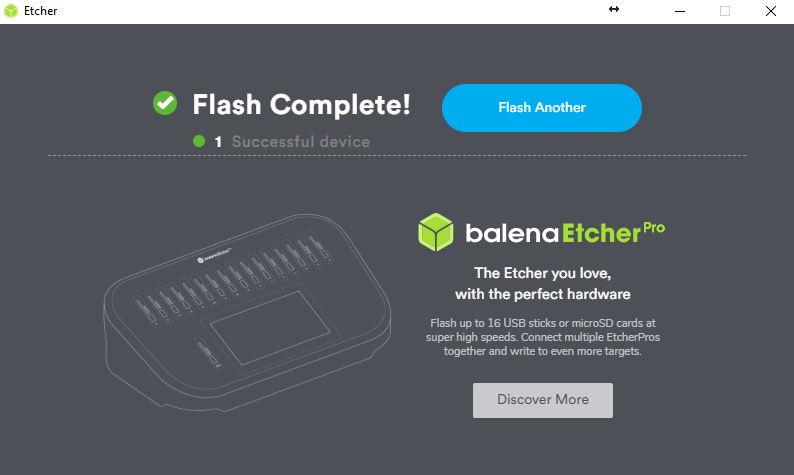
Wait until the flash is complete.
If you want to use WiFi, now is the time to set it up in OctoPrint file.
If you are running Raspberry 3, 4 or older Raspberry with a certified WiFi USB adapter, locate octopi-wpa-supplicant.txt on the SD card right after flashing OctoPrint.
!!! Edit this file only with a proper text editor, such as: PsPad, Notepad++, VSCode, Atom, SublimeText !!!
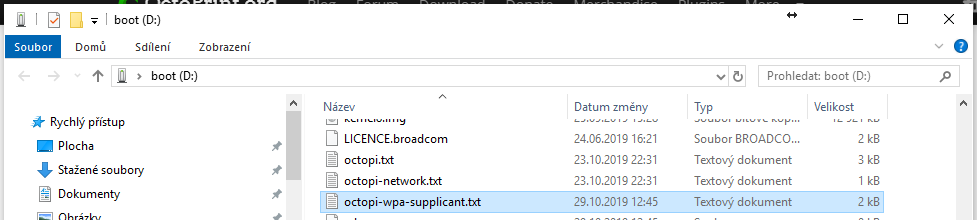
Open octopi-wpa-supplicant.txt with a proper text editor
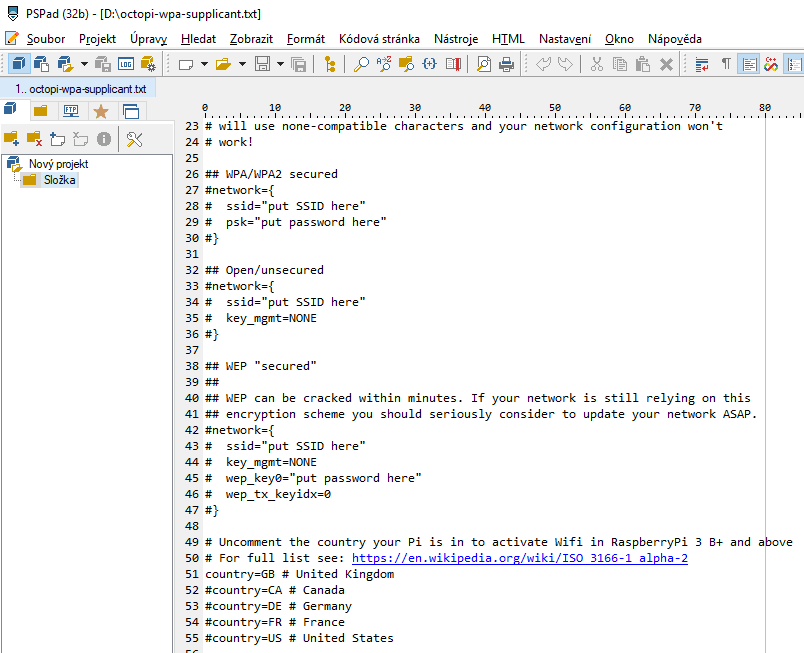
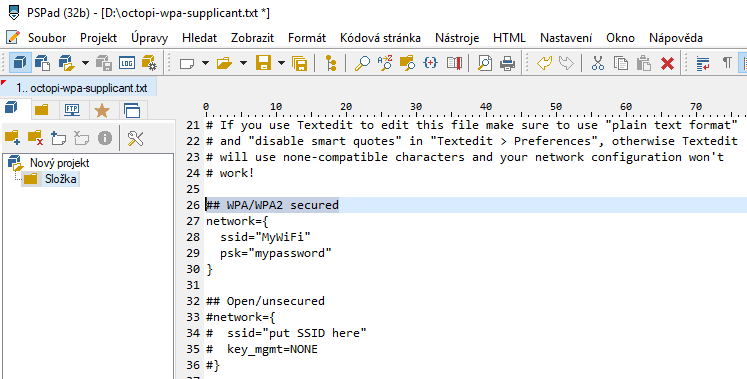
Locate your WiFi type (usually WPA/WPA2 secured), uncomment all 4 lines and fill in your network SSID (name) and password.
The next step is changing your country, for example United Kingdom = GB

Save the file
Safely remove SD card from your computer, insert it into Raspberry, connect Ethernet cable/WiFi adapter if needed and plug in power supply.
Make sure that you have a correct power supply such as:
5V 2A with a micro USB connector for a Raspberry 2/3
5V 3A with a USB-C connector for a Raspberry 4
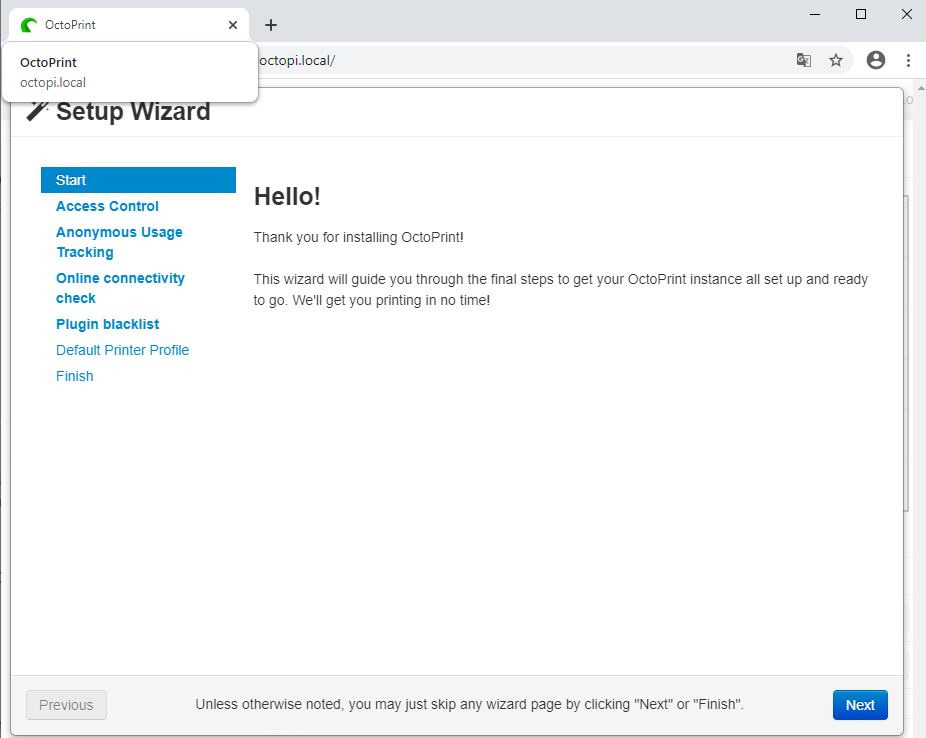
Wait a few minutes, open your internet browser and go to octopi.local.
You will see Setup Wizard page.
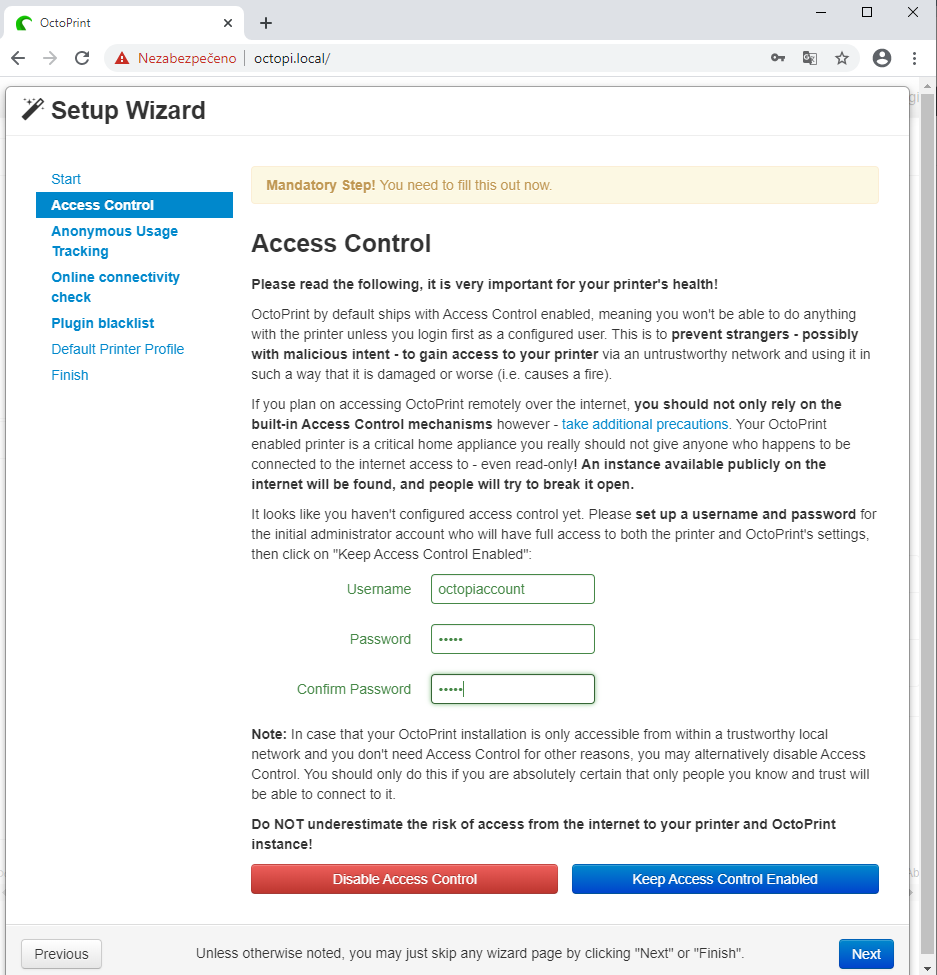
Choose your username, password.
Choose Keep Access Contron Enabled (recommended).
Click on Next.
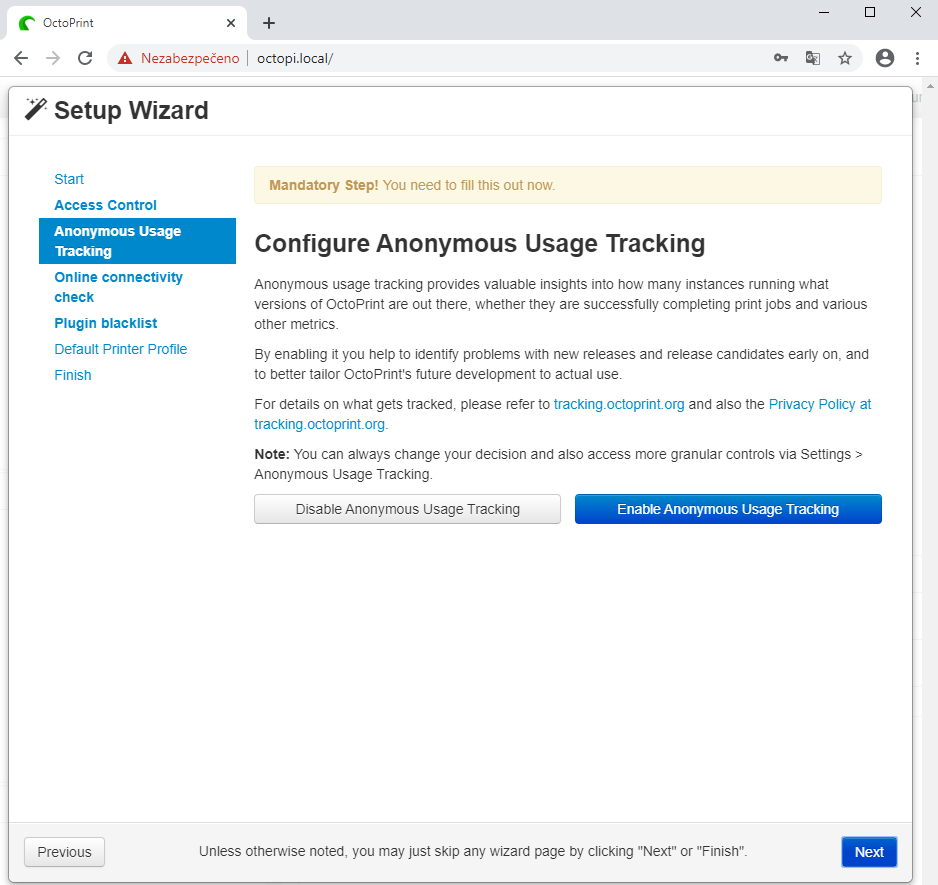
Choose if you want to enable Anonymous Usage Tracking for delevopment purposes.
Click on Next
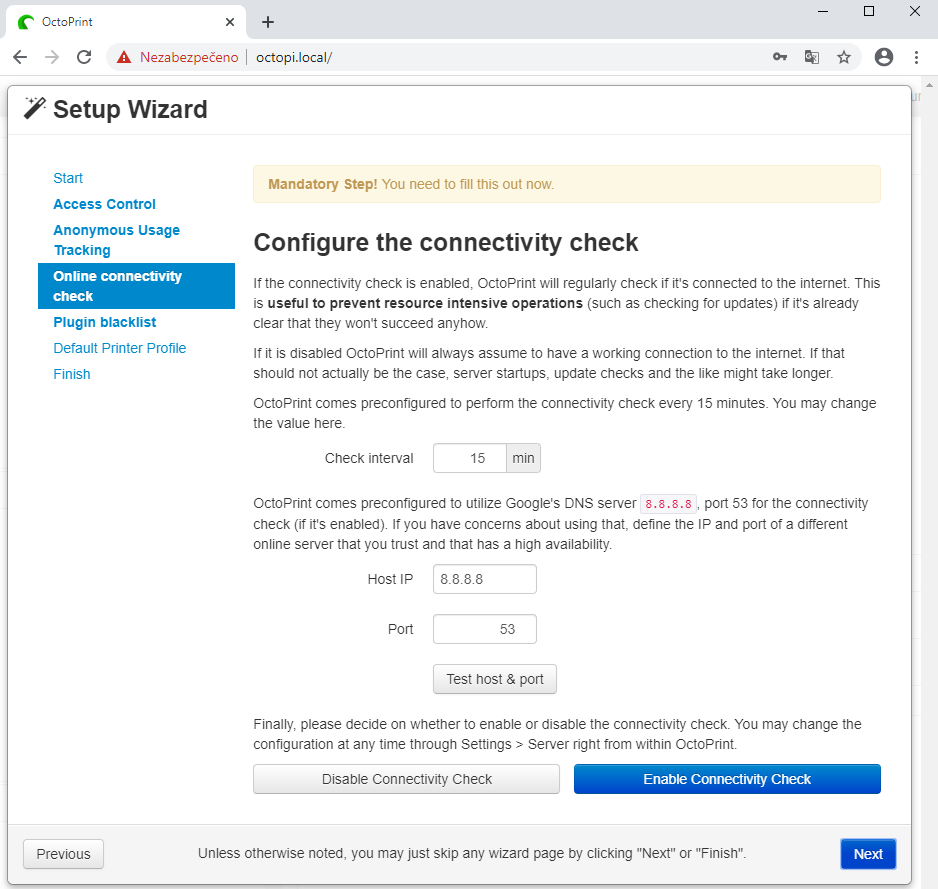
Keep it Enable if you want to.
Click on Next.
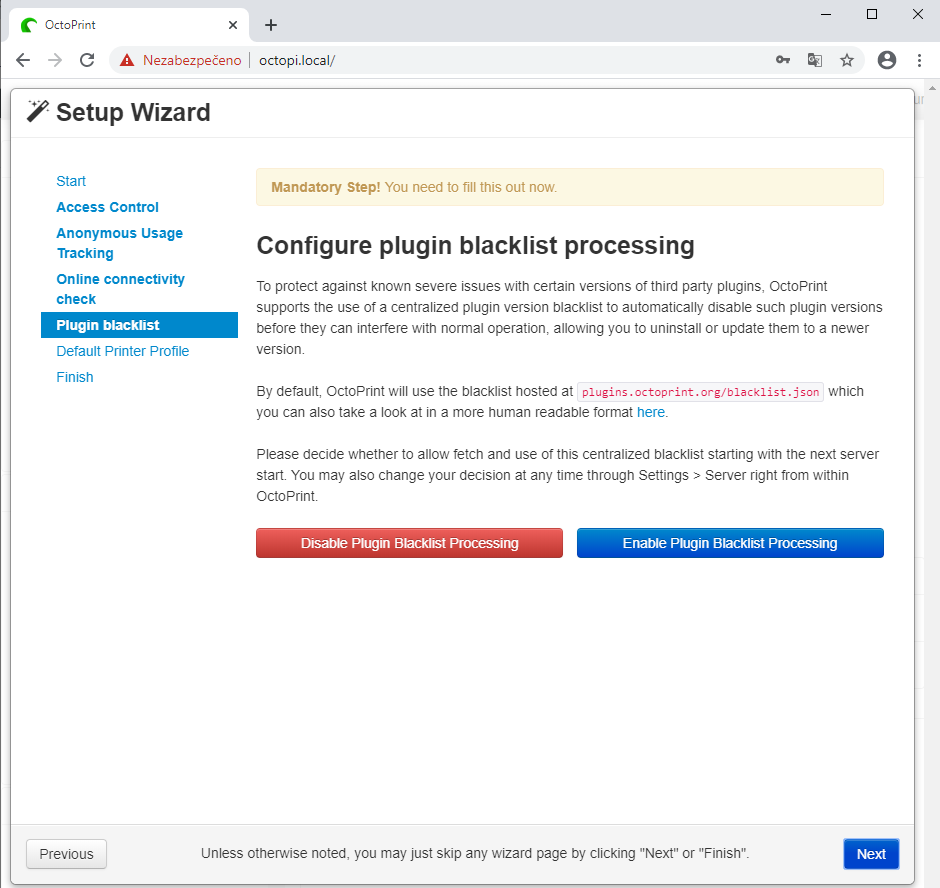
Click on Enable and Next.
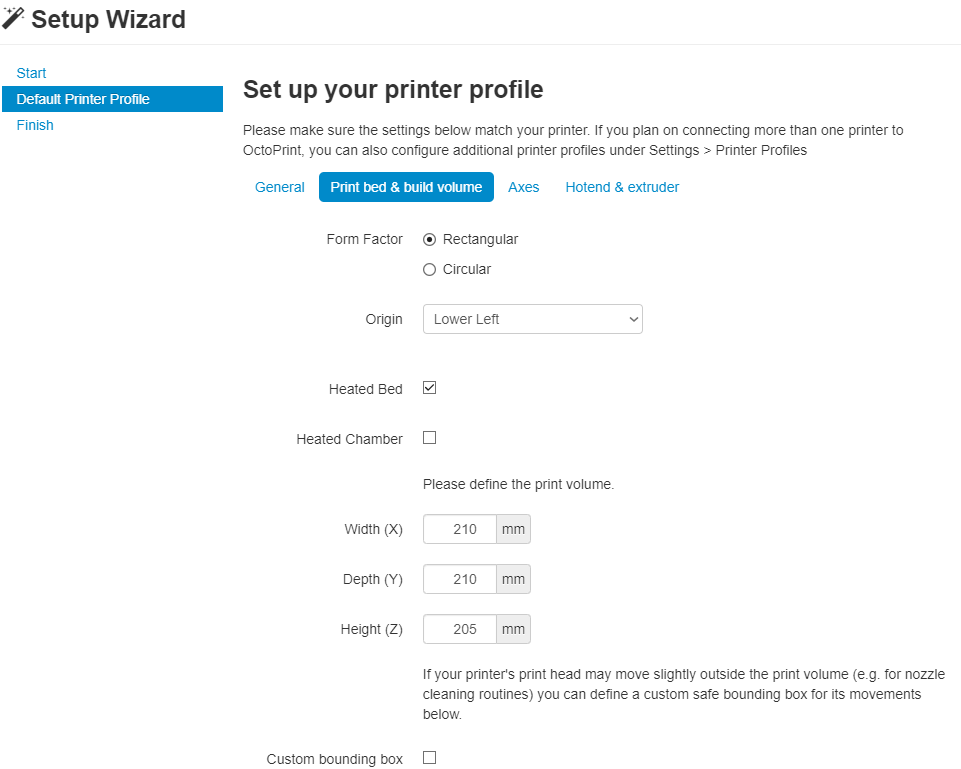
Create a printer profile.
General – choose your printer name and model.
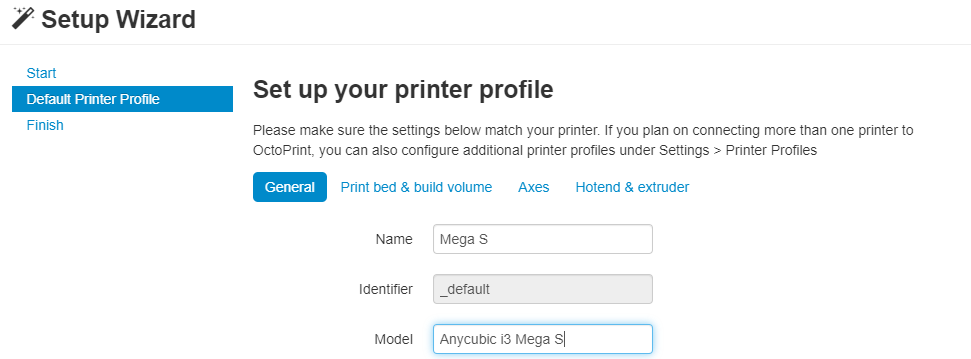
Fill in the correct settings for your printer.
In this case – Anycubic i3 Mega S.
You can keep the rest of the setting tabs with original values, just check them.
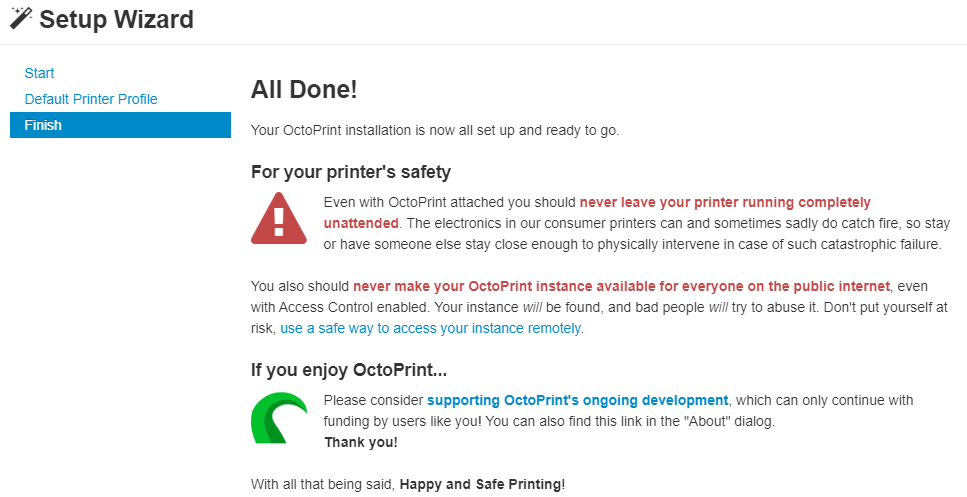
Setup wizard is complete.
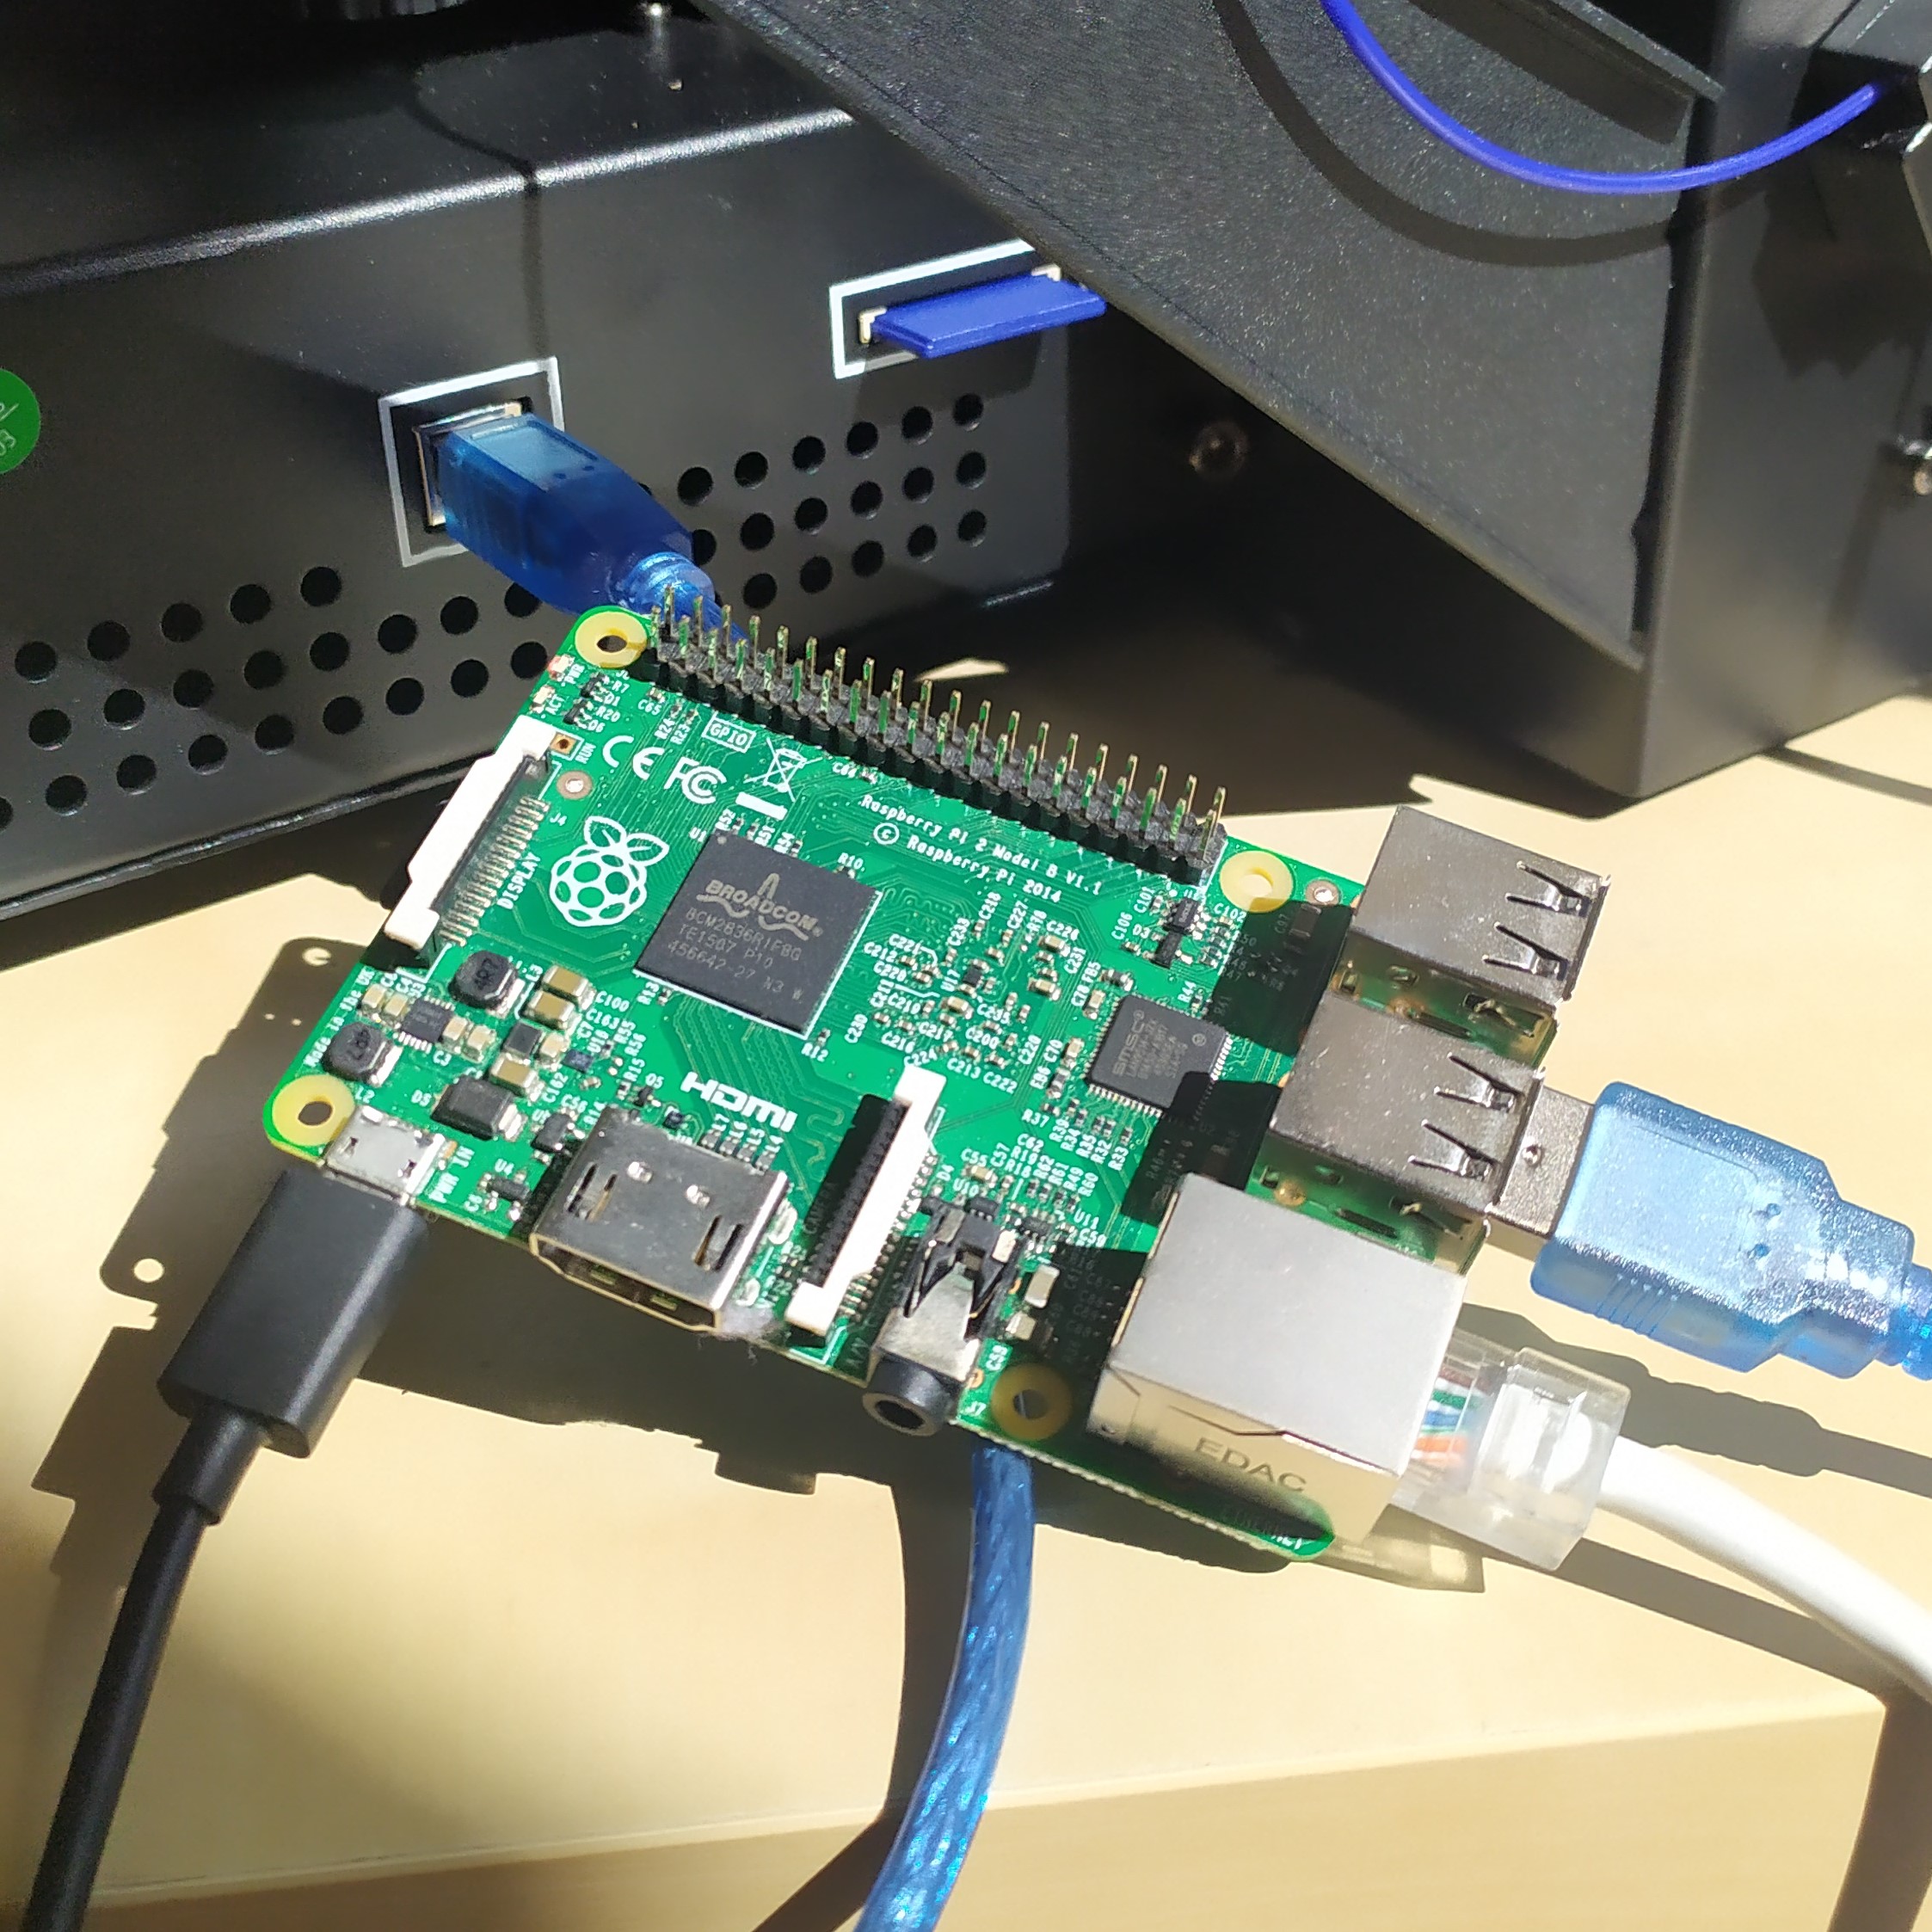
Now is time to connect the printer via USB to Raspberry
Connect your 3D printer via USB cable to your Raspberry
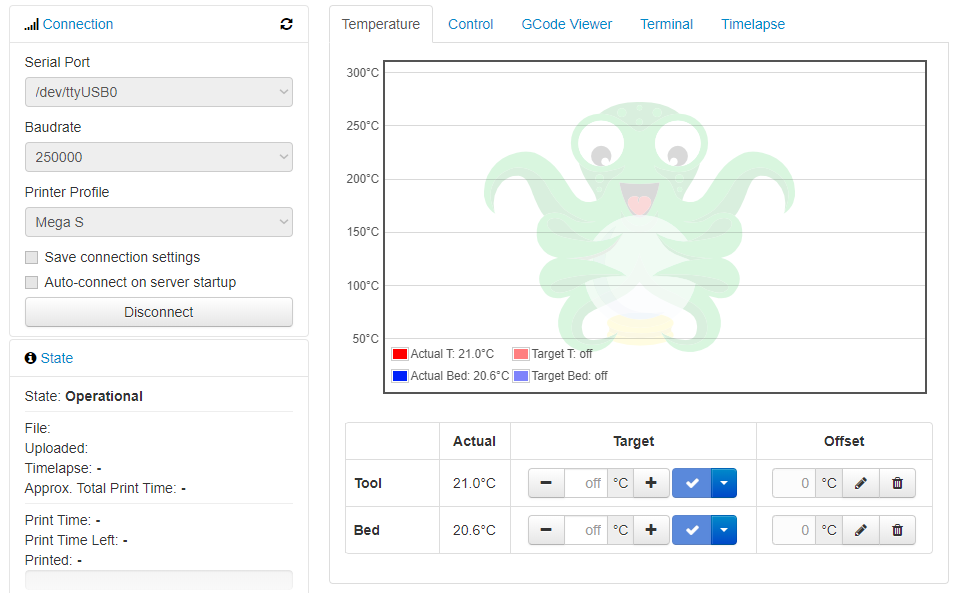
Click on connect in the left part of OctoPrint screen.
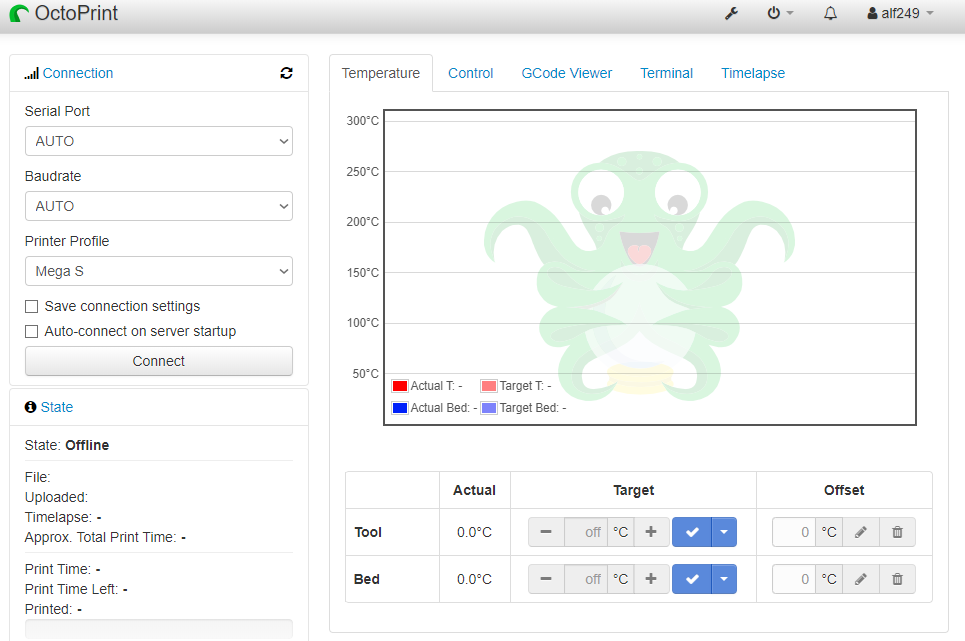
After trying multiple Baudrates, Octoprint found that 250000bd work for Mega S with Trigorilla (stock board).
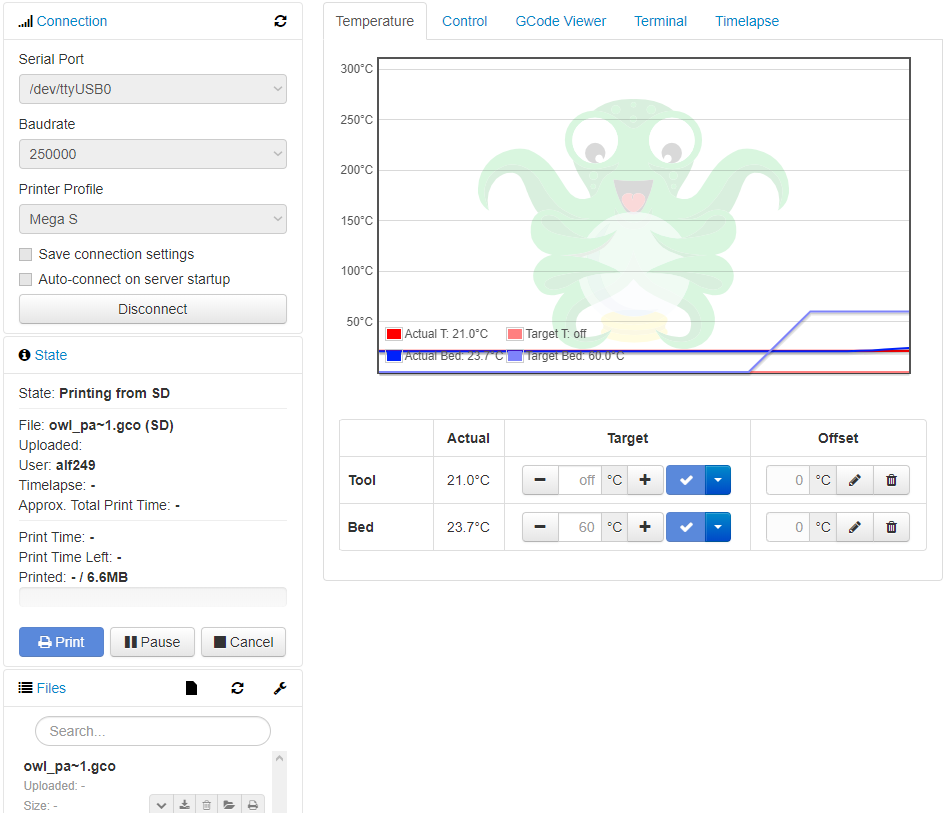
The printer is now connected.
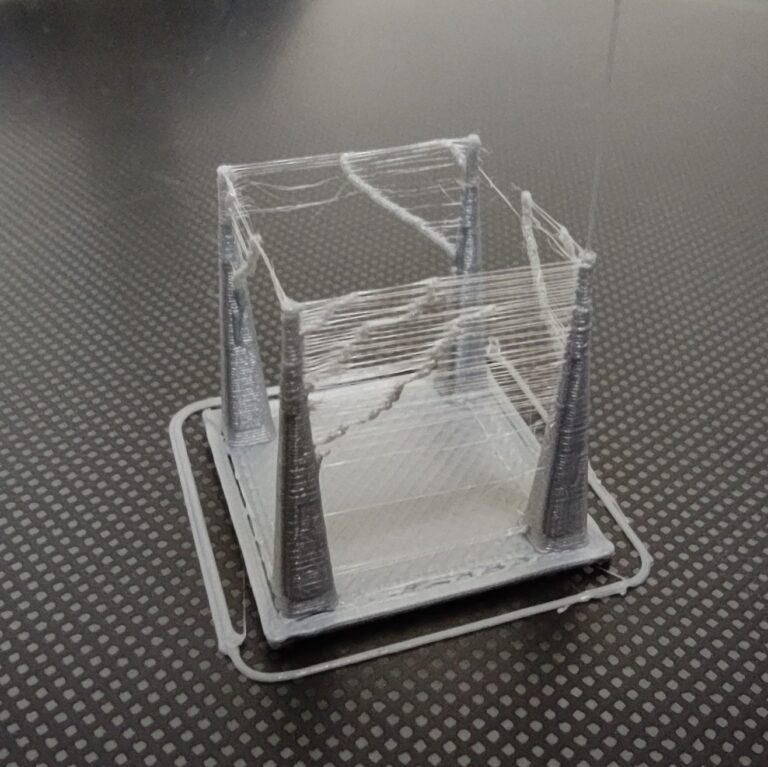
You can see the file owl_pa… in the file section.
It is original test file from Anycubic on the SD card in your 3D printer.


Thank you for this ! You quickly jump into things this is appreciated.
Tips for those of you running Windows 10 and having difficulties accessing octopi.local, either try to fix the issue or just enter the IP address of the raspberry PI (using advanced IP scanner linked at the beginning of the article).
Also, I rather used Raspberry PI Imager (choose OS ->Other specific-purpose OS -> 3D printing ->OctoPi -> Stable) to flash my SD card.
Does this work the same for the mega x
Hi,
yes it does.
Thanks!
Happy printing!
What’s about Axes and Hotend & Extruder tabs?
Any suggestion or it is ok to leave they as defaults?
Thanks.
Hi, keep them default.