Anycubic Mega S assembly tutorial for anyone struggling with assembling this 3D printer.
Quick and easy steps with a lot of pictures how to do it.
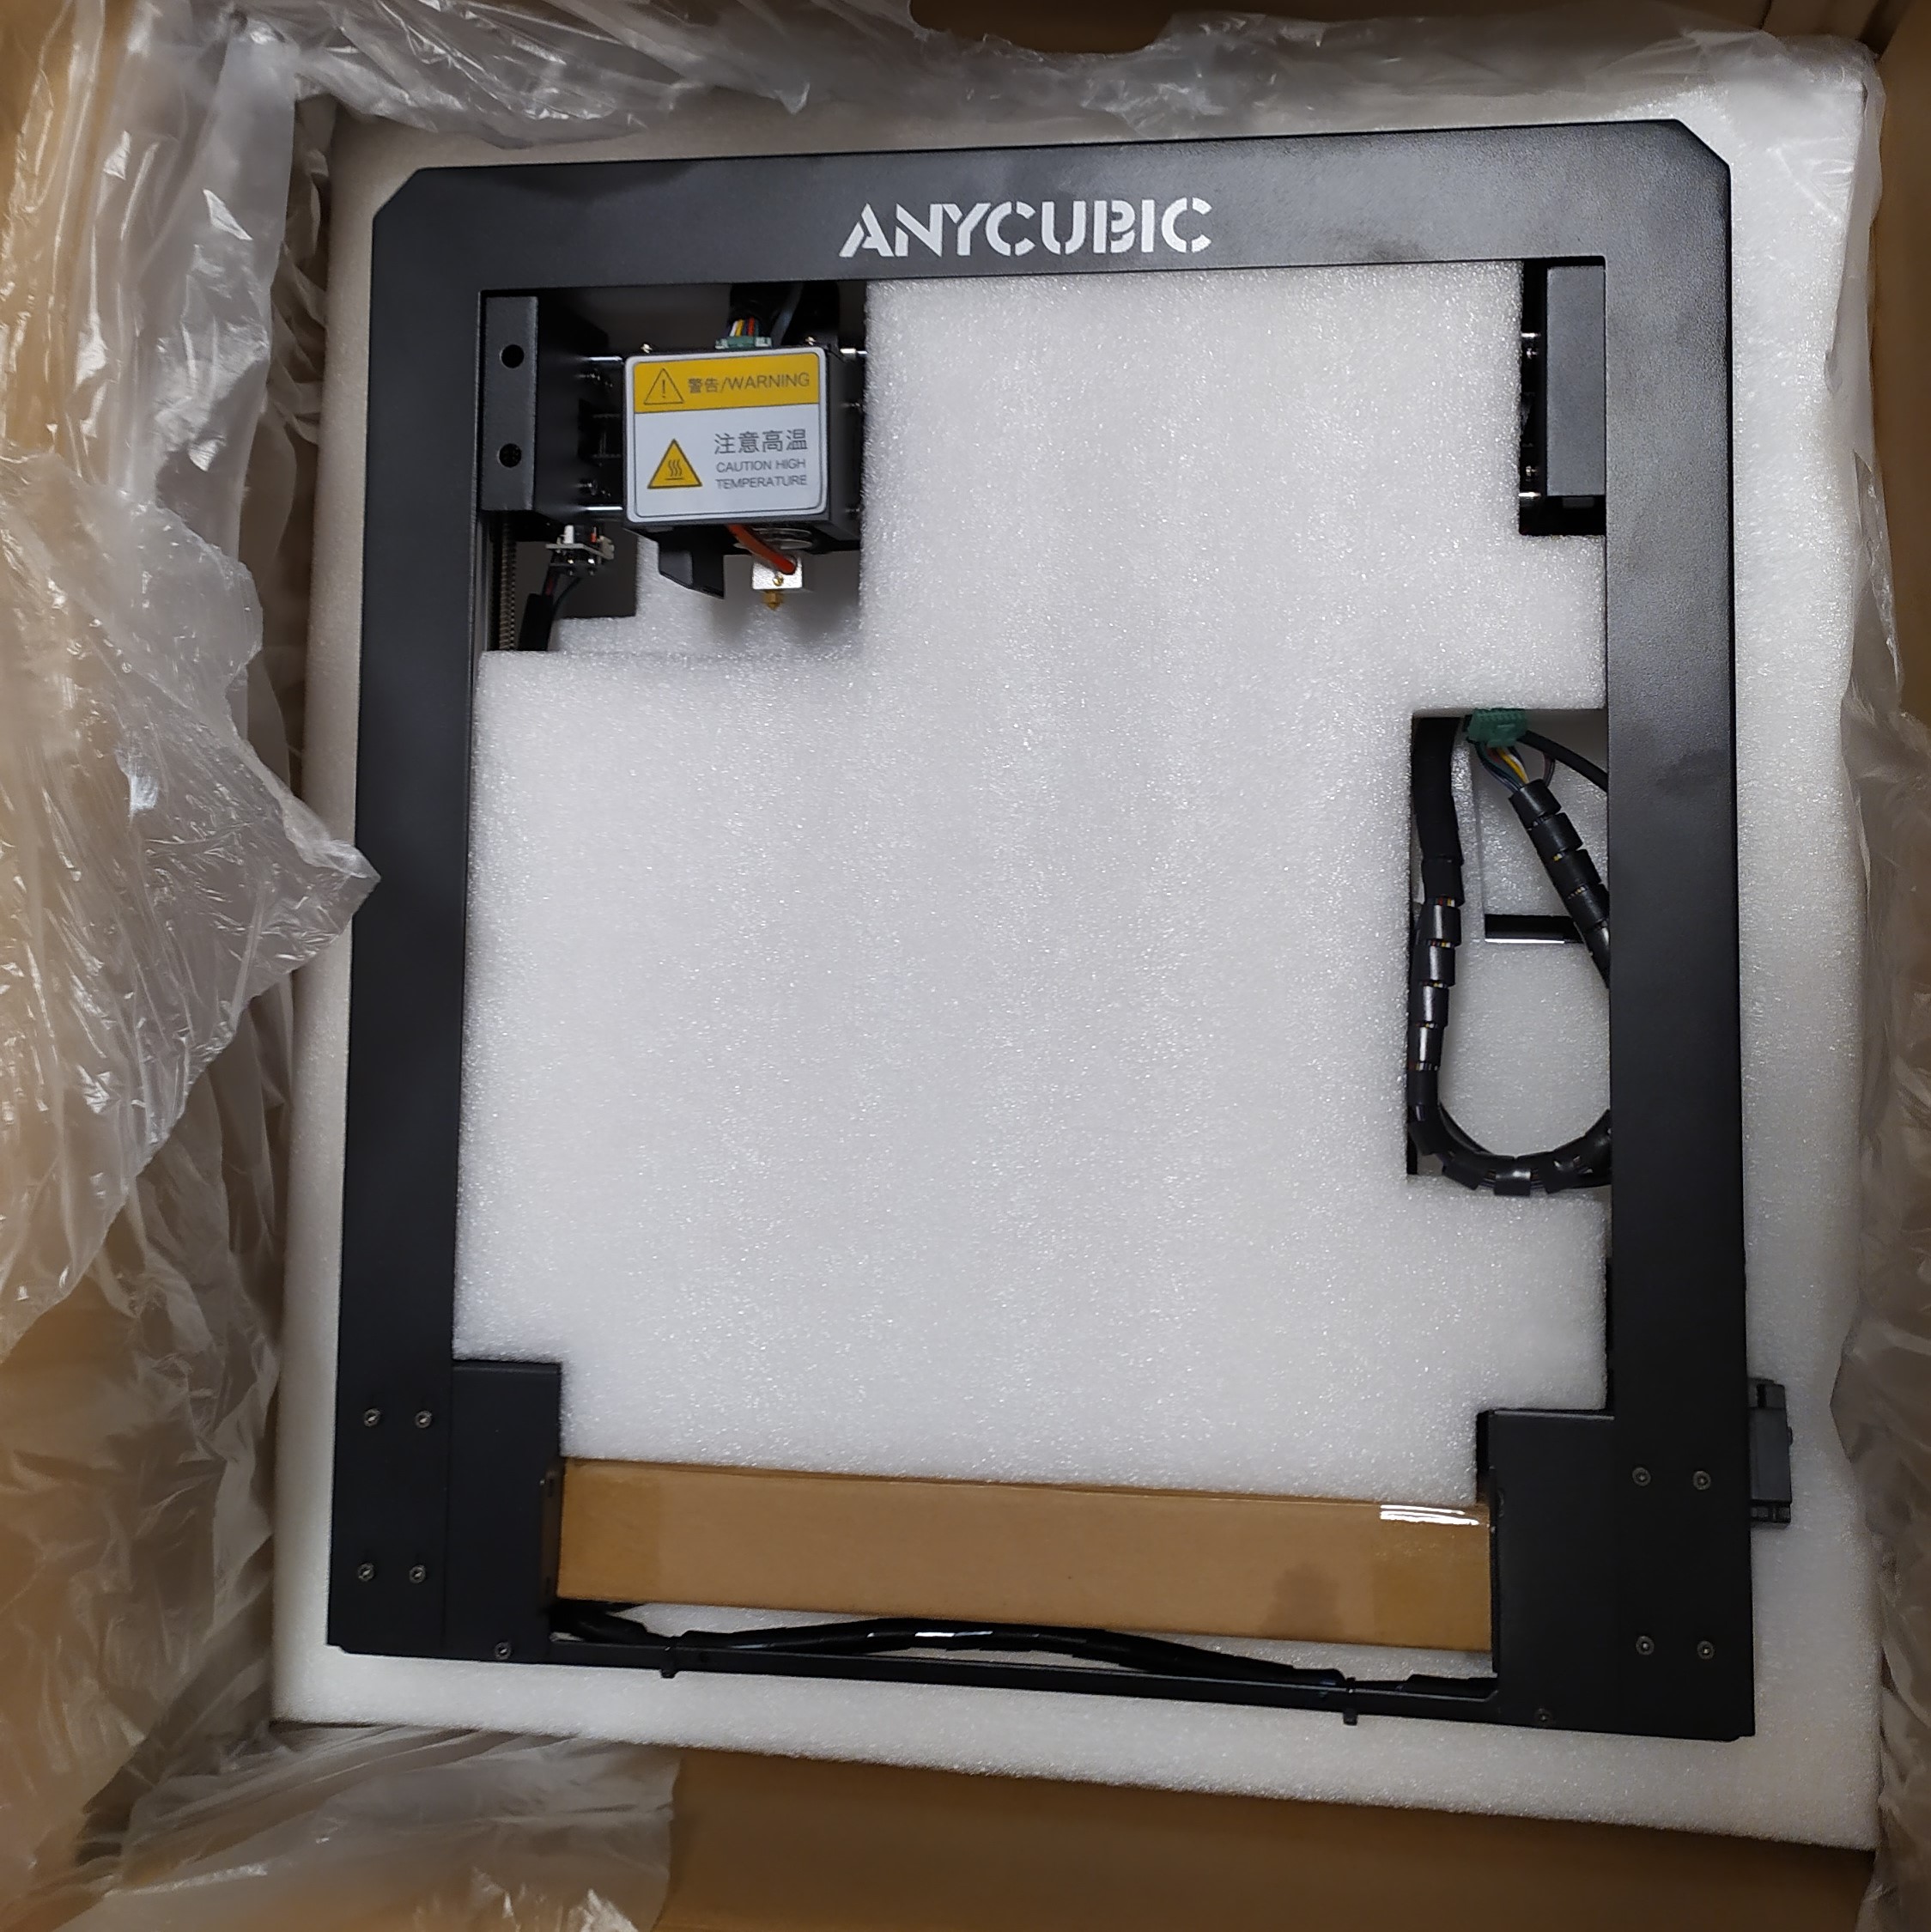
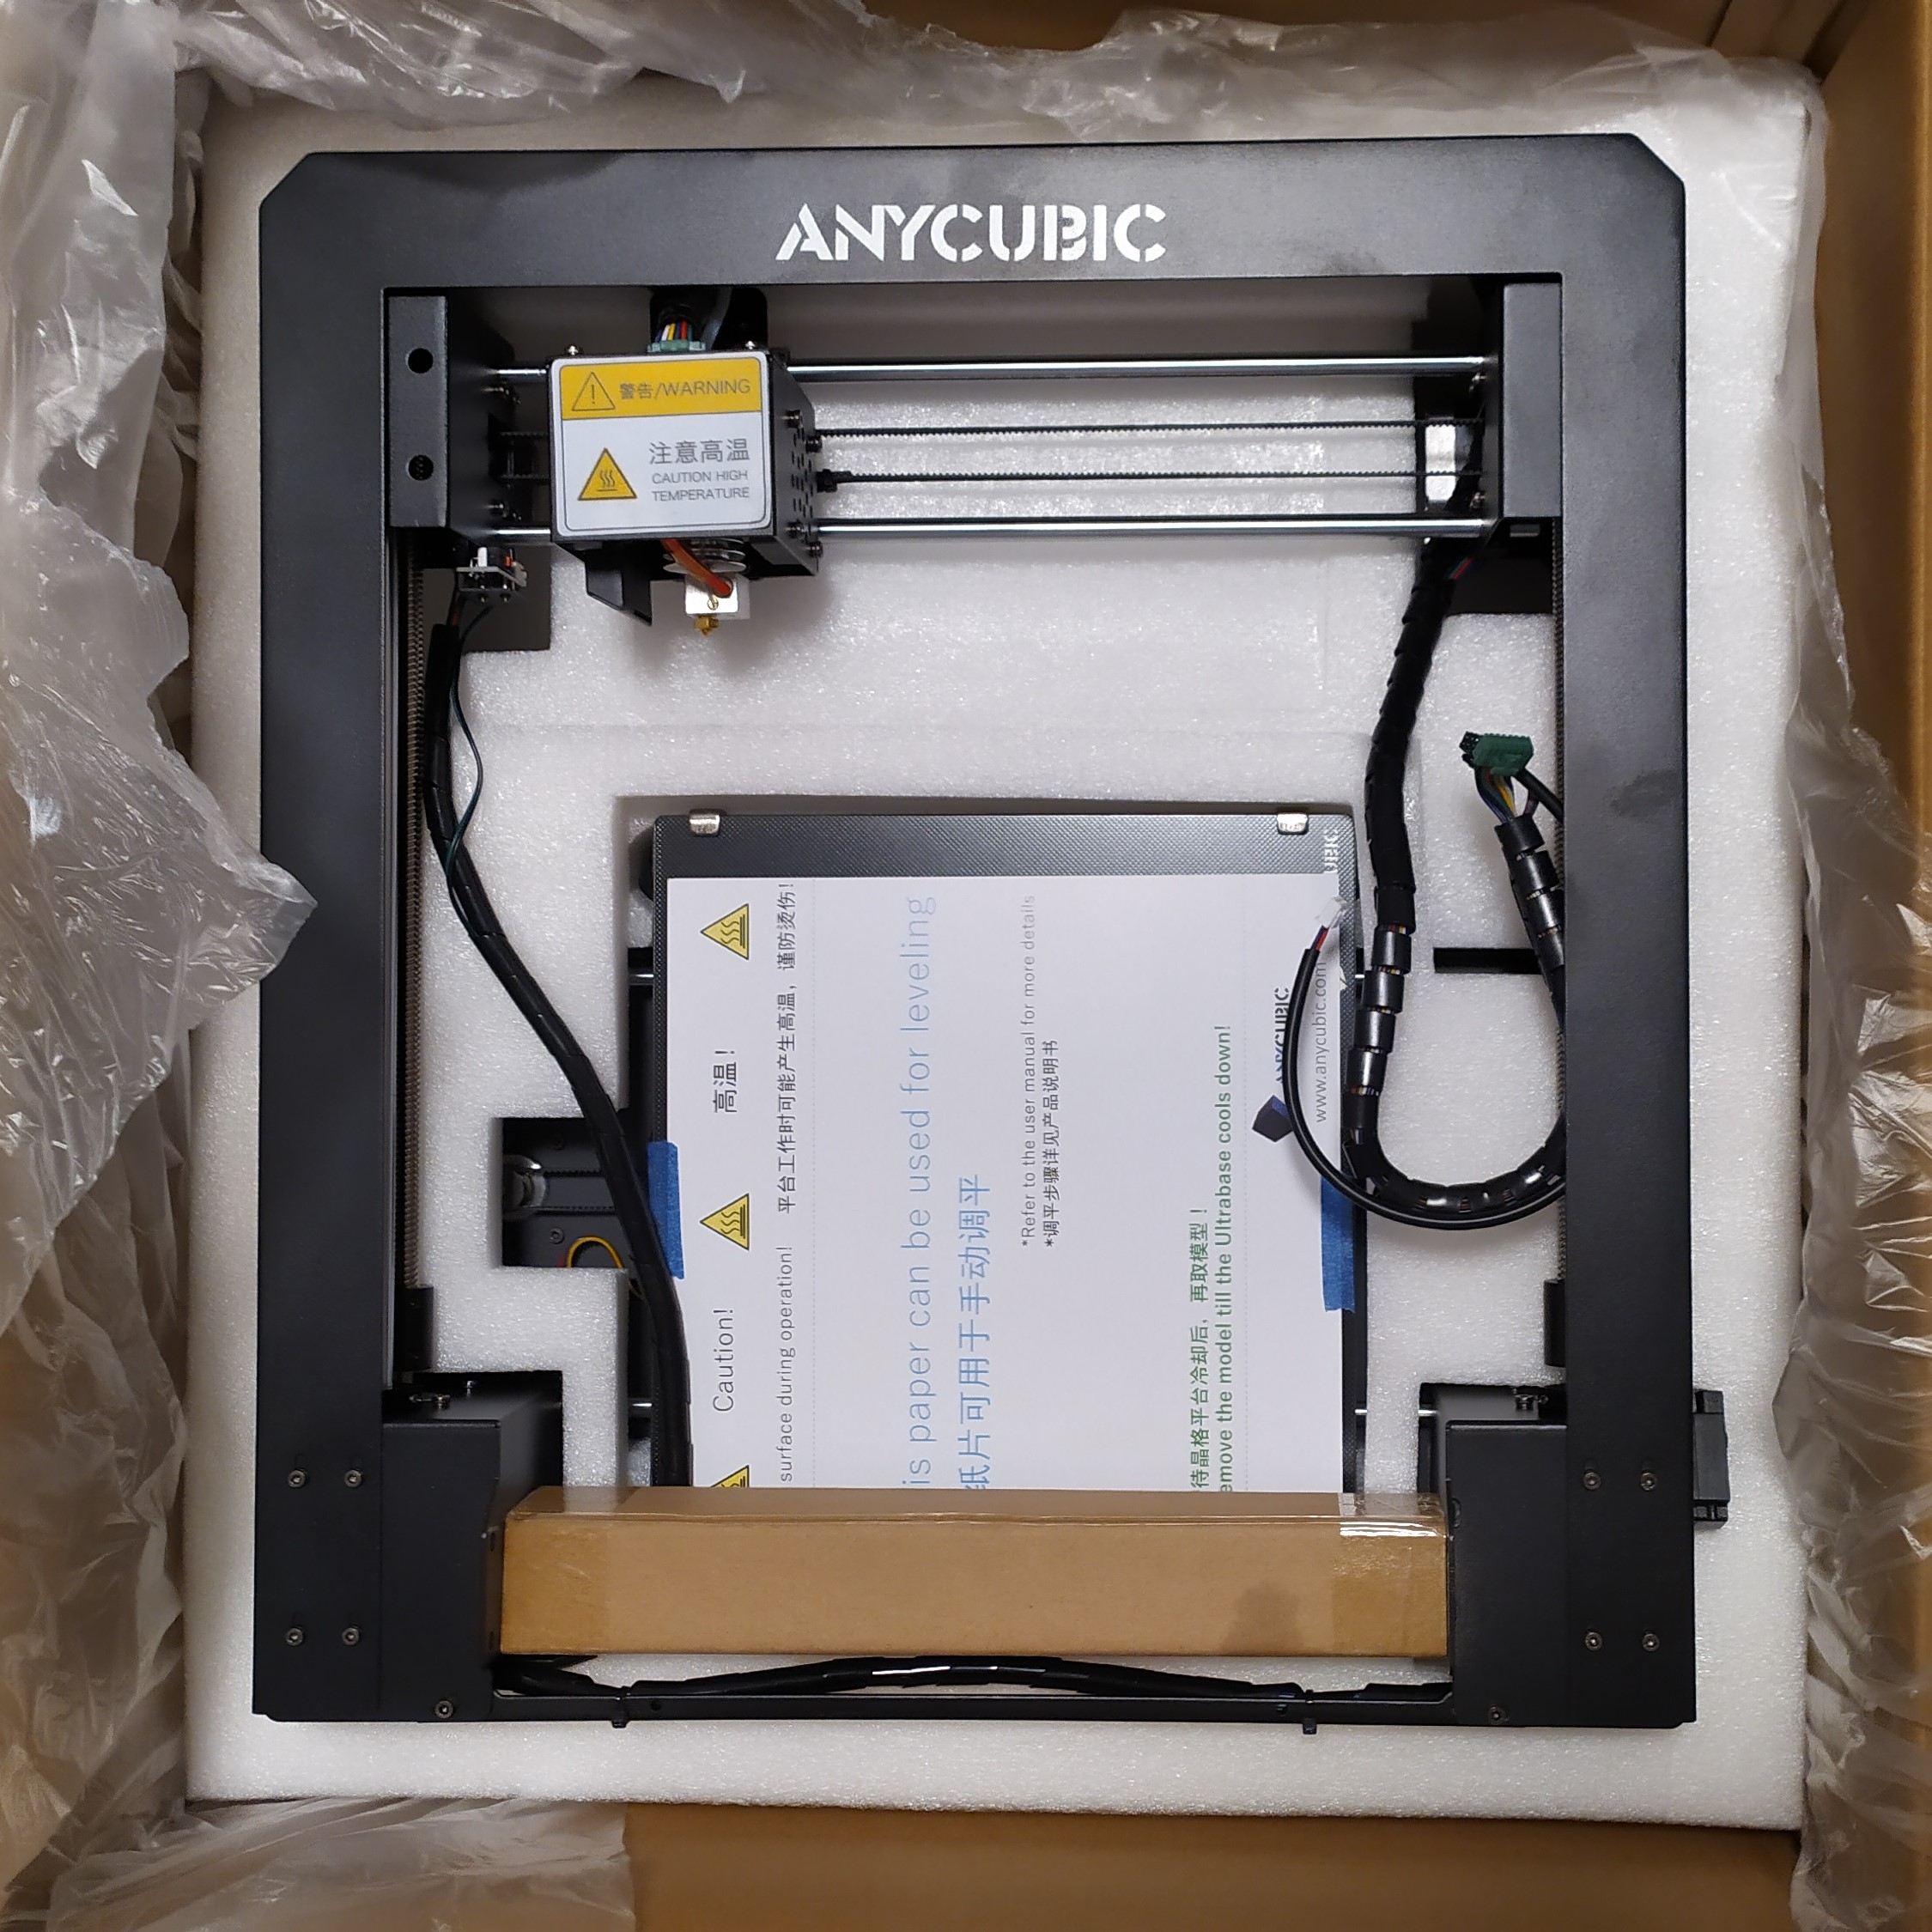
The printer is packed very well and you do not need any special tools to open the box and take all parts from it.
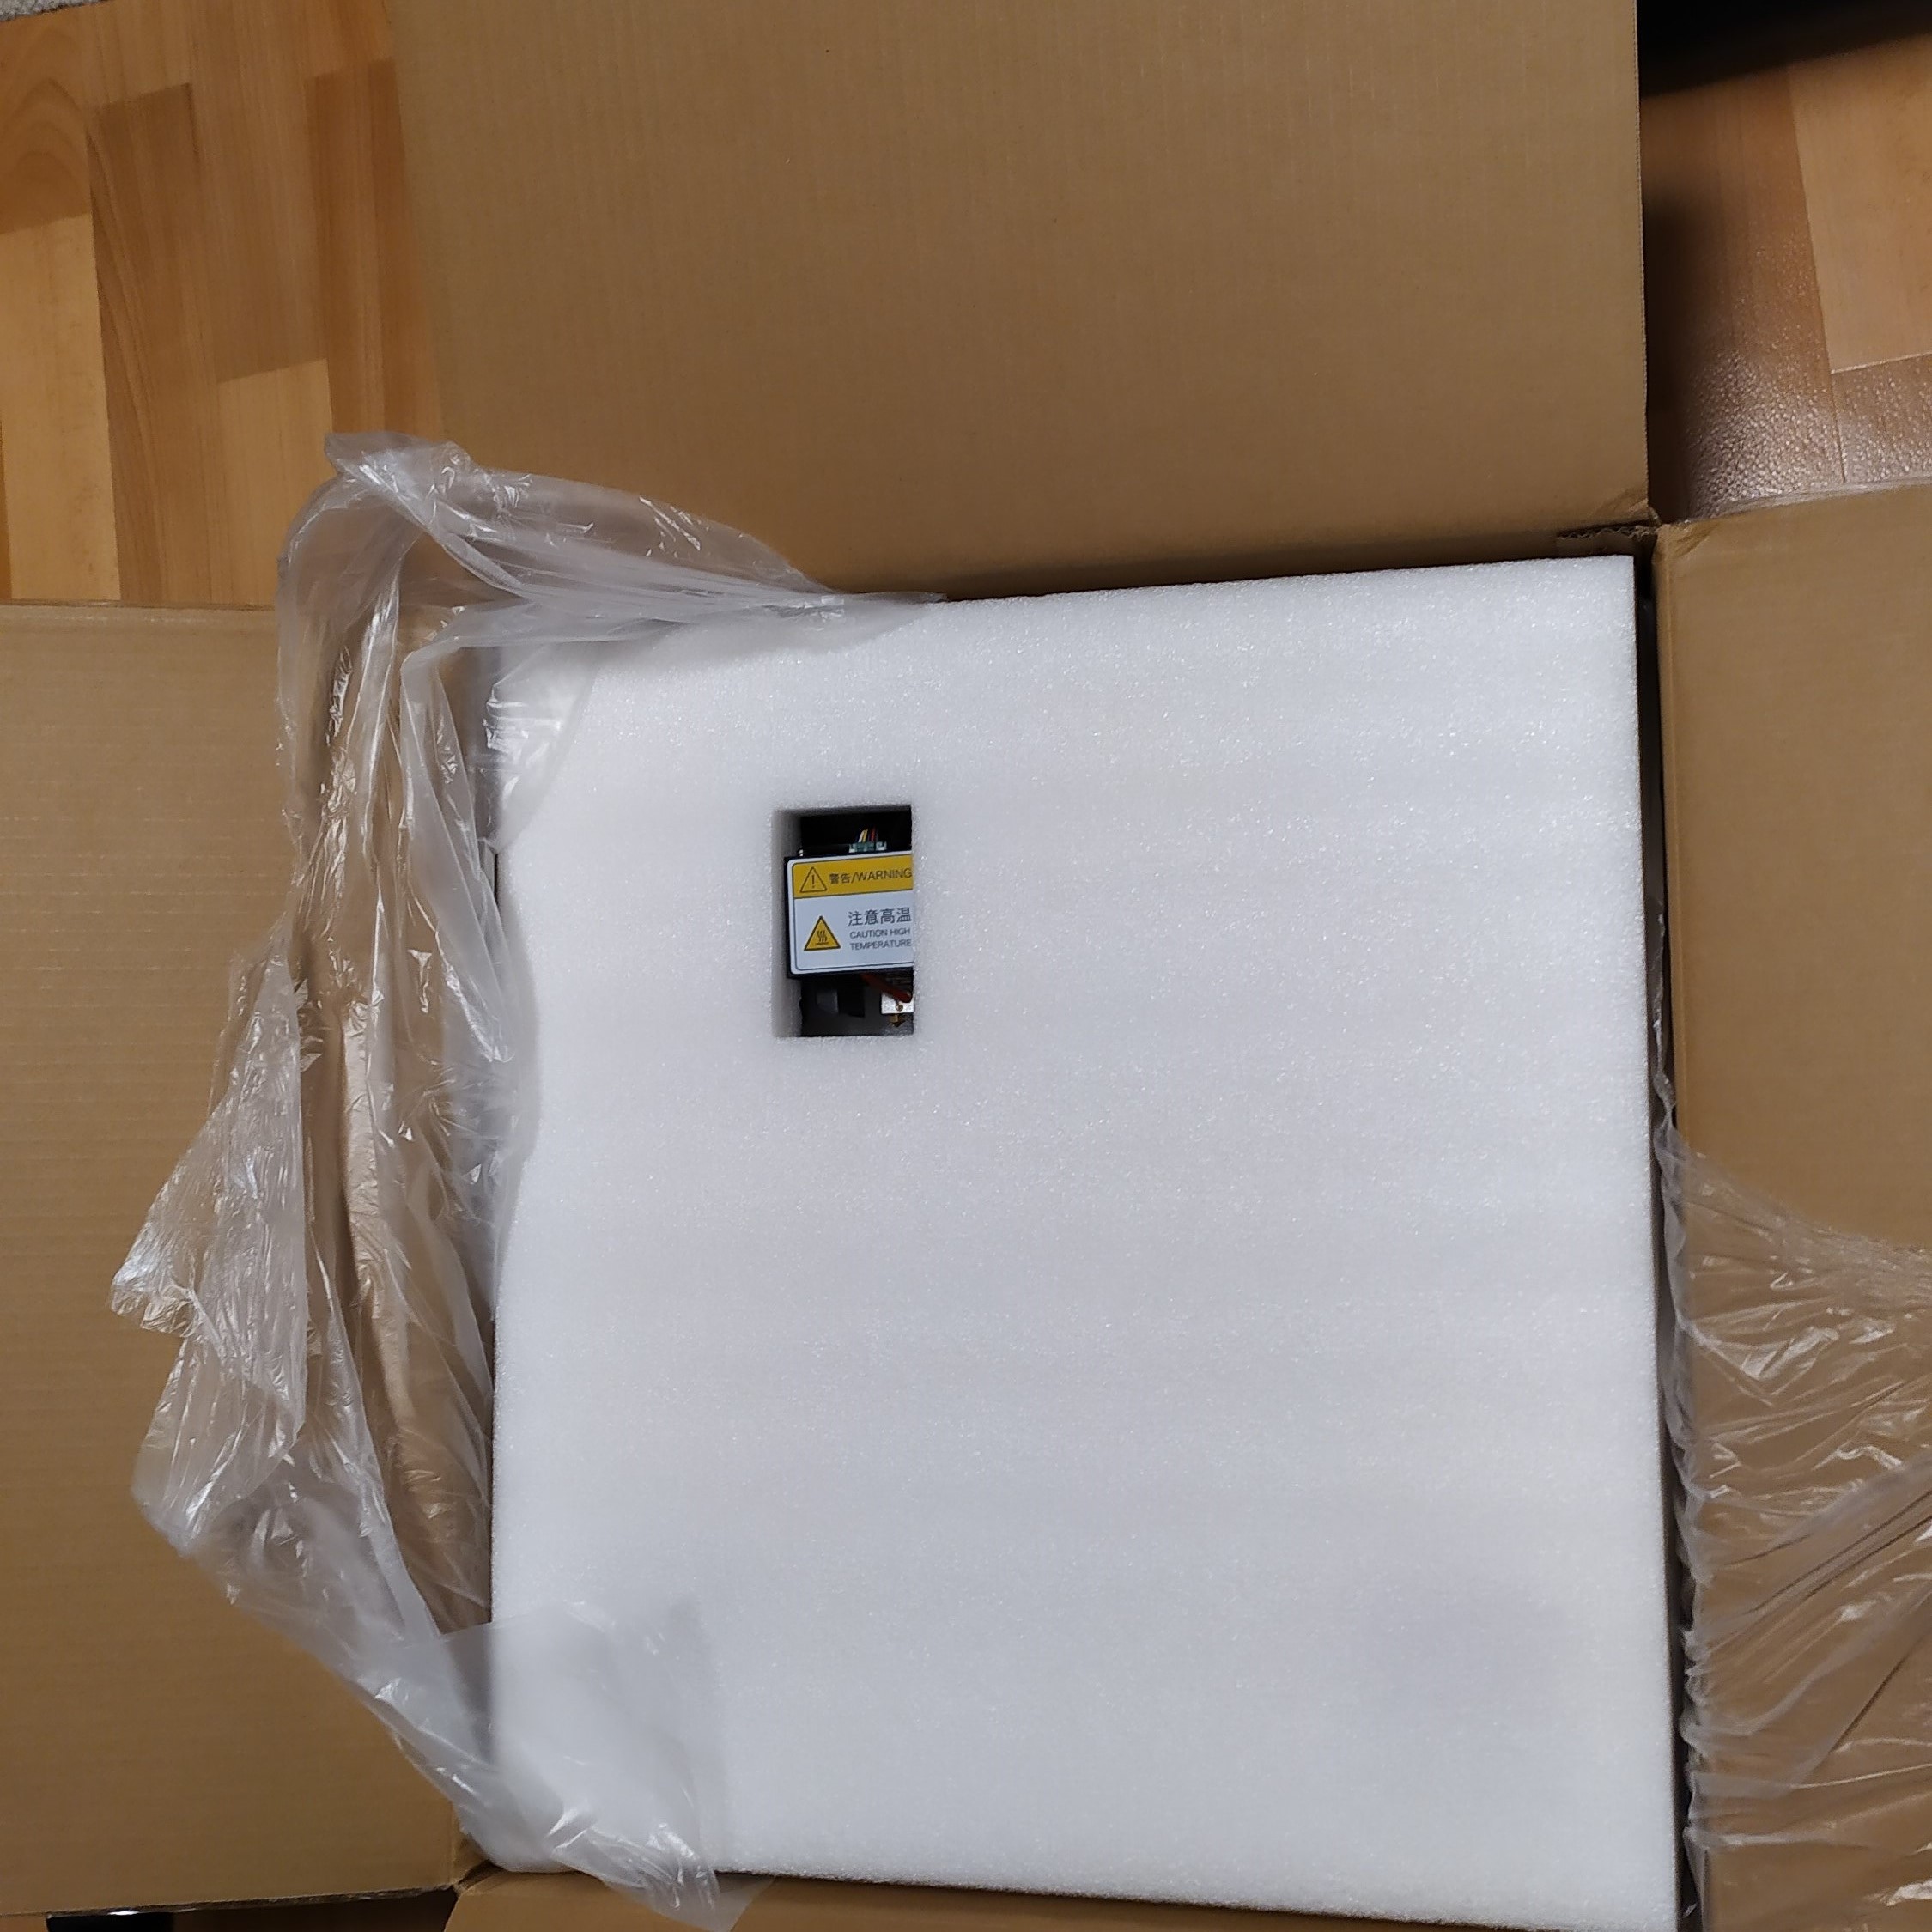
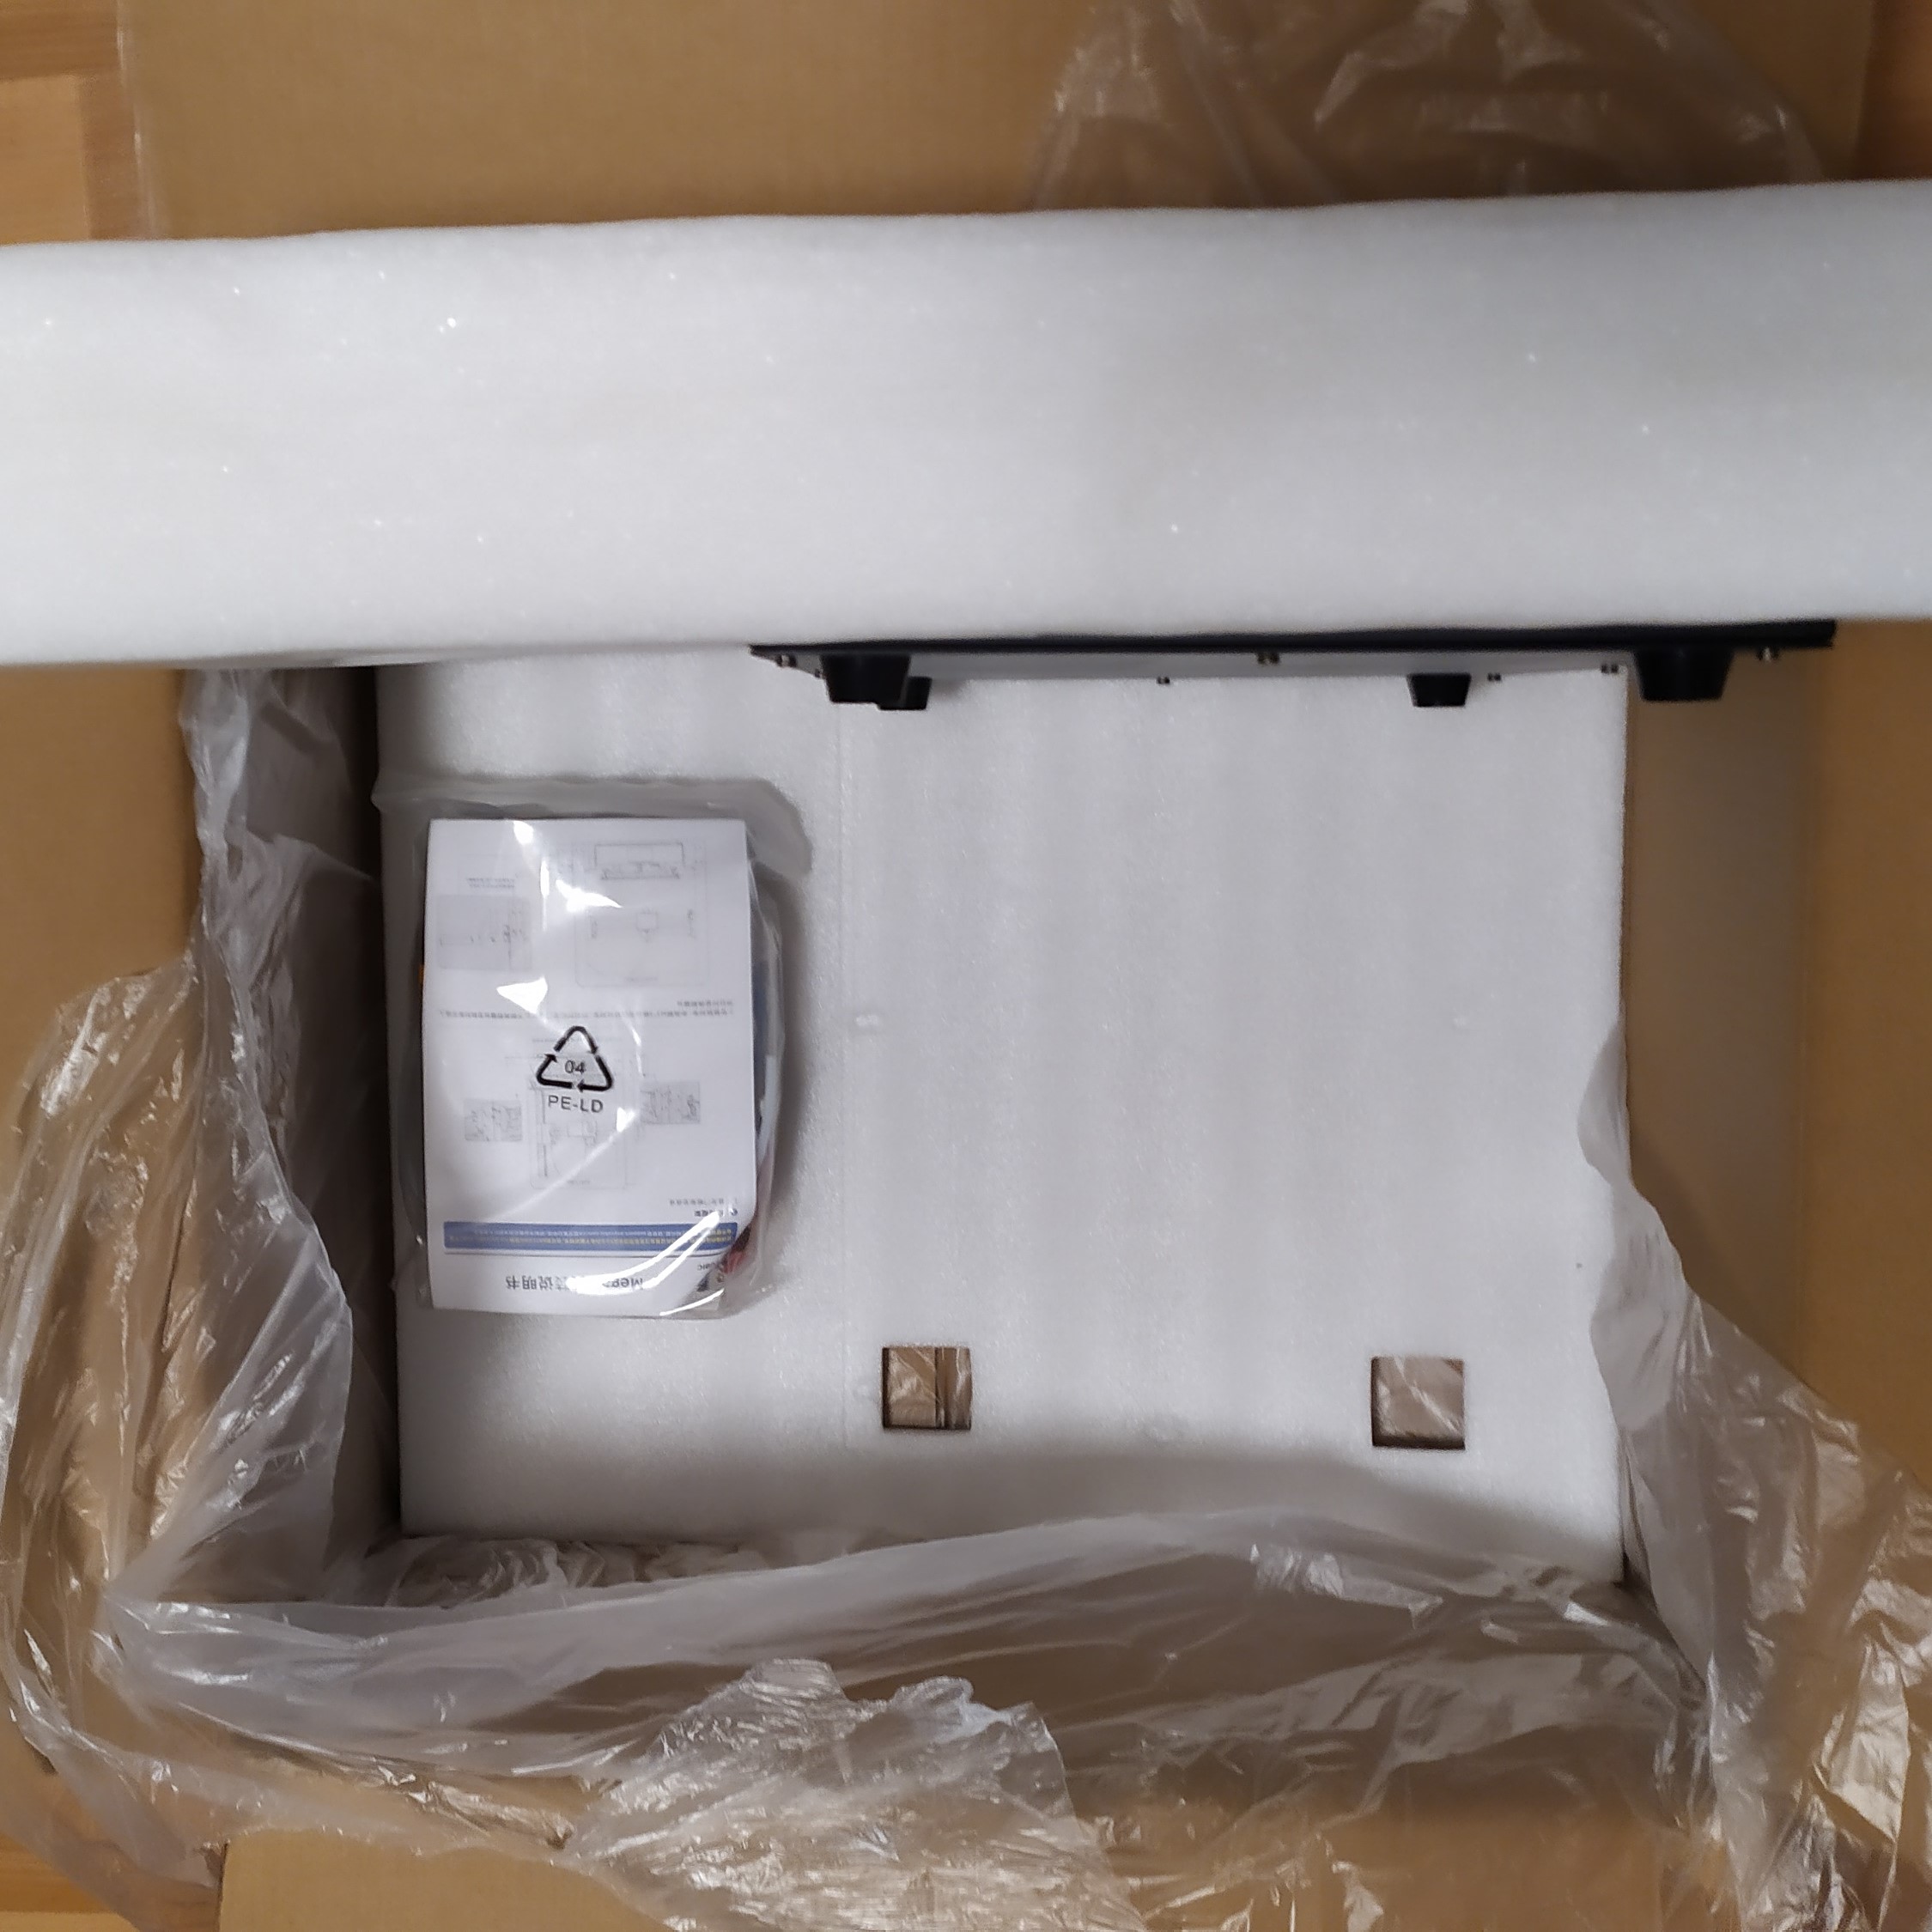
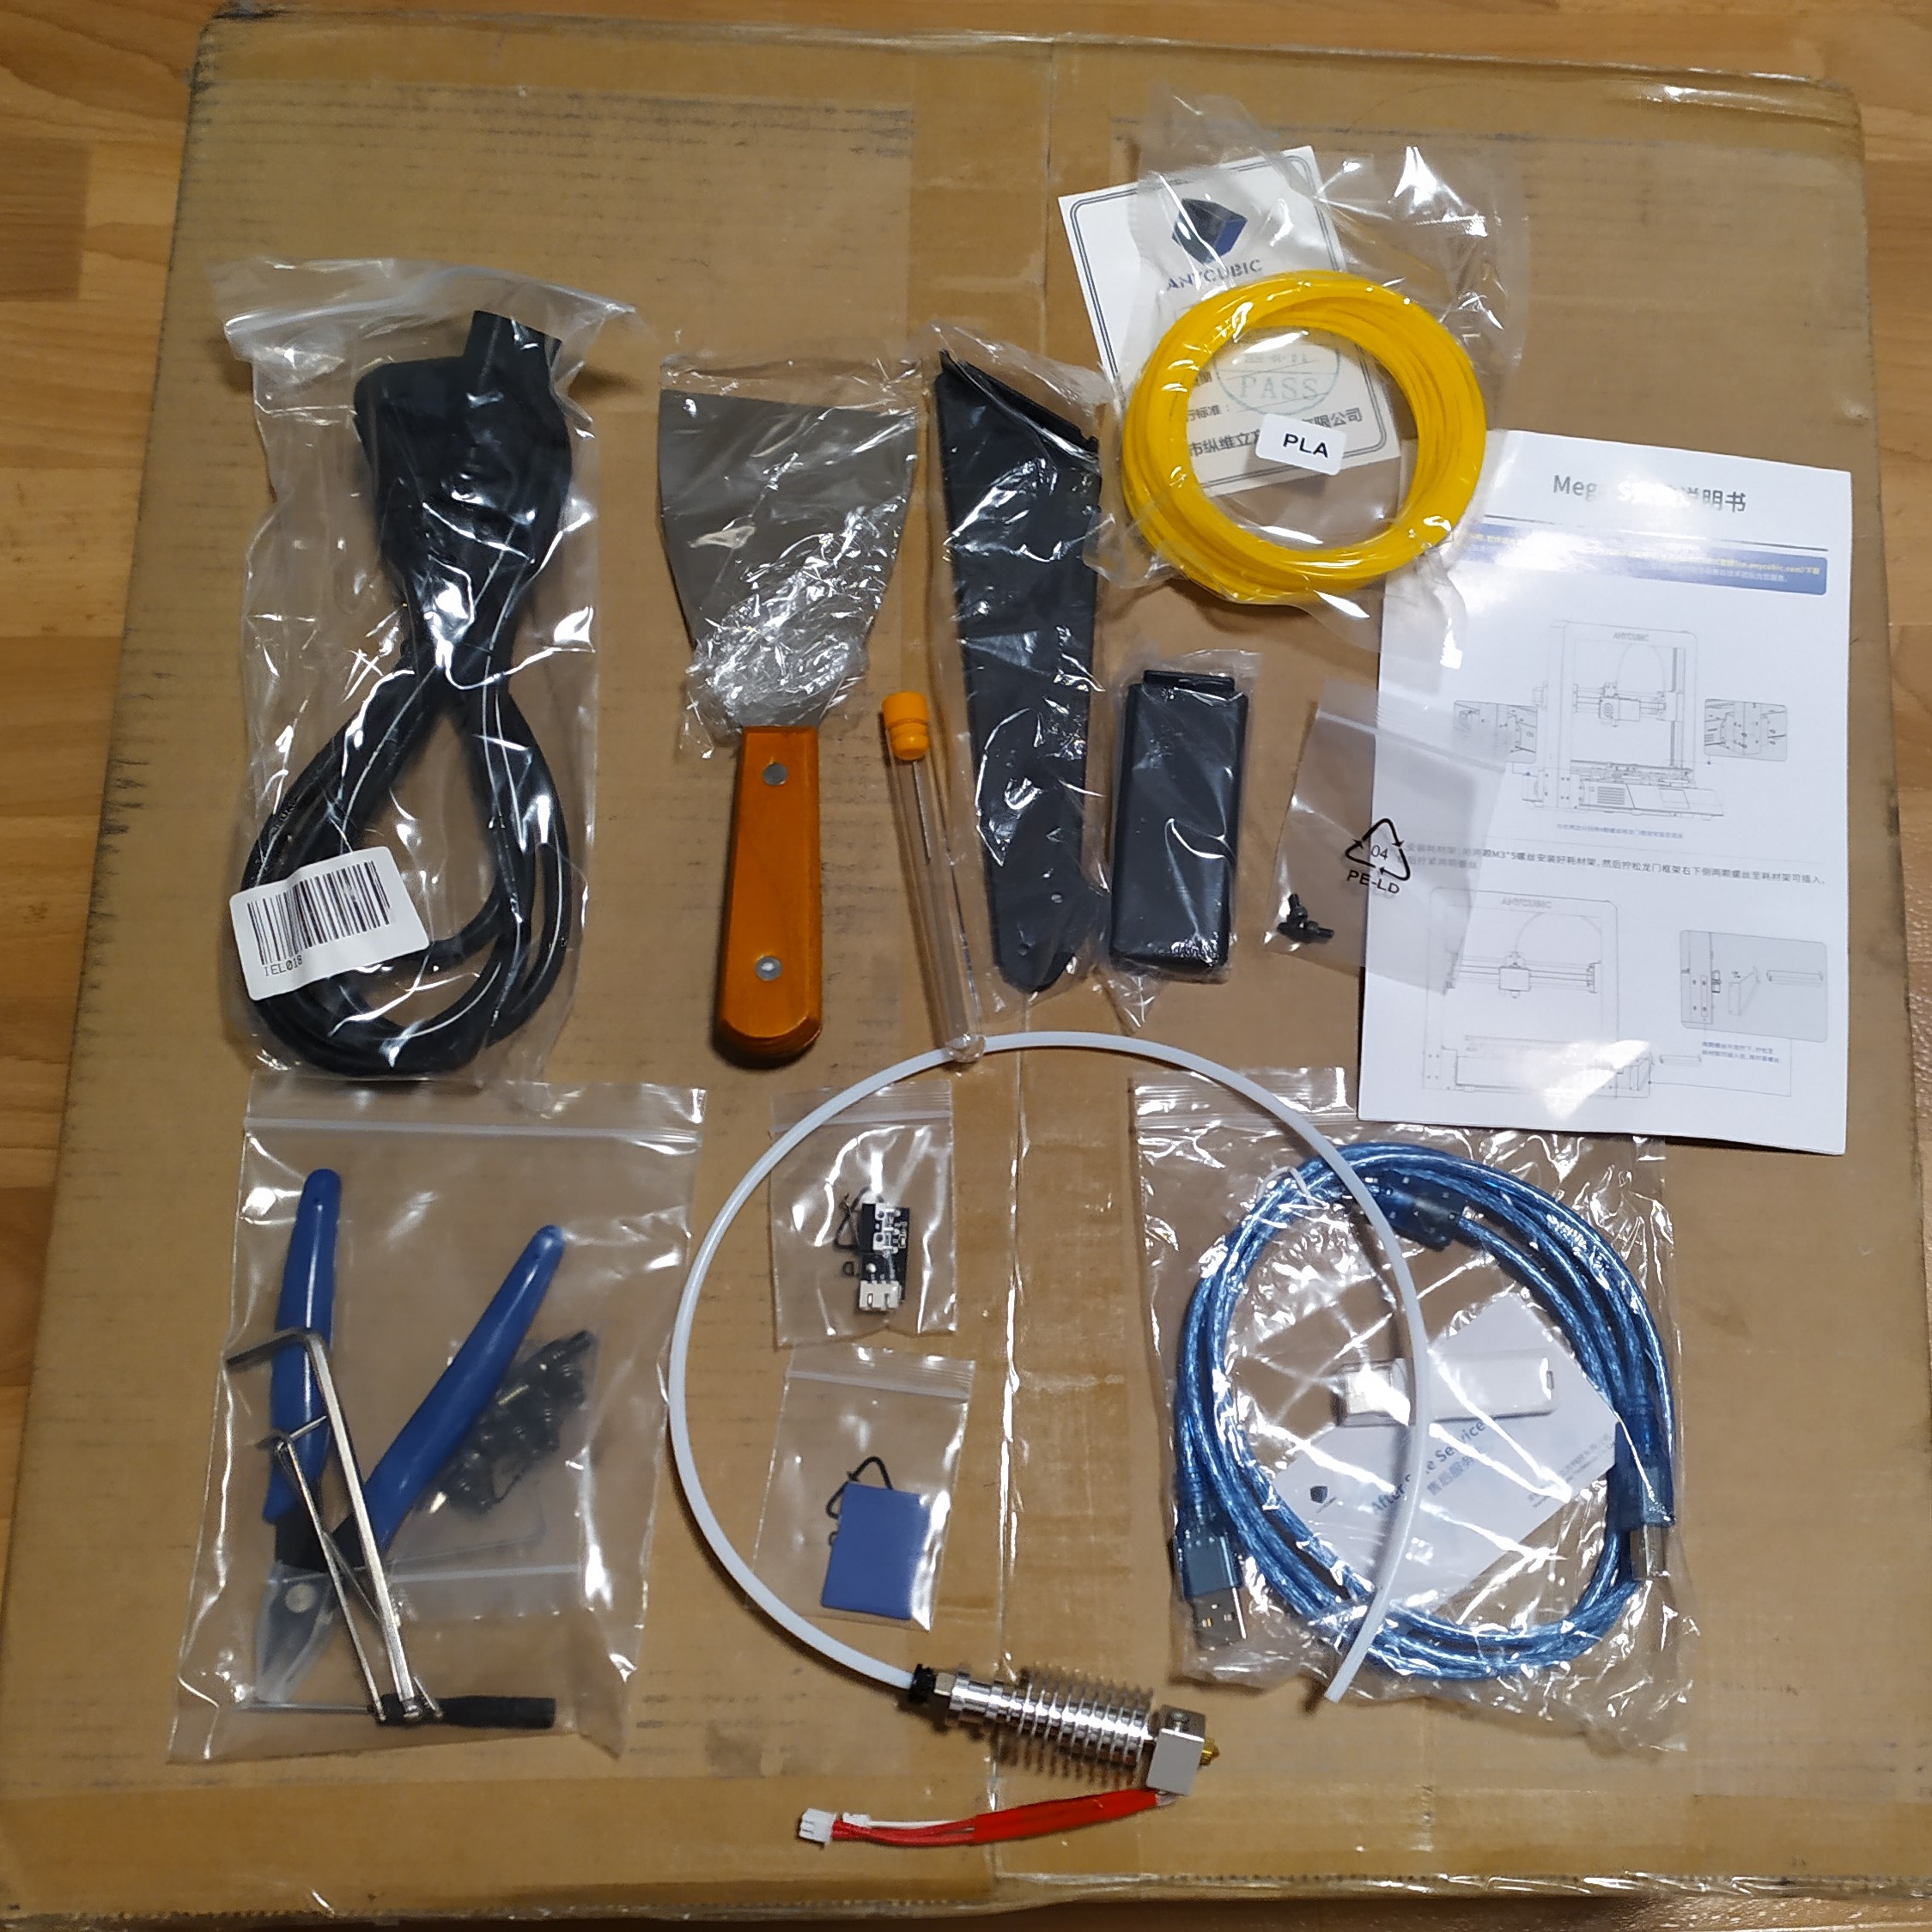
You will find the remaining parts, screws, tools and other things in the sealed bag.
Anycubic also provides a spare V5 hot end already assembled.
Take the frame out of the box
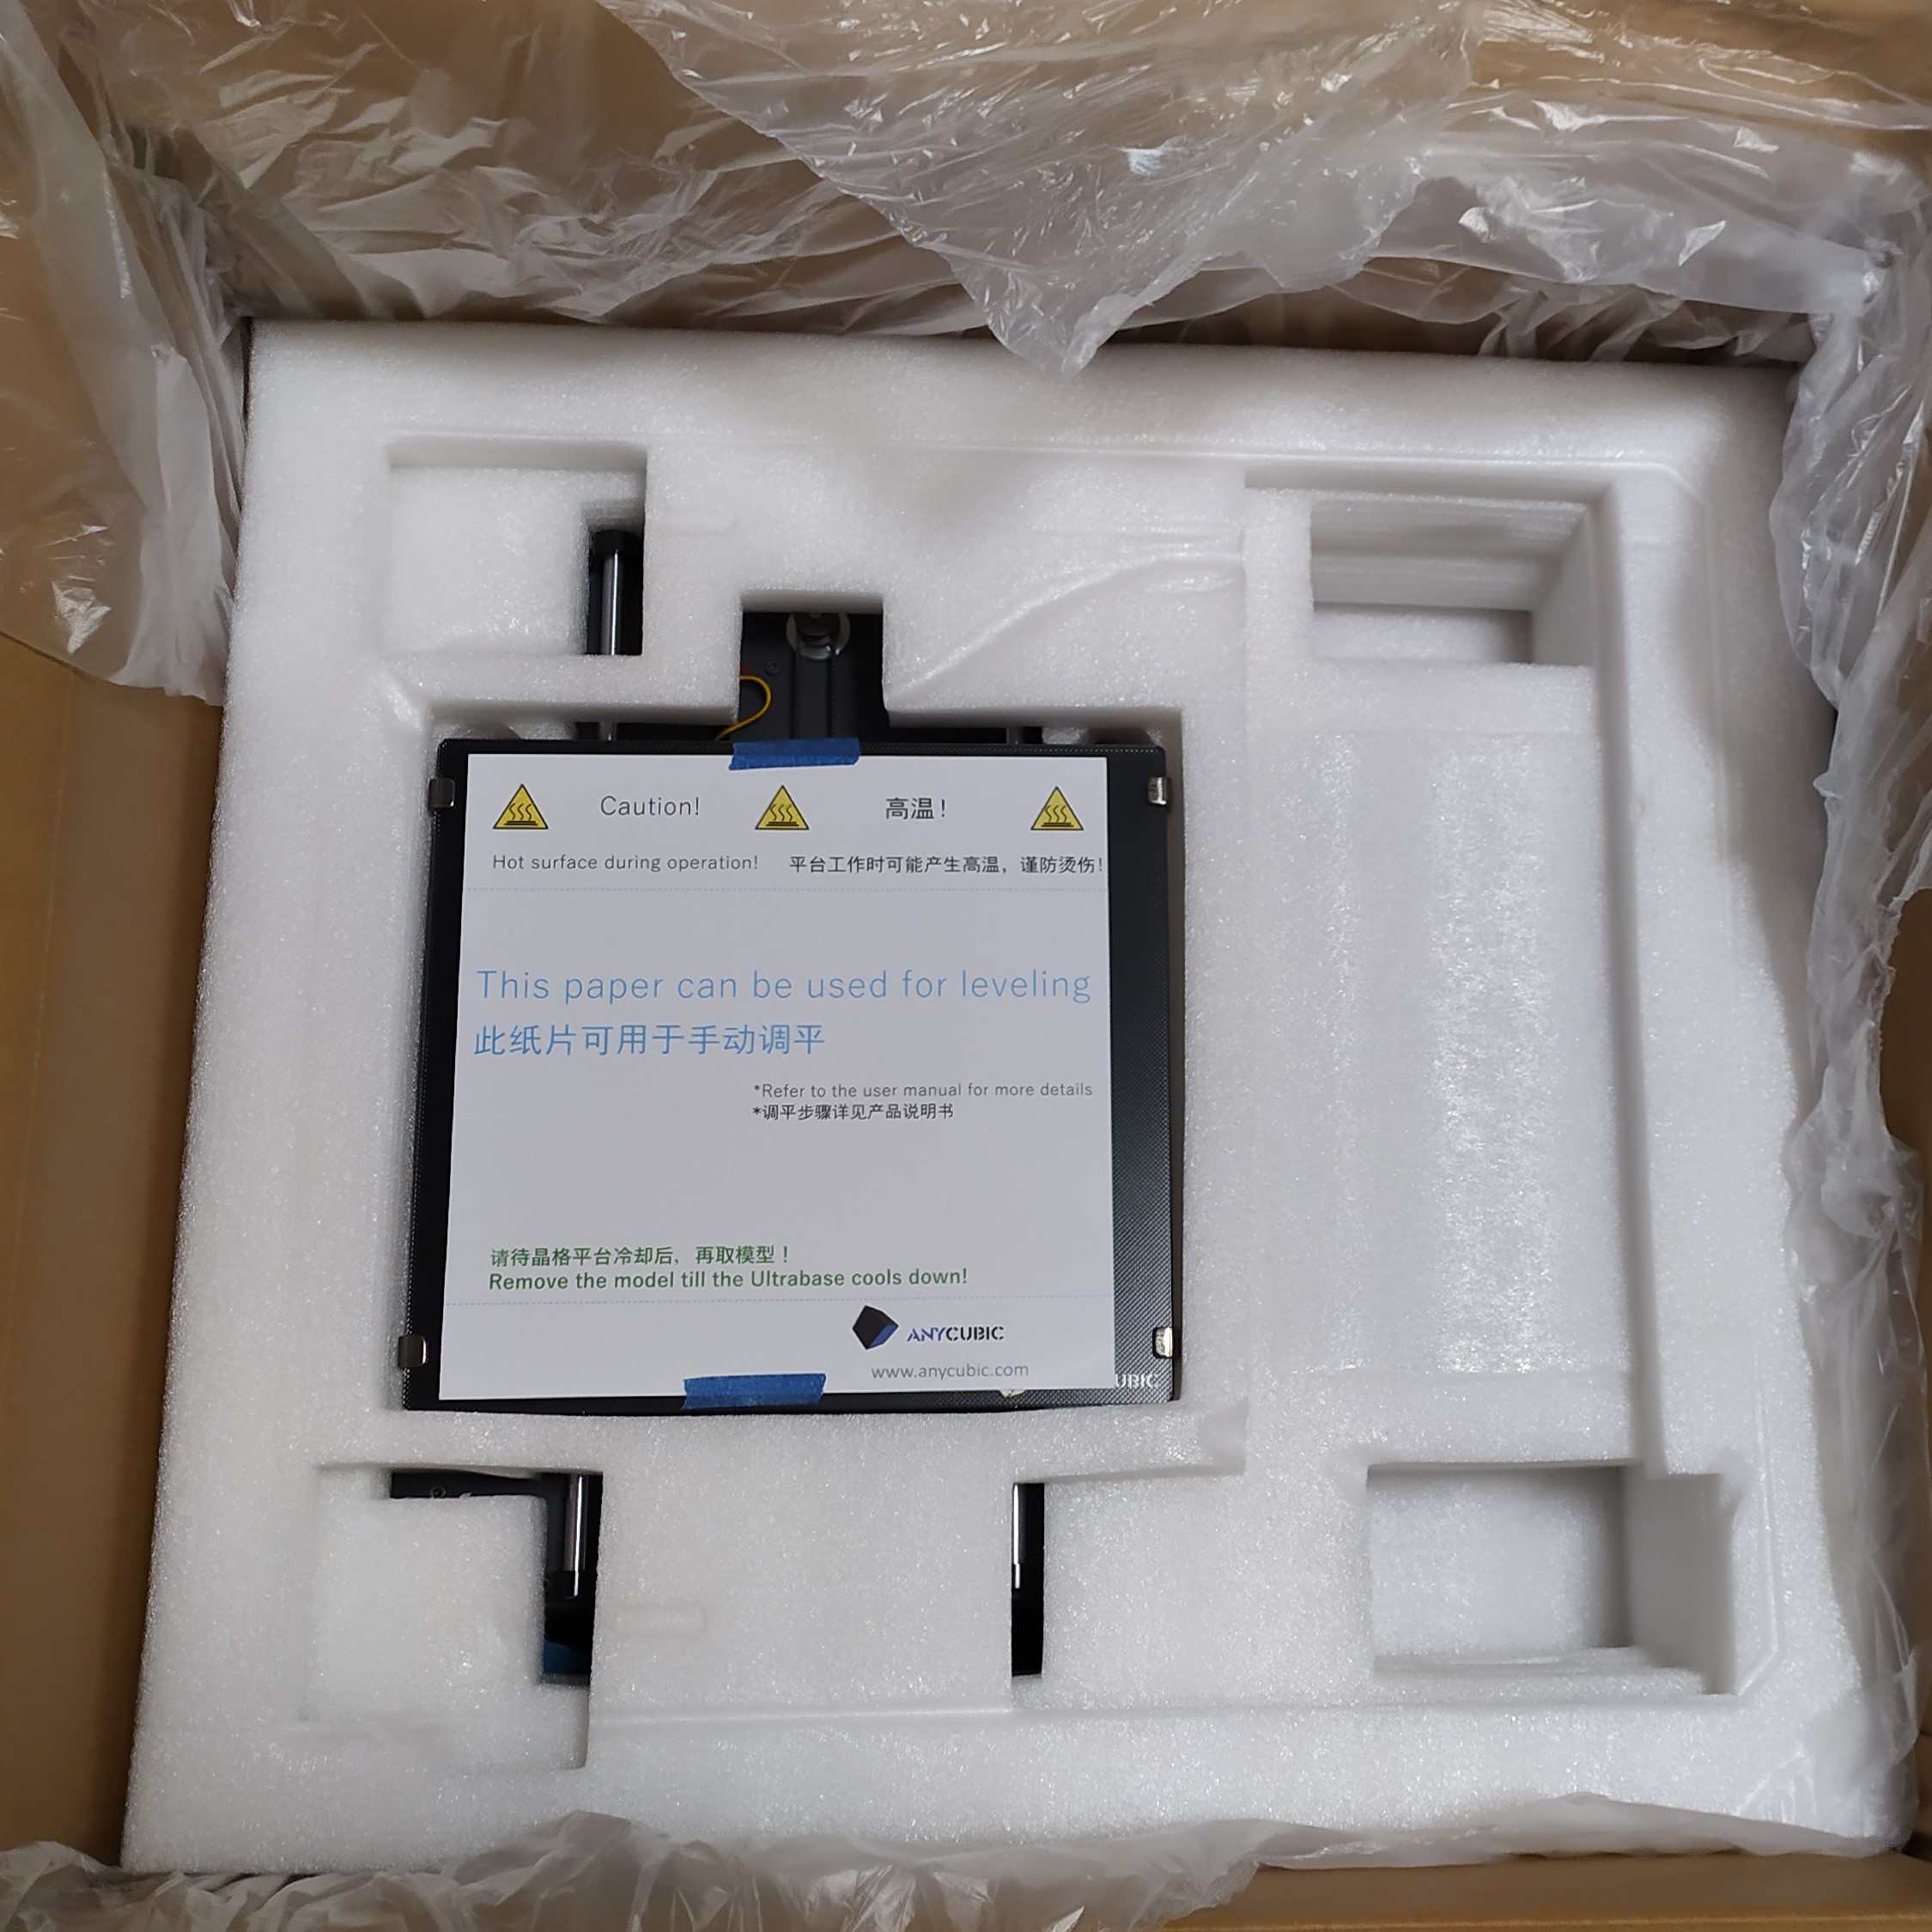
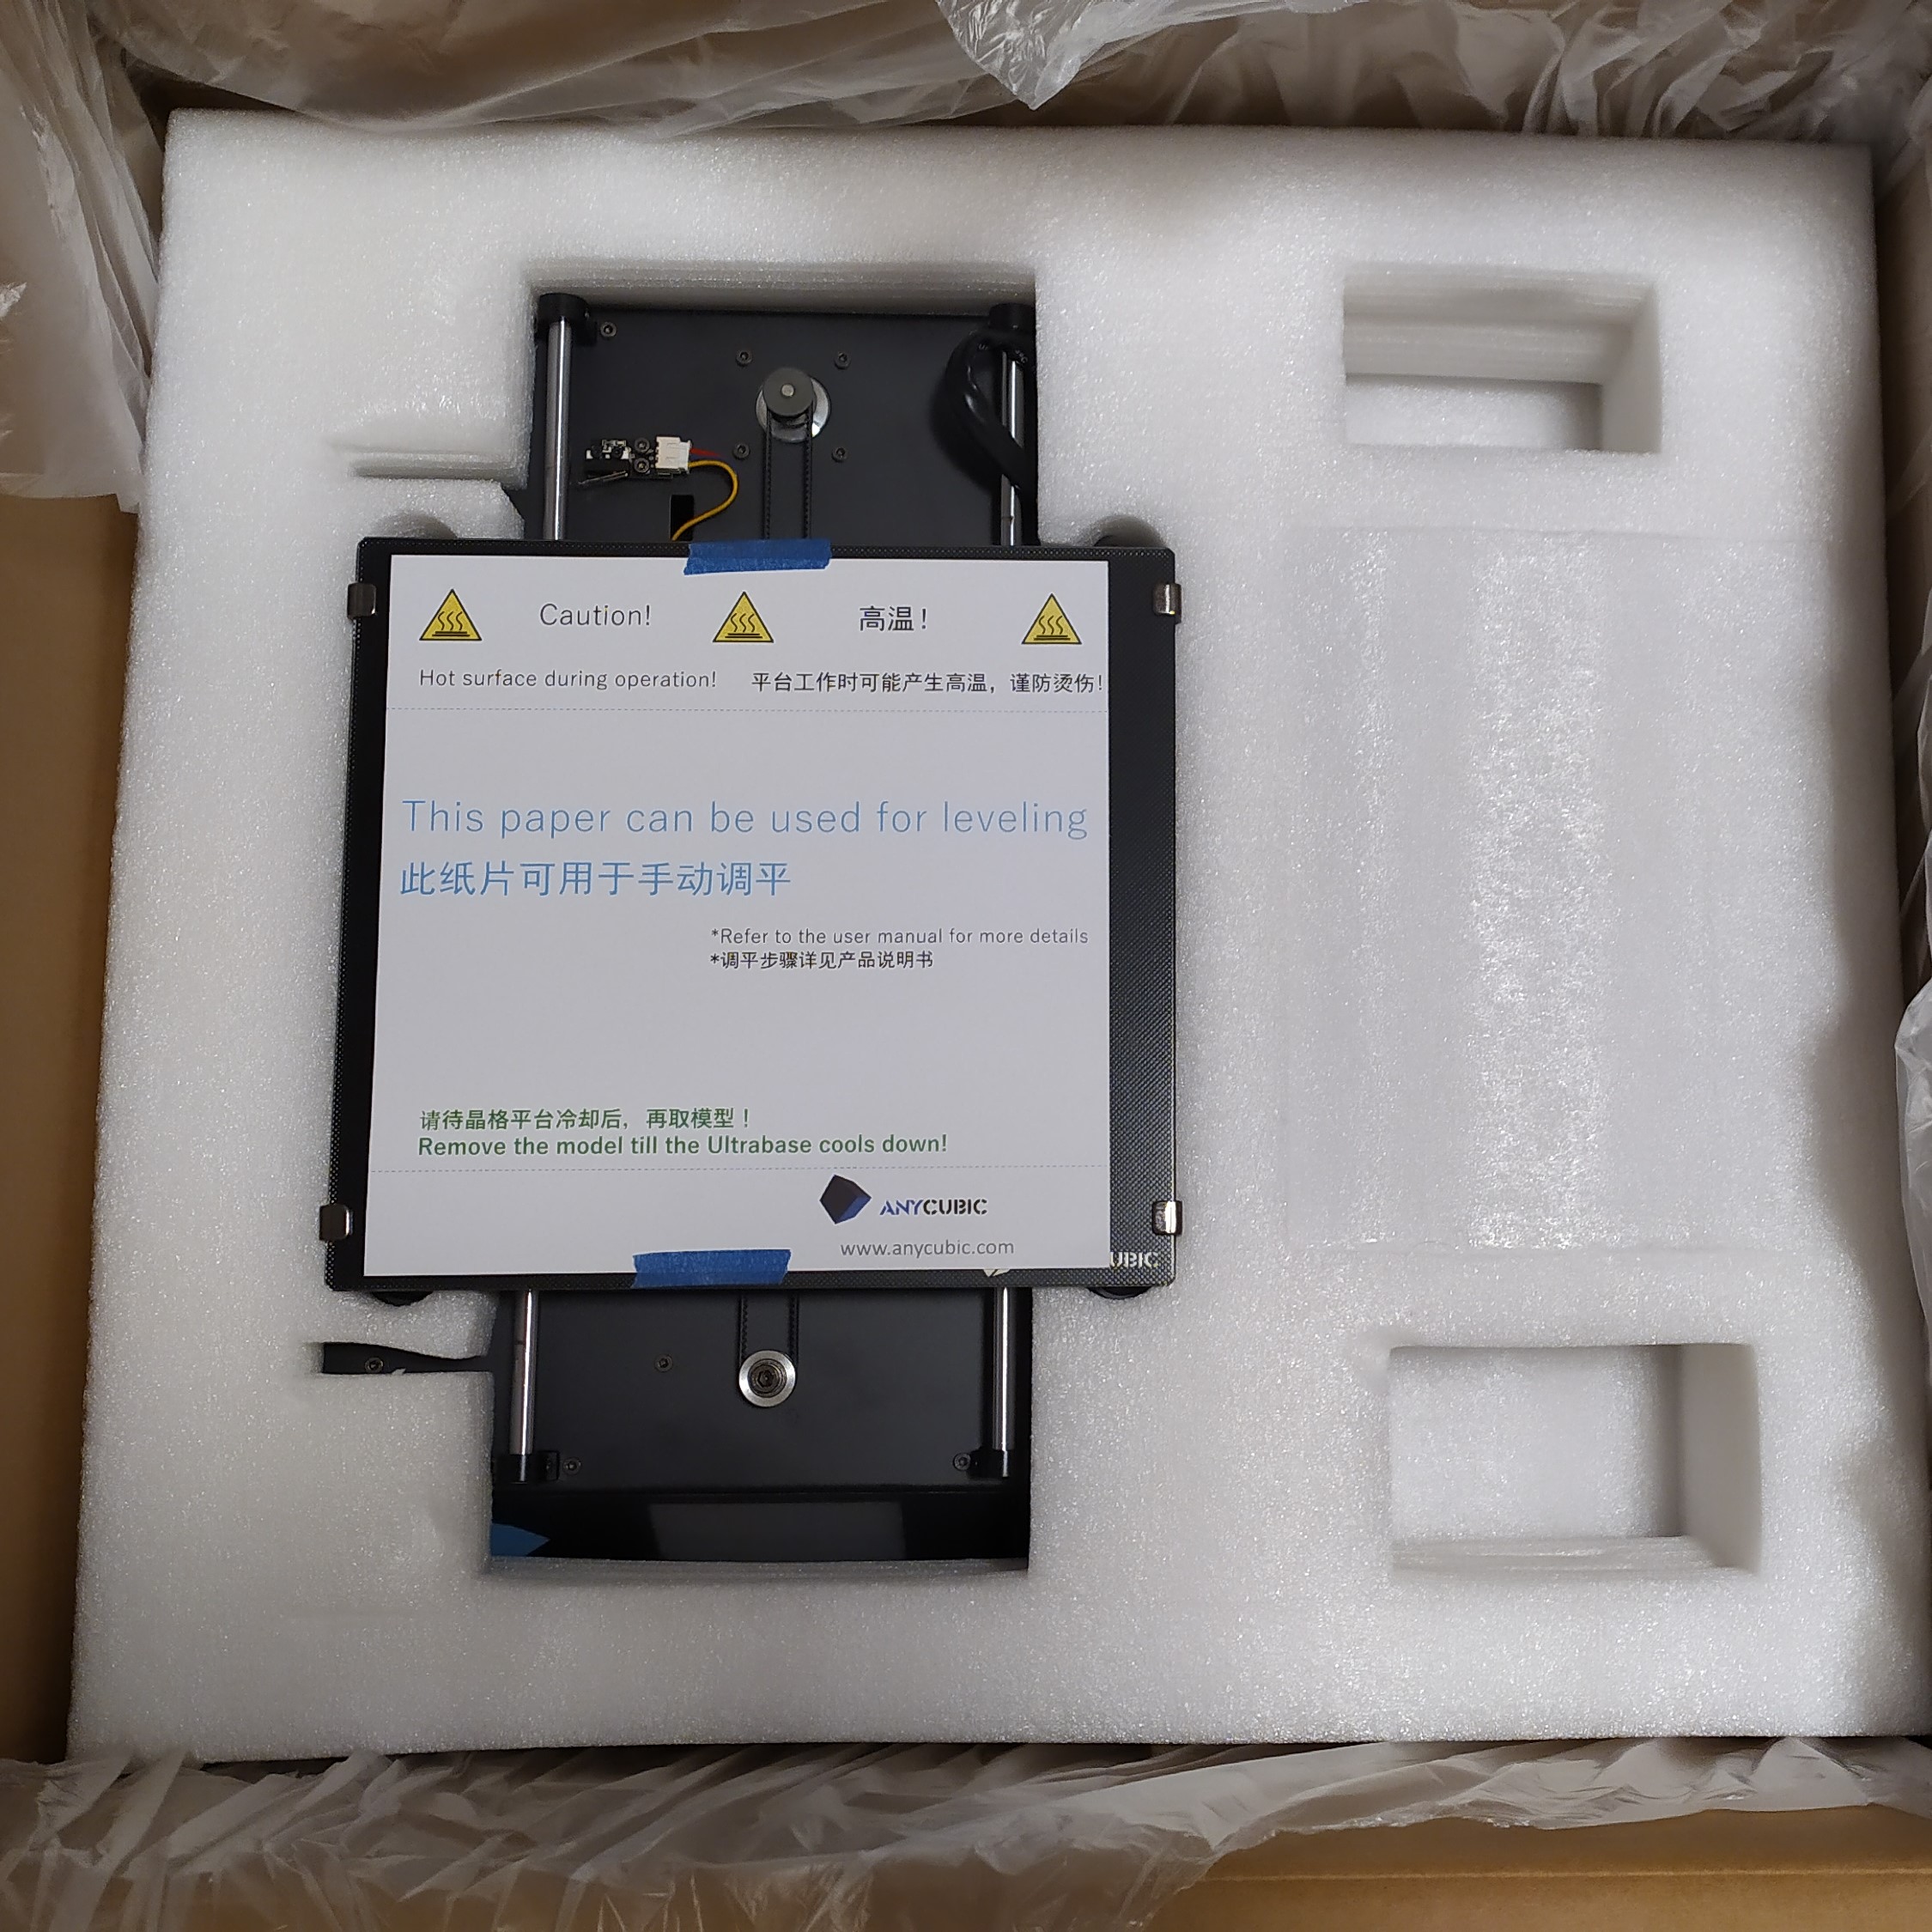
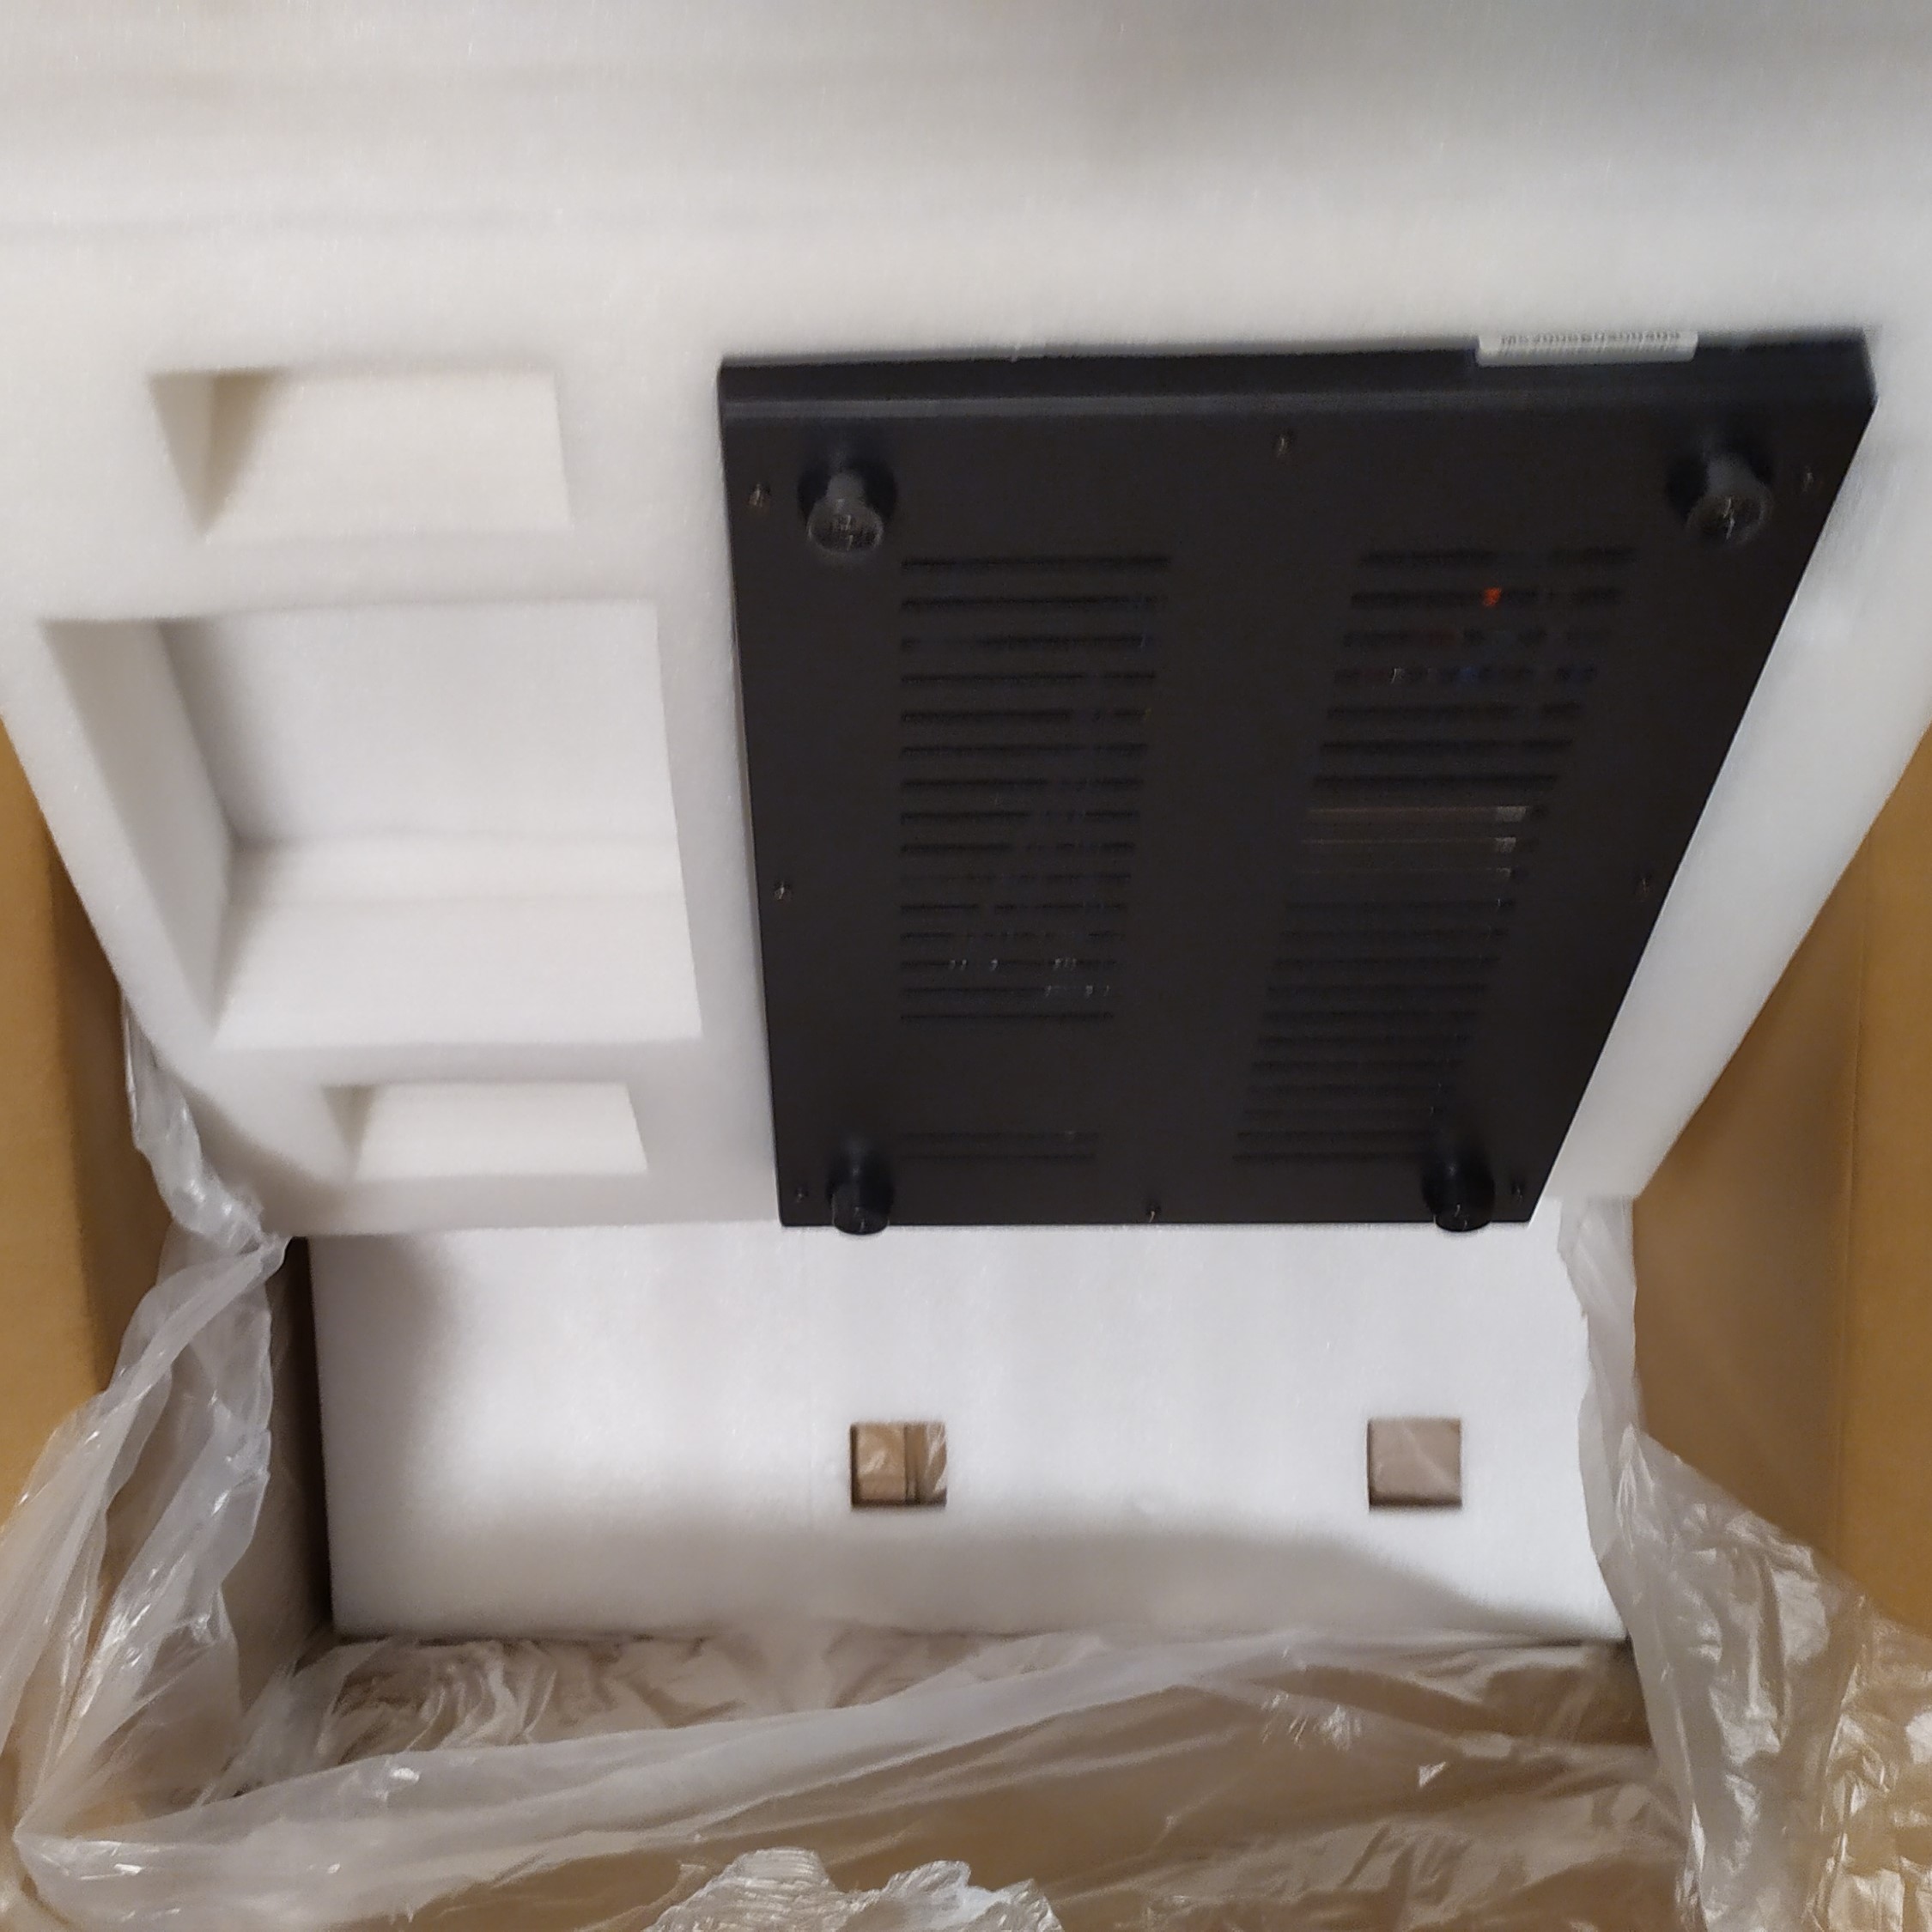
Take the base out of the box.
There are 4 holes with thread, we will use them in the next steps to attach the frame.
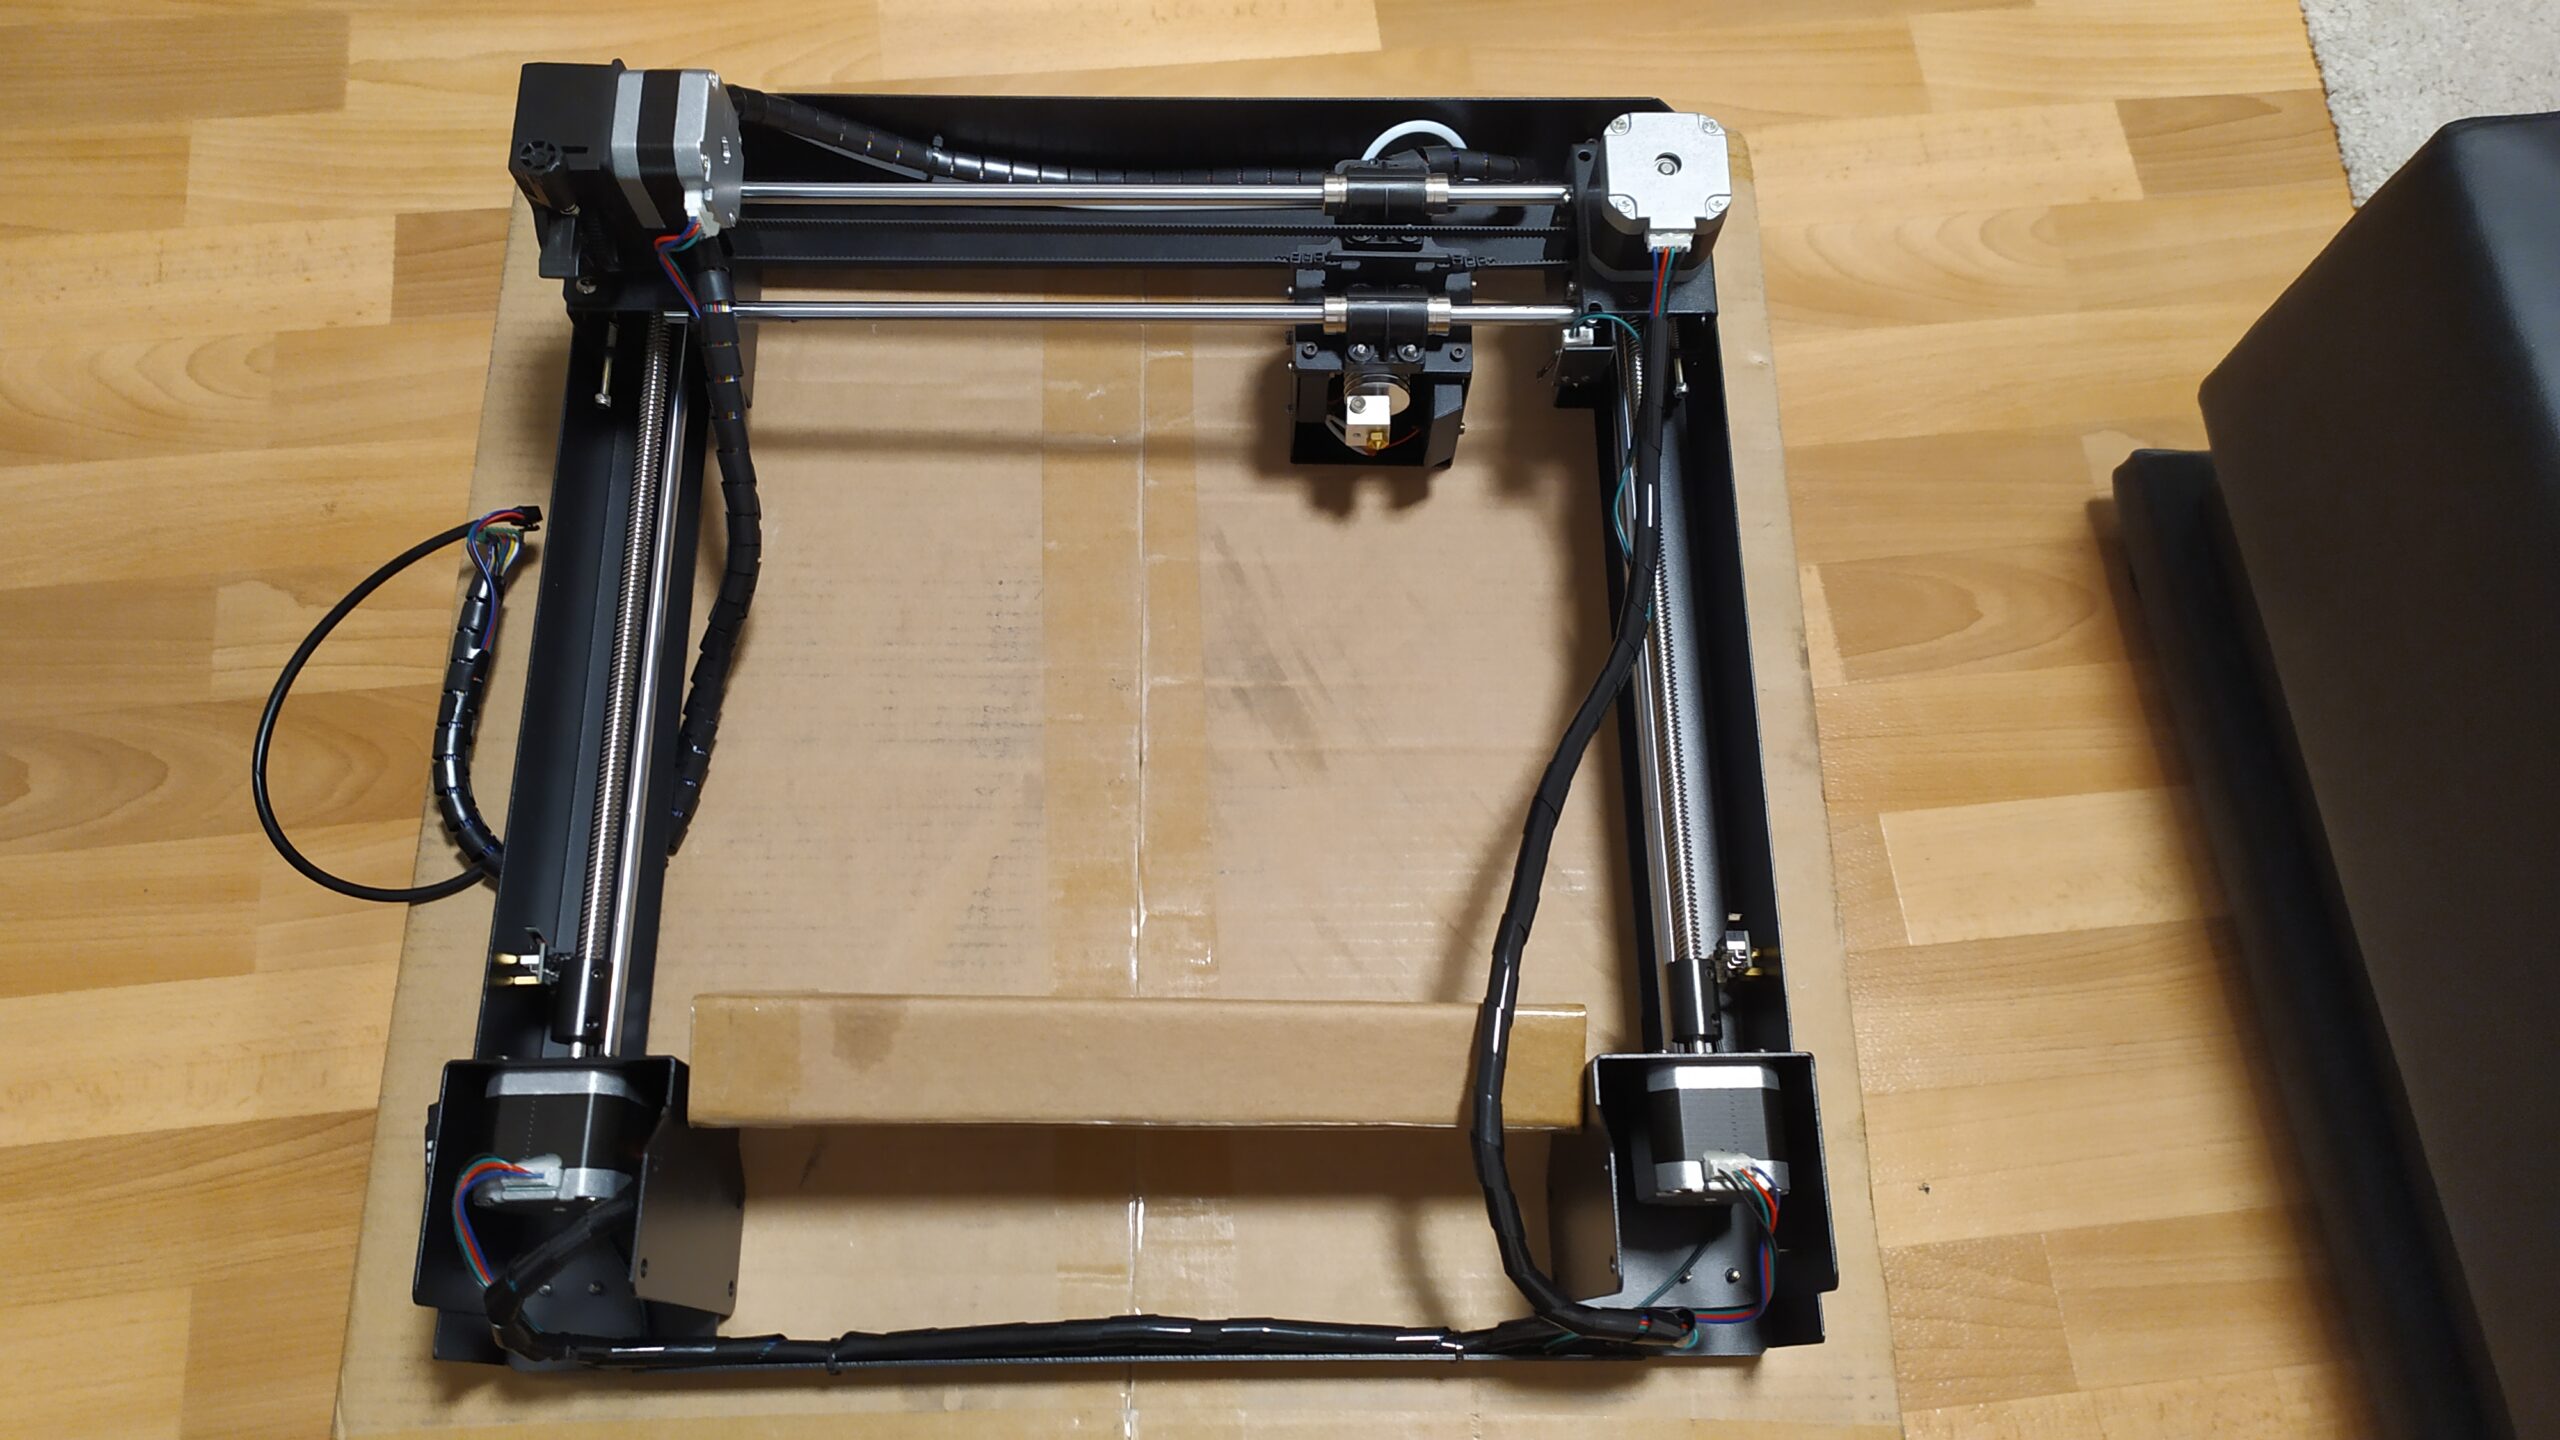
Take the frame and put it on the base.
Use 4 large screws from the package and tighten the frame to the base.
Use another 4 large screws and tighten the frame on the other side
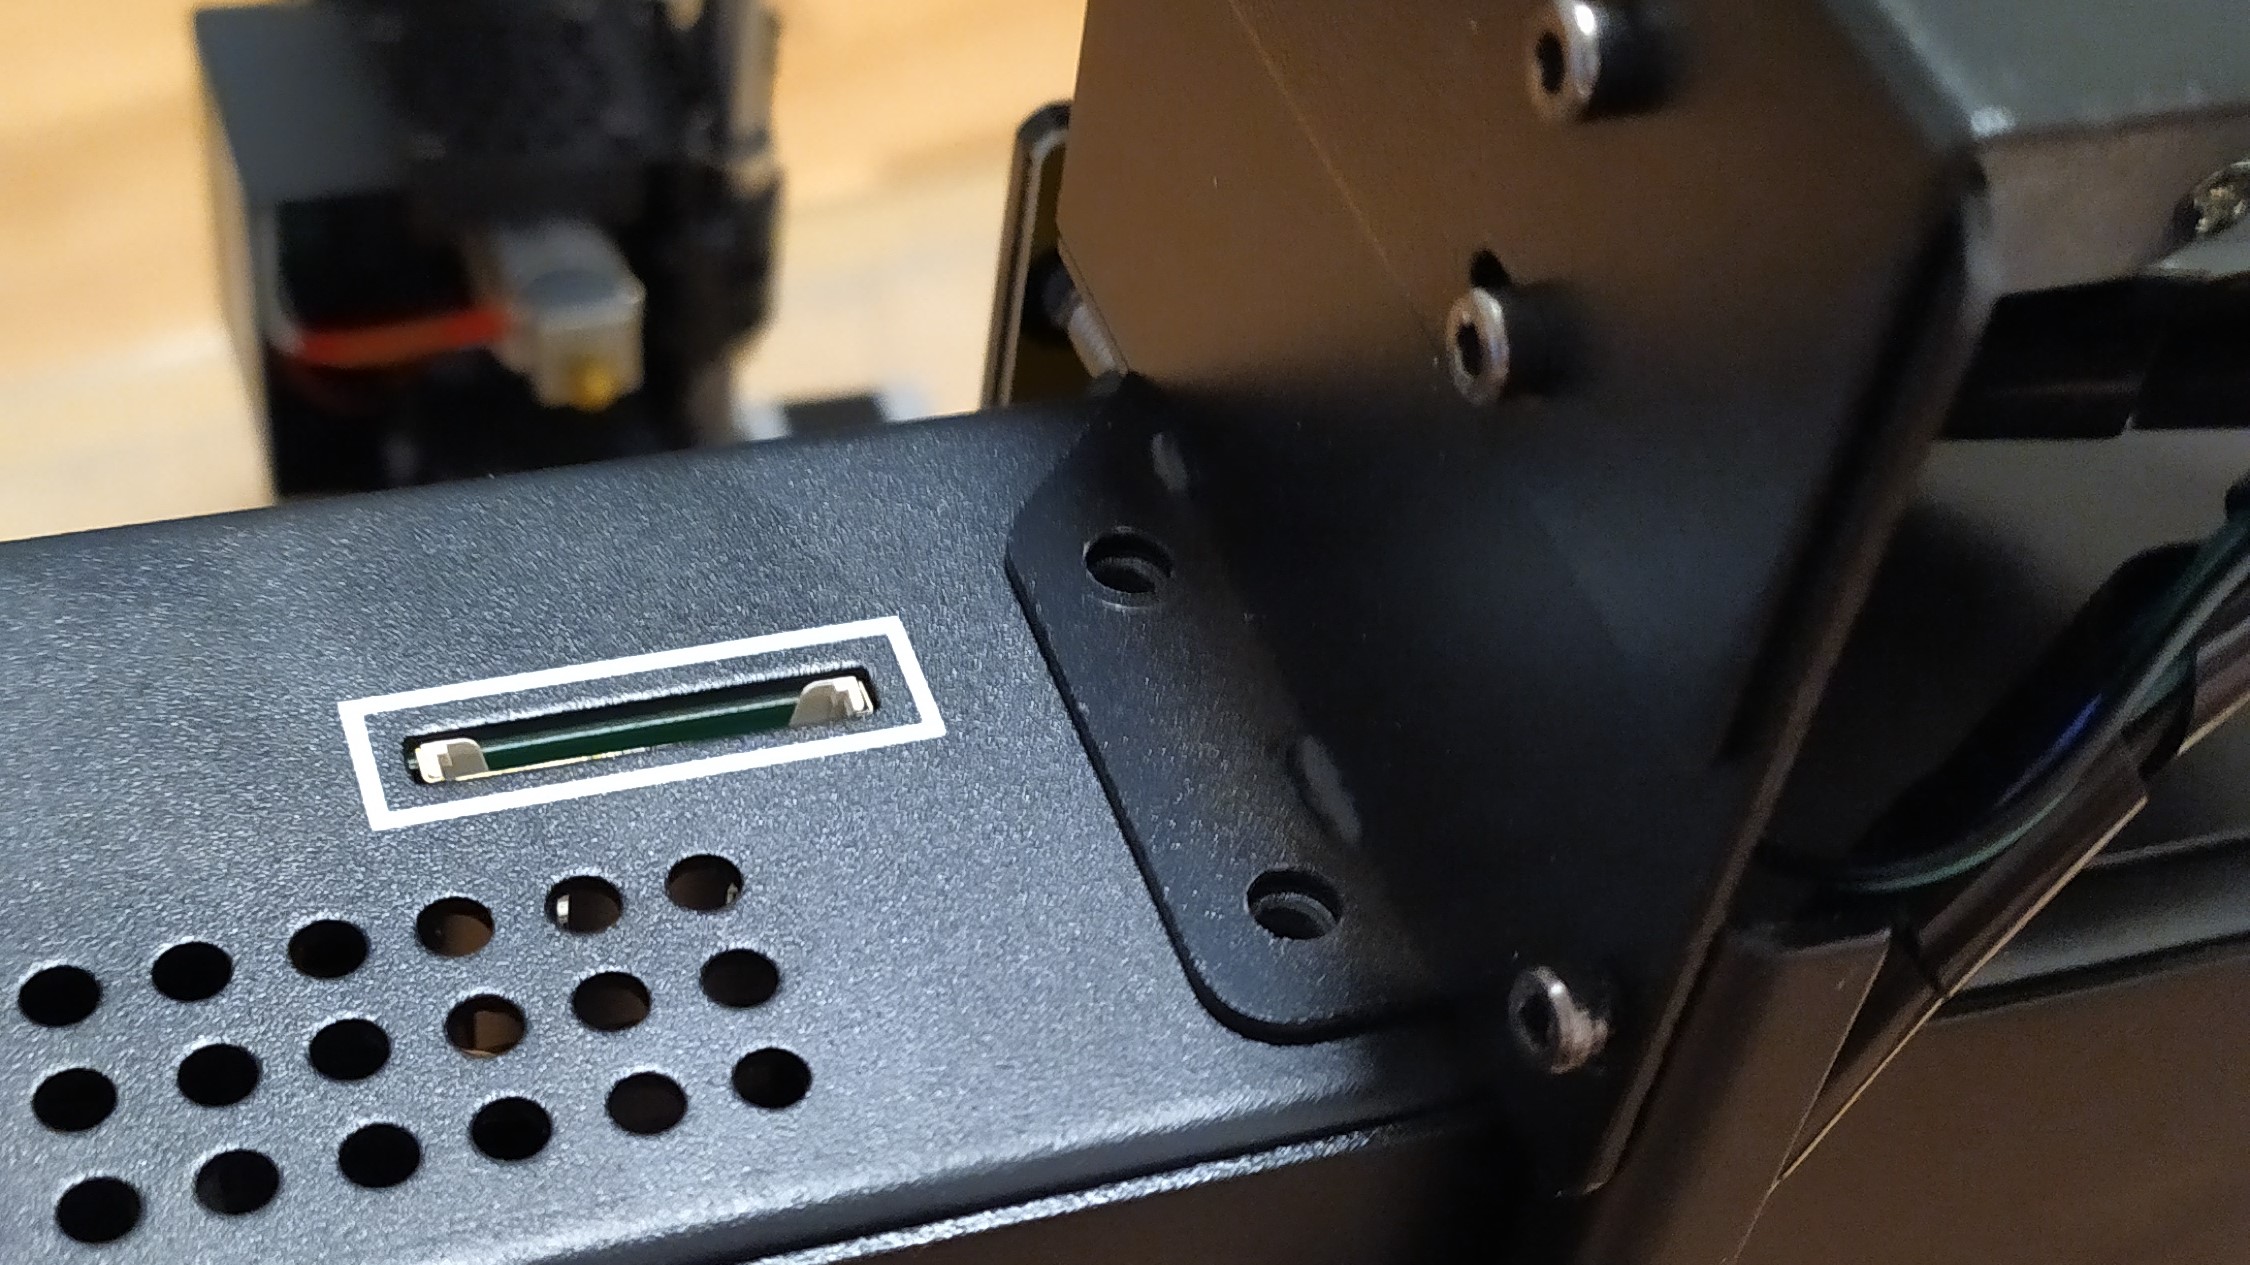
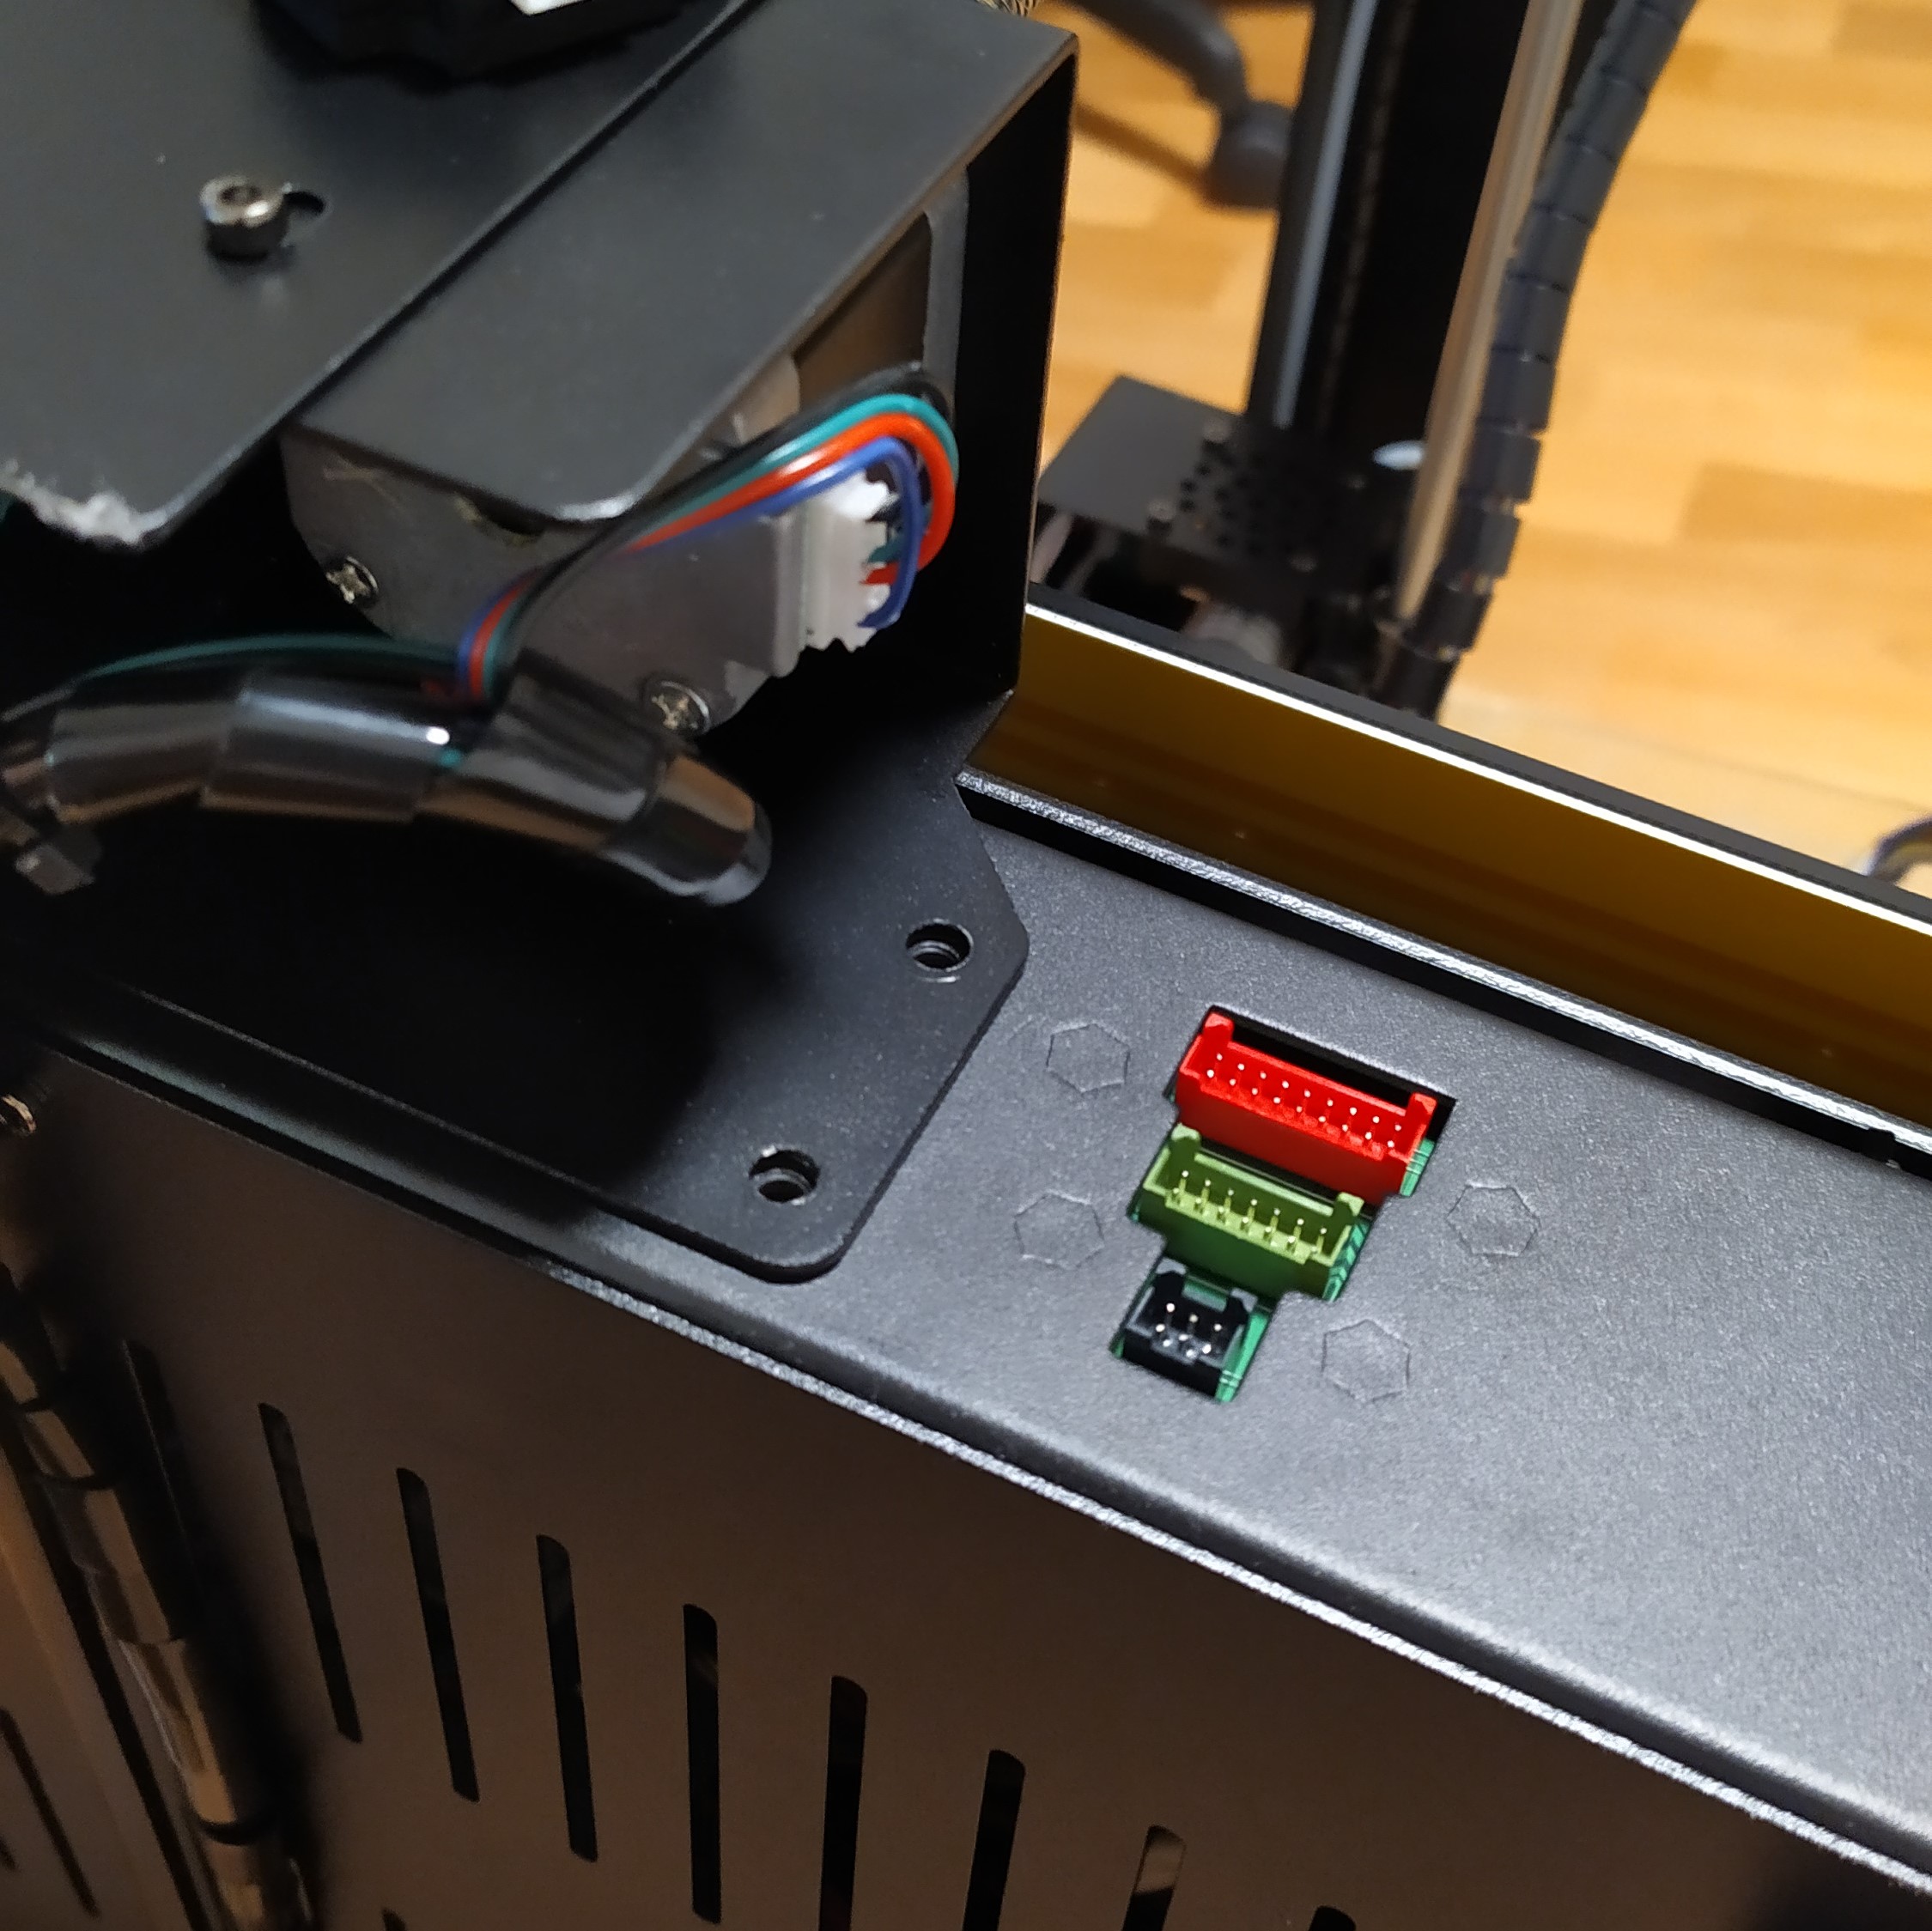
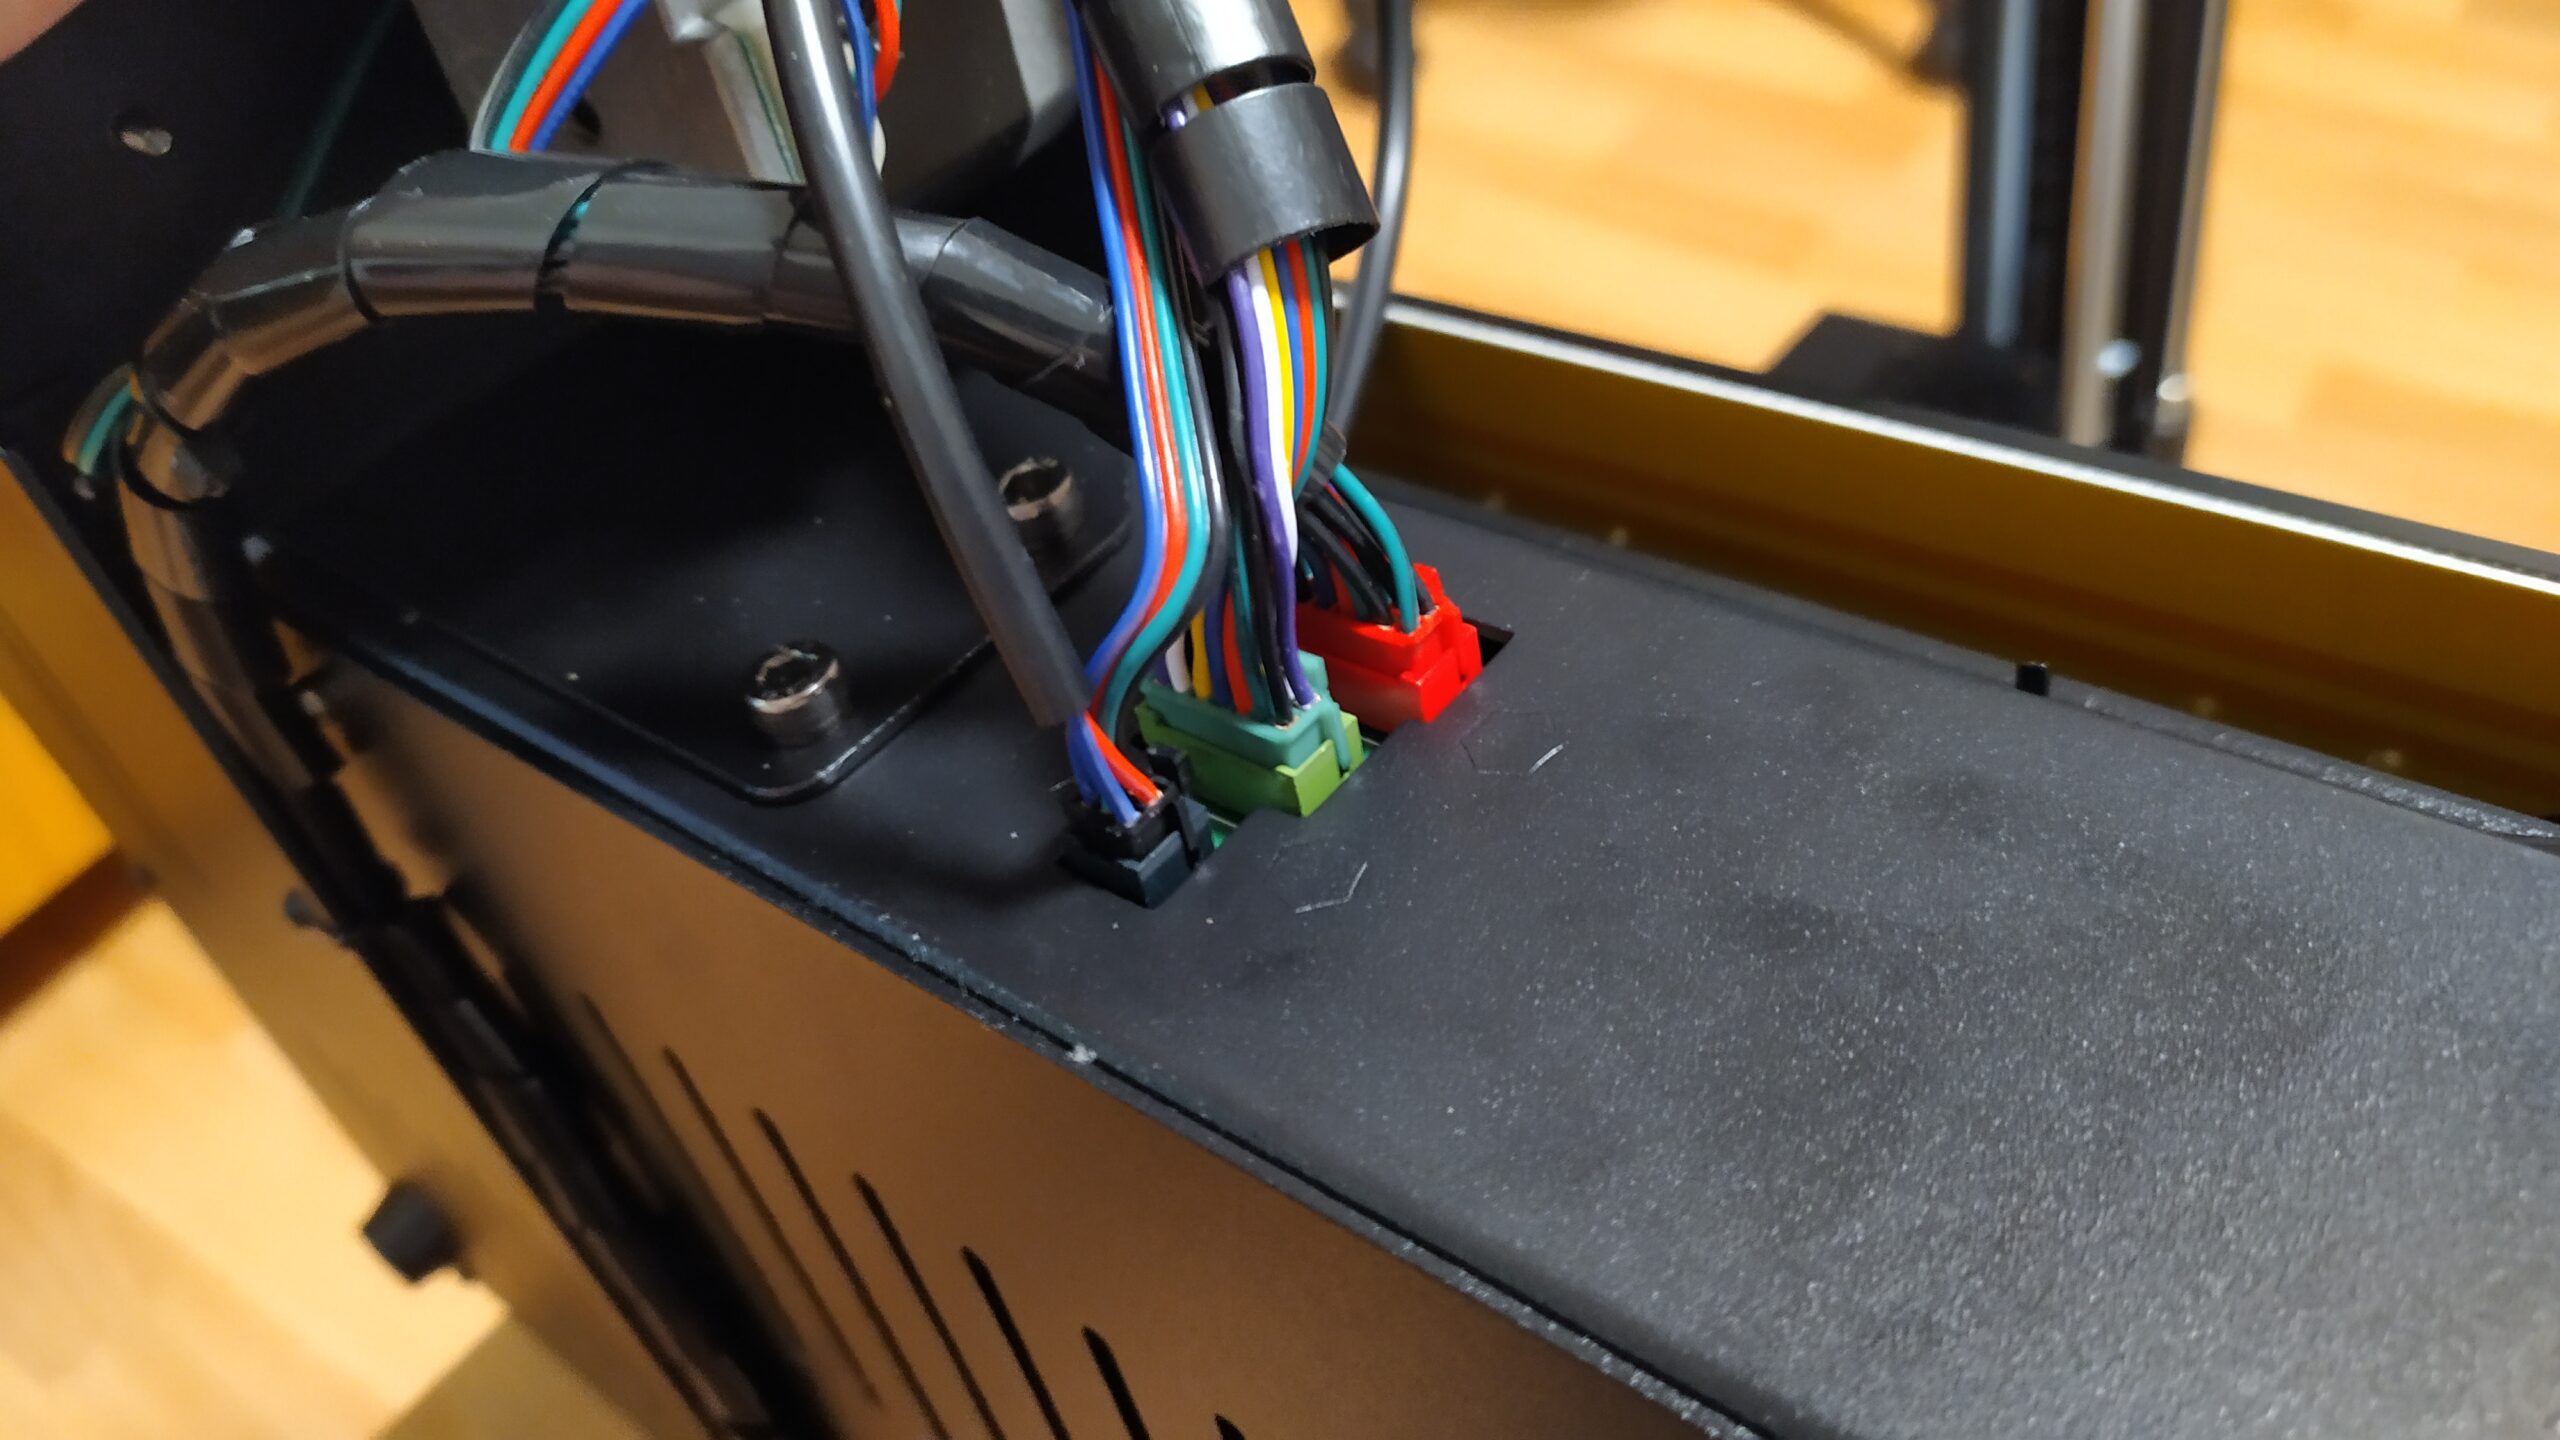
Plug in the red connector.
This connector is used for both Z axis motors.

Plug in the green connector.
This connector is used for the effector – printing head.

Plug in the black connector.
It connects filament runout sensor and extruder motor.
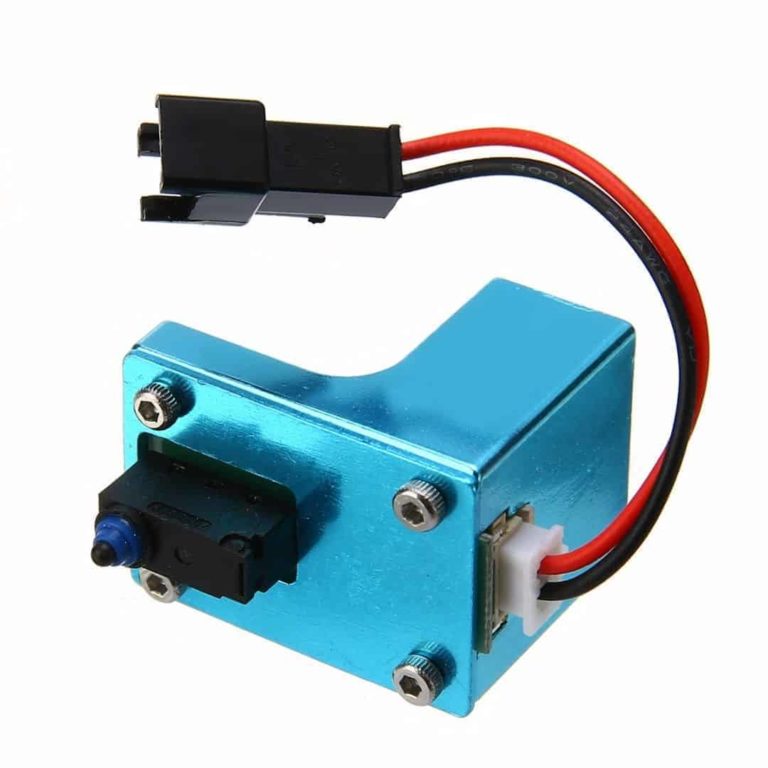
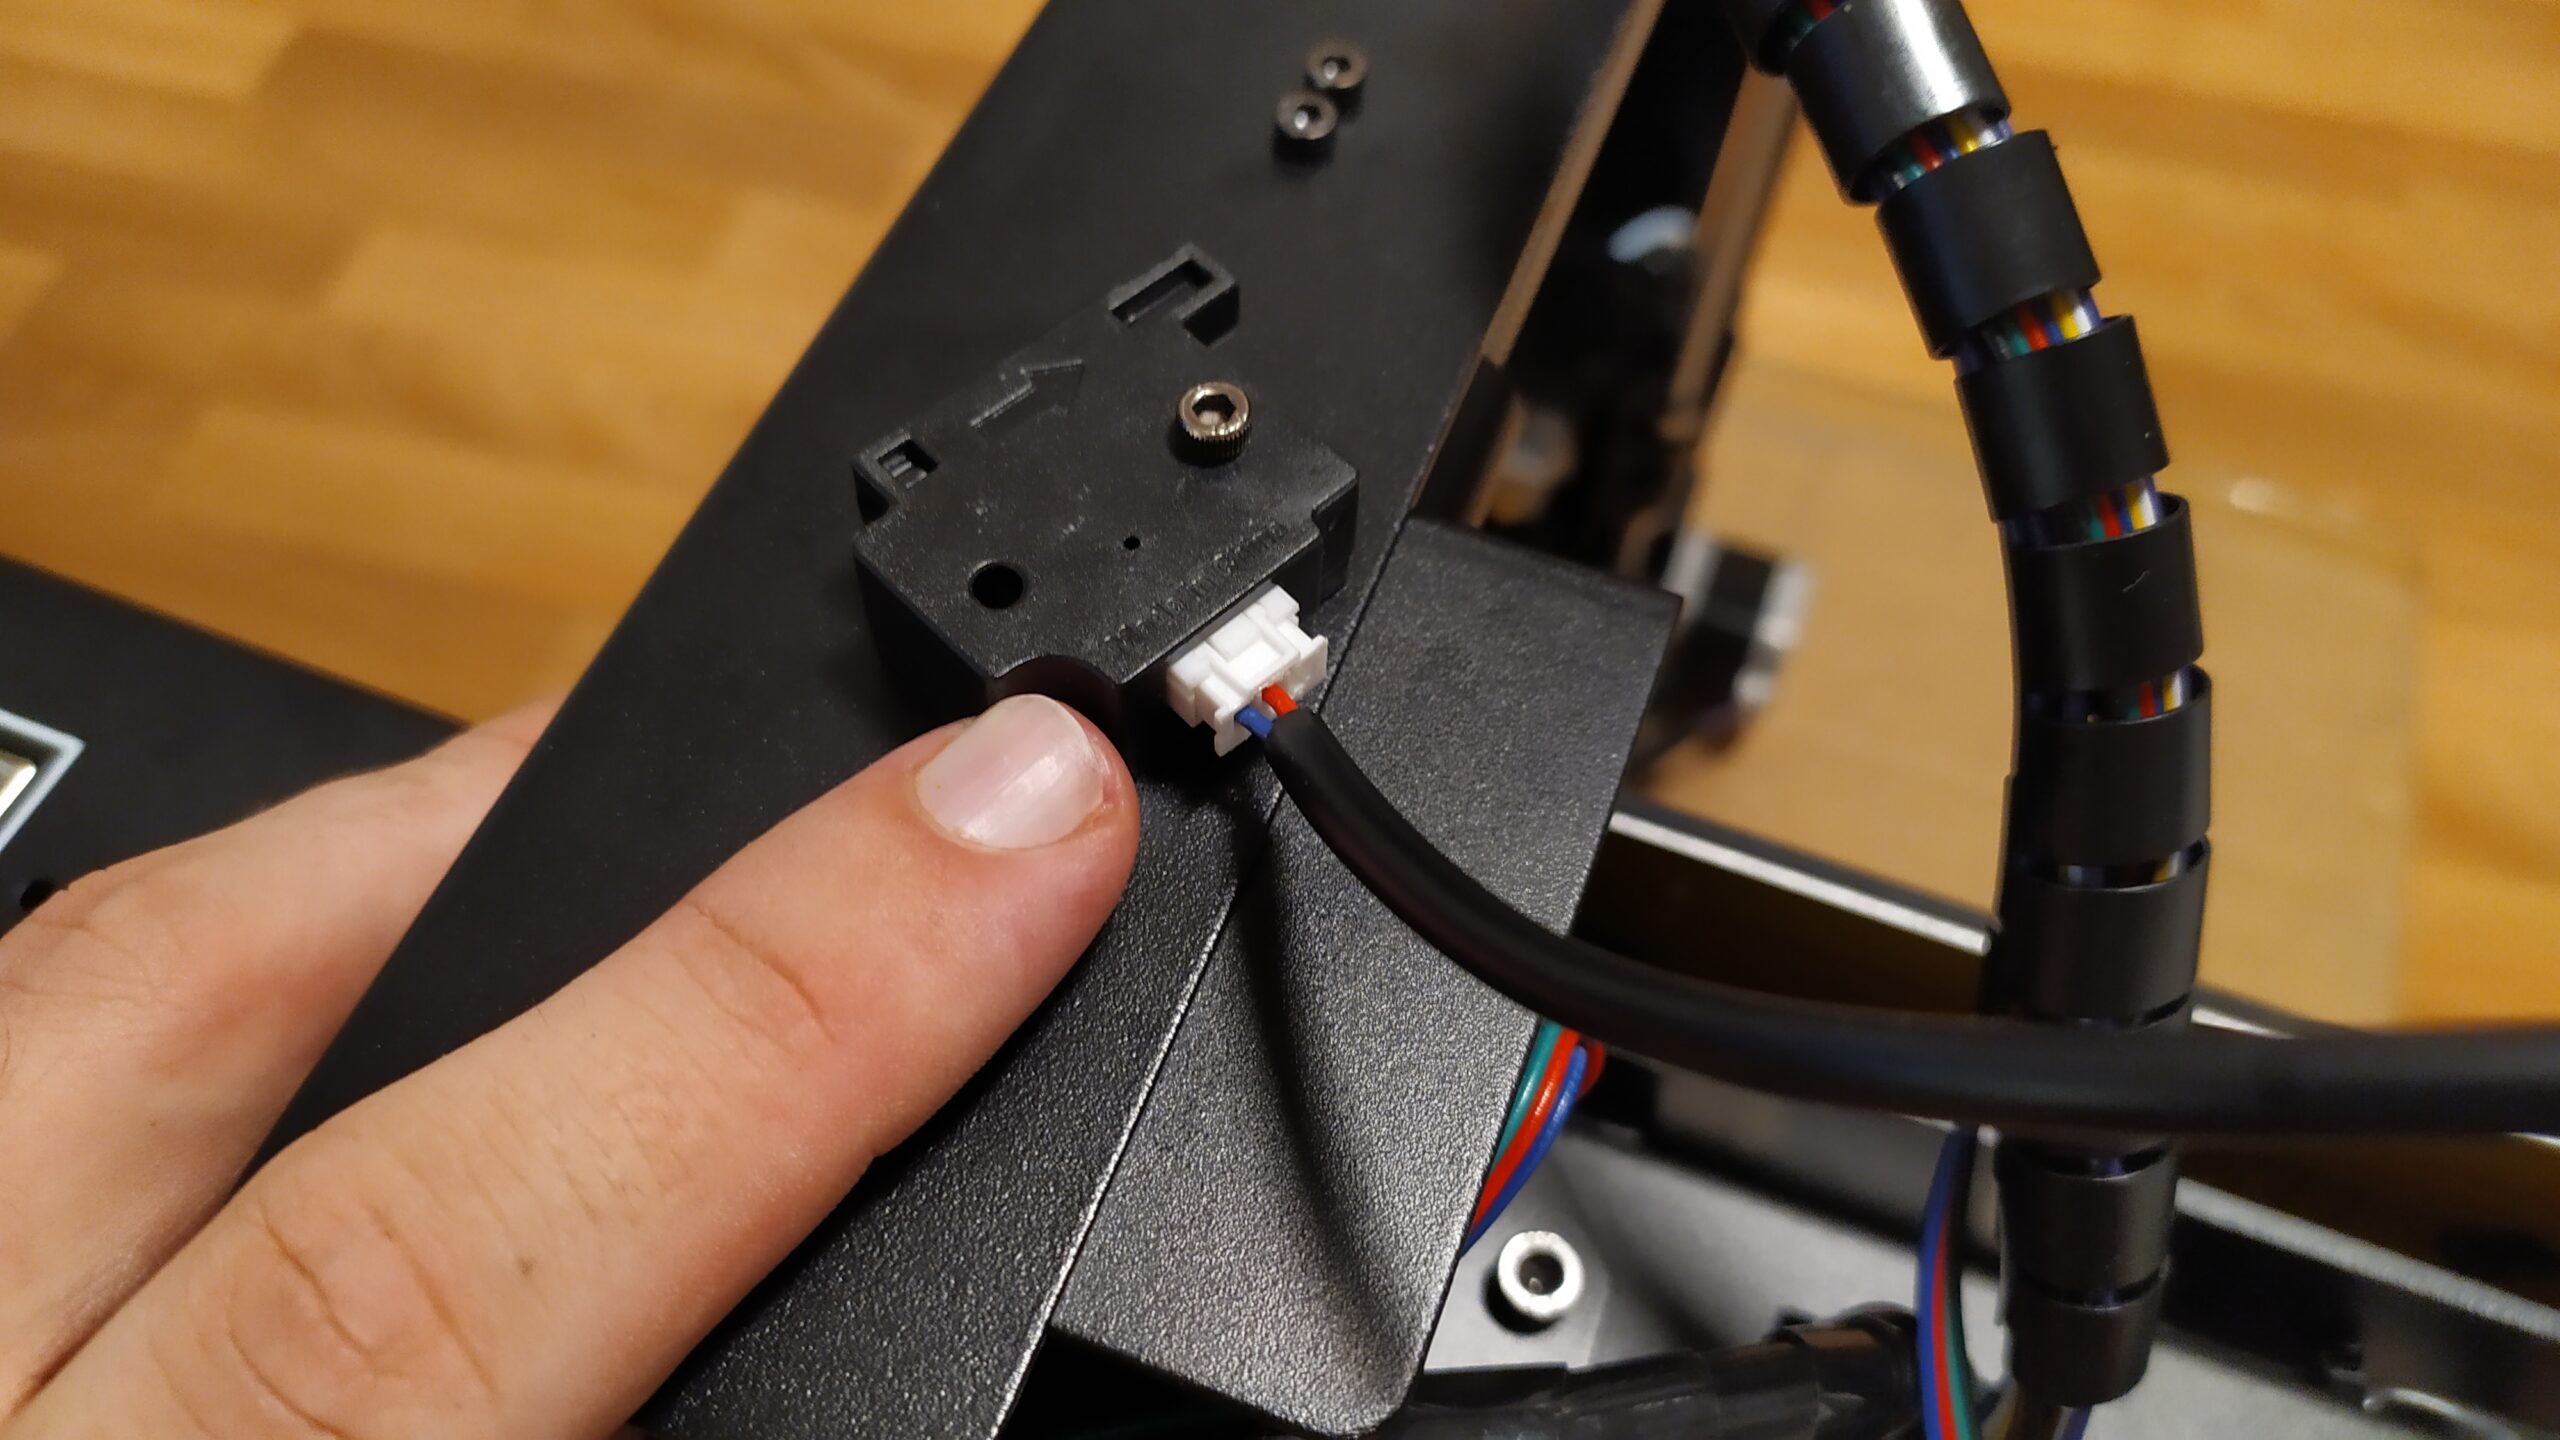
Plug in the filament runout sensor
Take two small screws from the package and tighten these two parts together
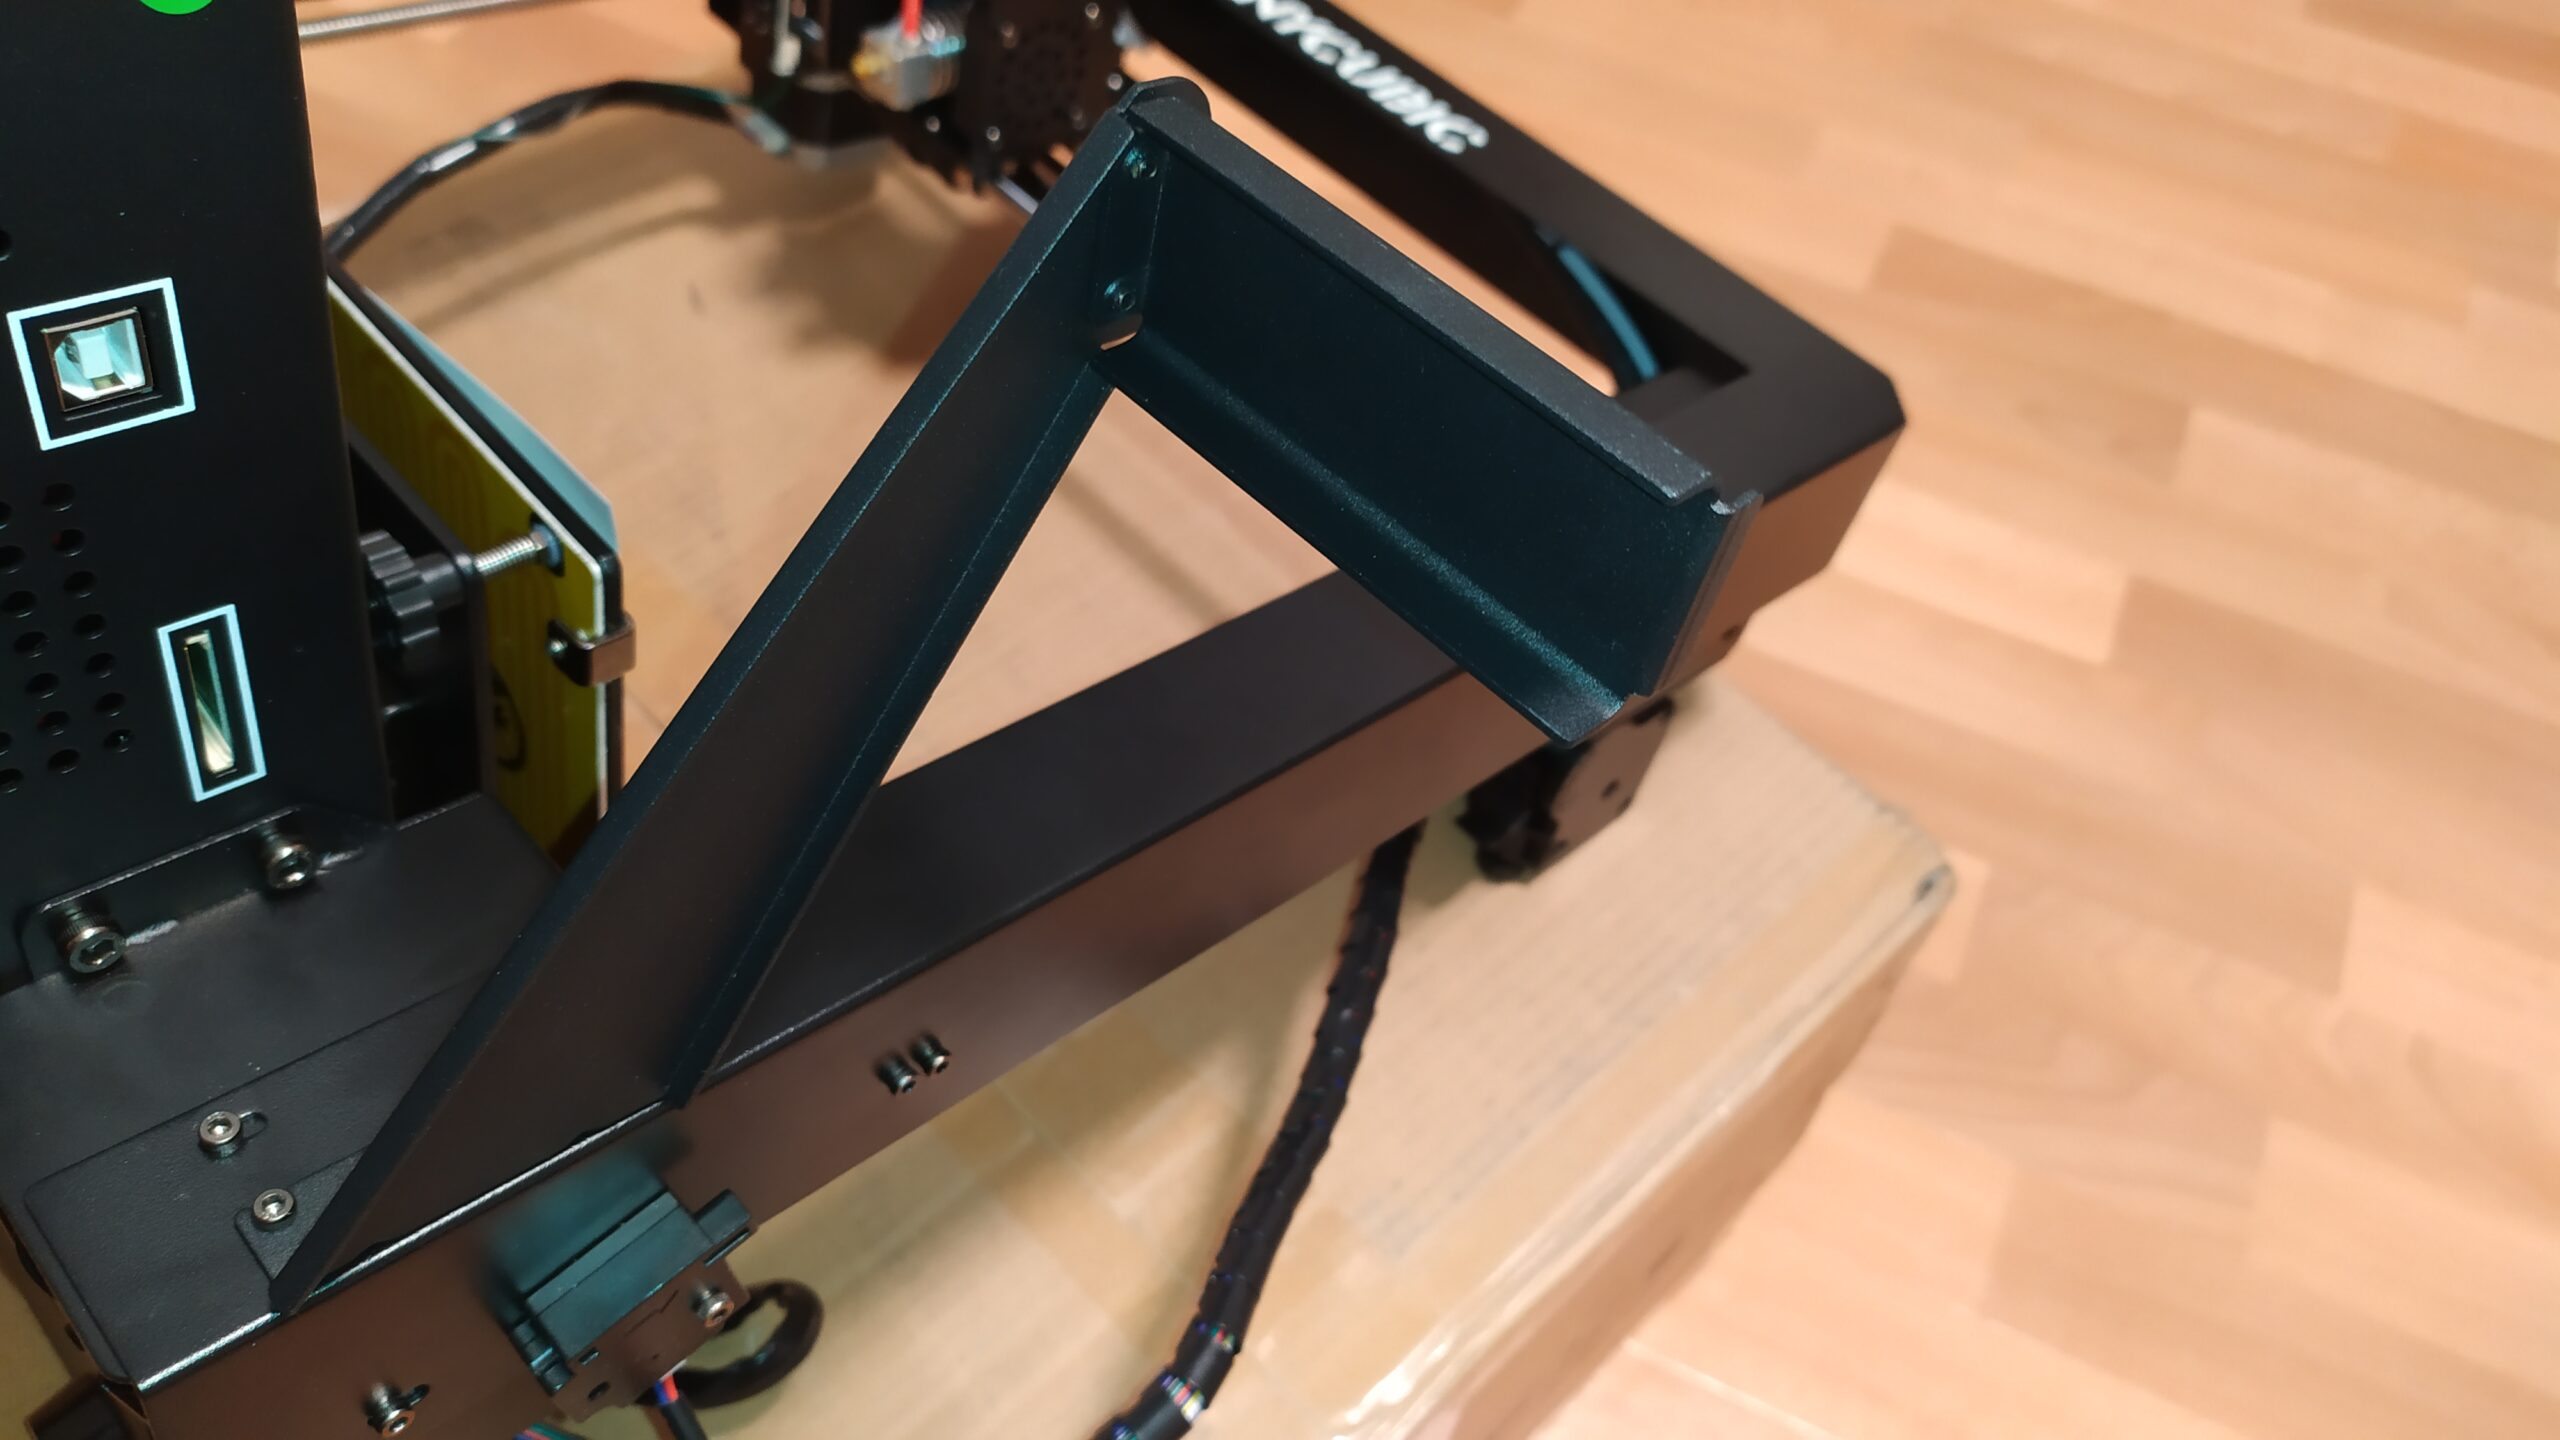
Loose these two screws on the right side

Insert the filament holder between those two loosen screws and the frame.
Tihghten those screws.
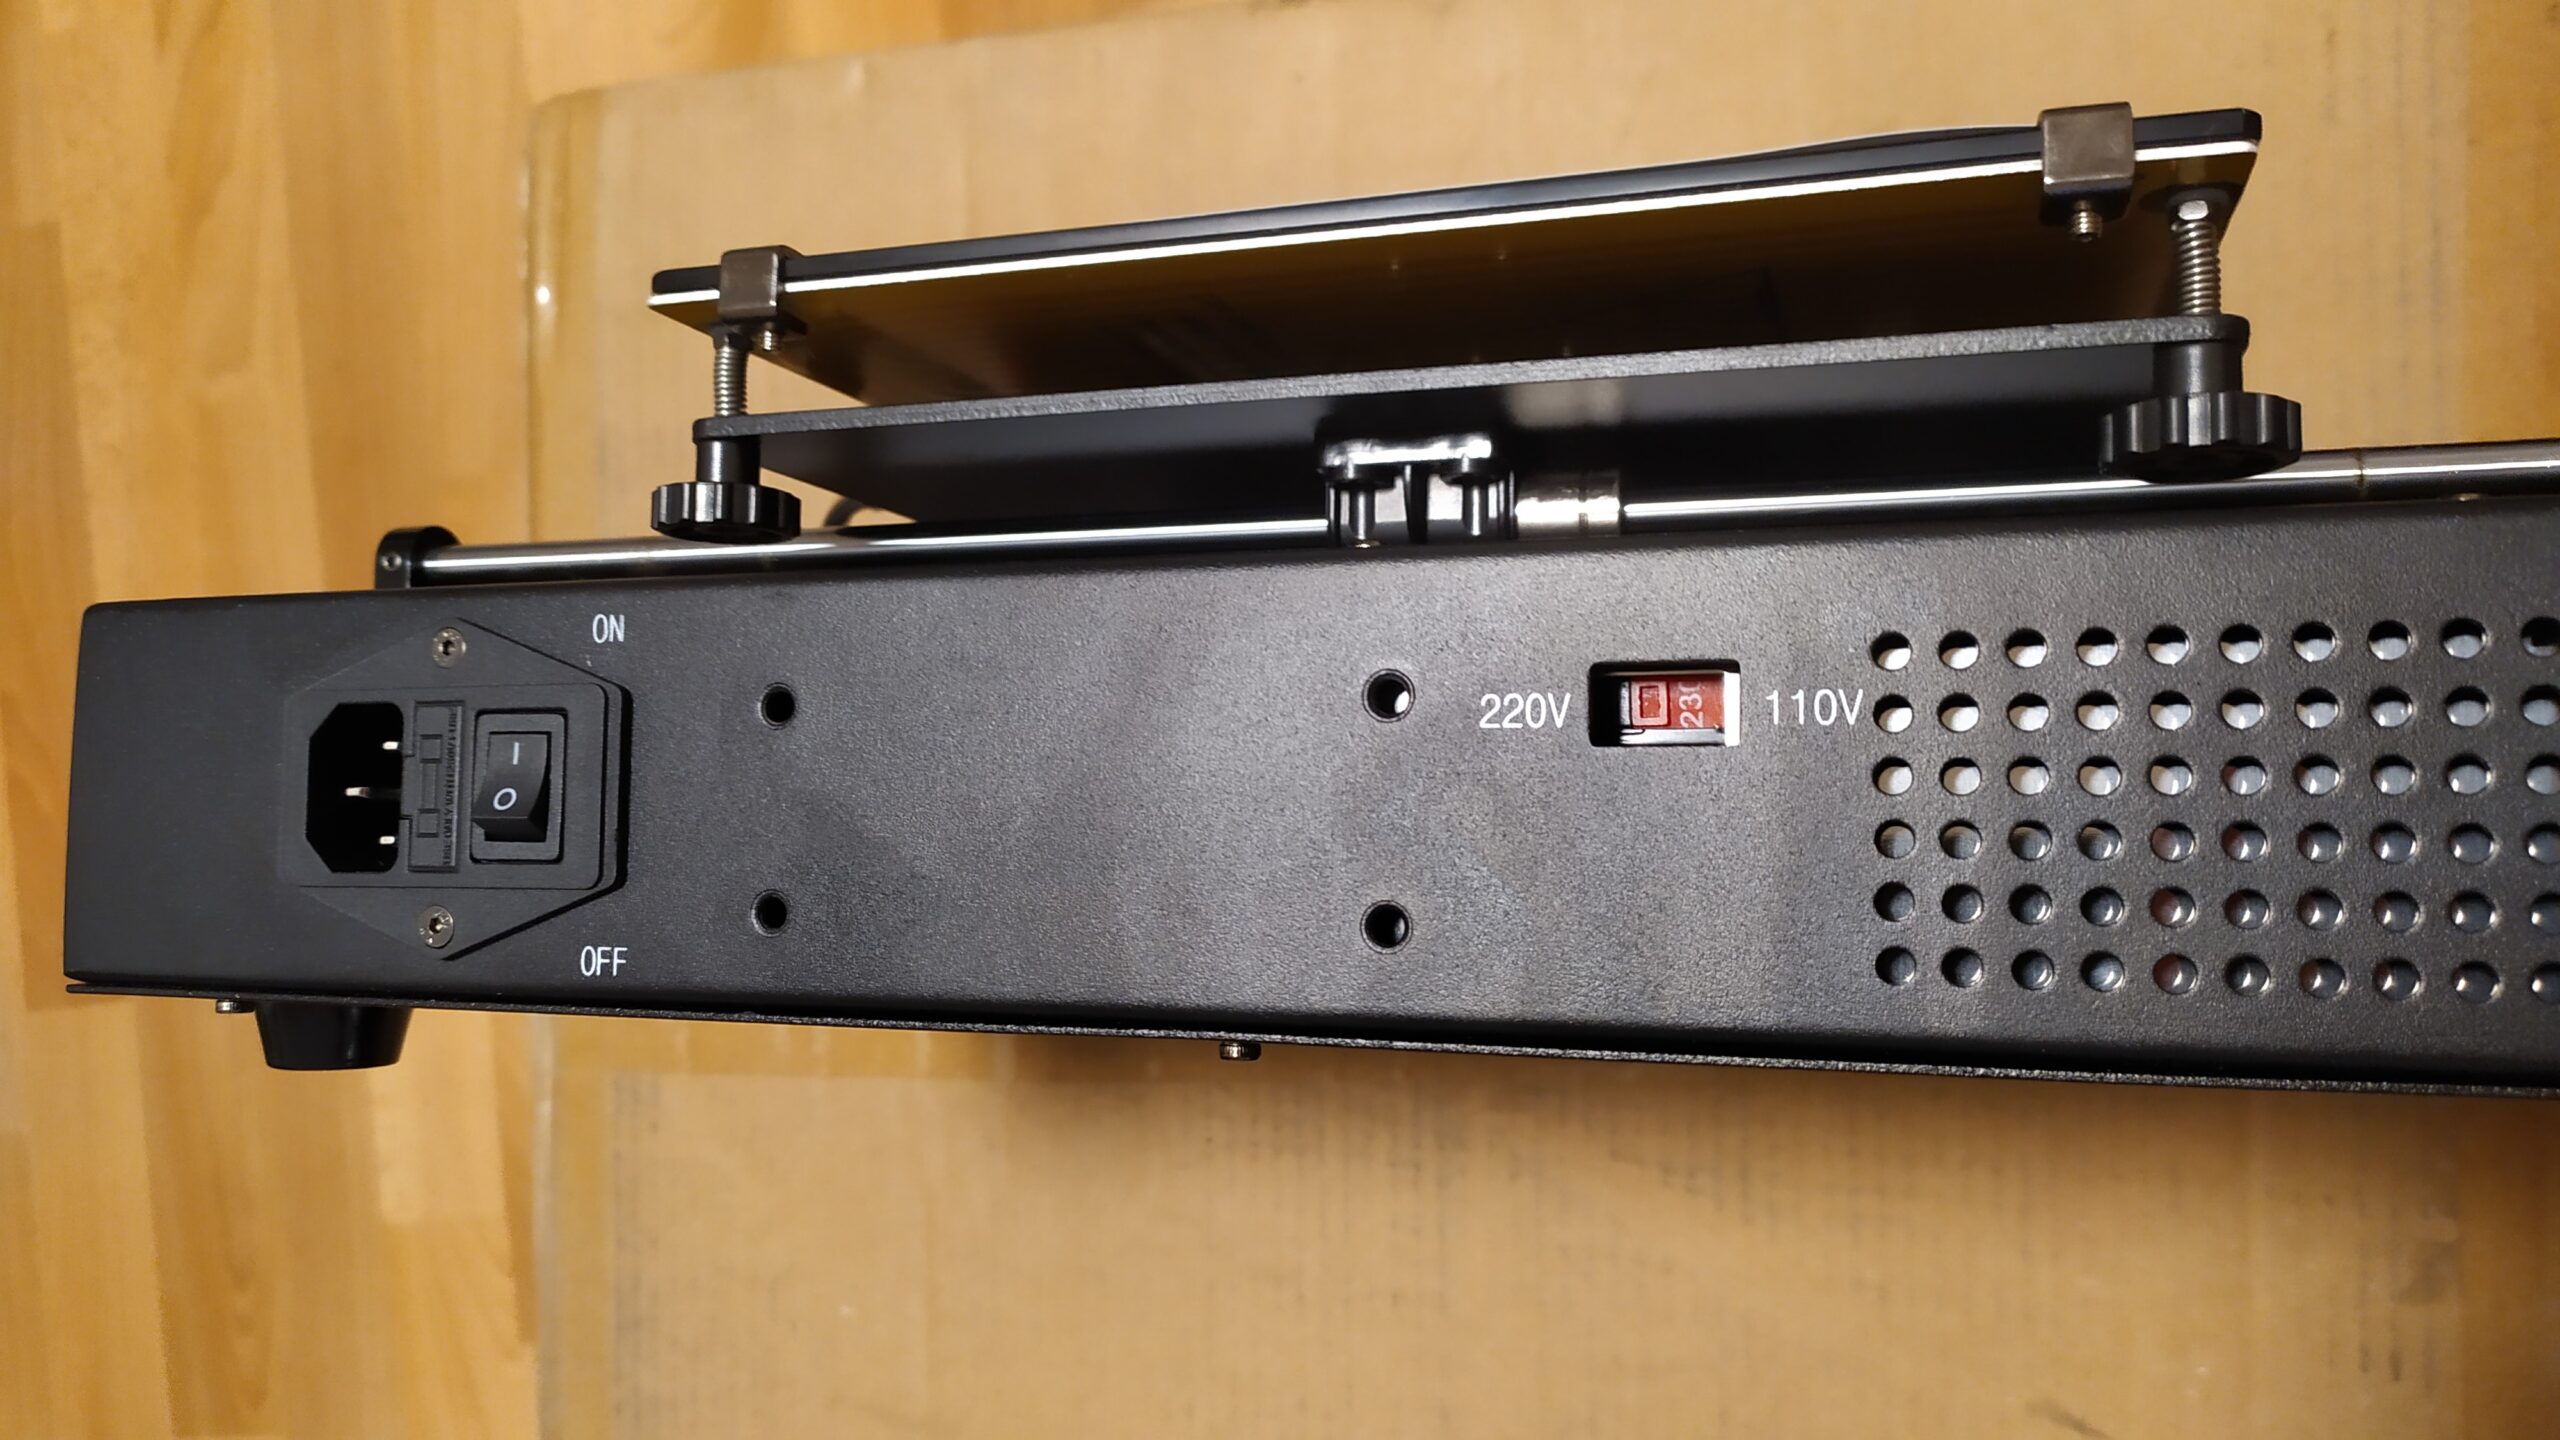
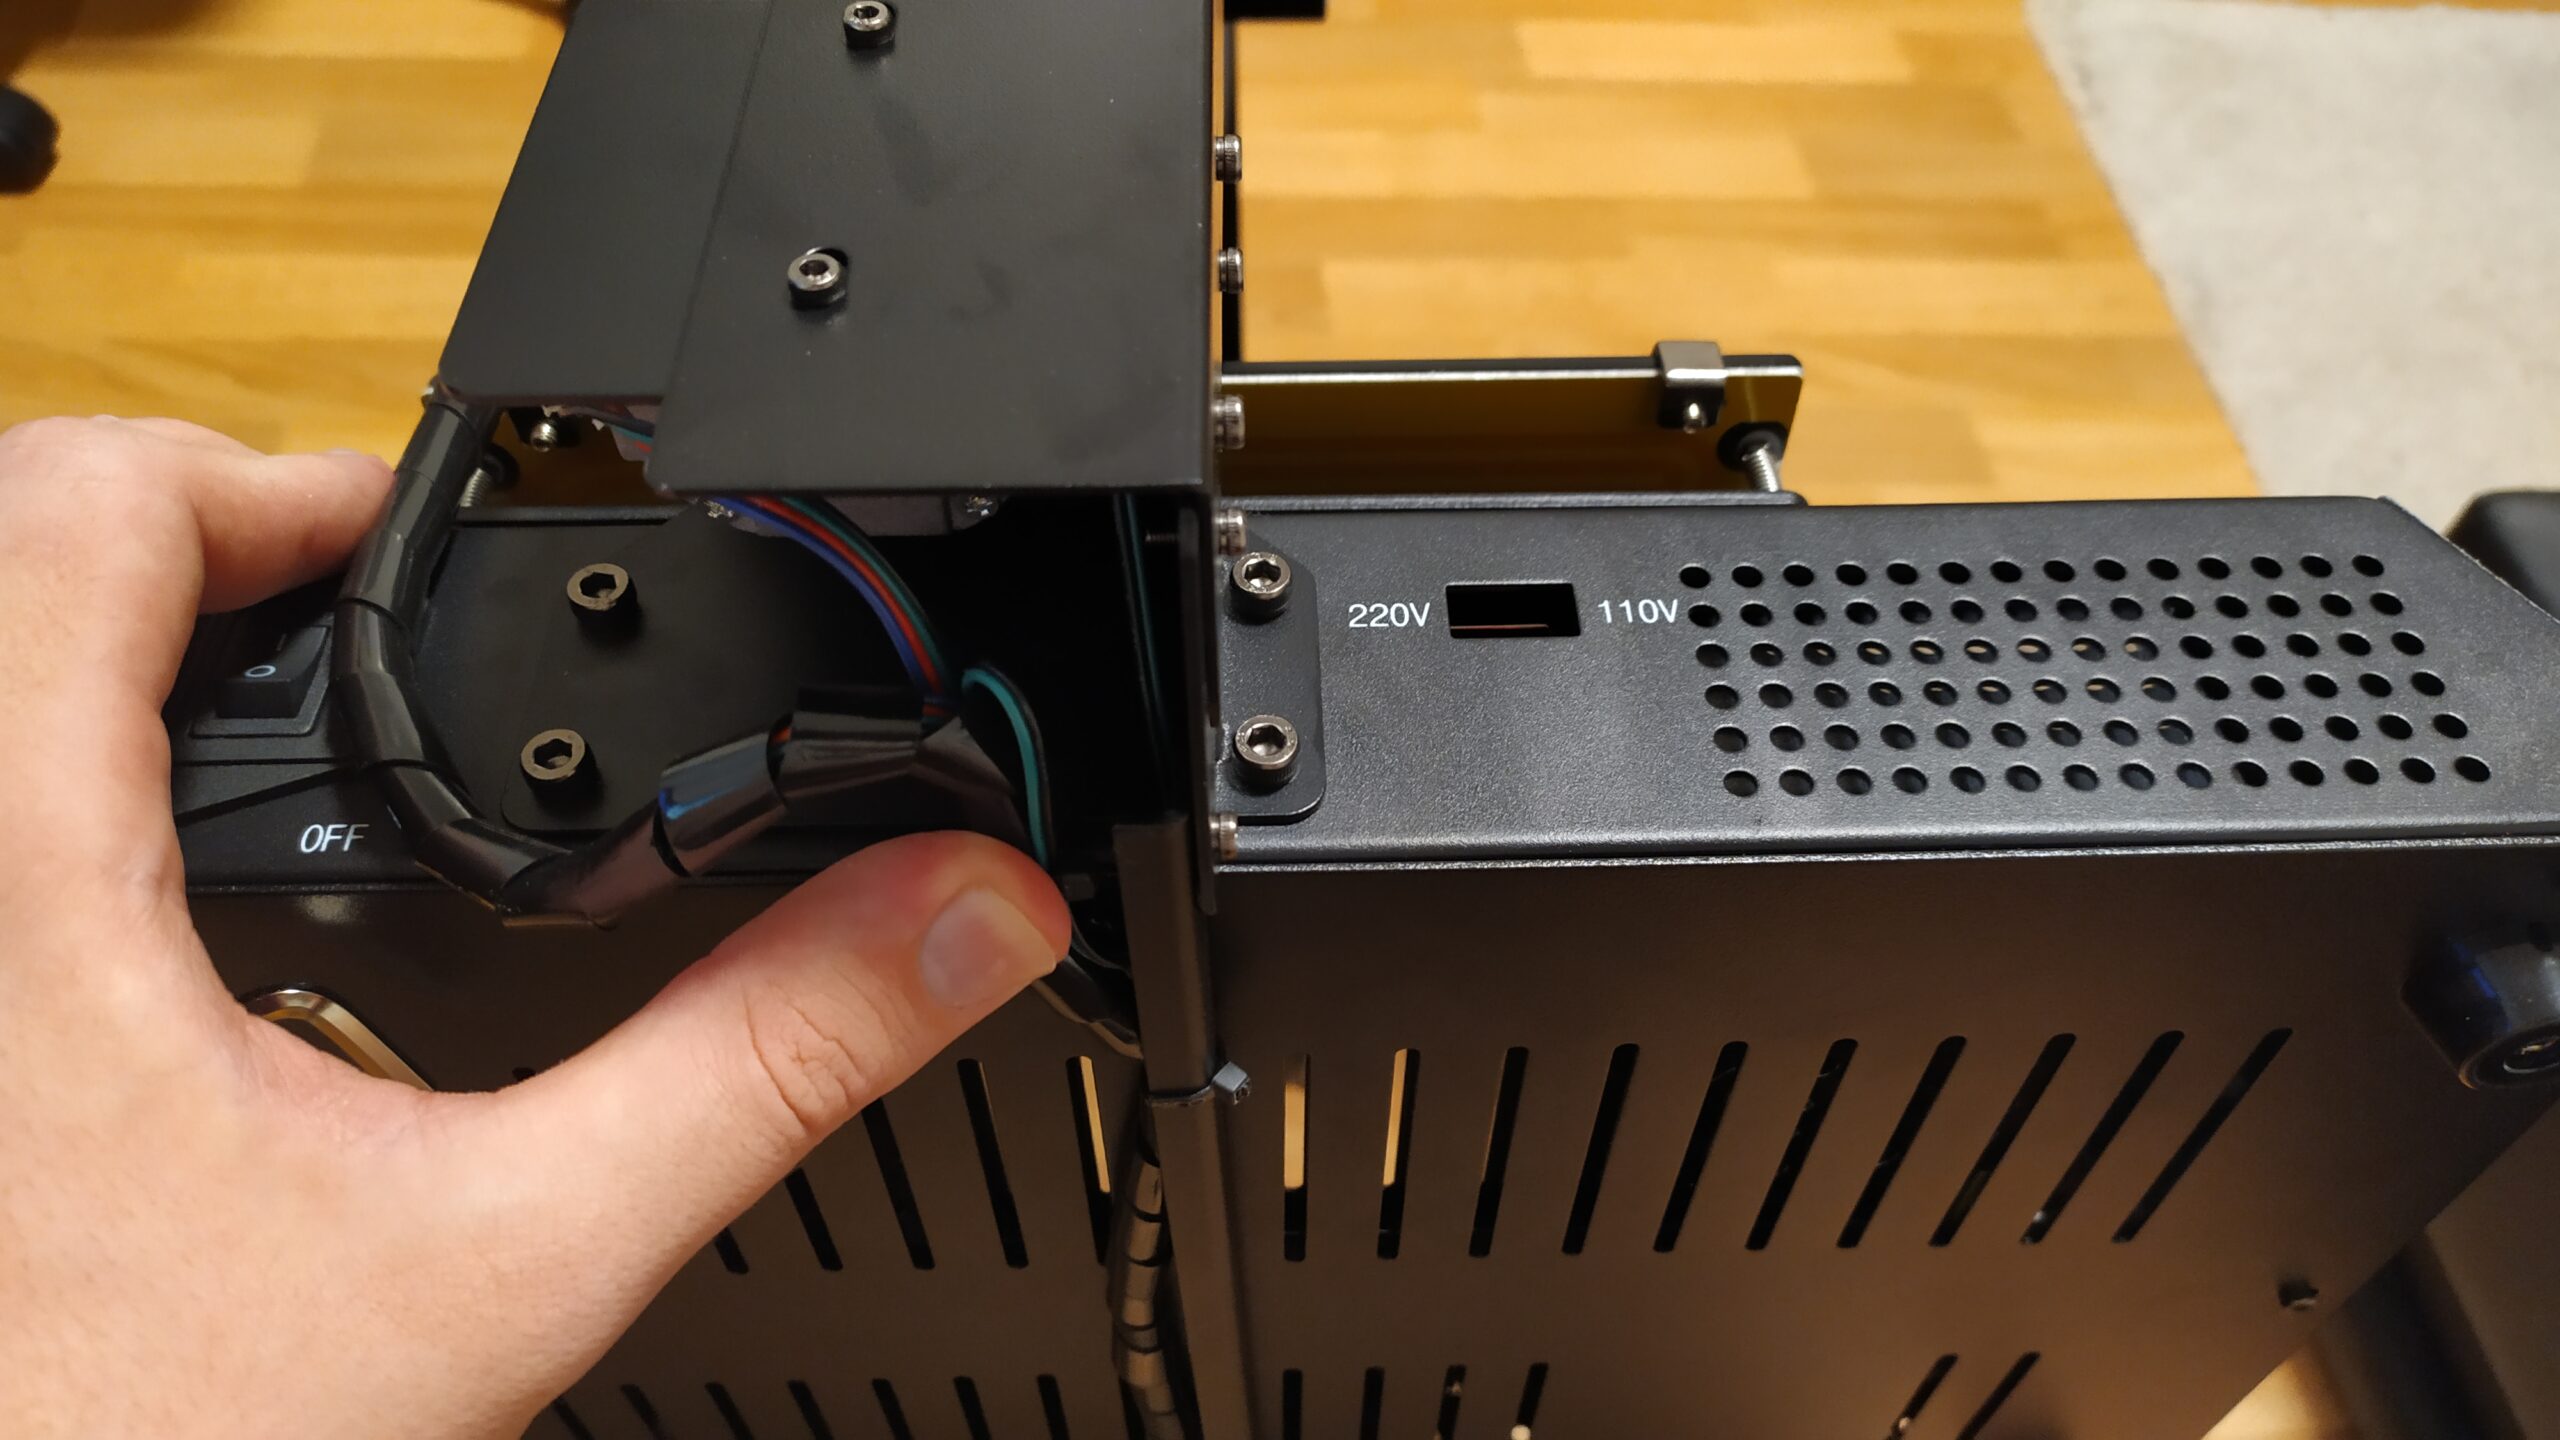
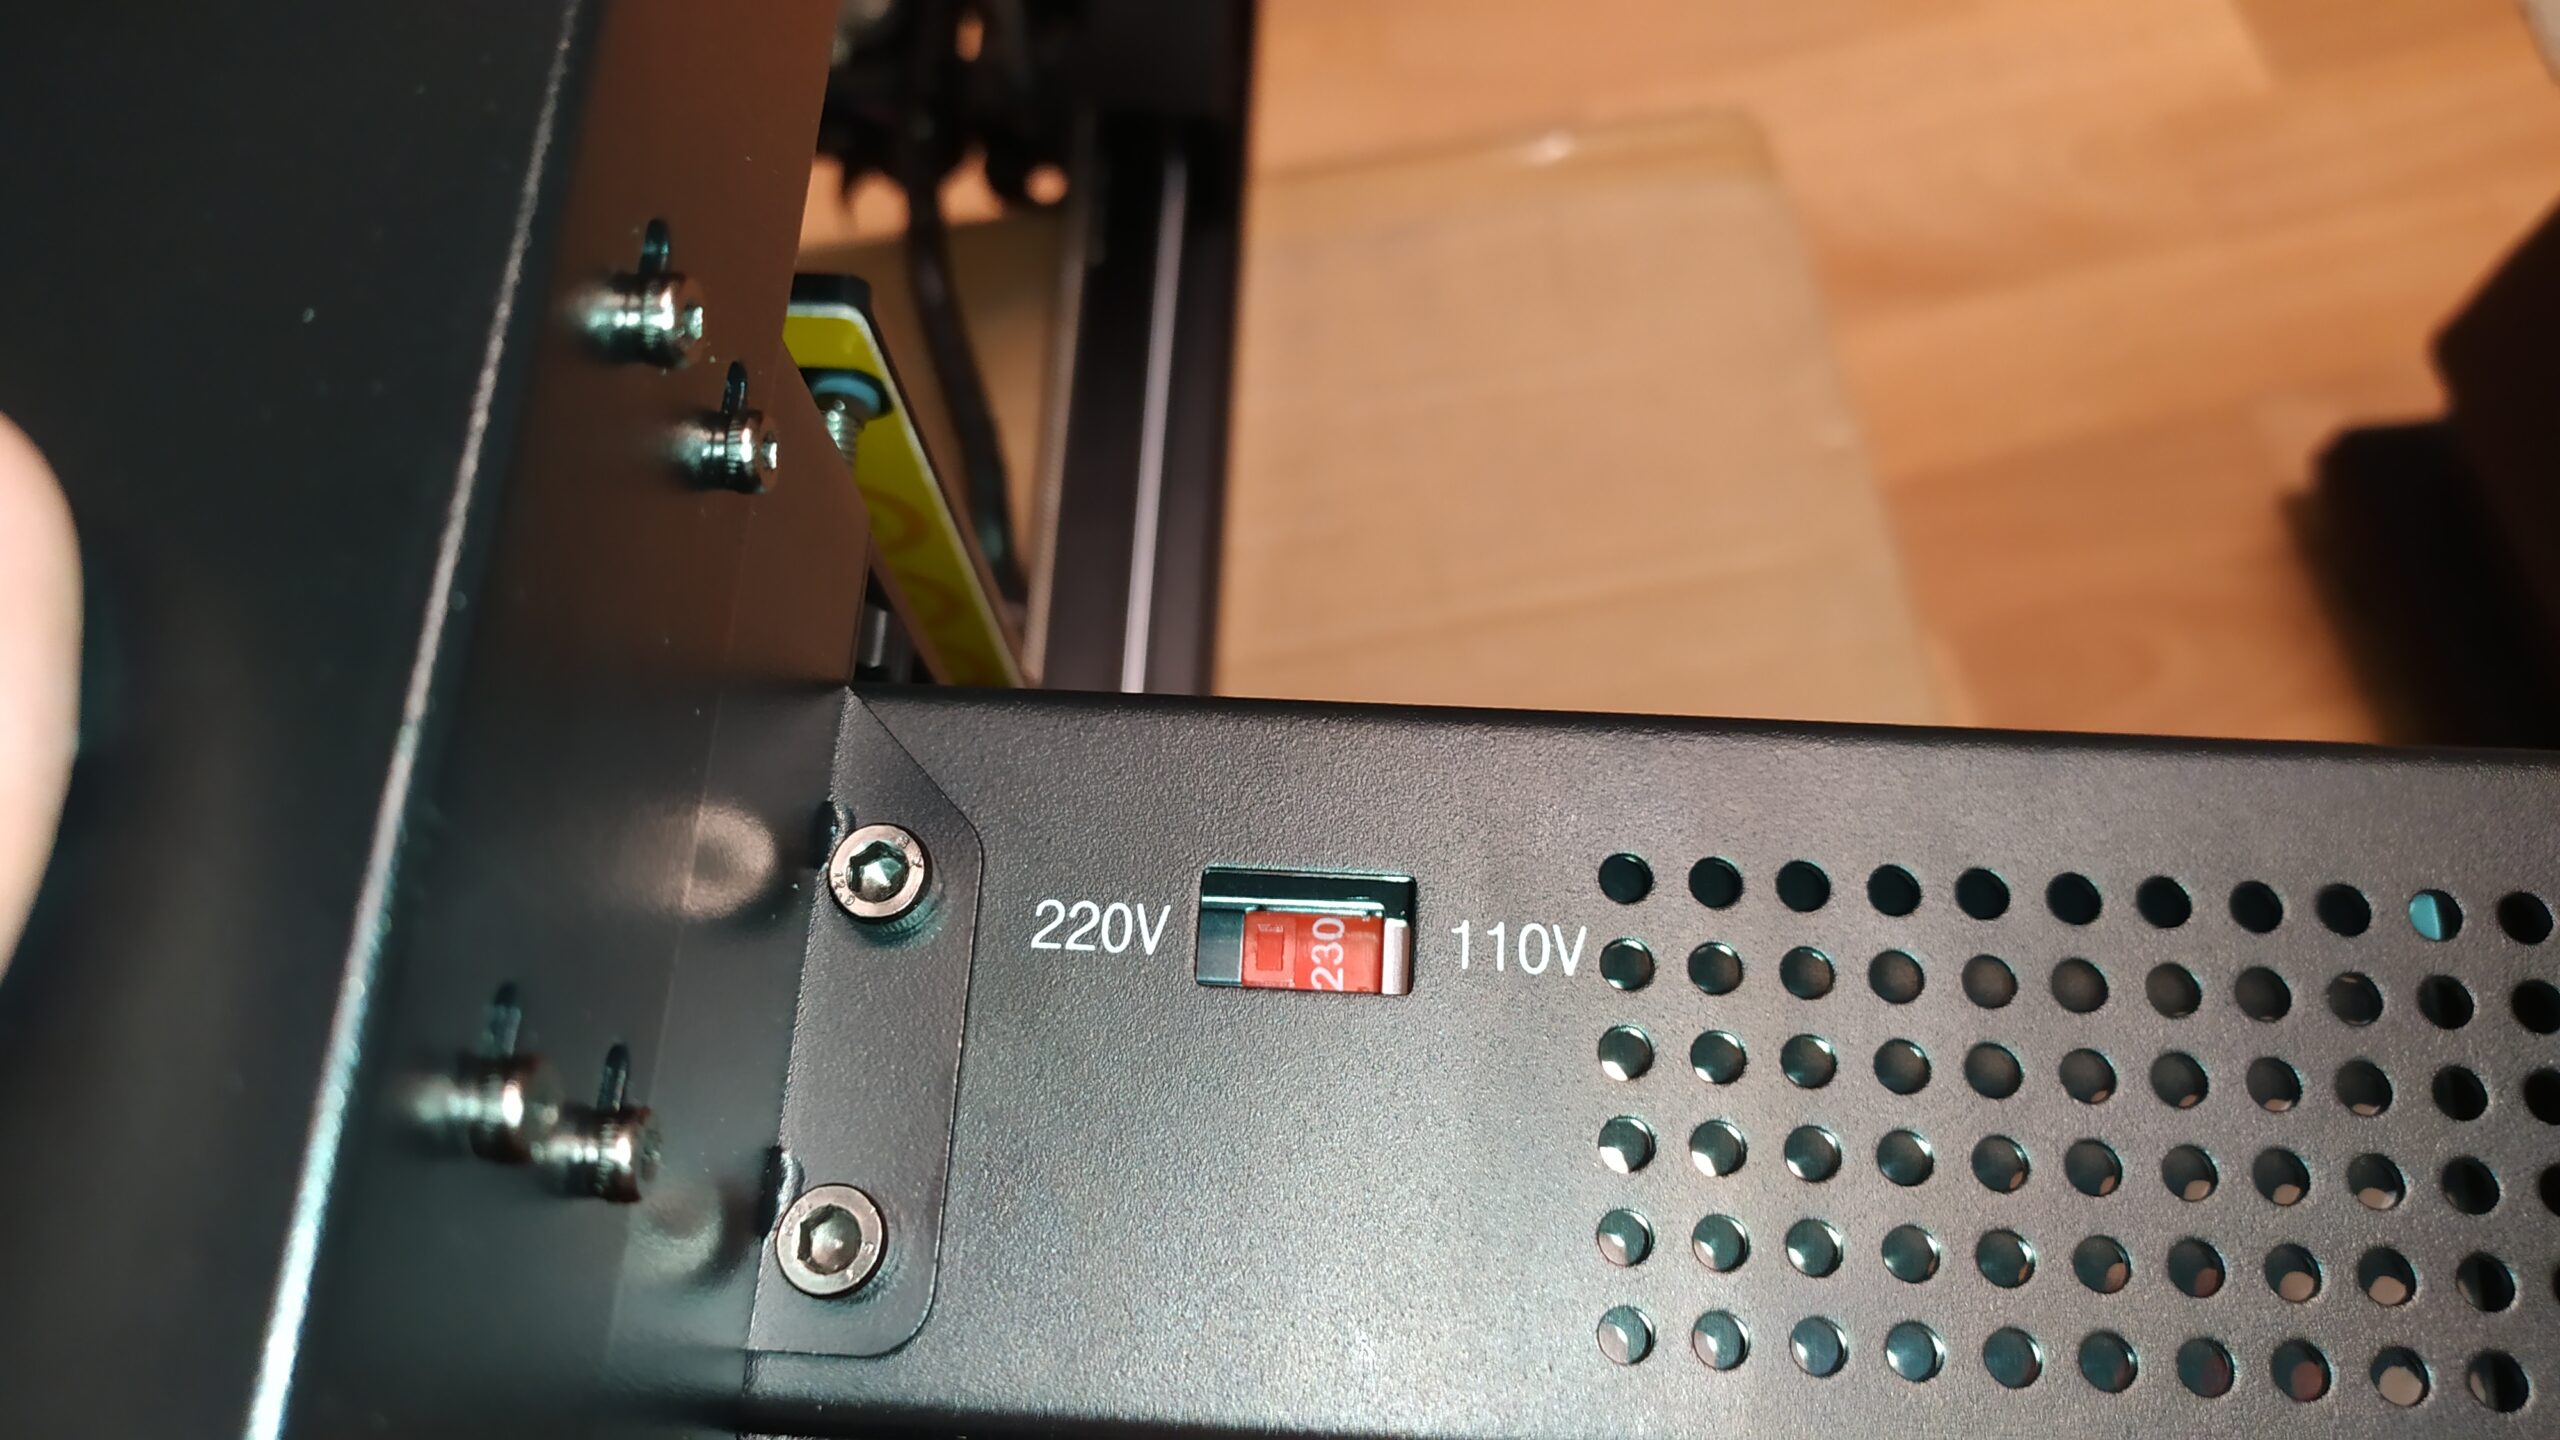
Before plugging the printer into a socket, double check the selected voltage on the printer’s PSU.
It is usually 230V for EU, 110V for USA.
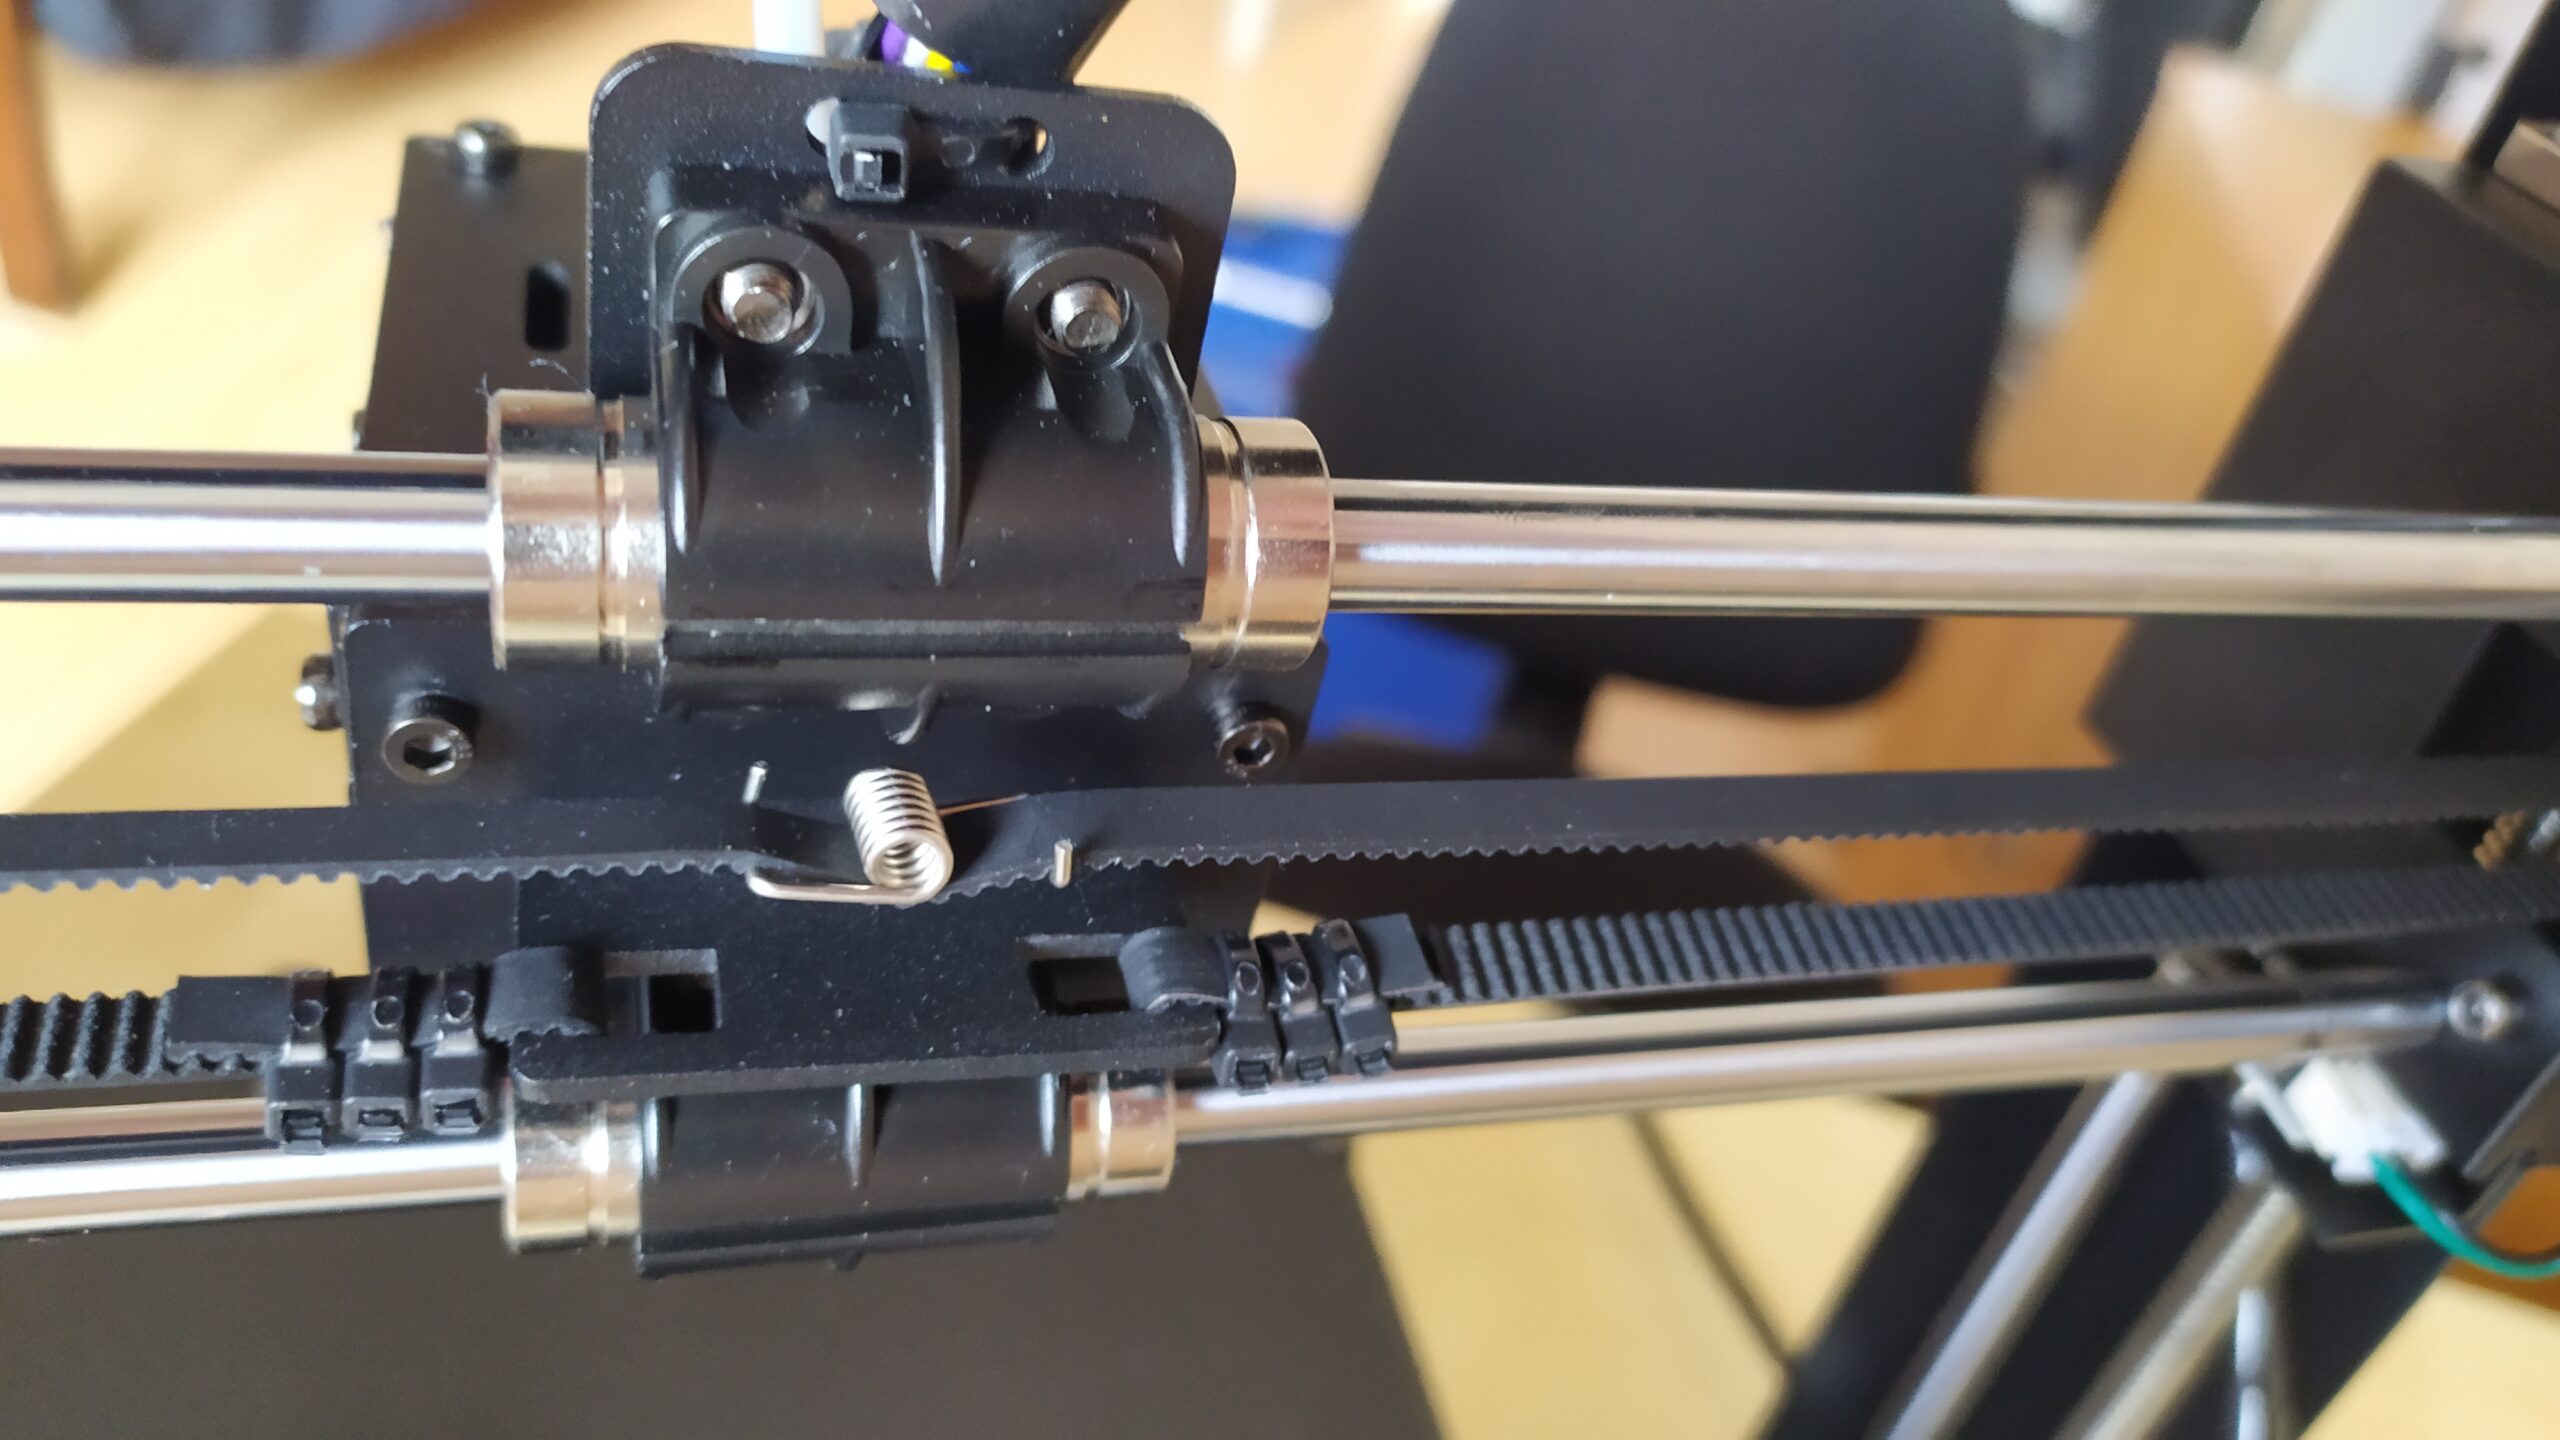
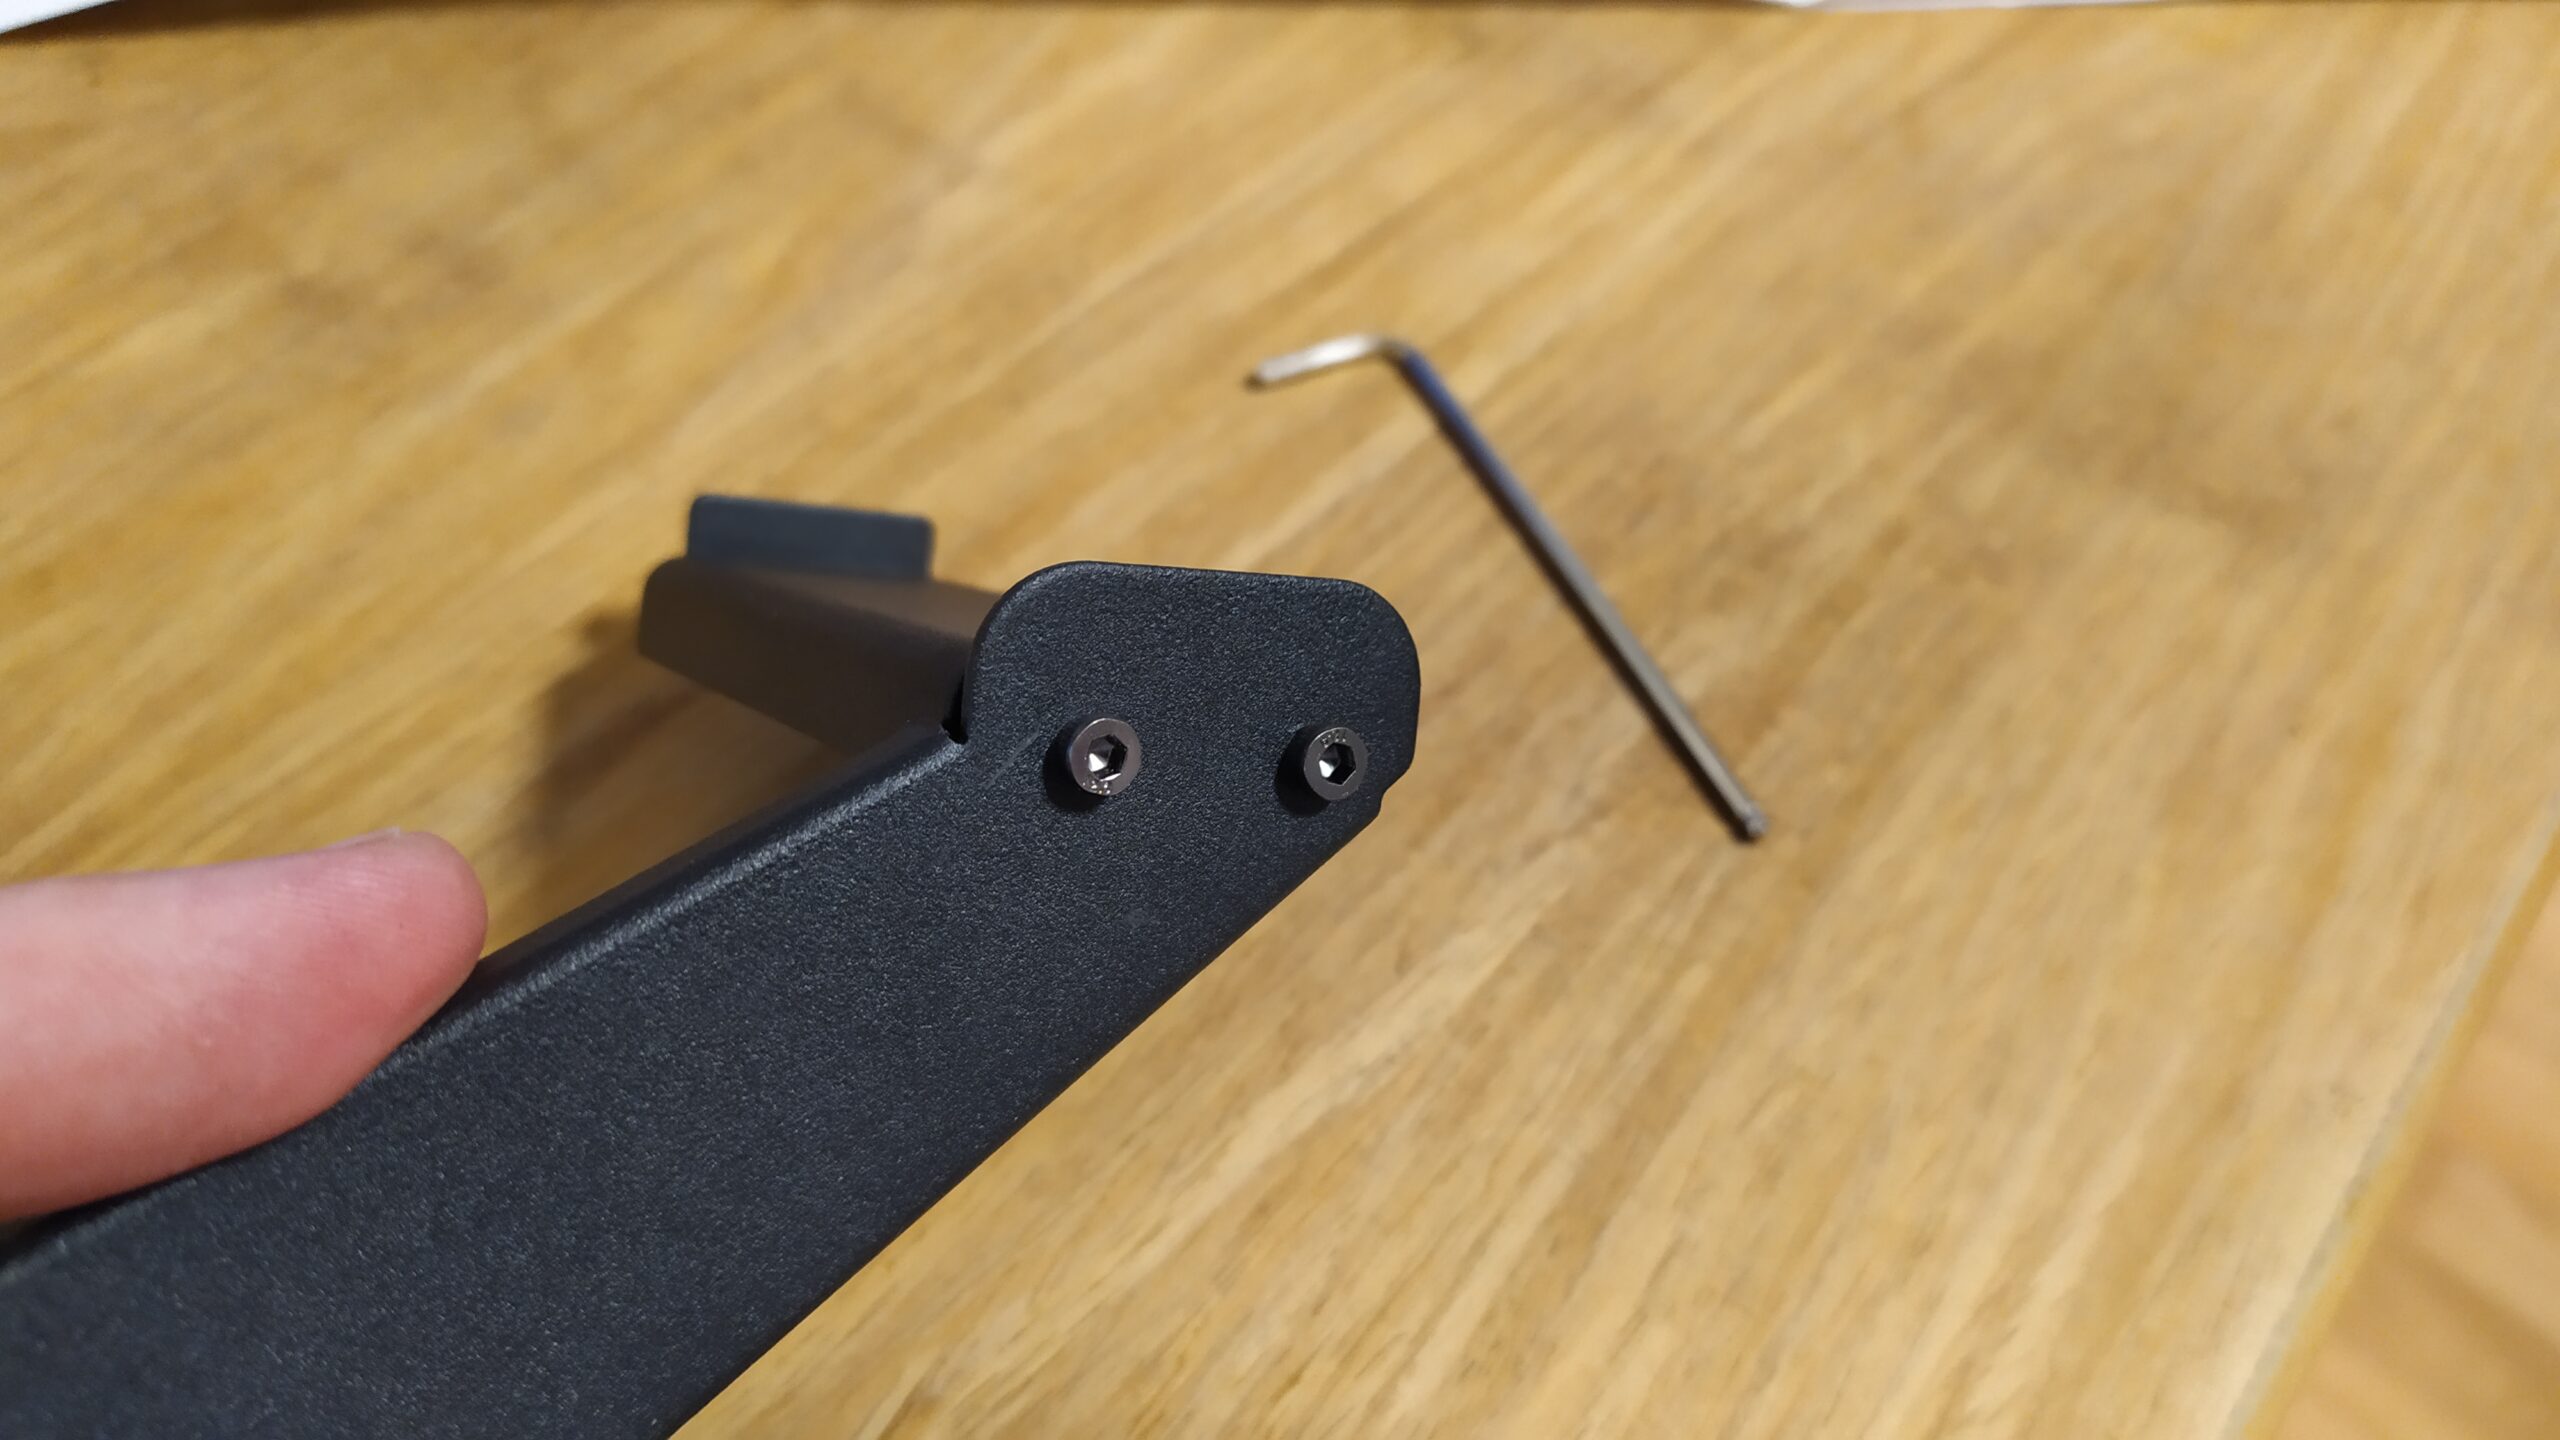
Do not forget to install this belt tensioner.
Otherwise the belt will be too loose and it will cause problems with printing.