Anycubic Kossel Volcano Upgrade


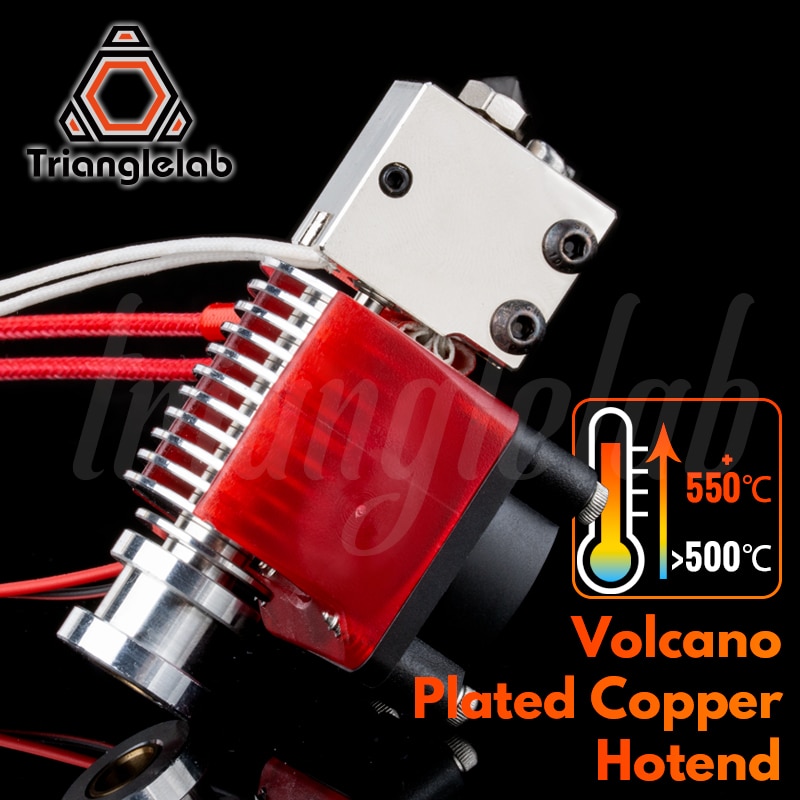
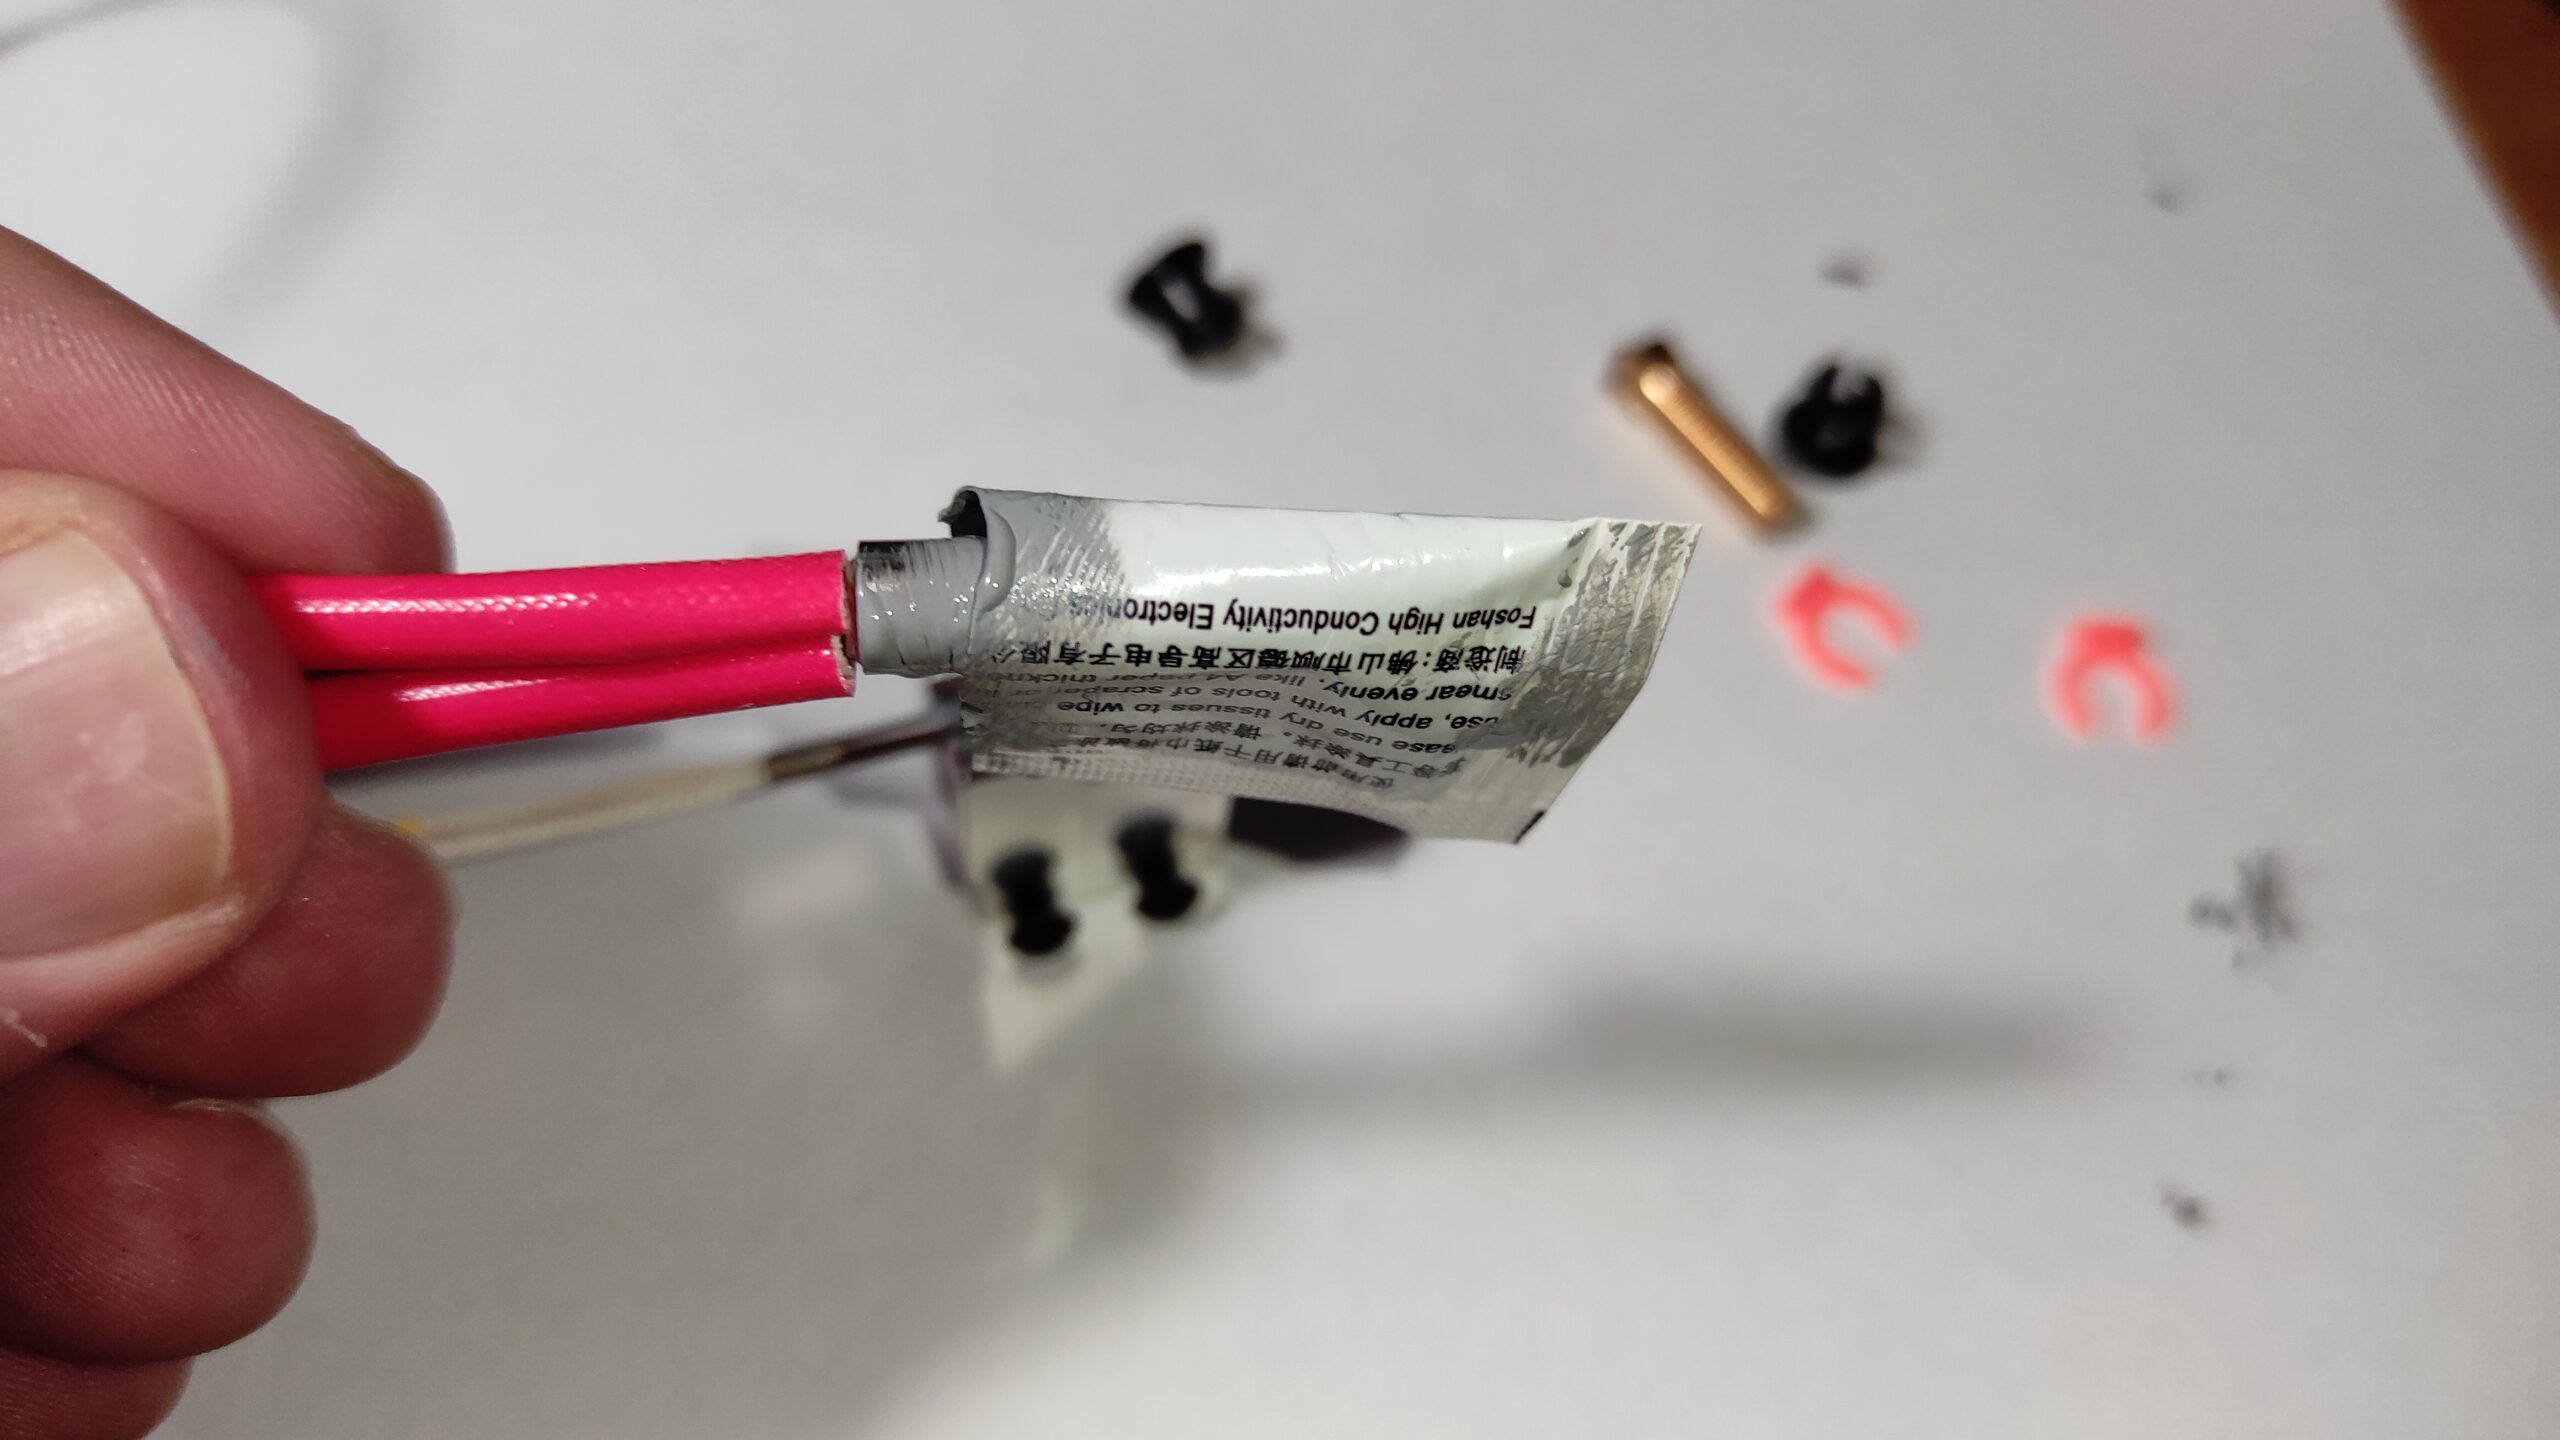
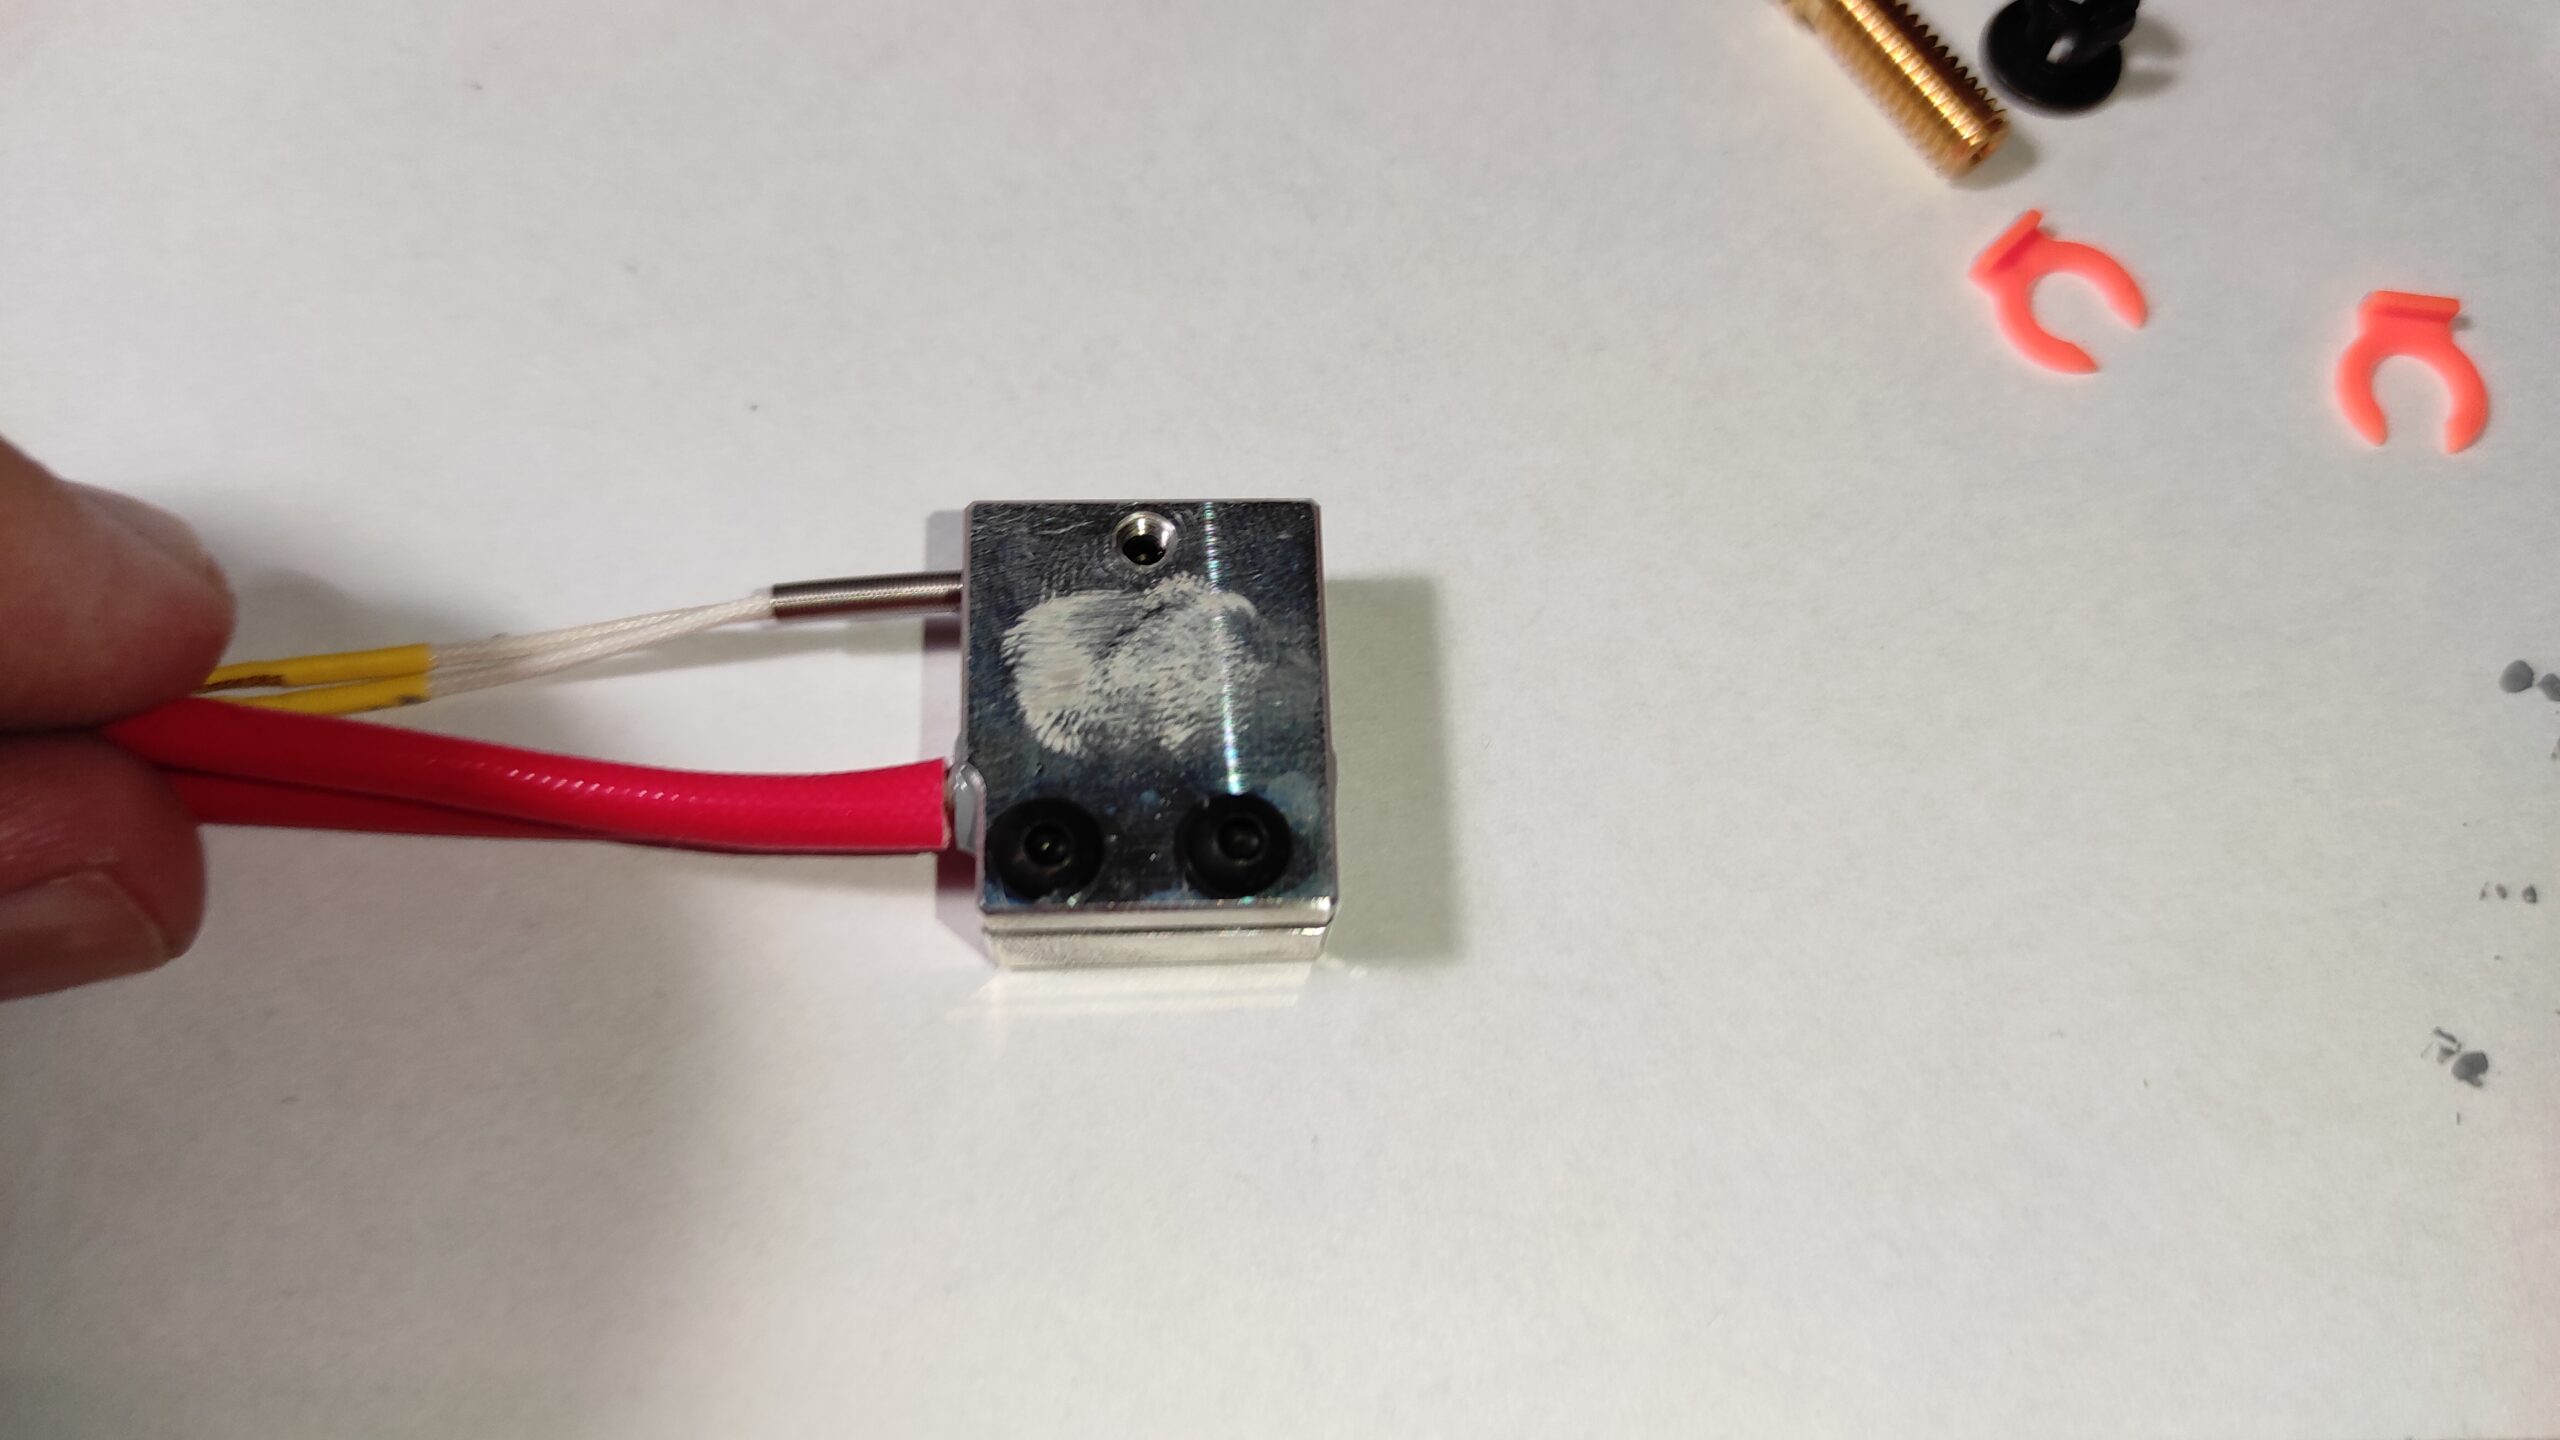
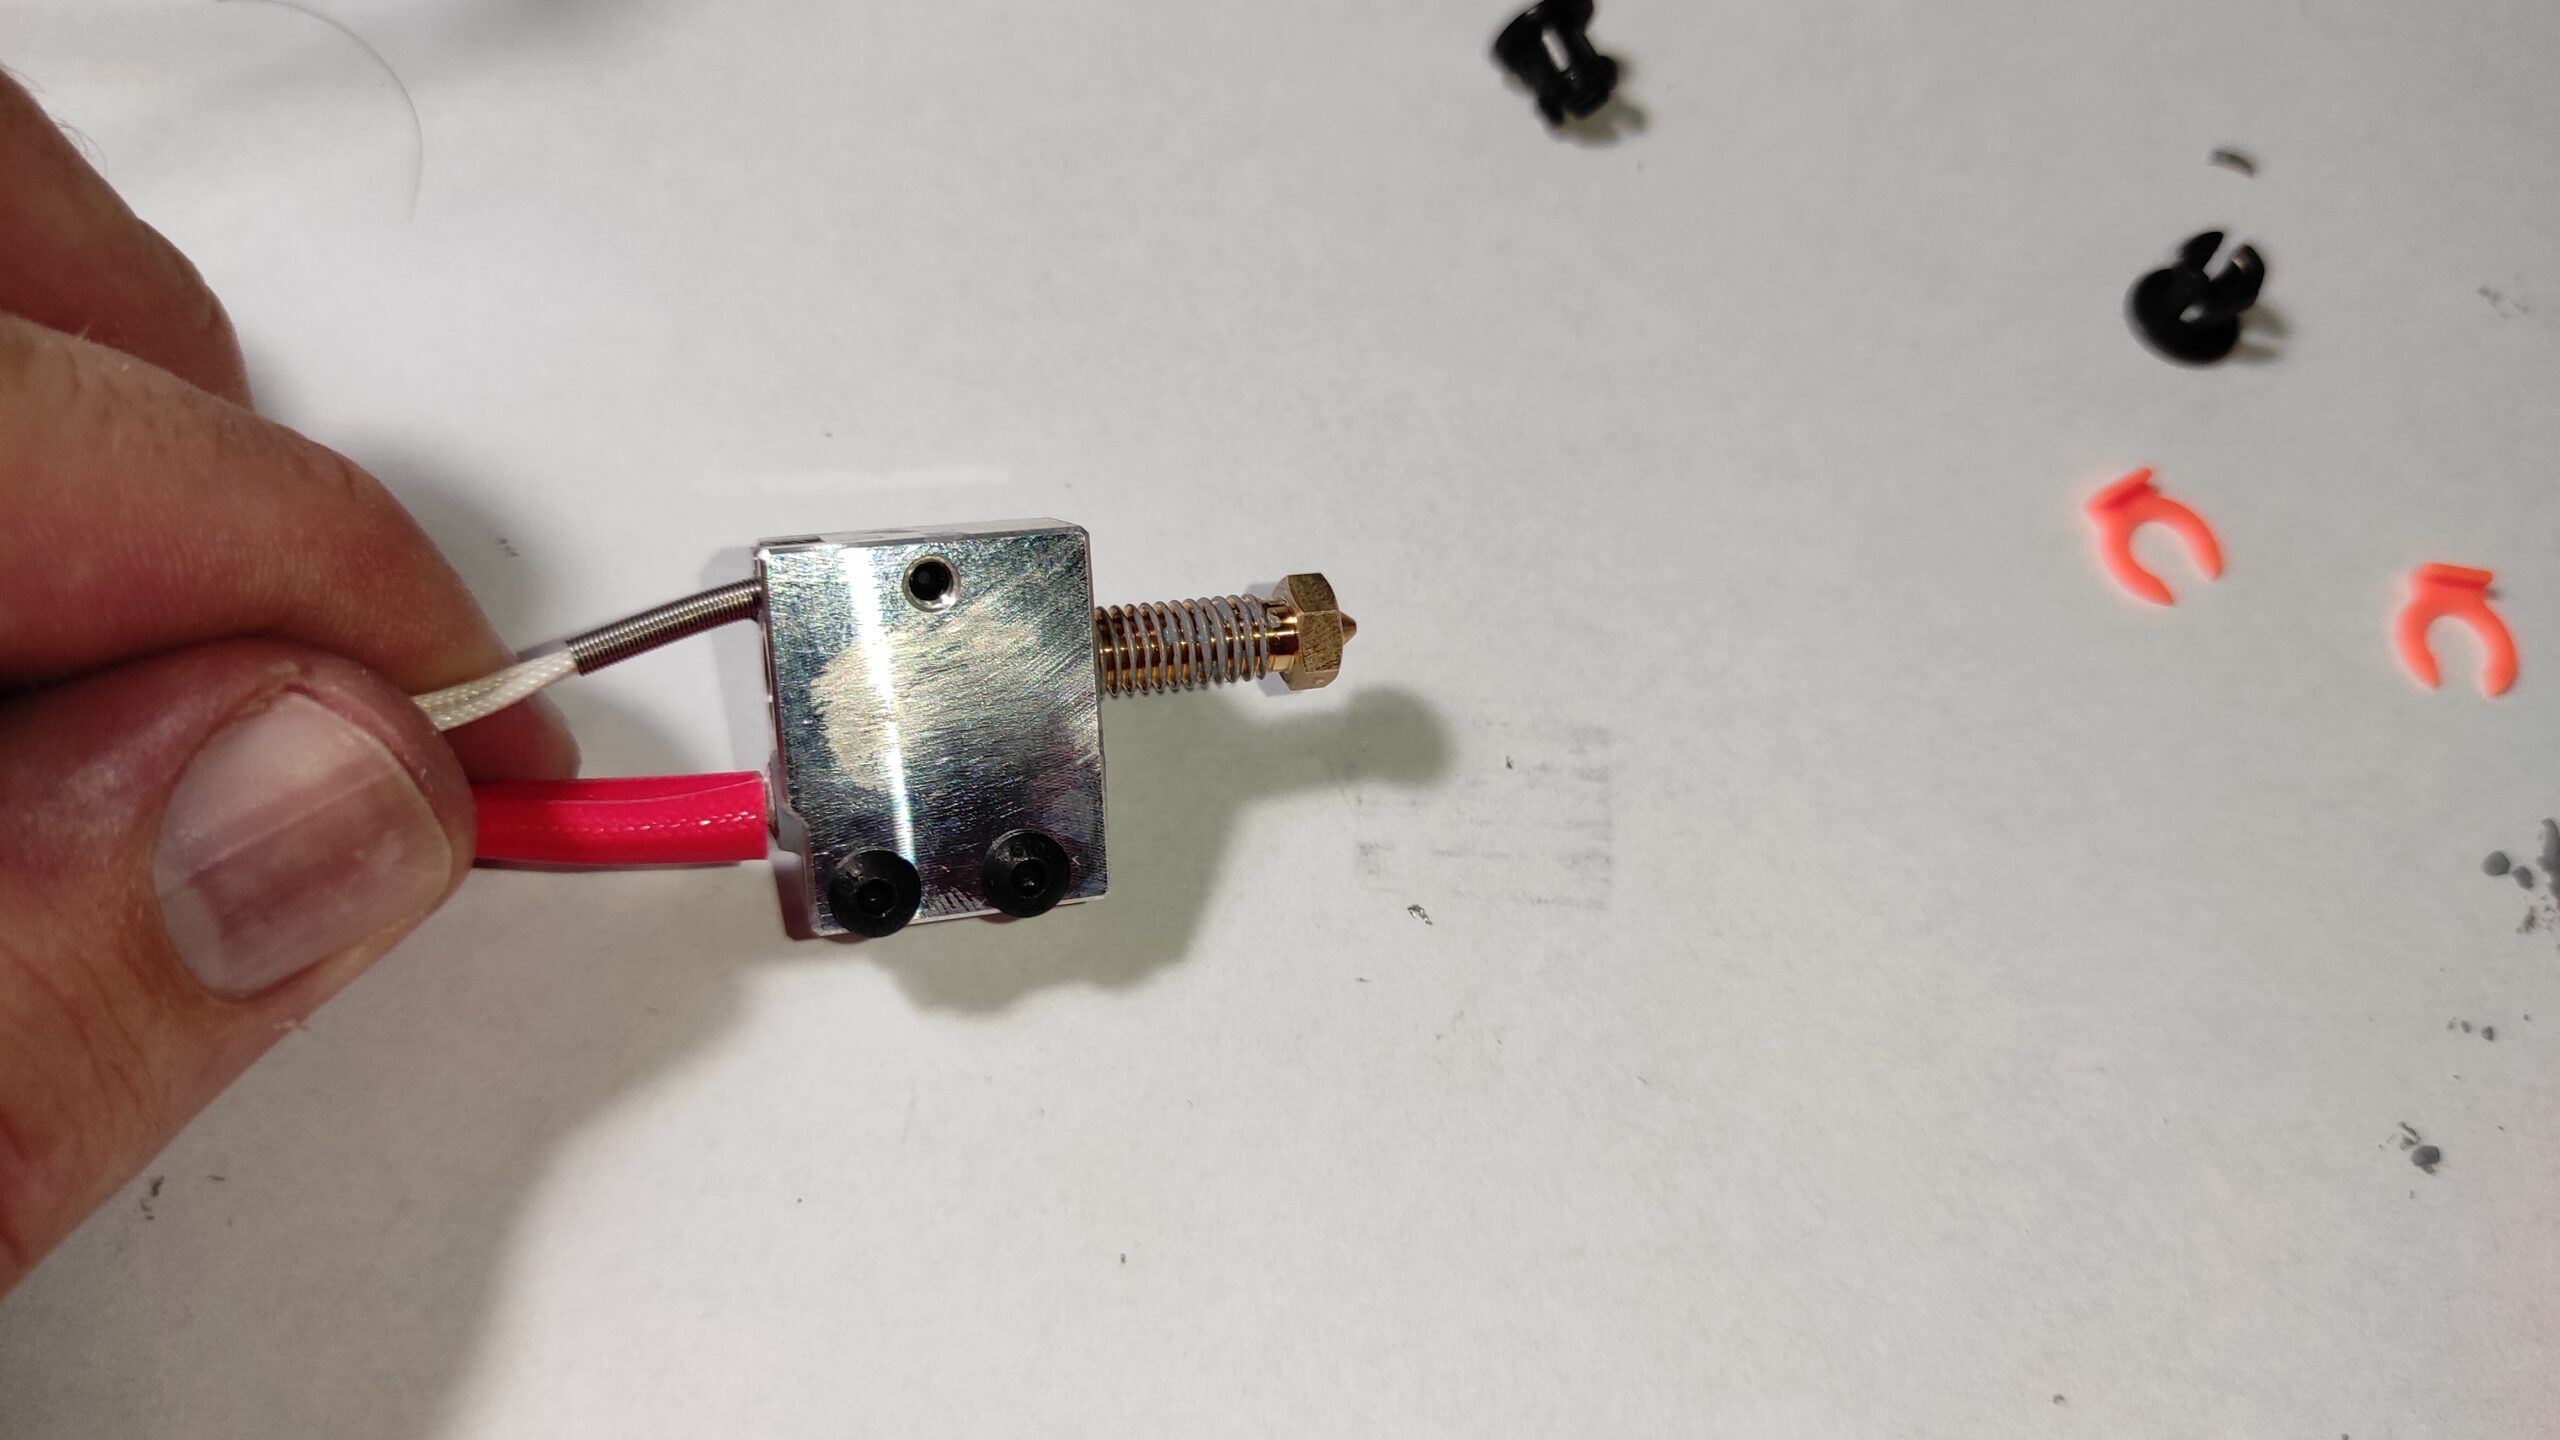
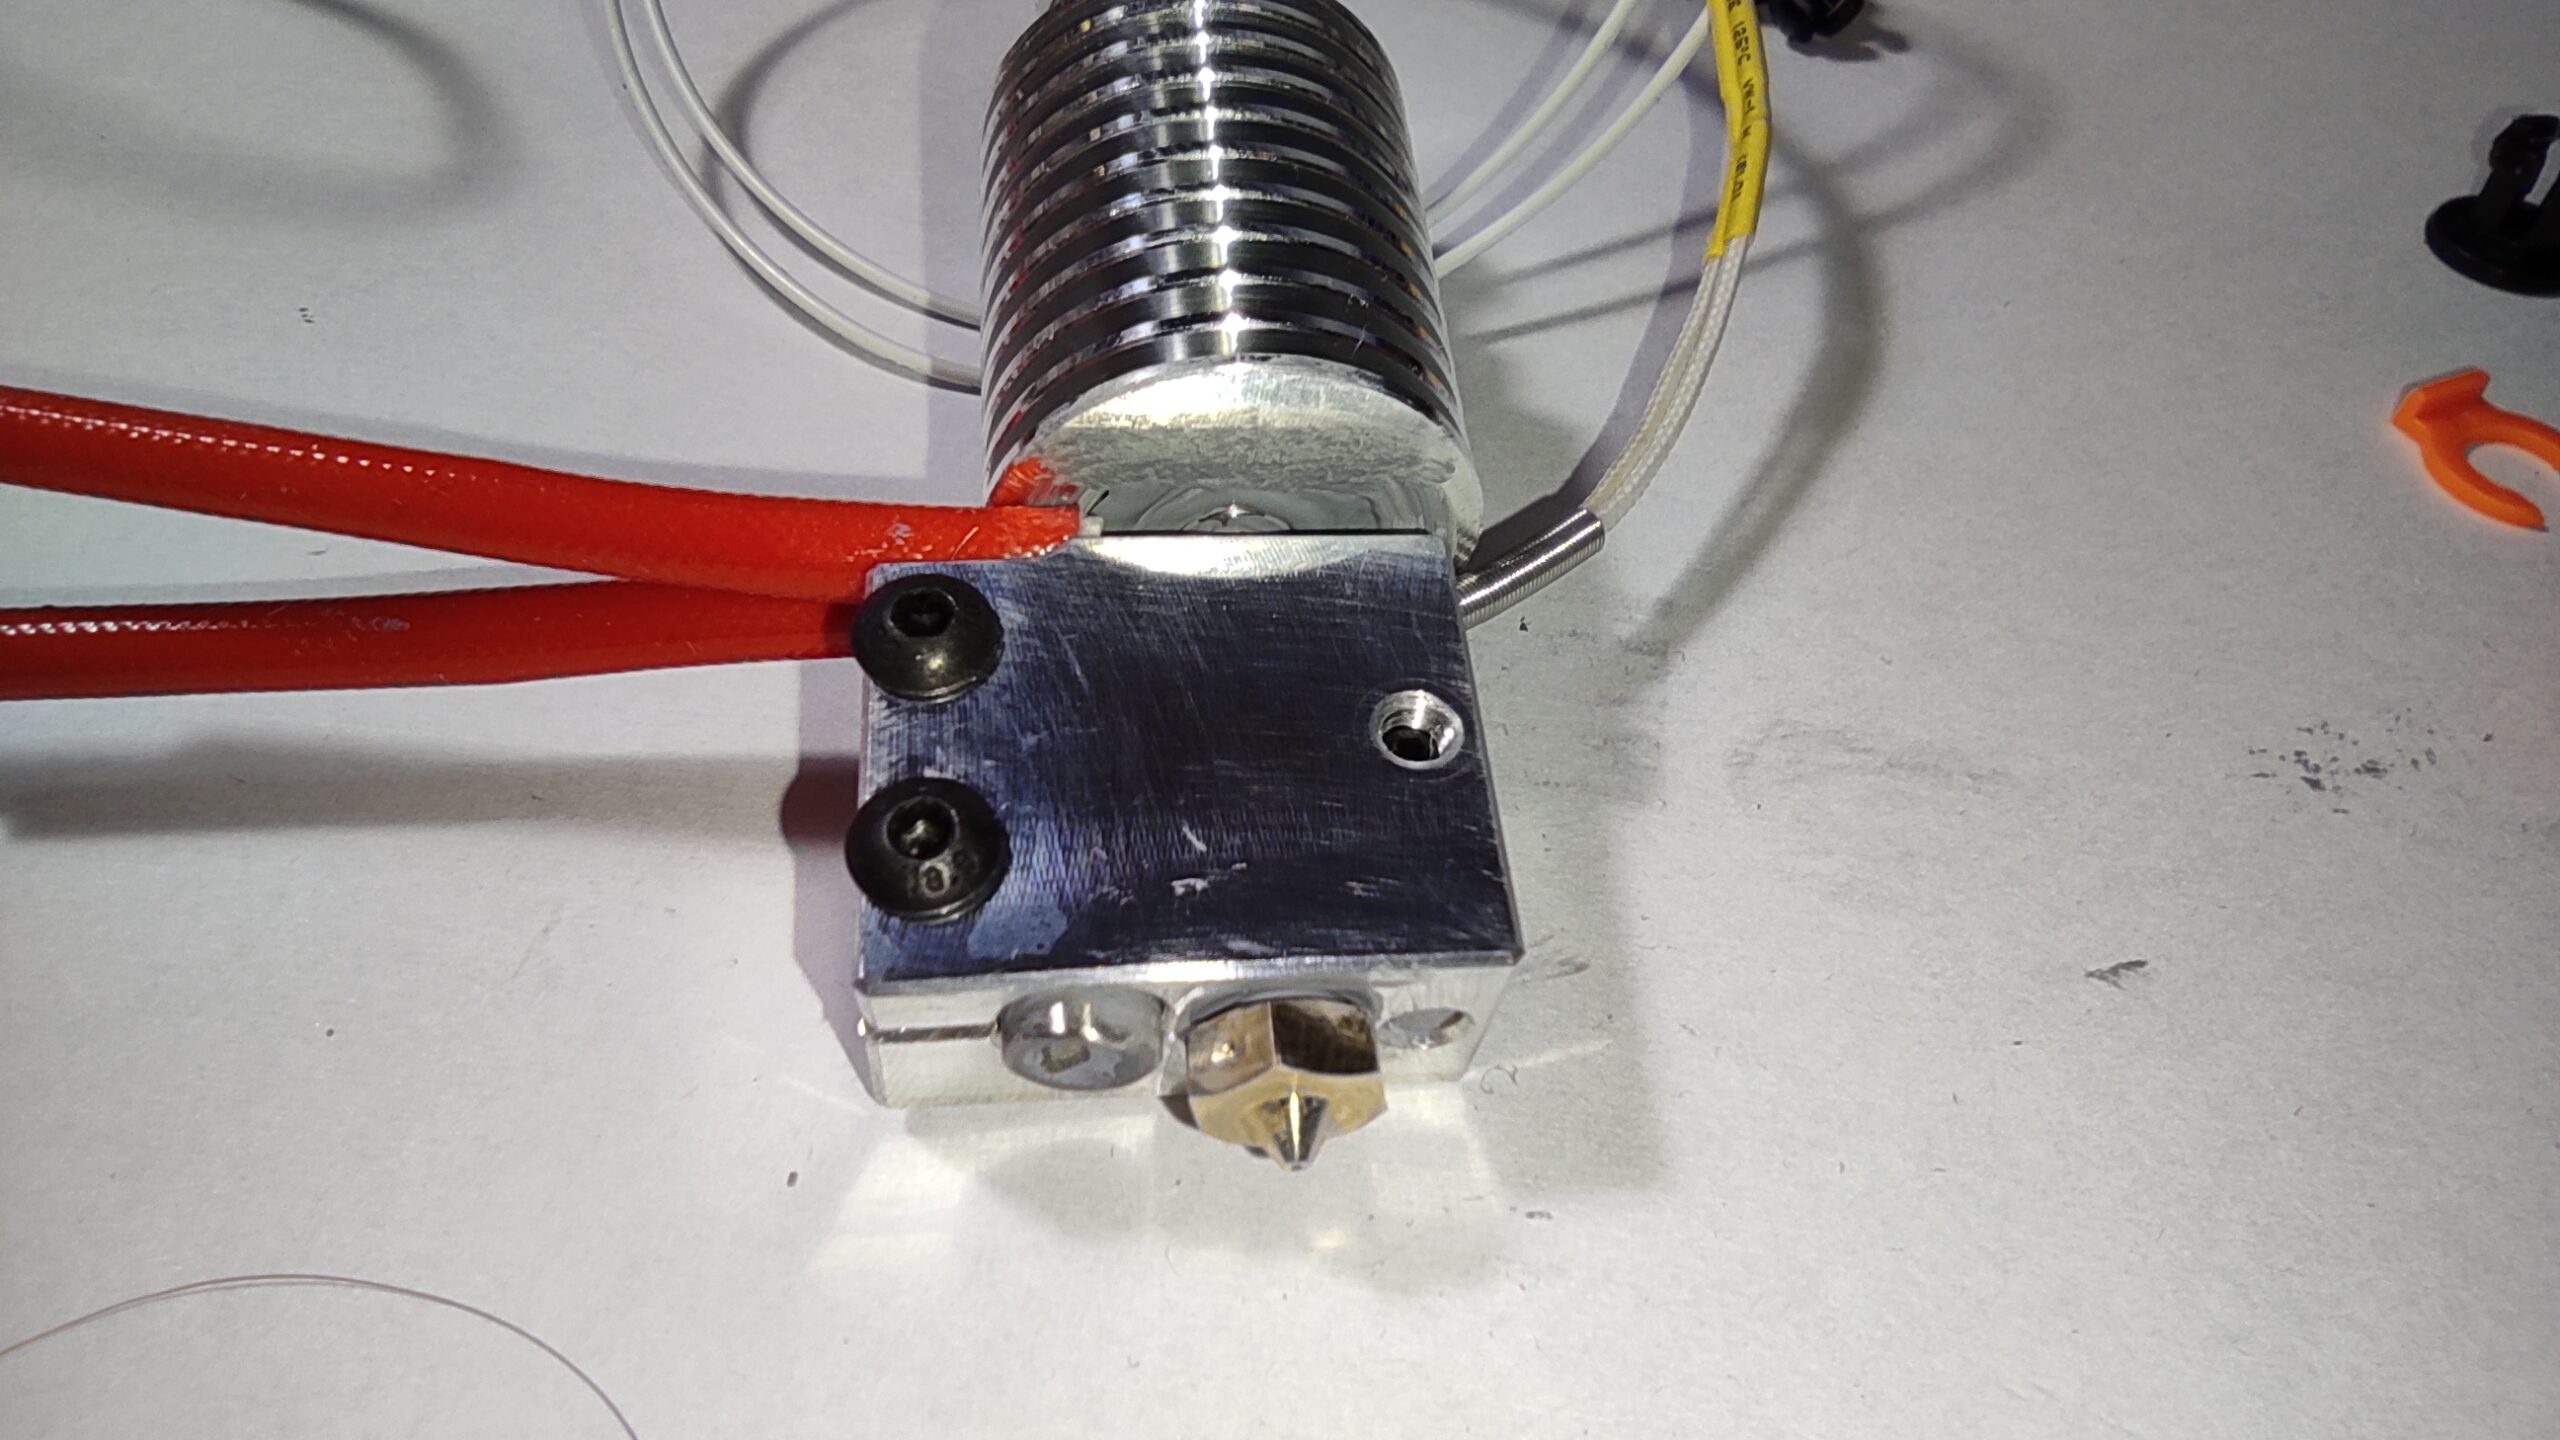
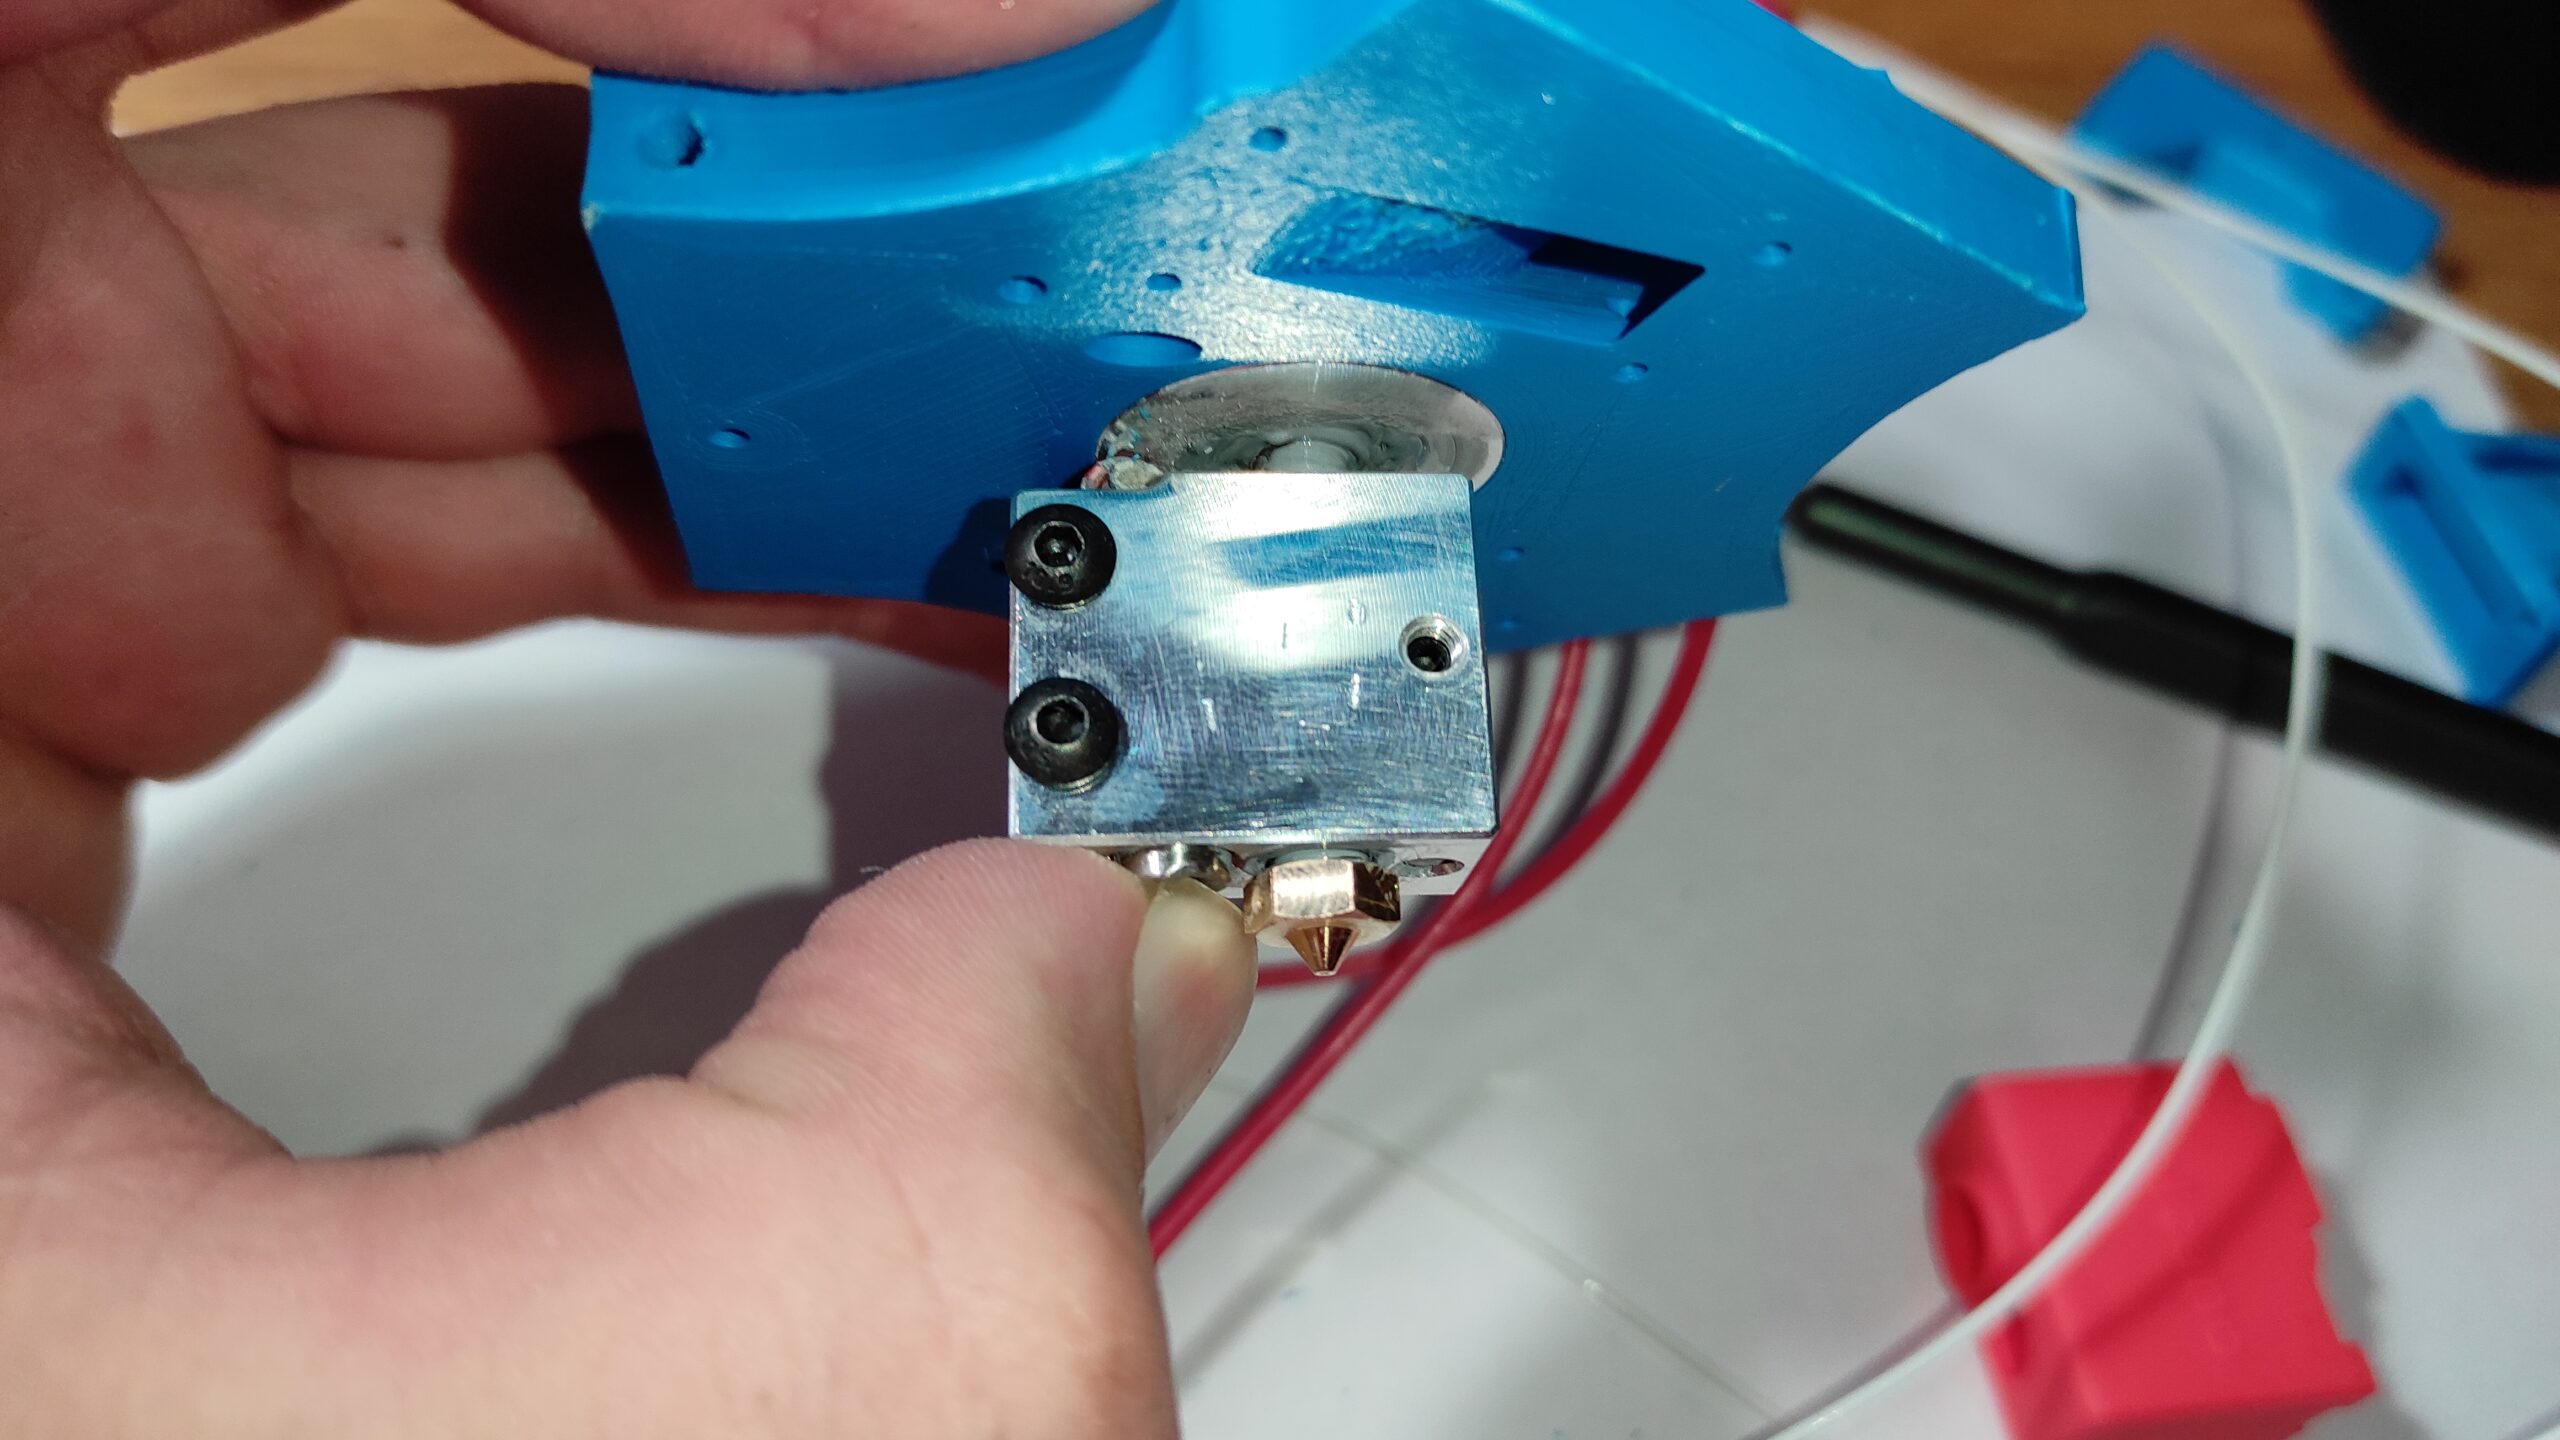
Volcano Plated Copper Hotend set
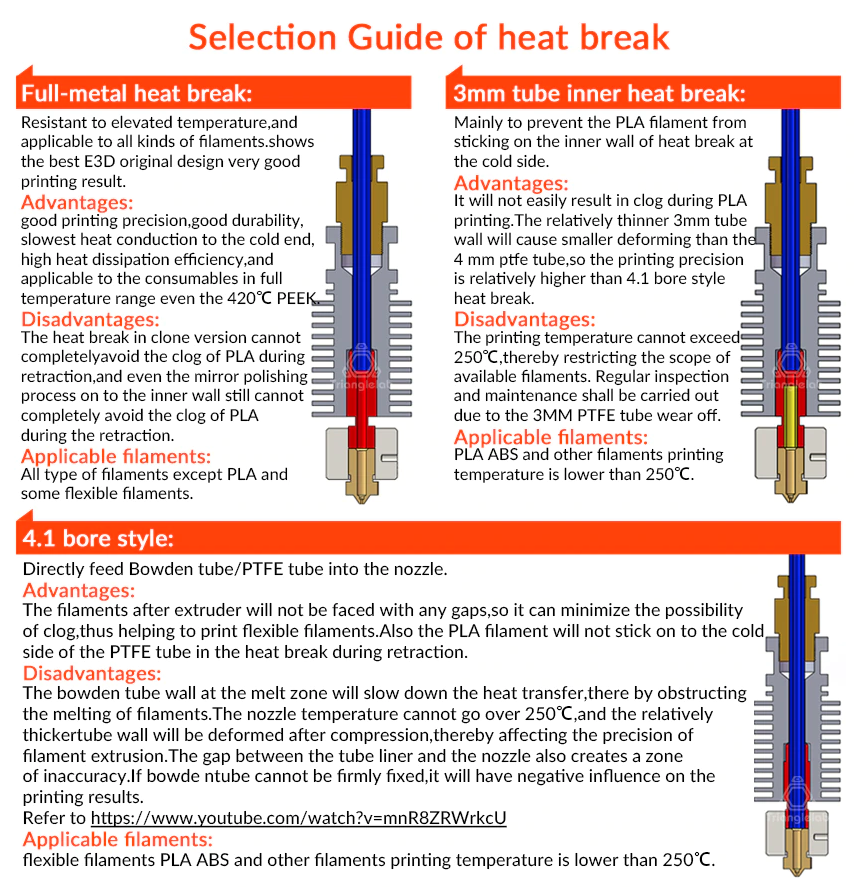
This is the top version of Trianglelab Volcano hot end. If you want to print wooden filament, carbon fiber PETG and another materials that wear off the nozzle much quicker, you can order this set. Hot end and nozzle are made from copper and are nickel plated. This keeps the thermal conductivity as high as it be and the hardness of the nozzle is larger than a standard stainless steel nozzle has. This kit also includes titaninum heat break instead of a standard stainless steel one.
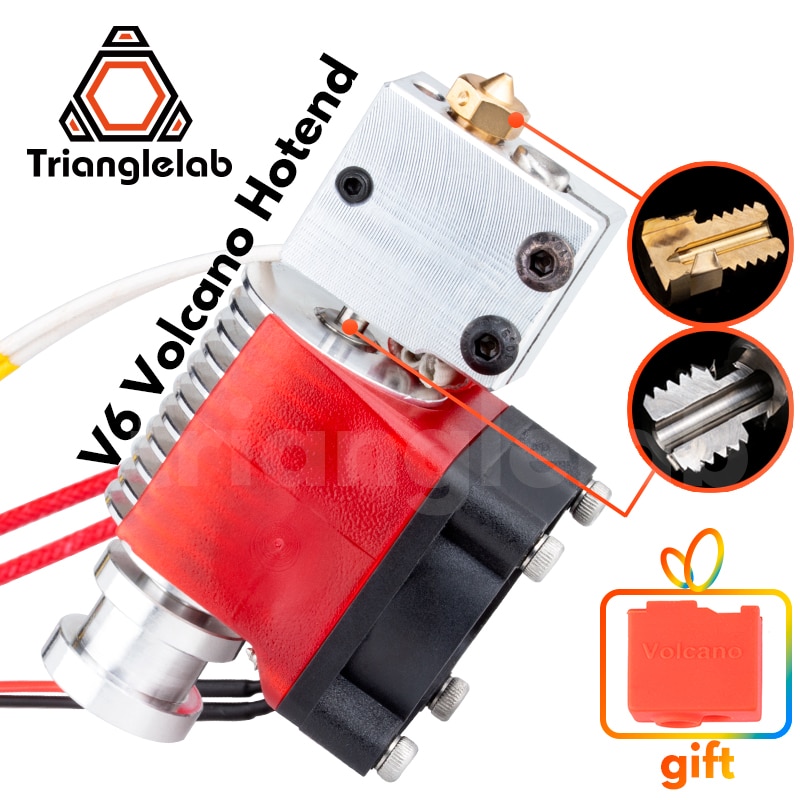
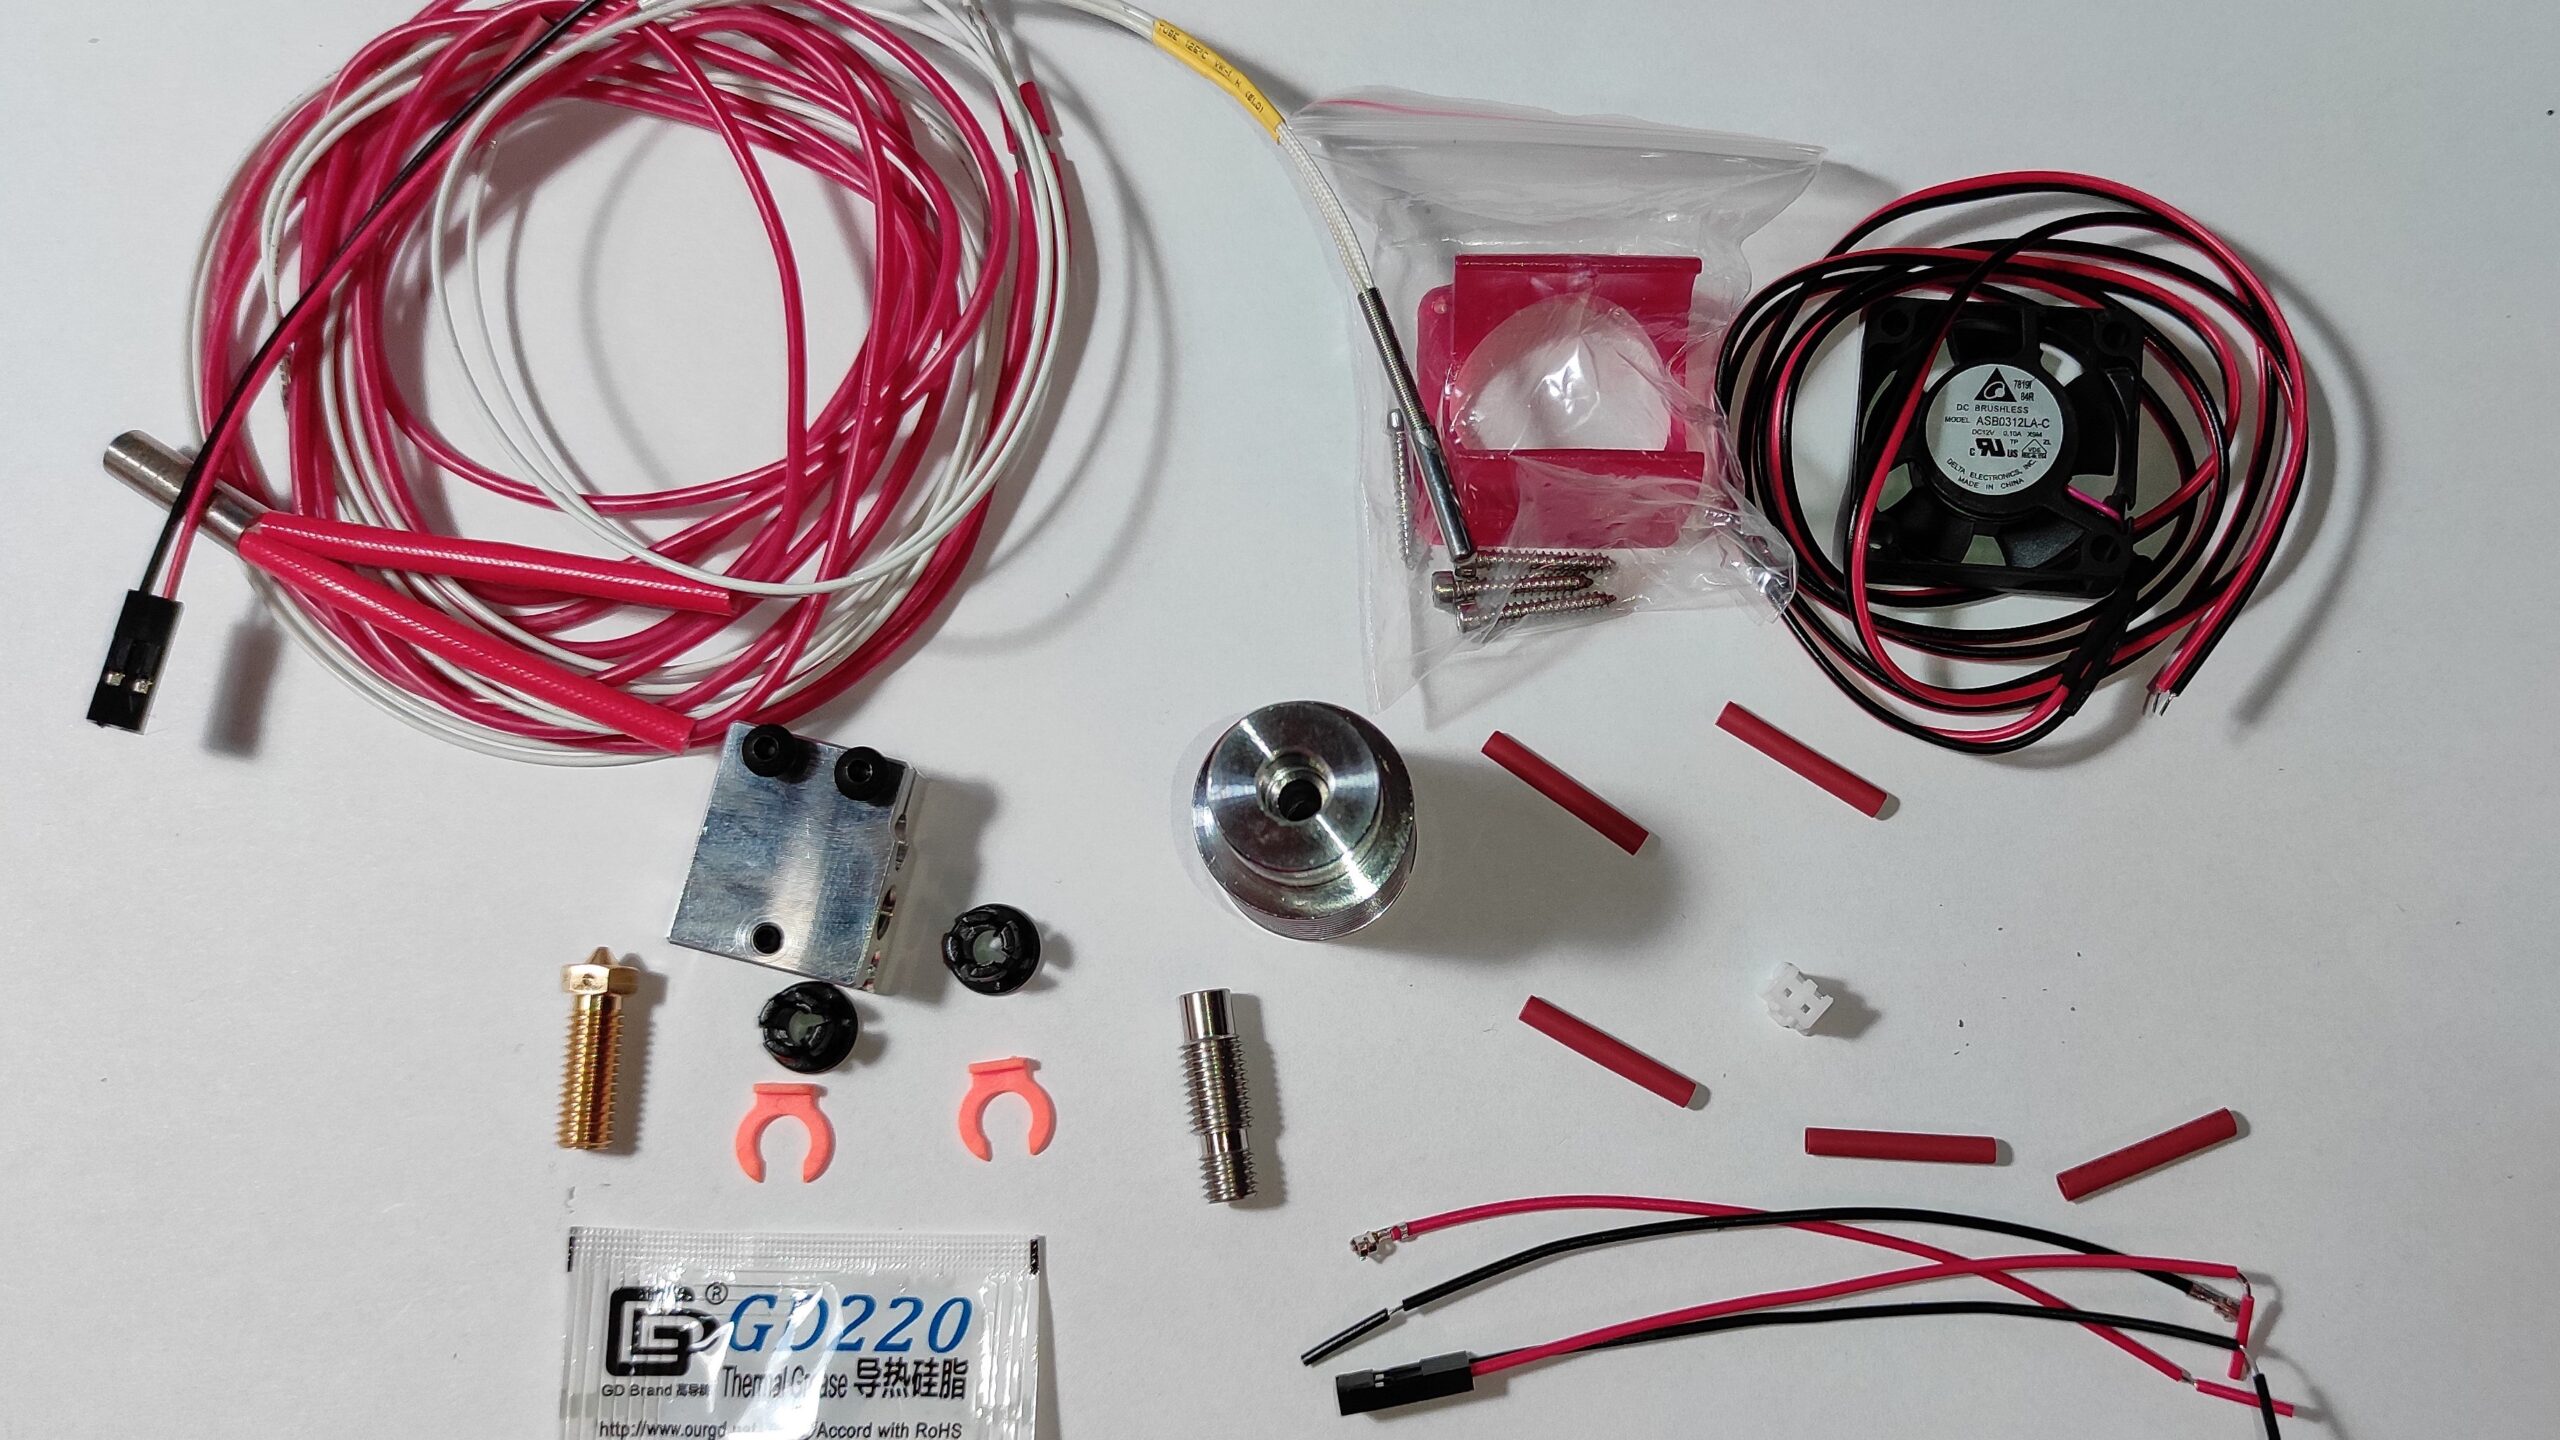
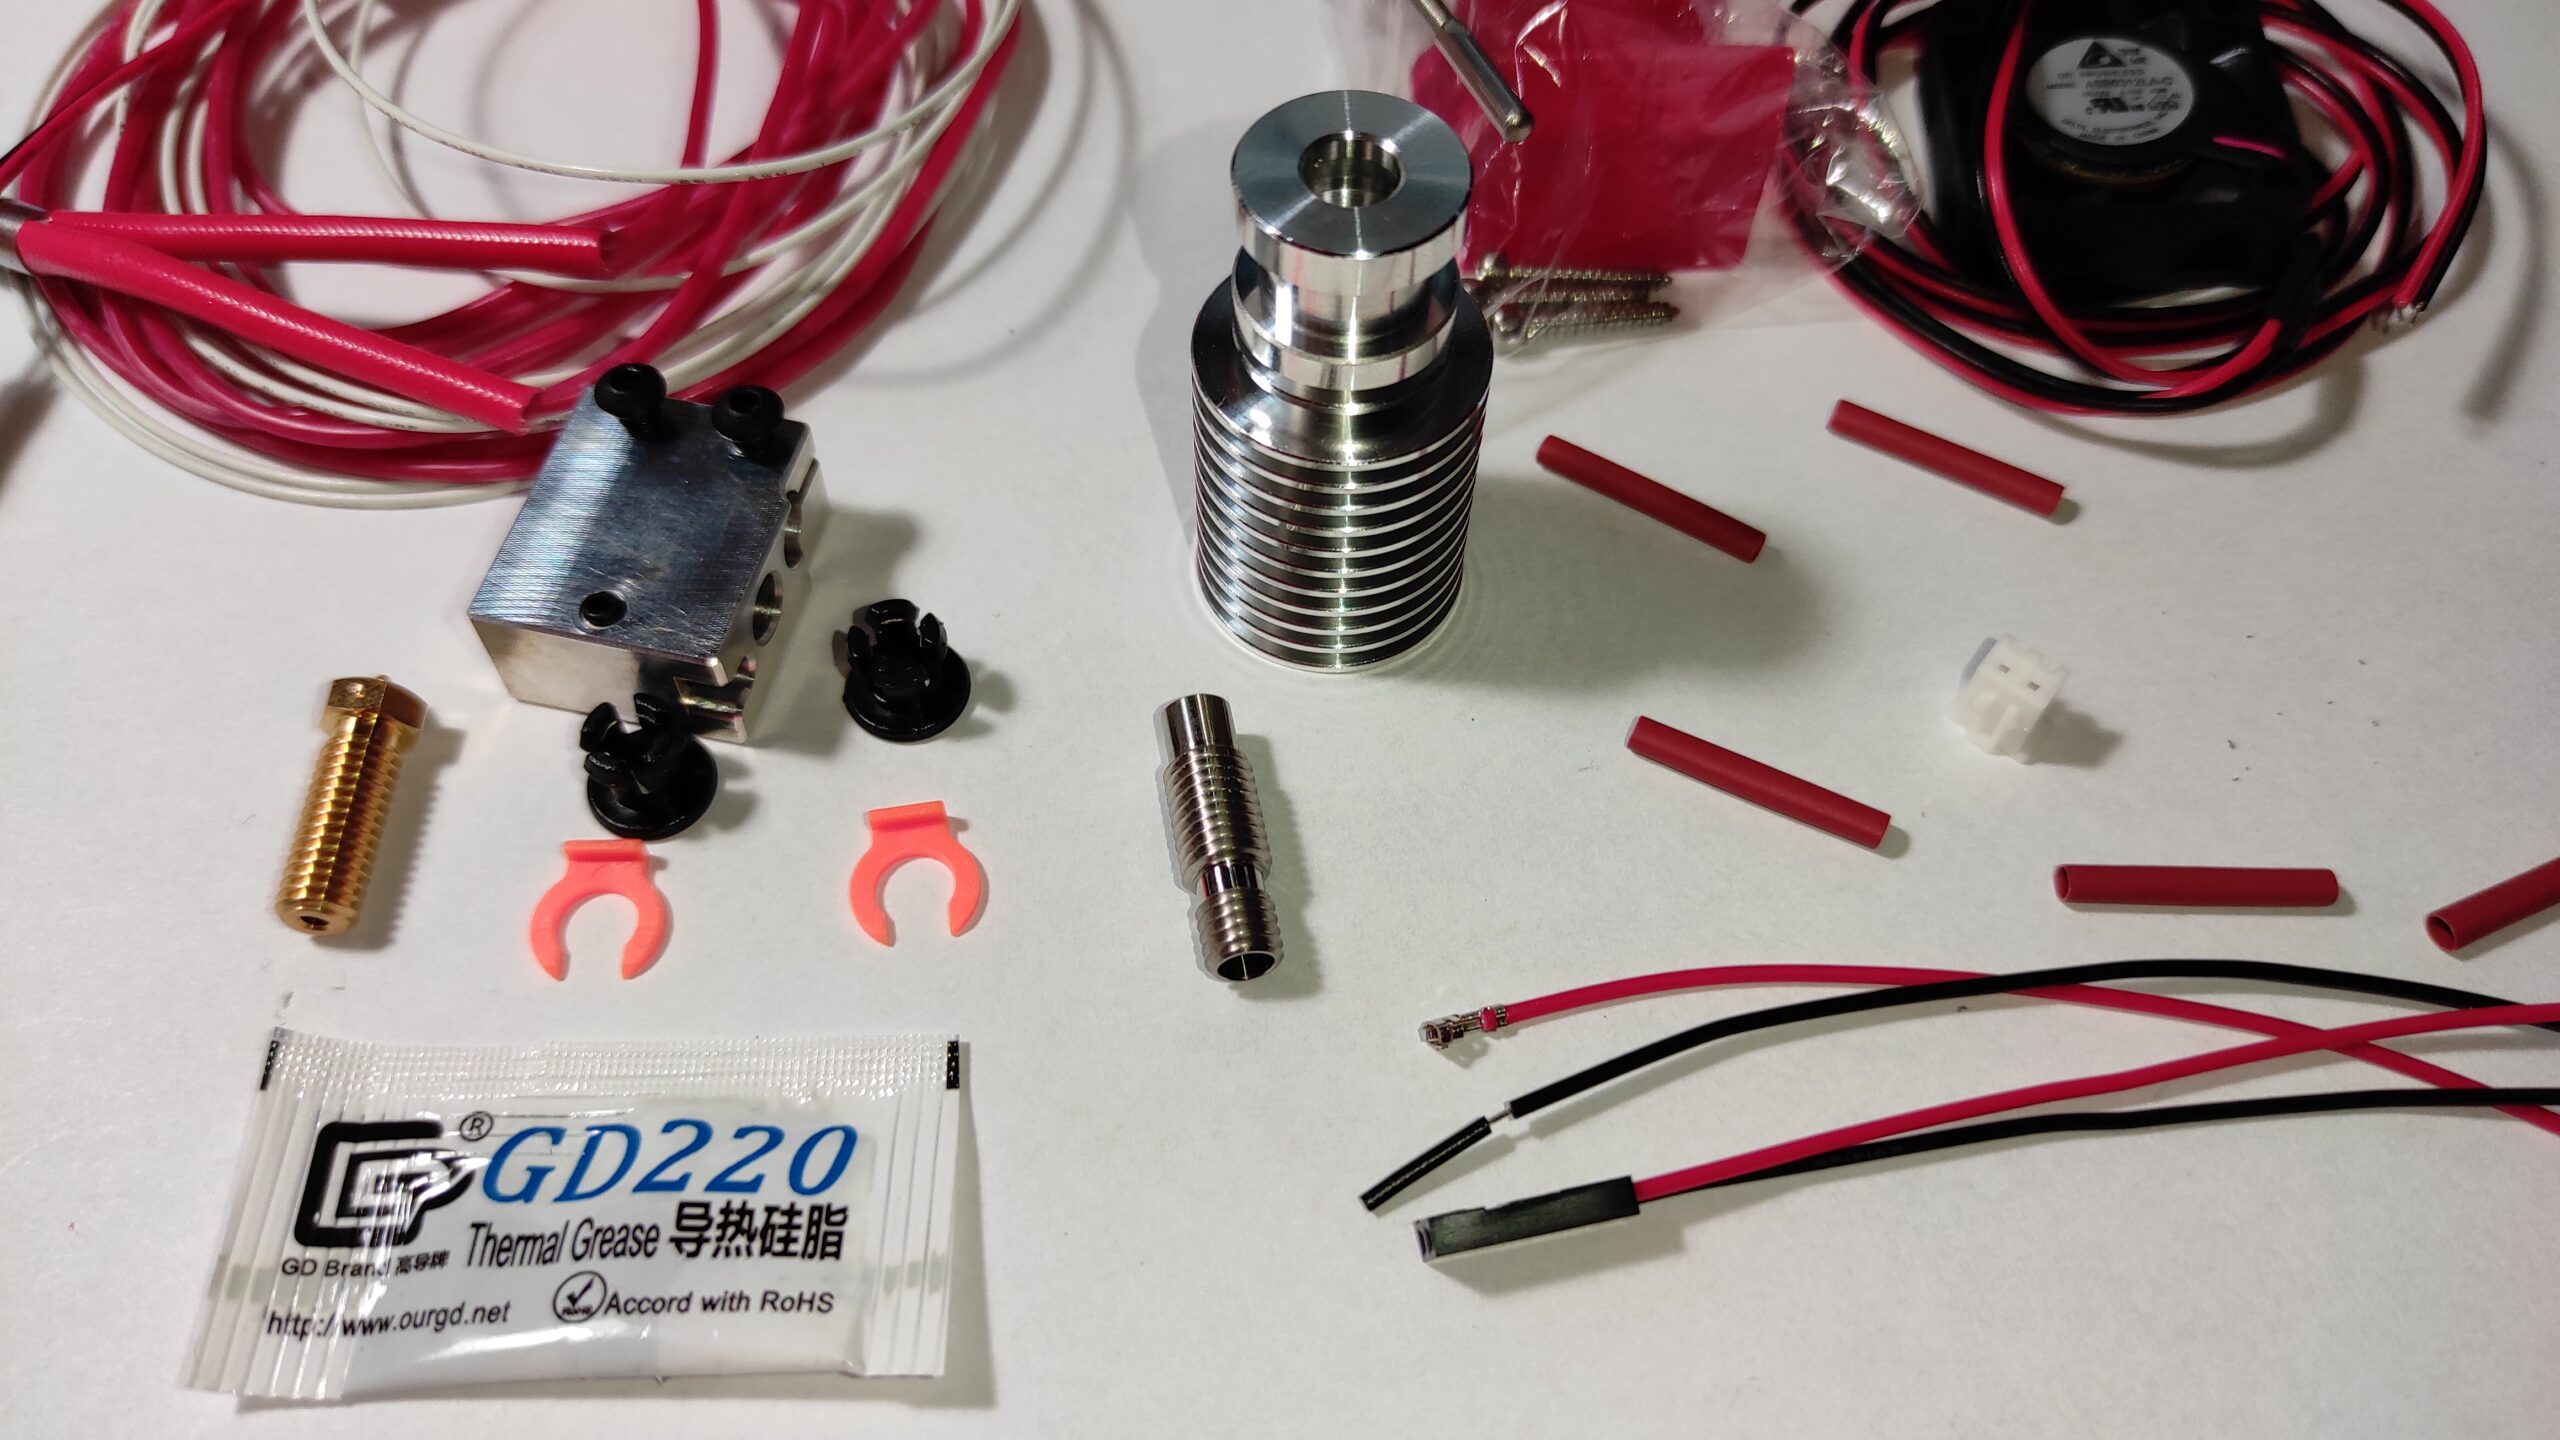
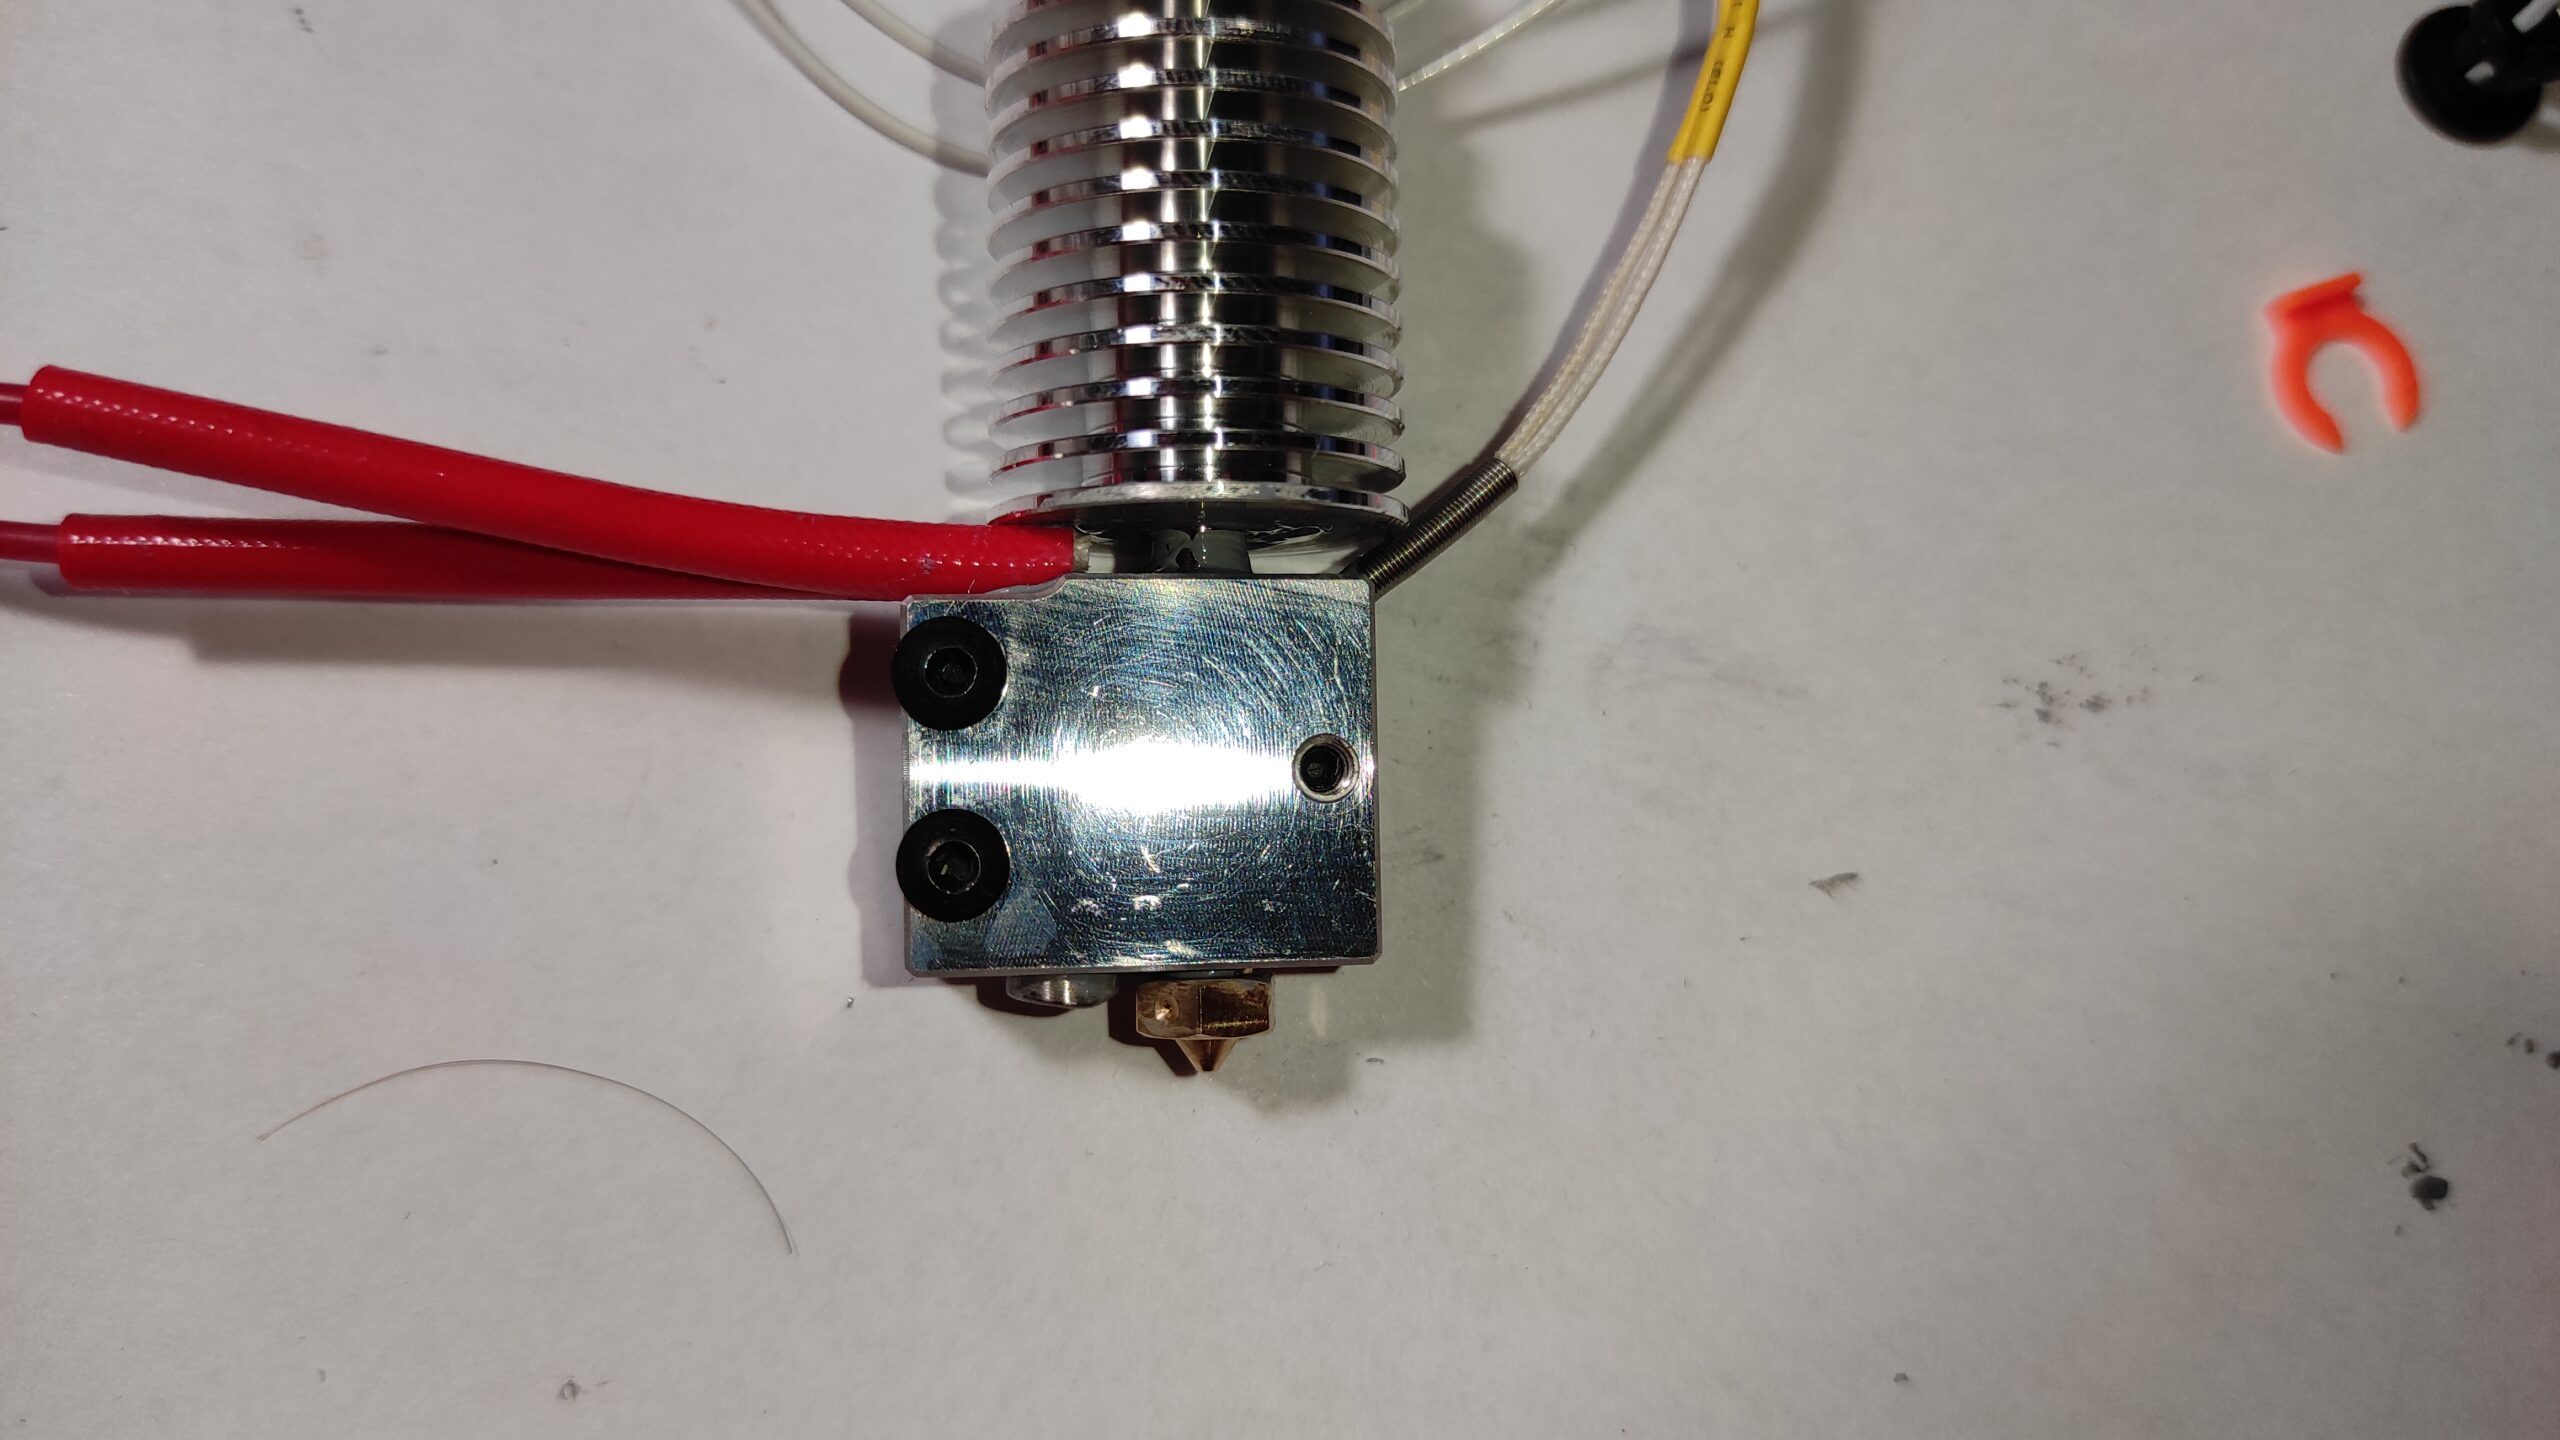
Standard Volcano set
Good quality Volcano hotend set. There is all you will need for this upgrade. If you want a titanium heat break, order it separately or buy a plated copper hotend set. I also recommend to buy extra nozzle, 0.8mm or a standard 0.4 mm.
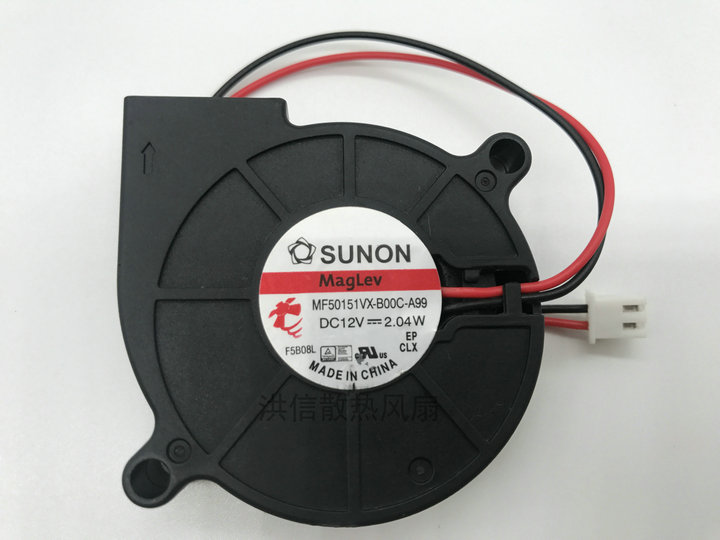
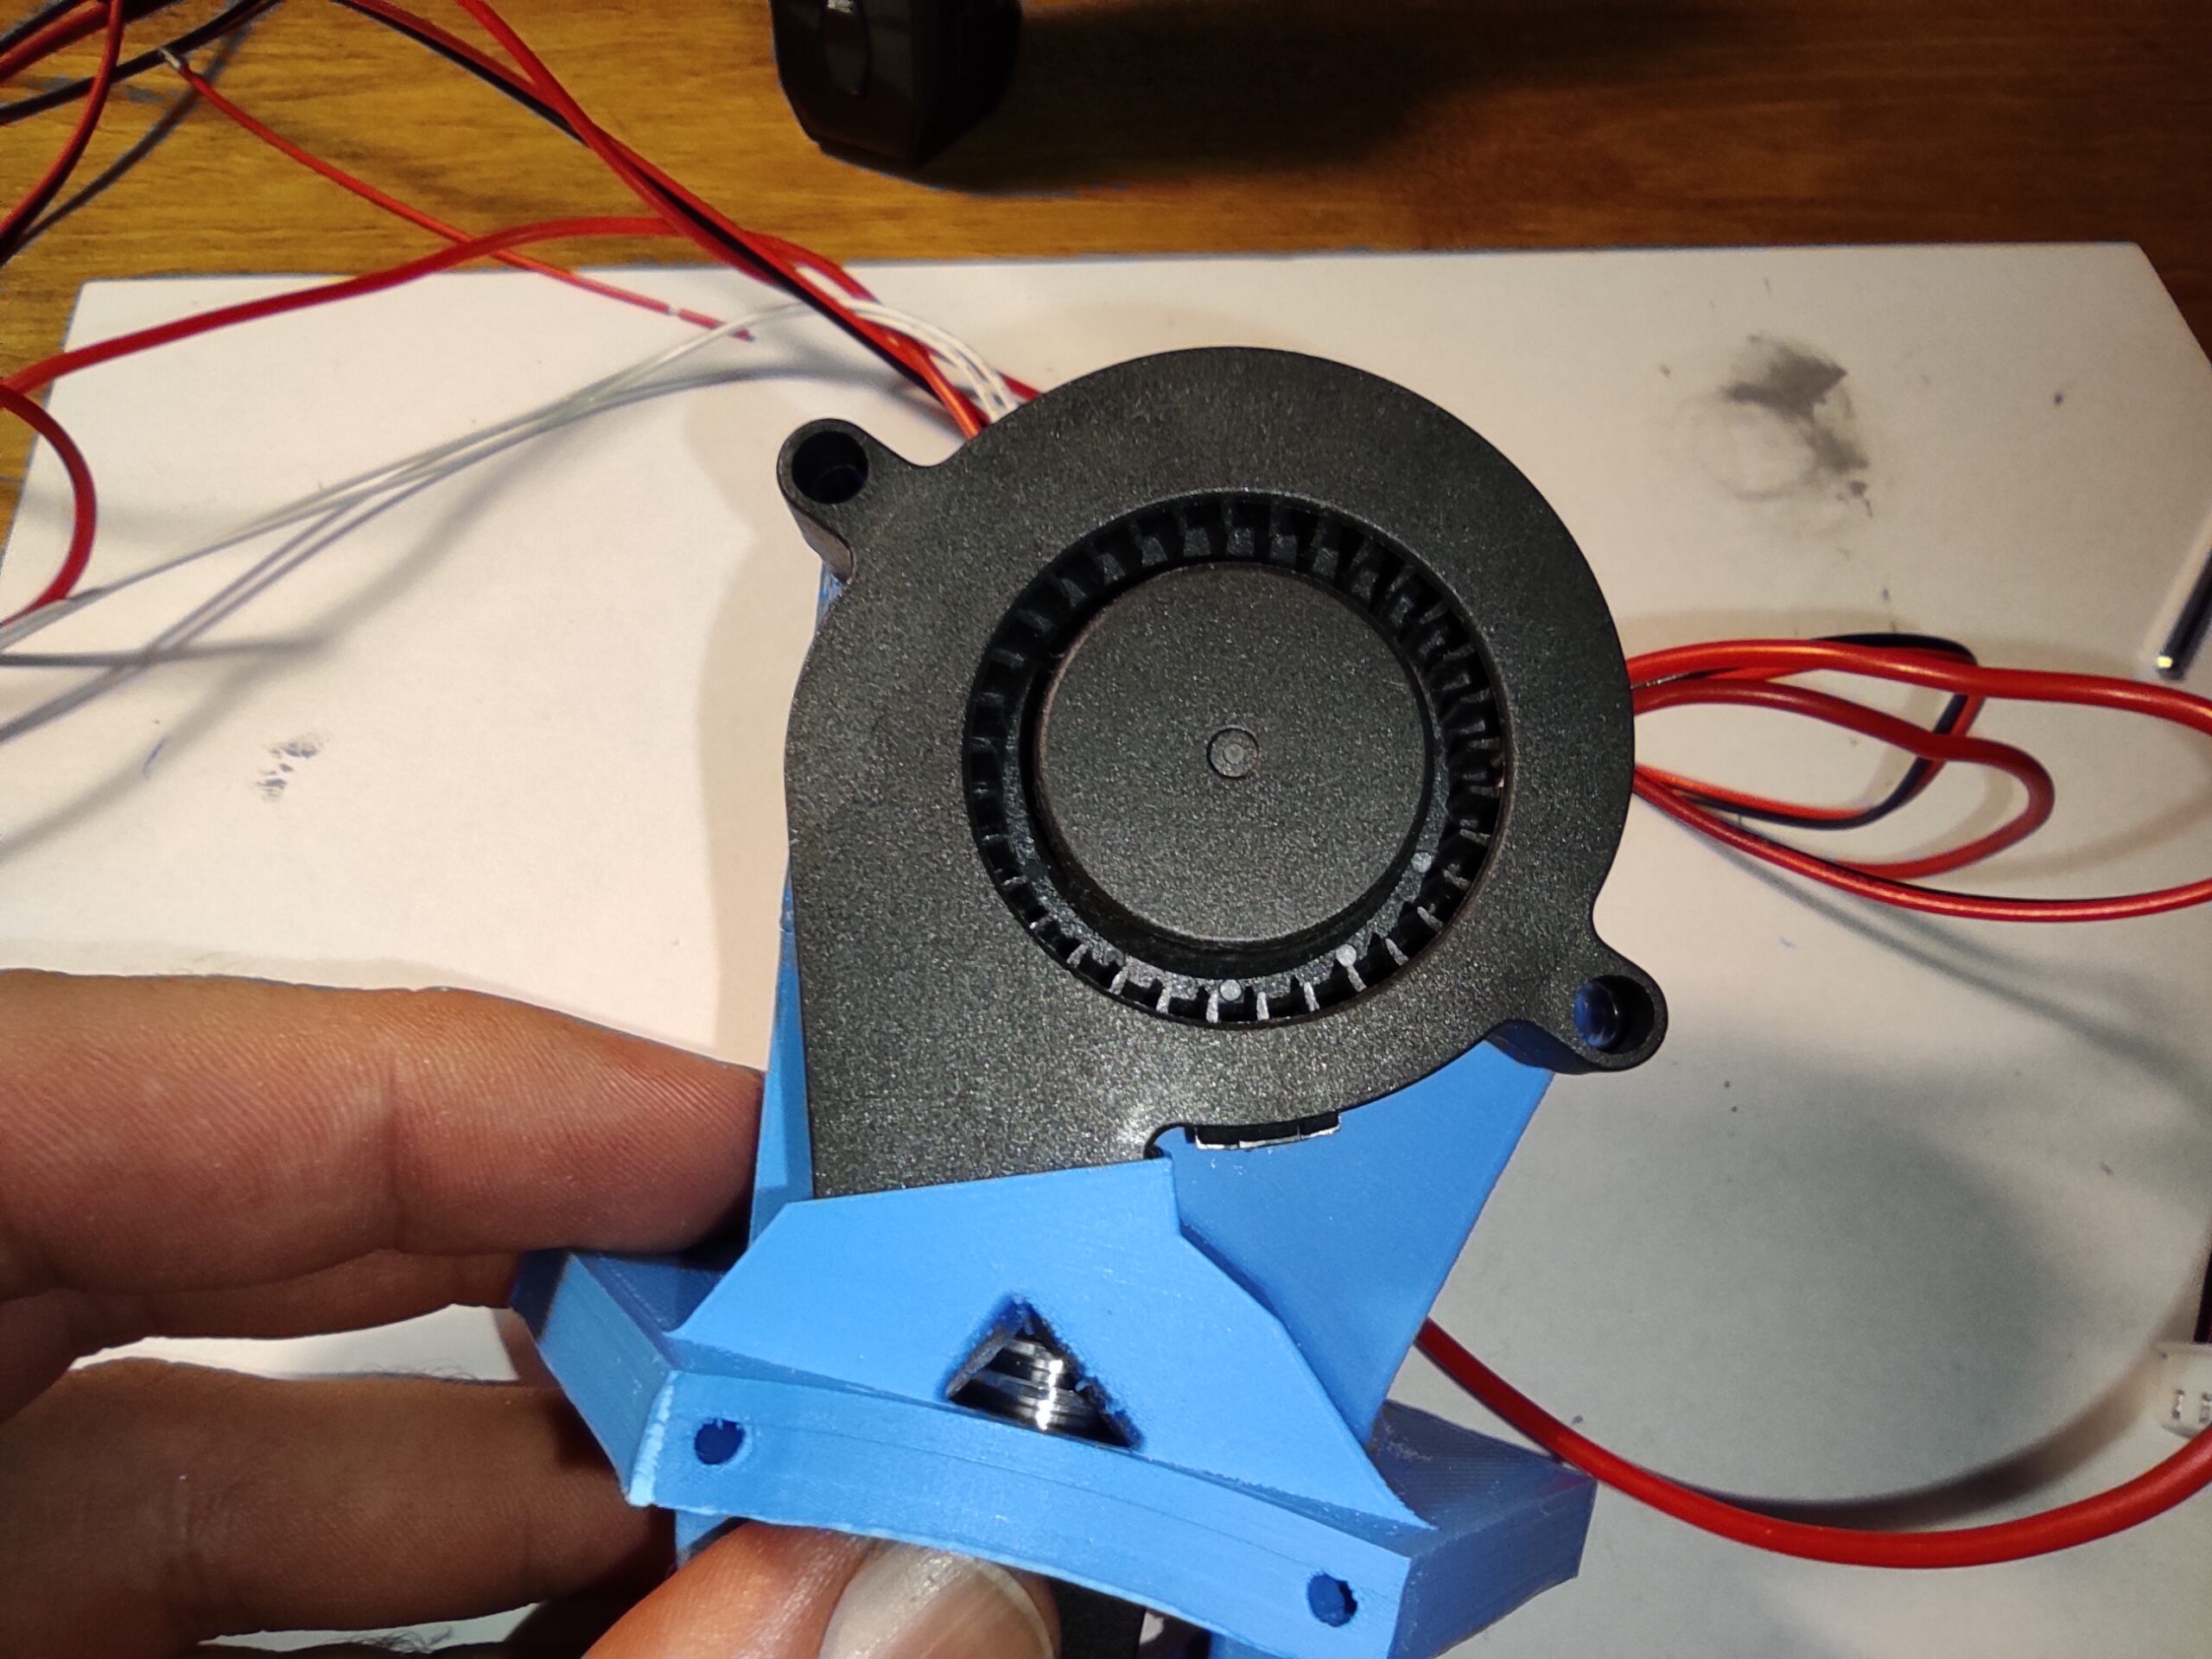
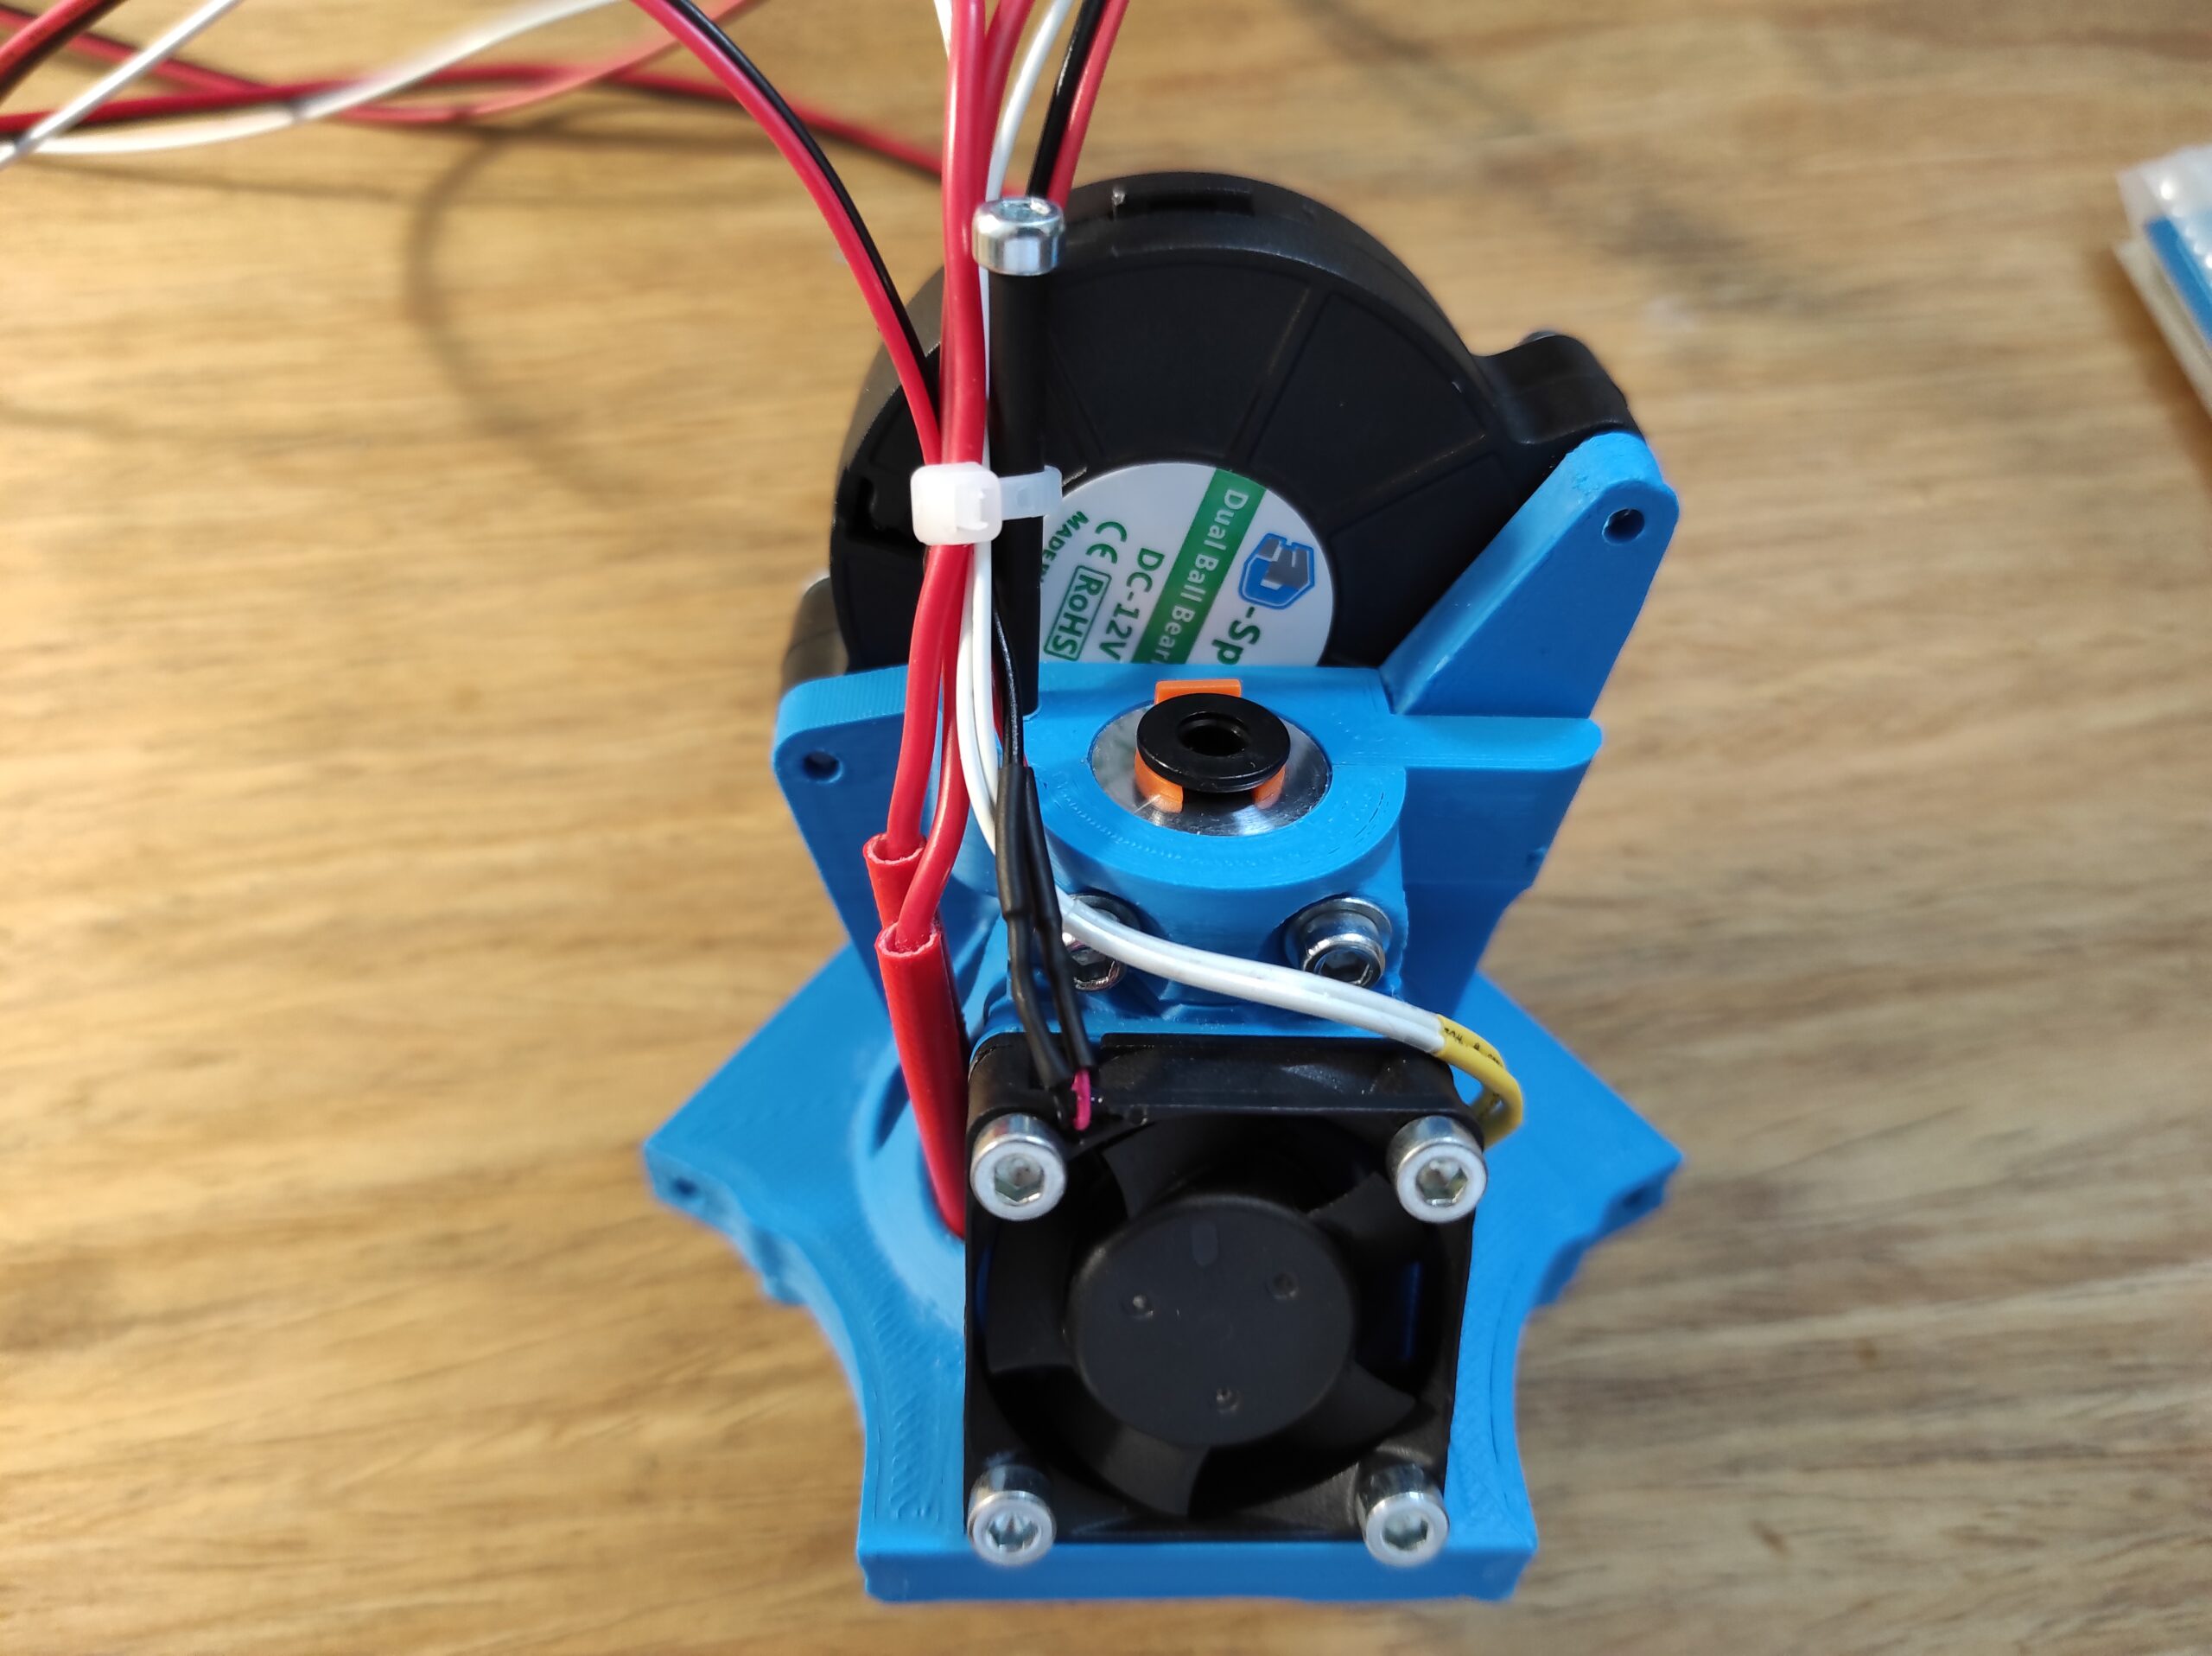
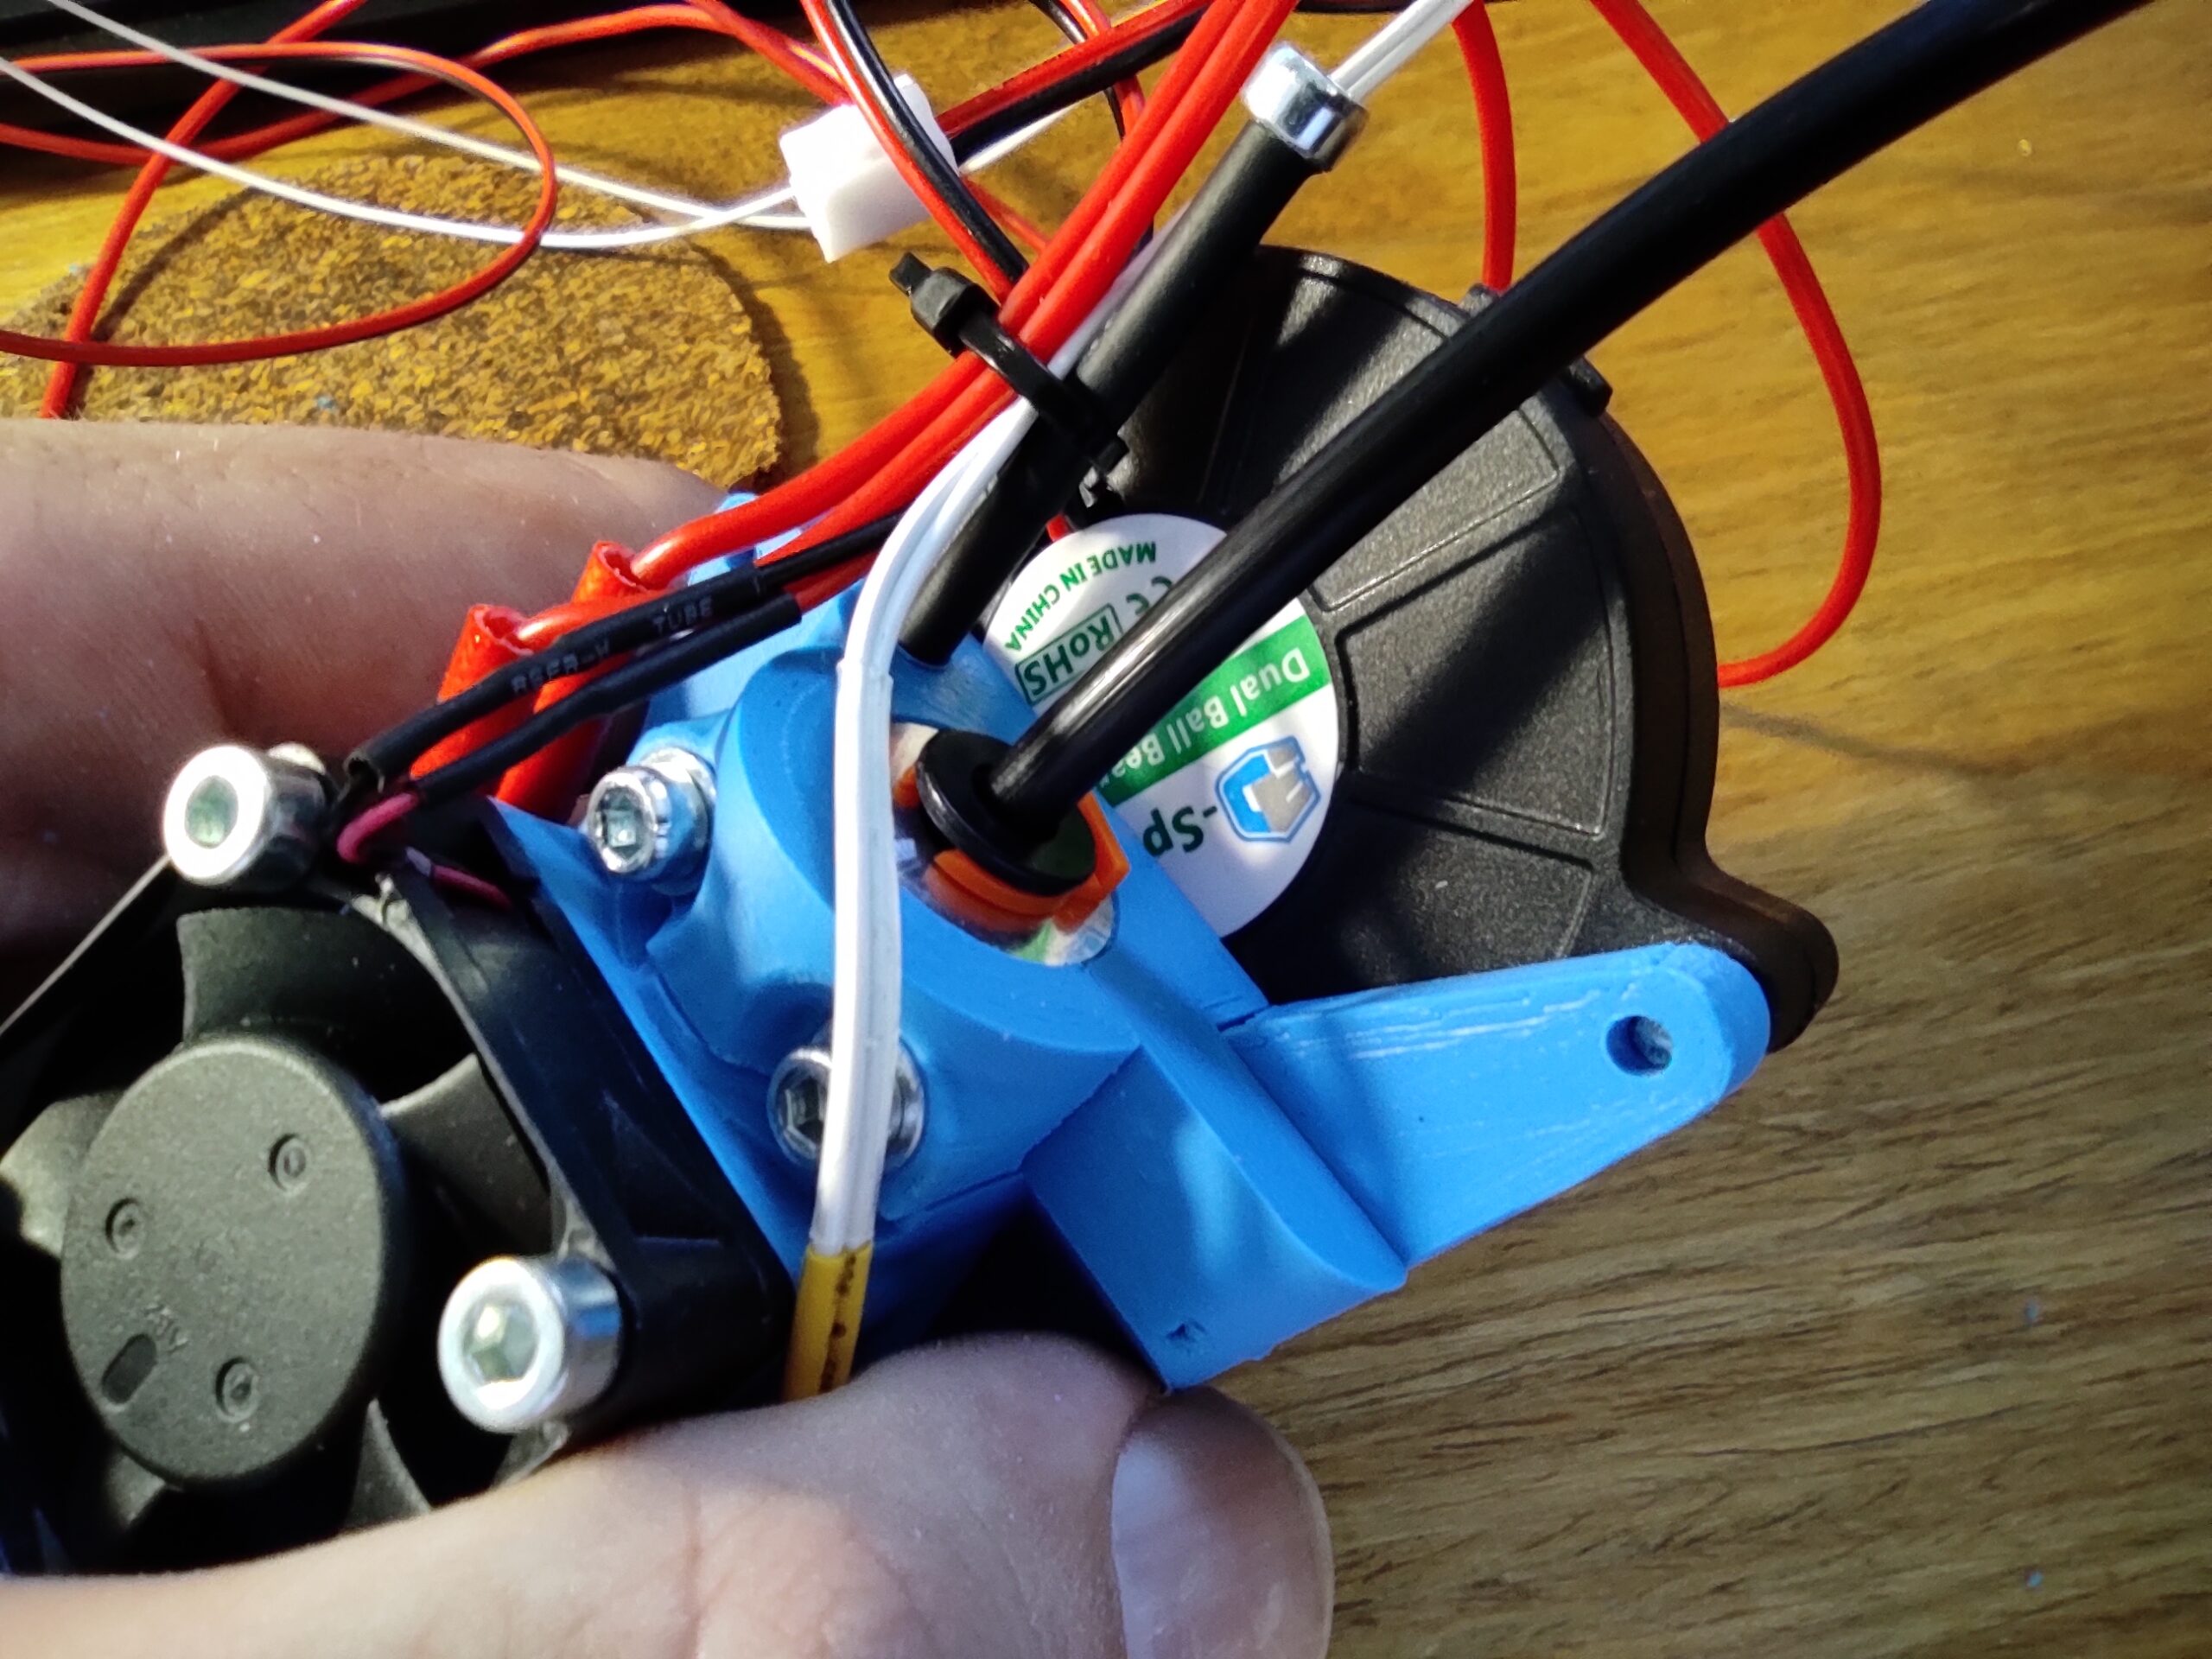
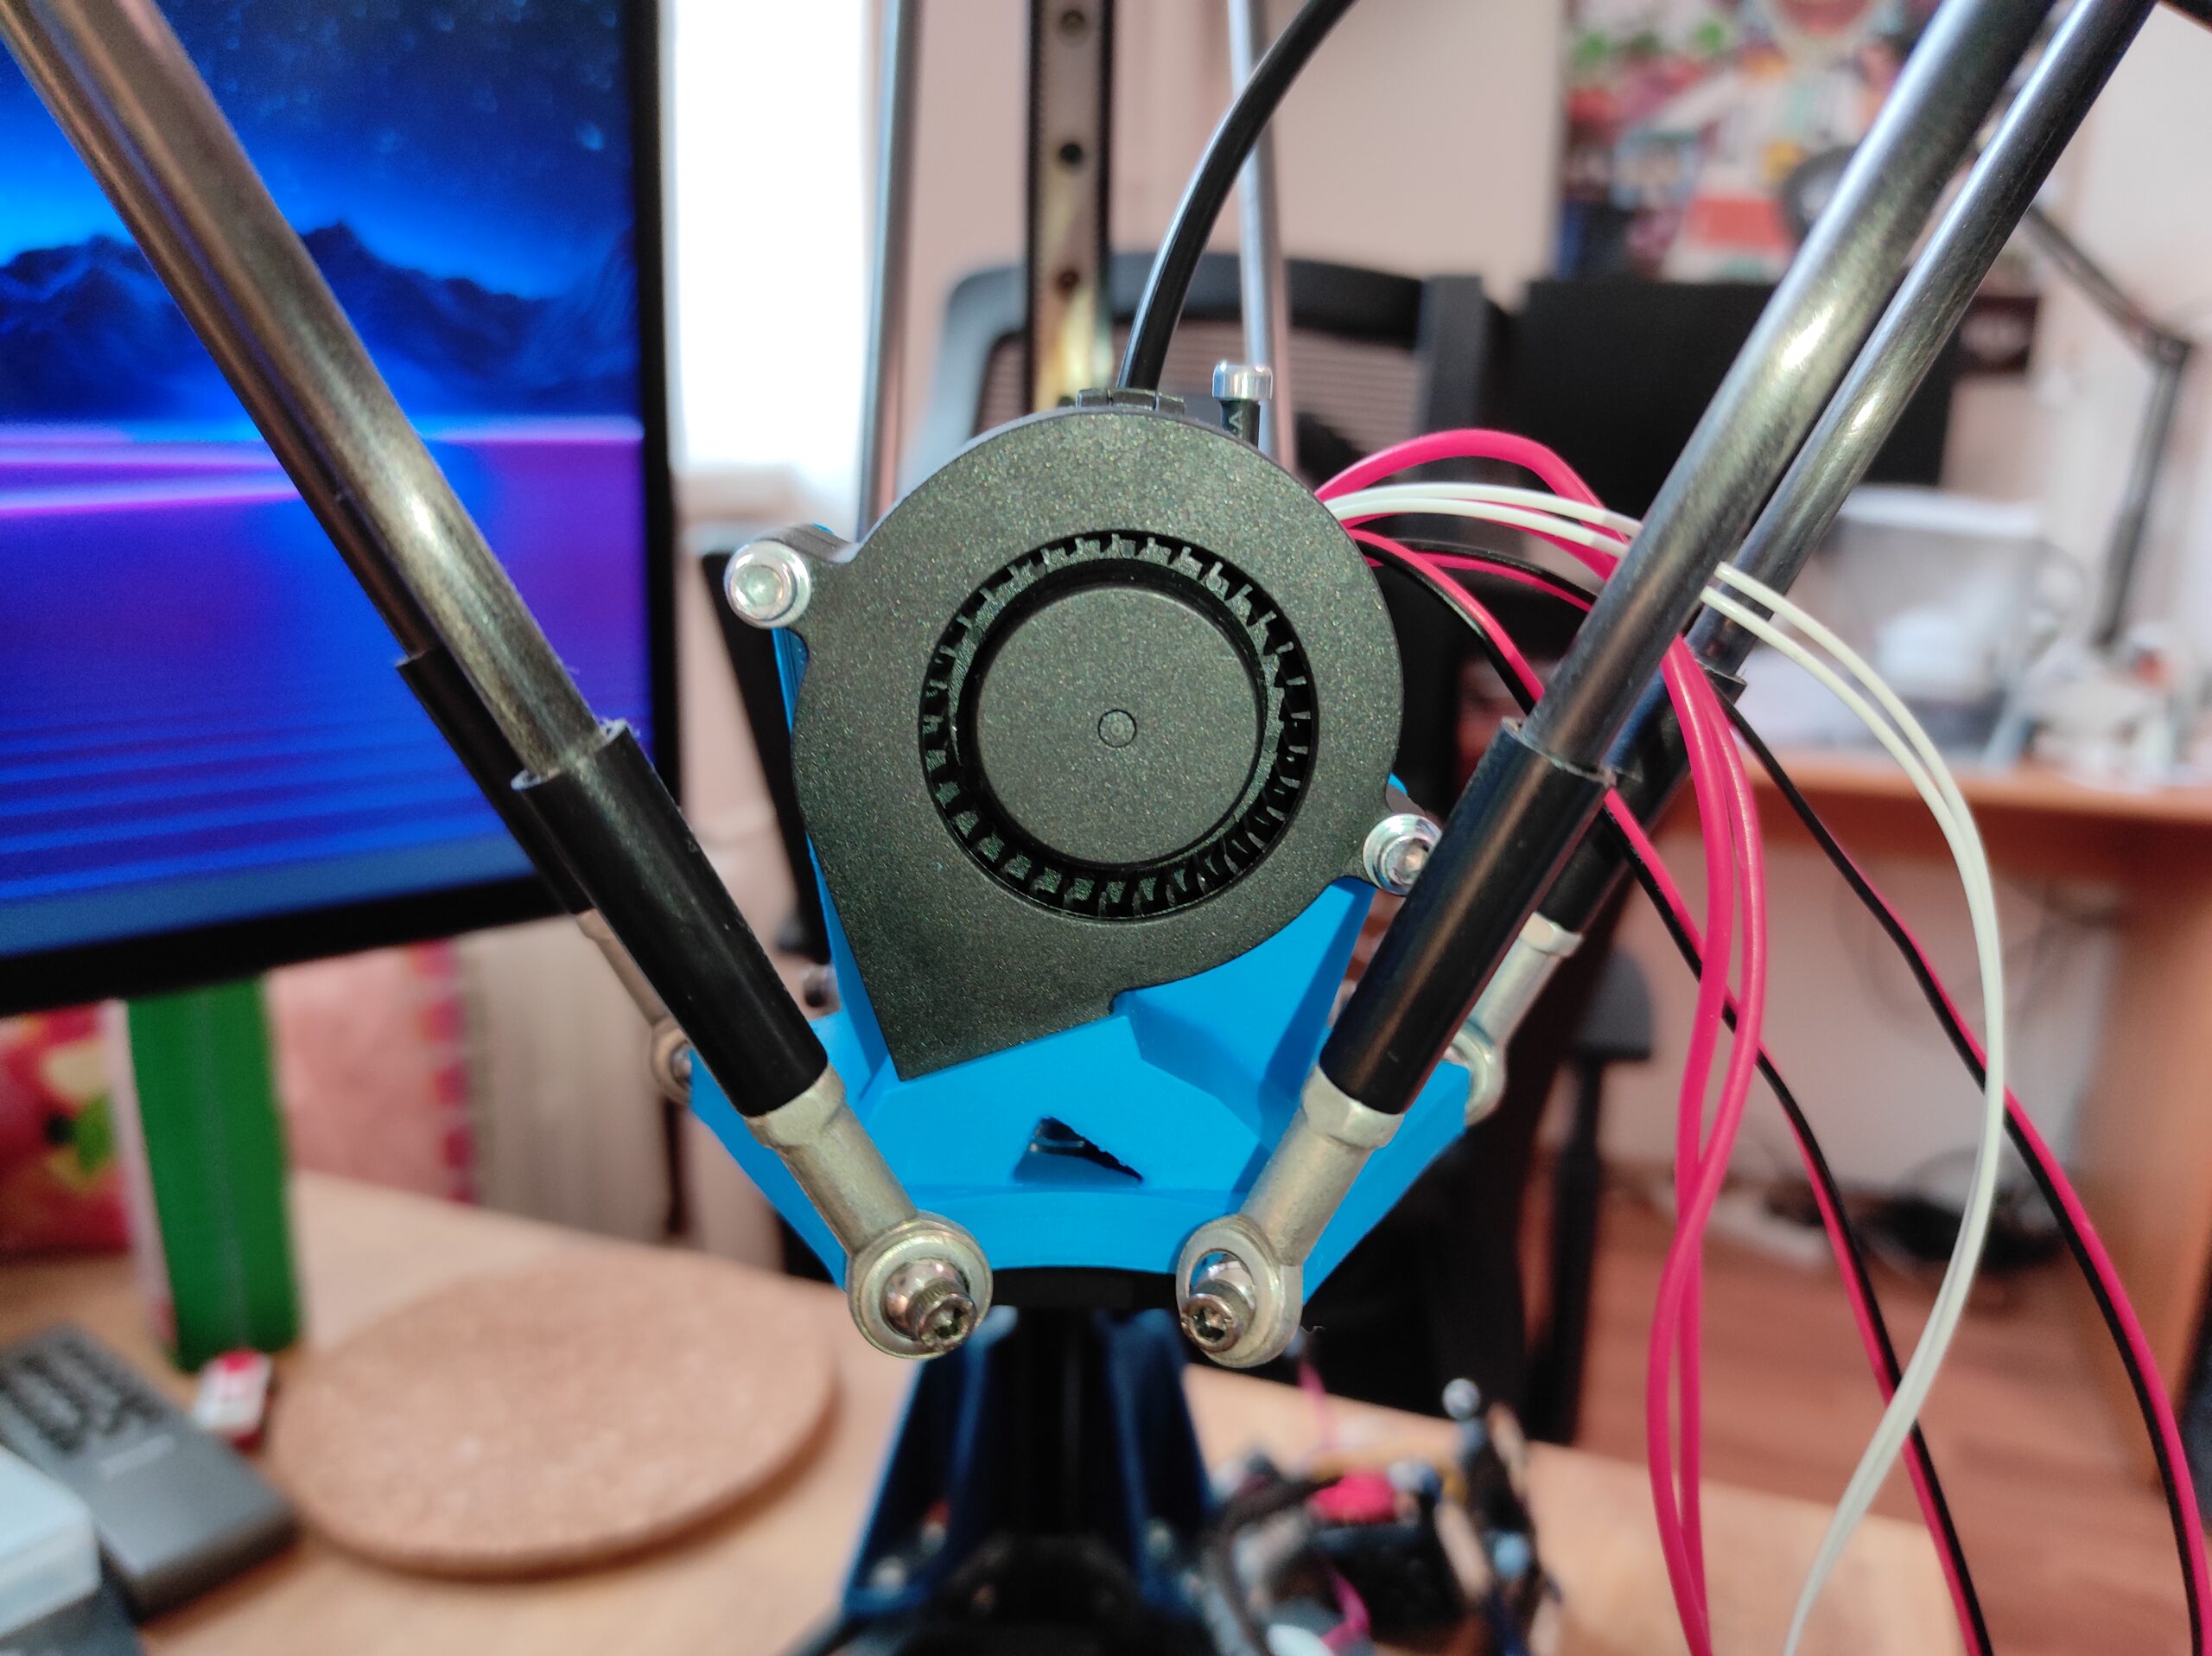
SUNON 5015 cooling fan
Powerful cooling fan is necessary for good printing results. I have tested a lot of them and these two are winners. Sunon is one of the best fan brands, but it a is kind of pricy.
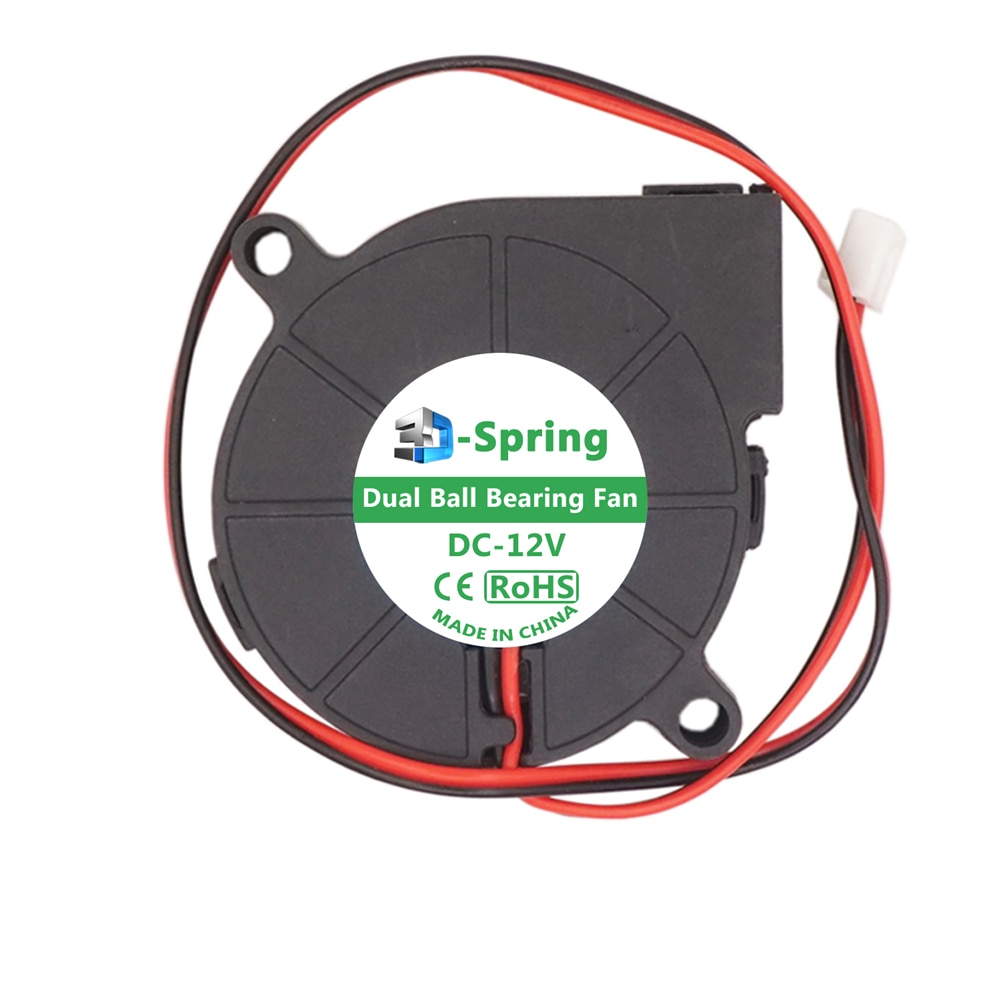
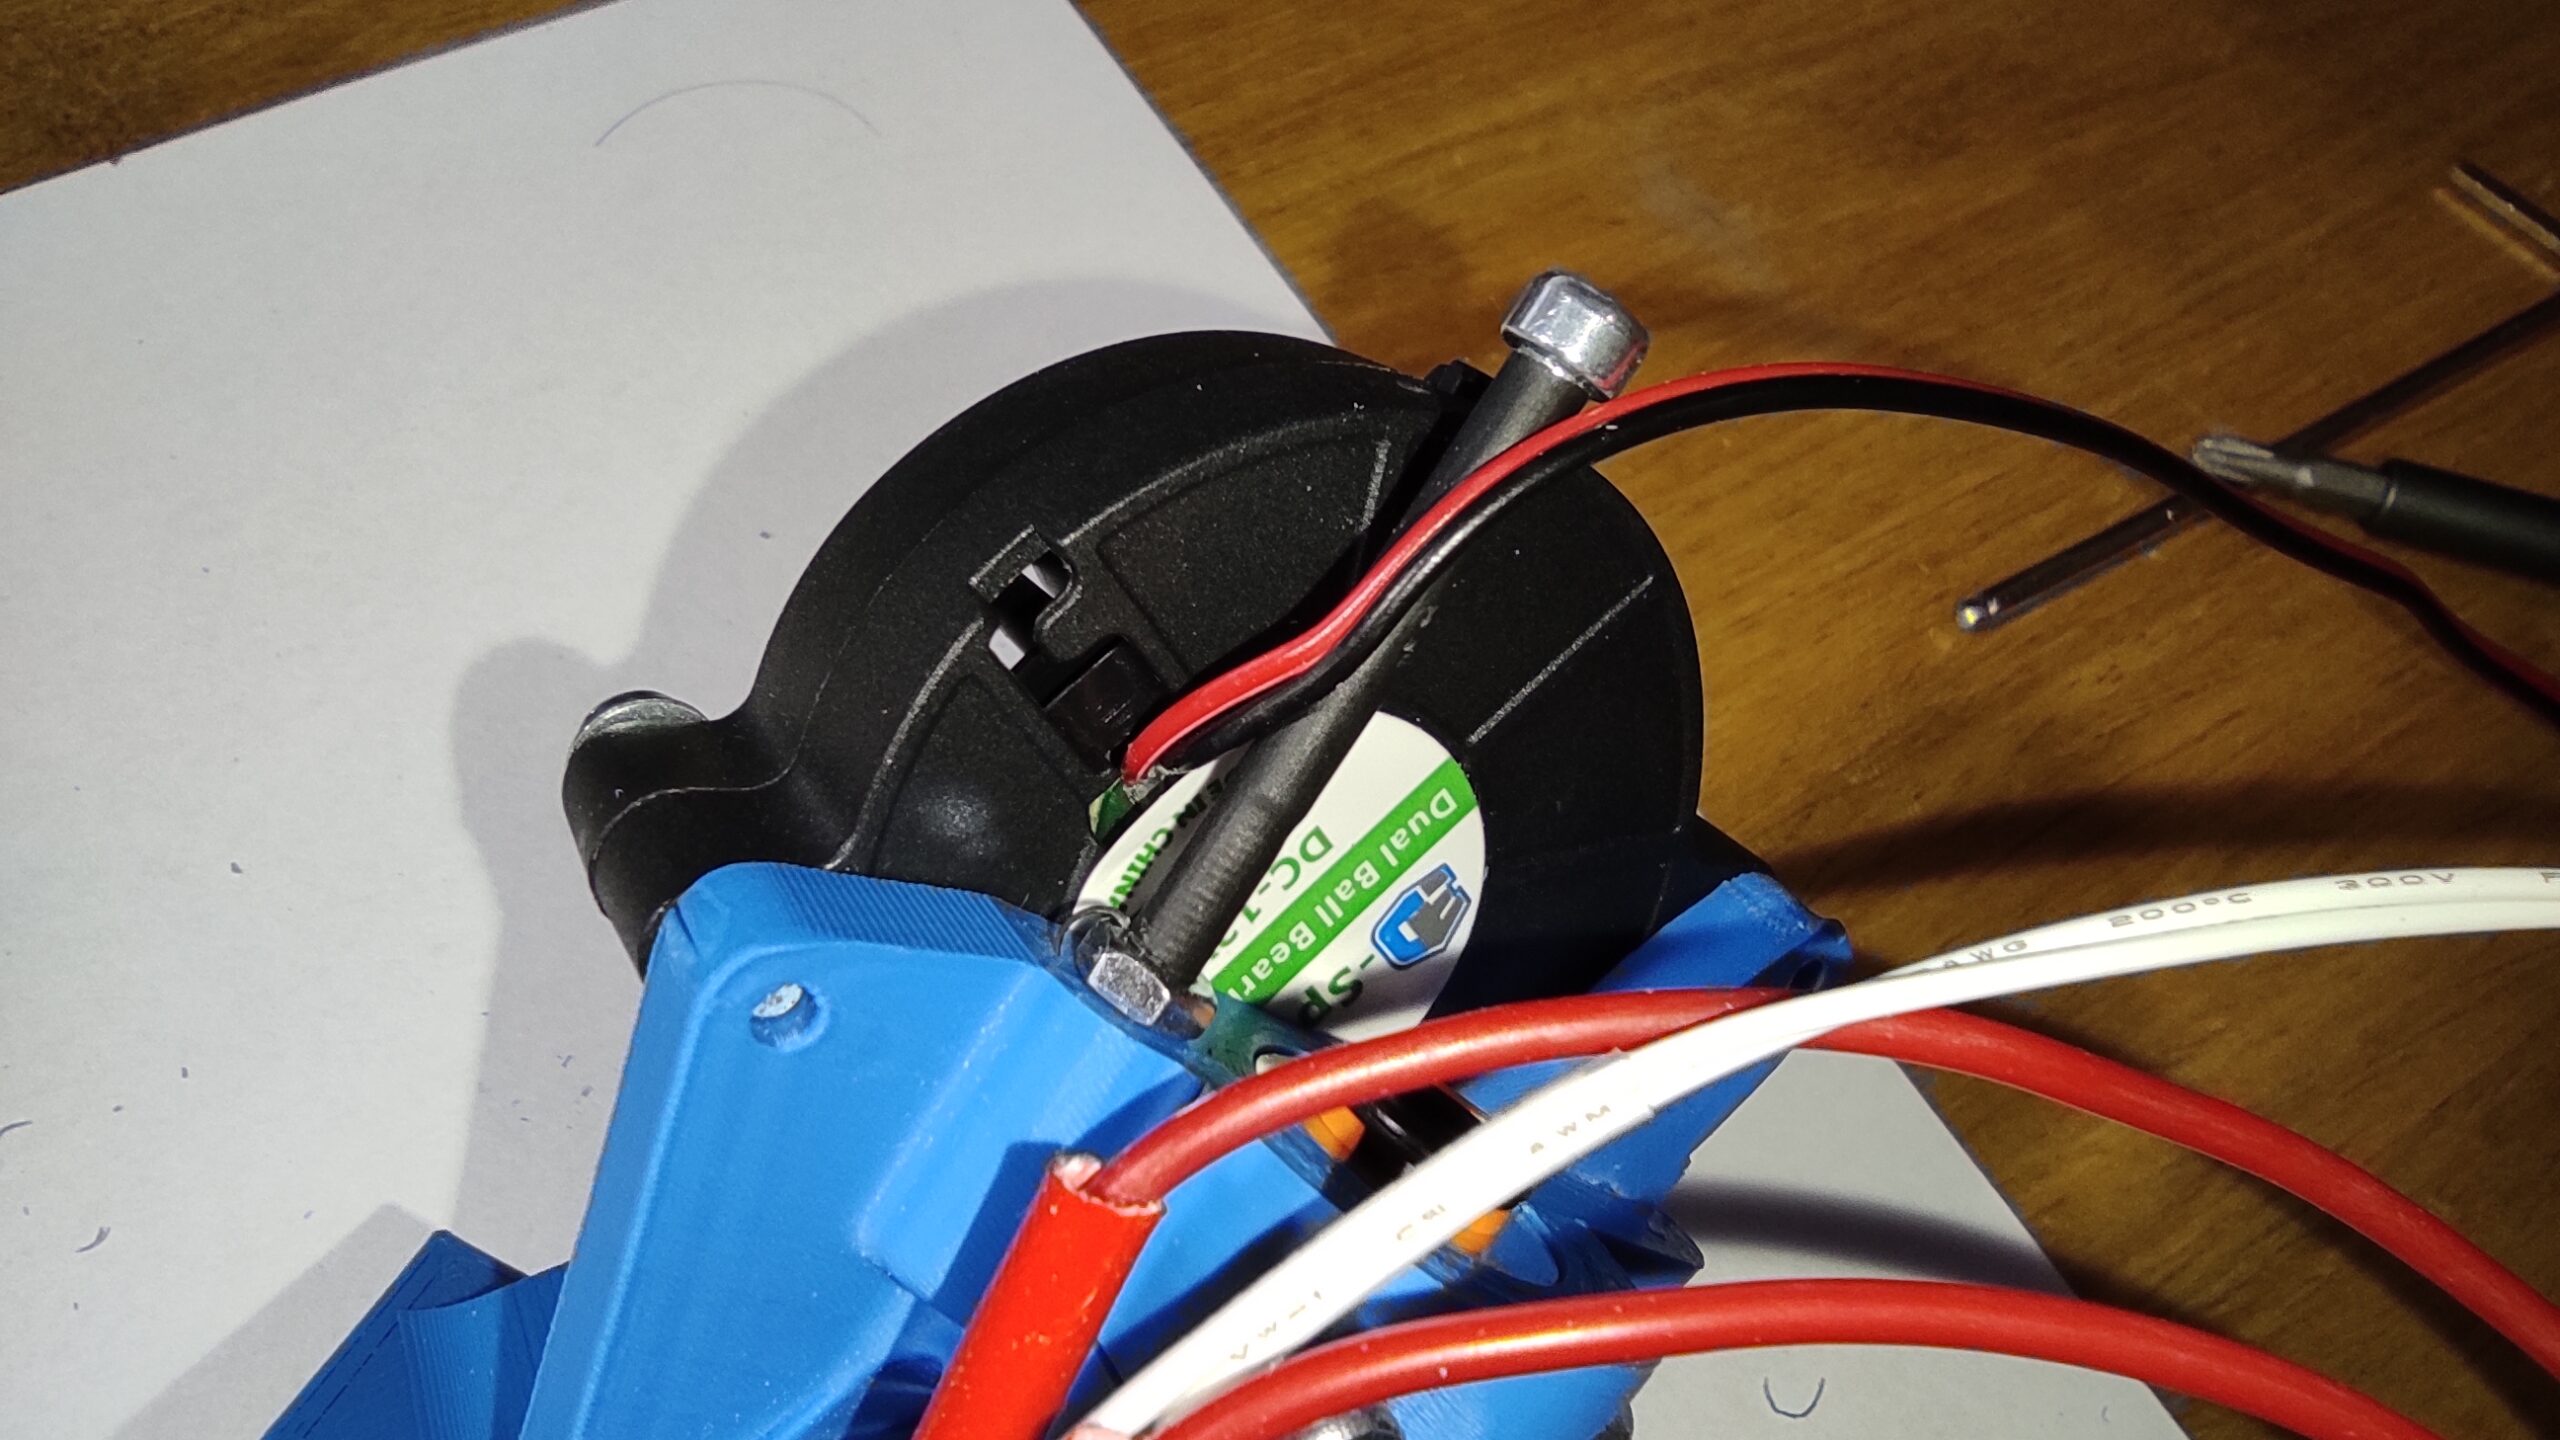
Spring 5015 cooling fan
You can also buy a cheaper cooling fan such as this one, but it will be louder and the CFM (air flow) will be lower.
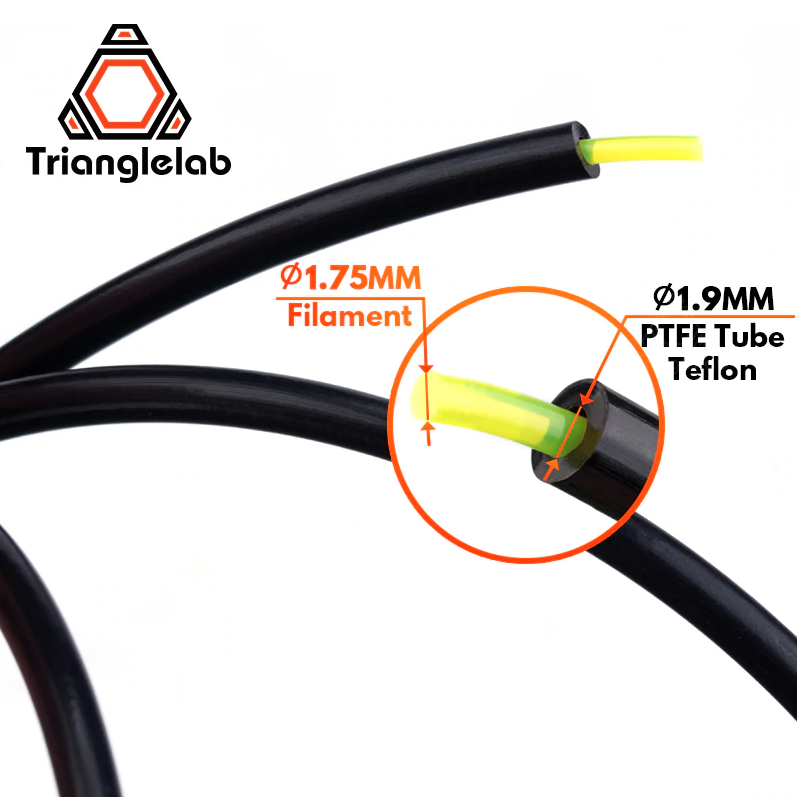
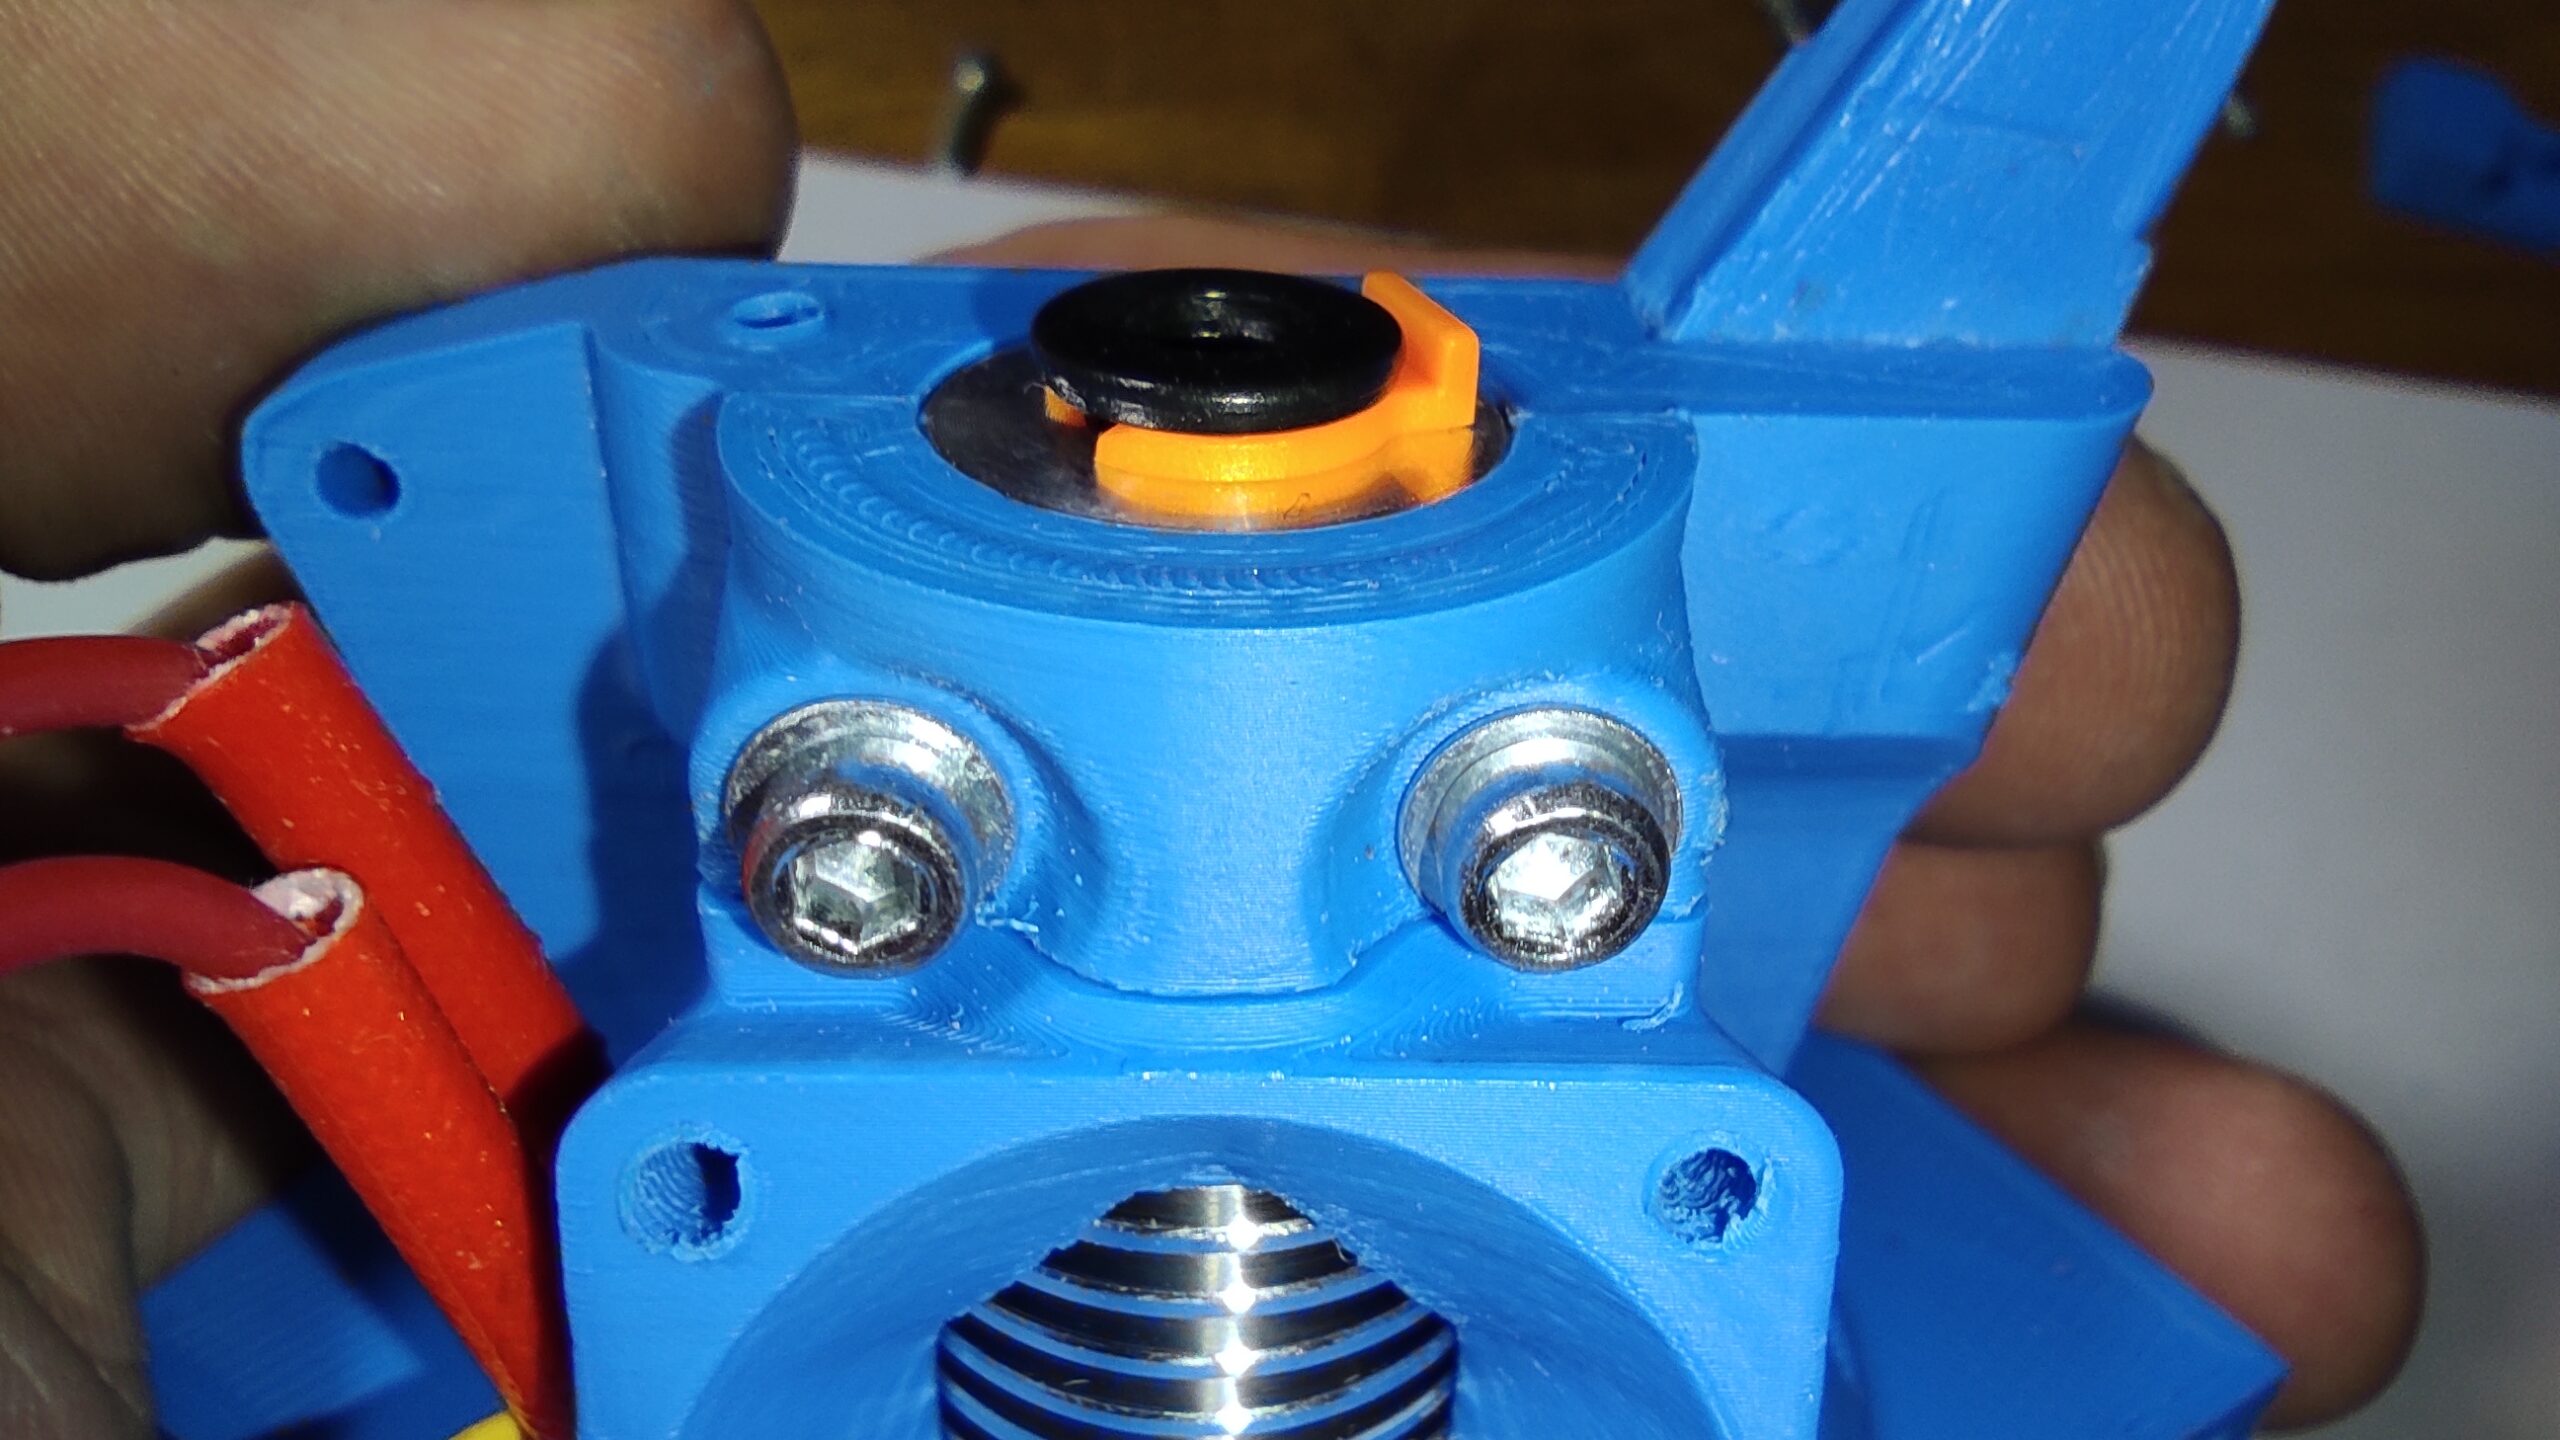
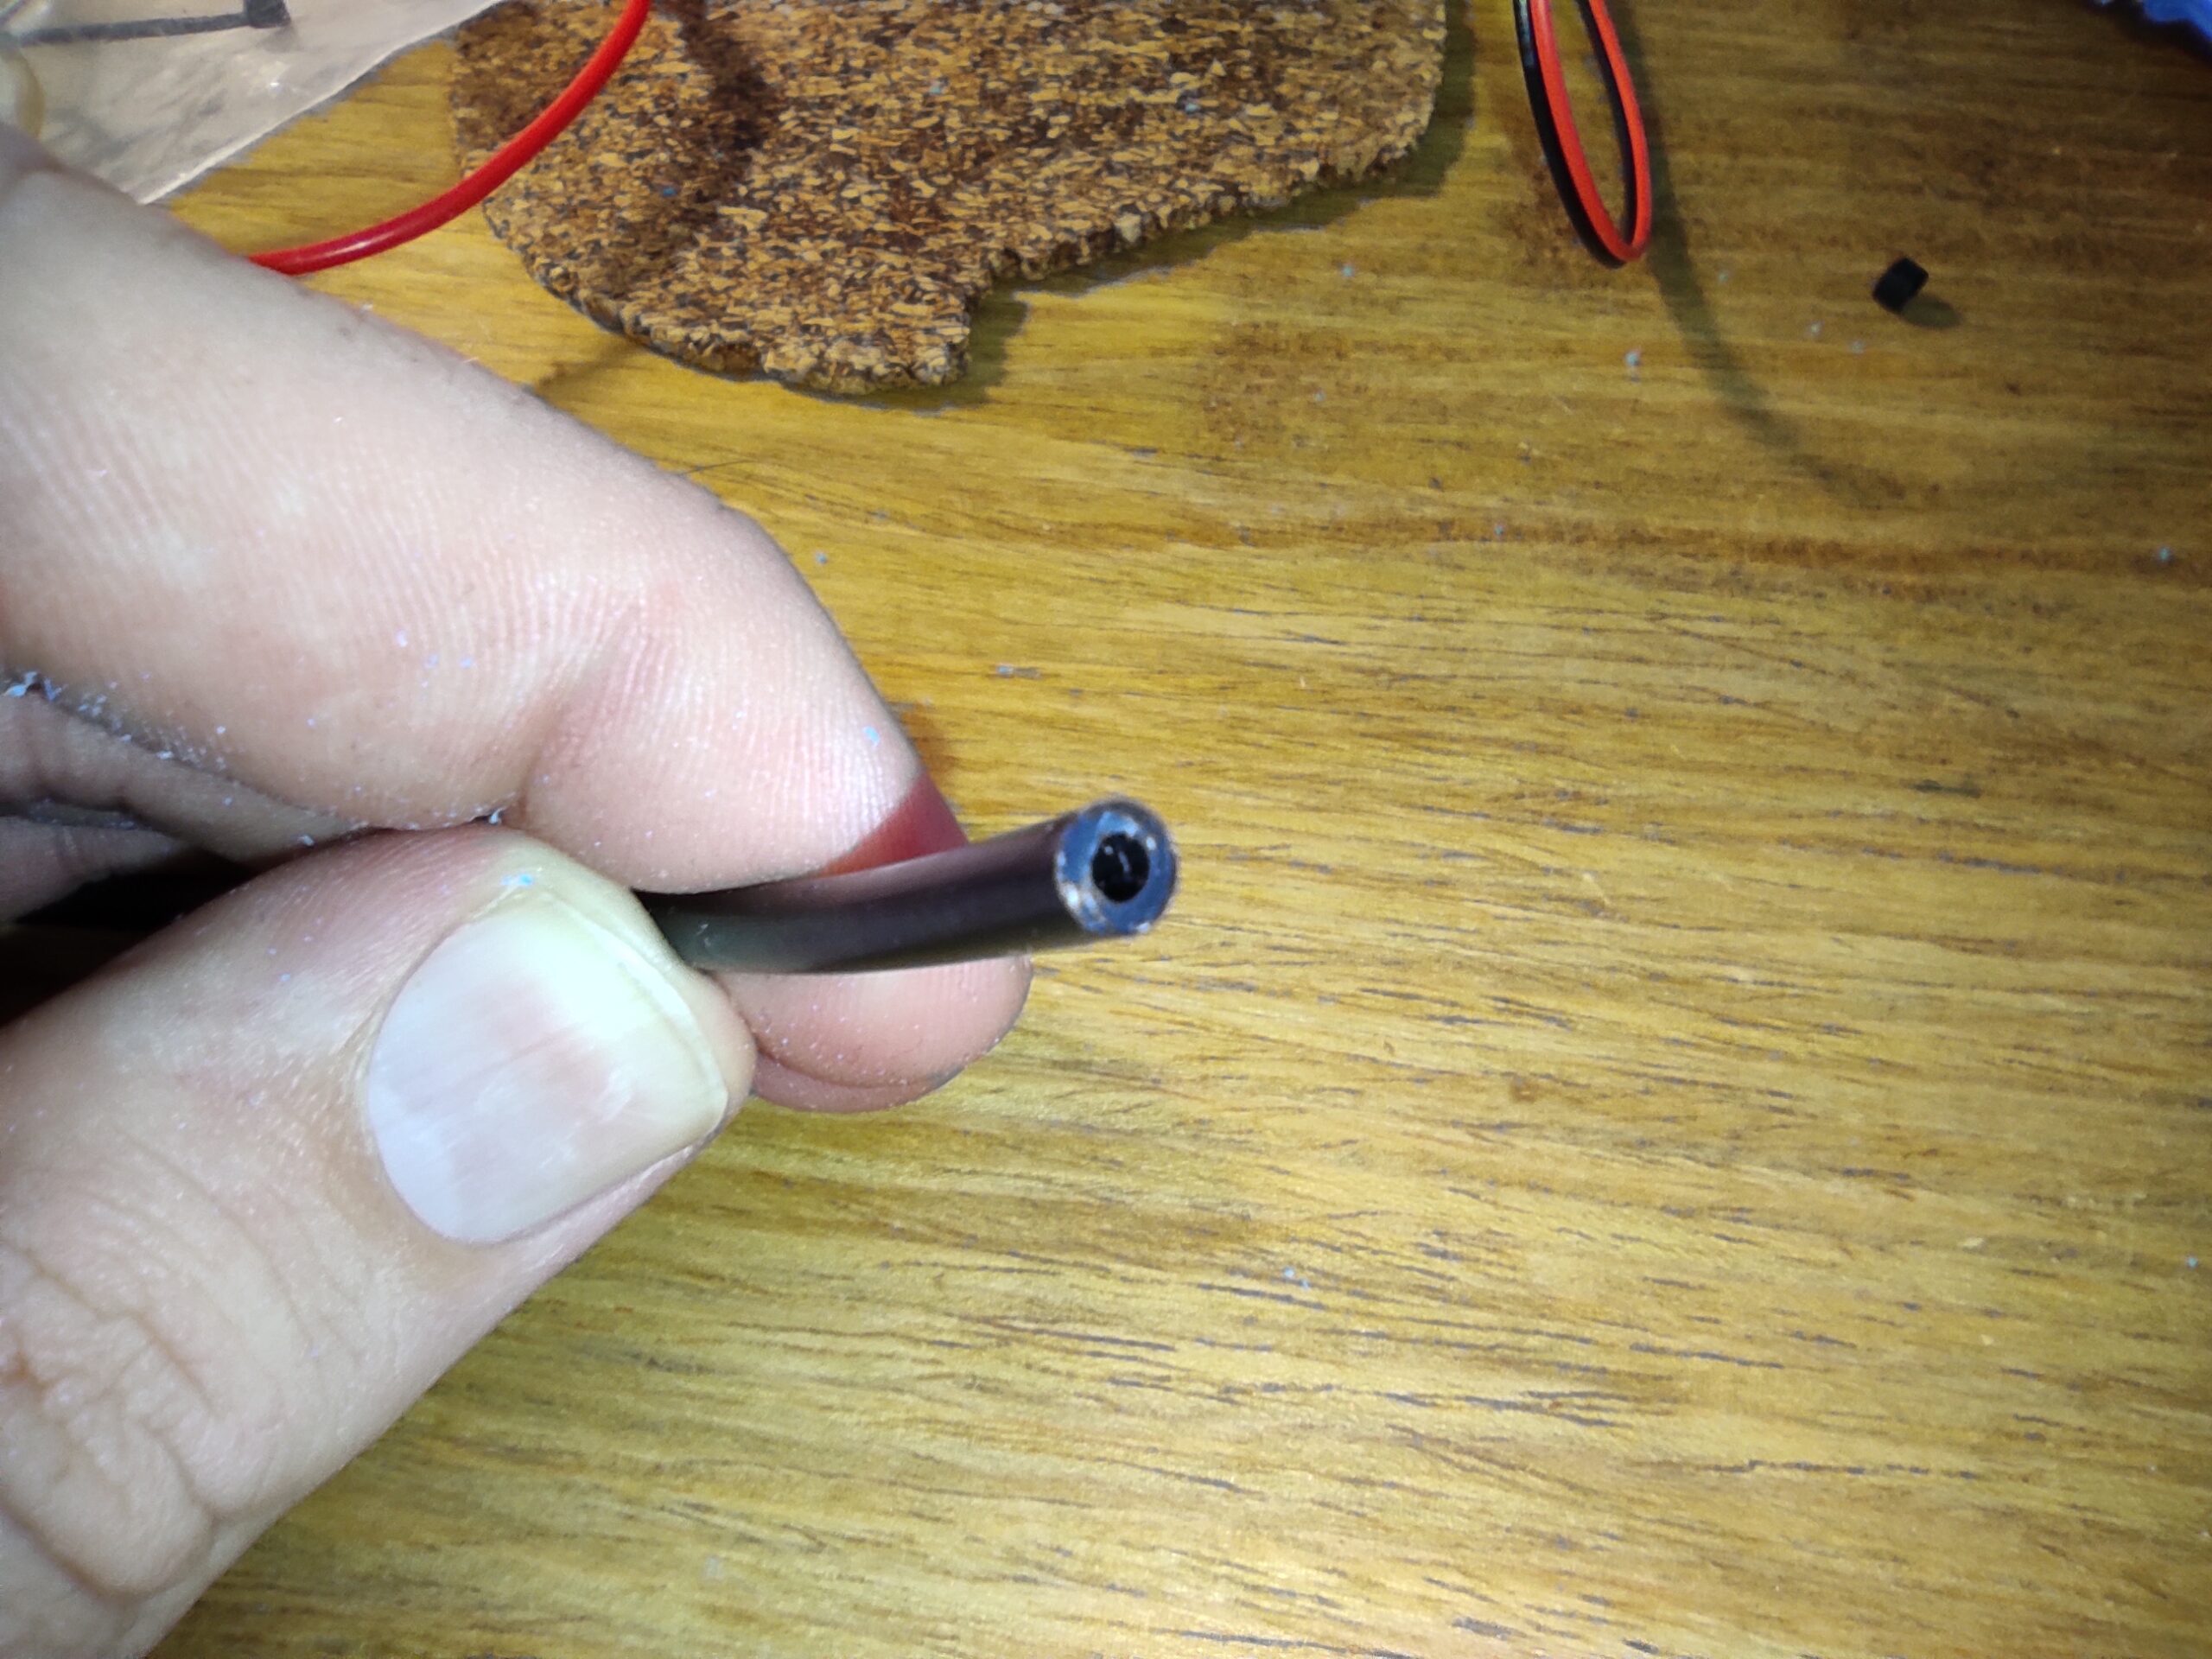
PTFE (bowden) tube
Order new , good quality PTFE tube (bowden). This one works very well and can withstand 250-260°C.
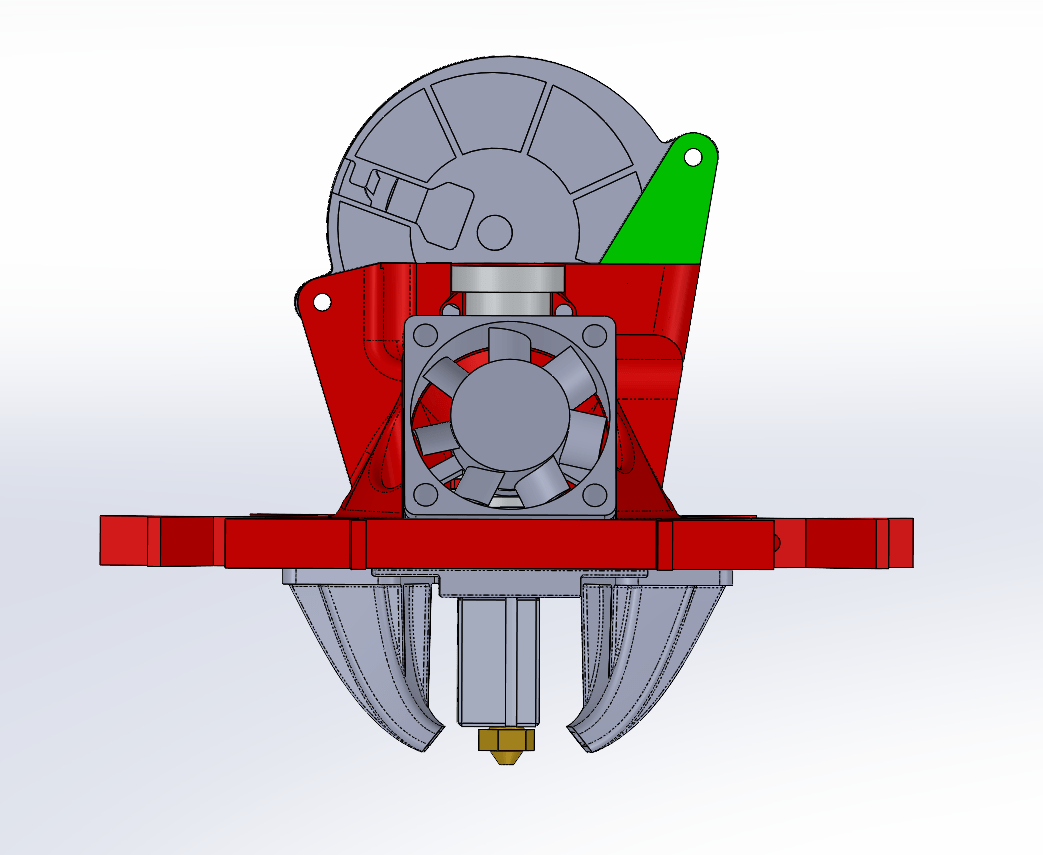
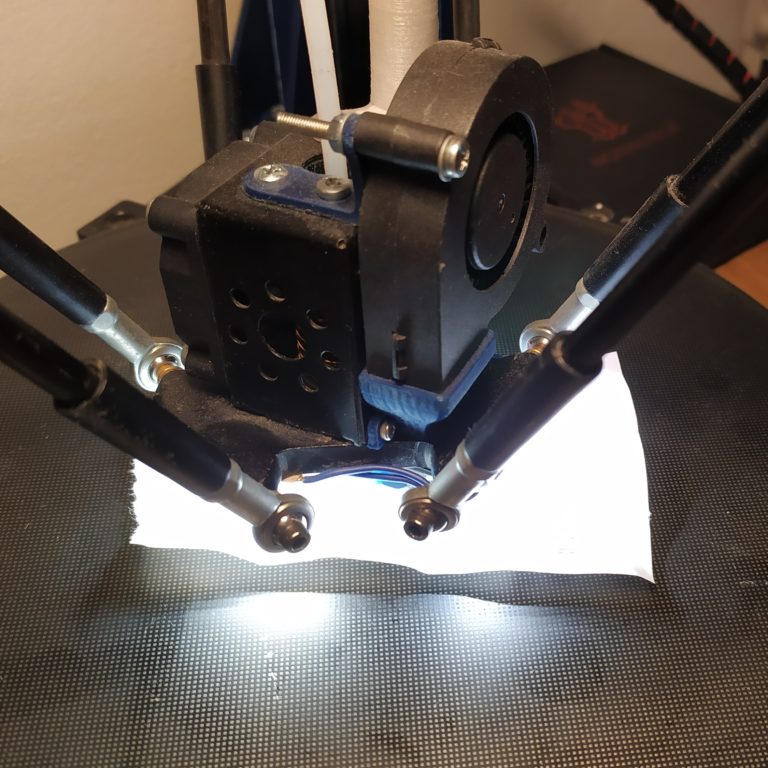
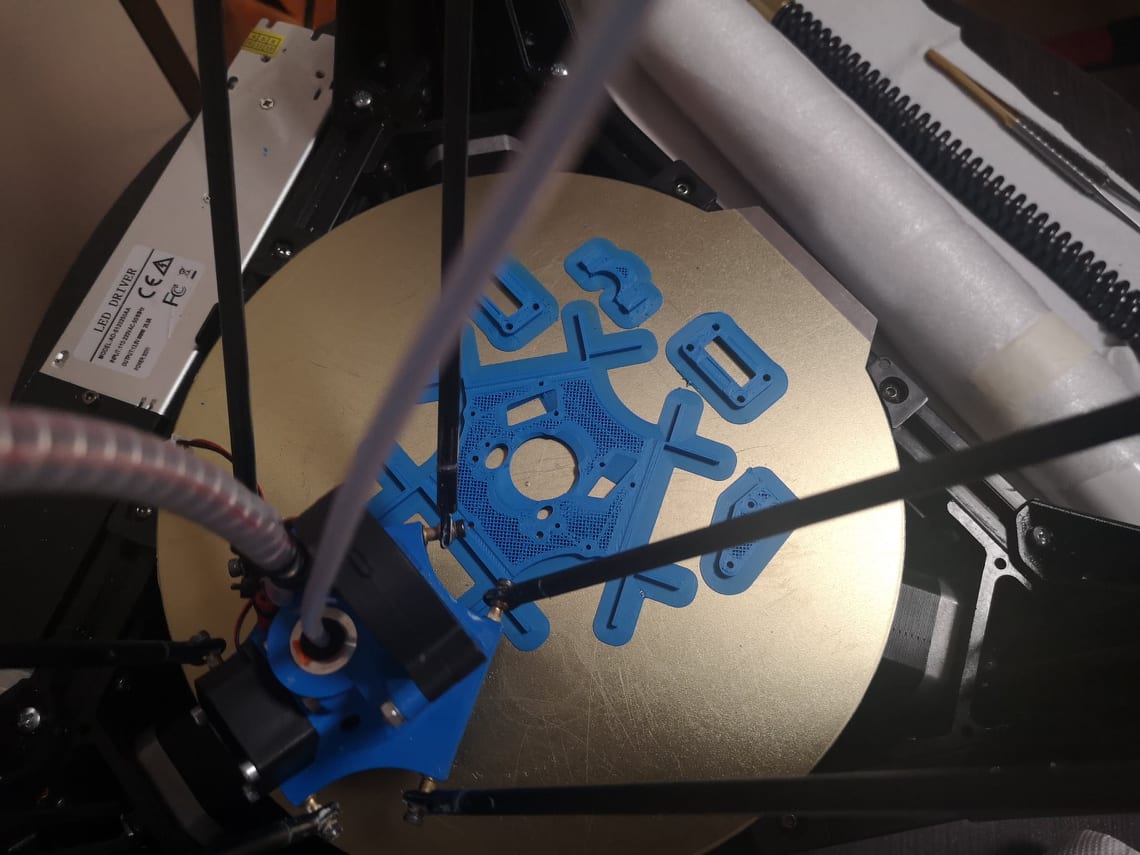
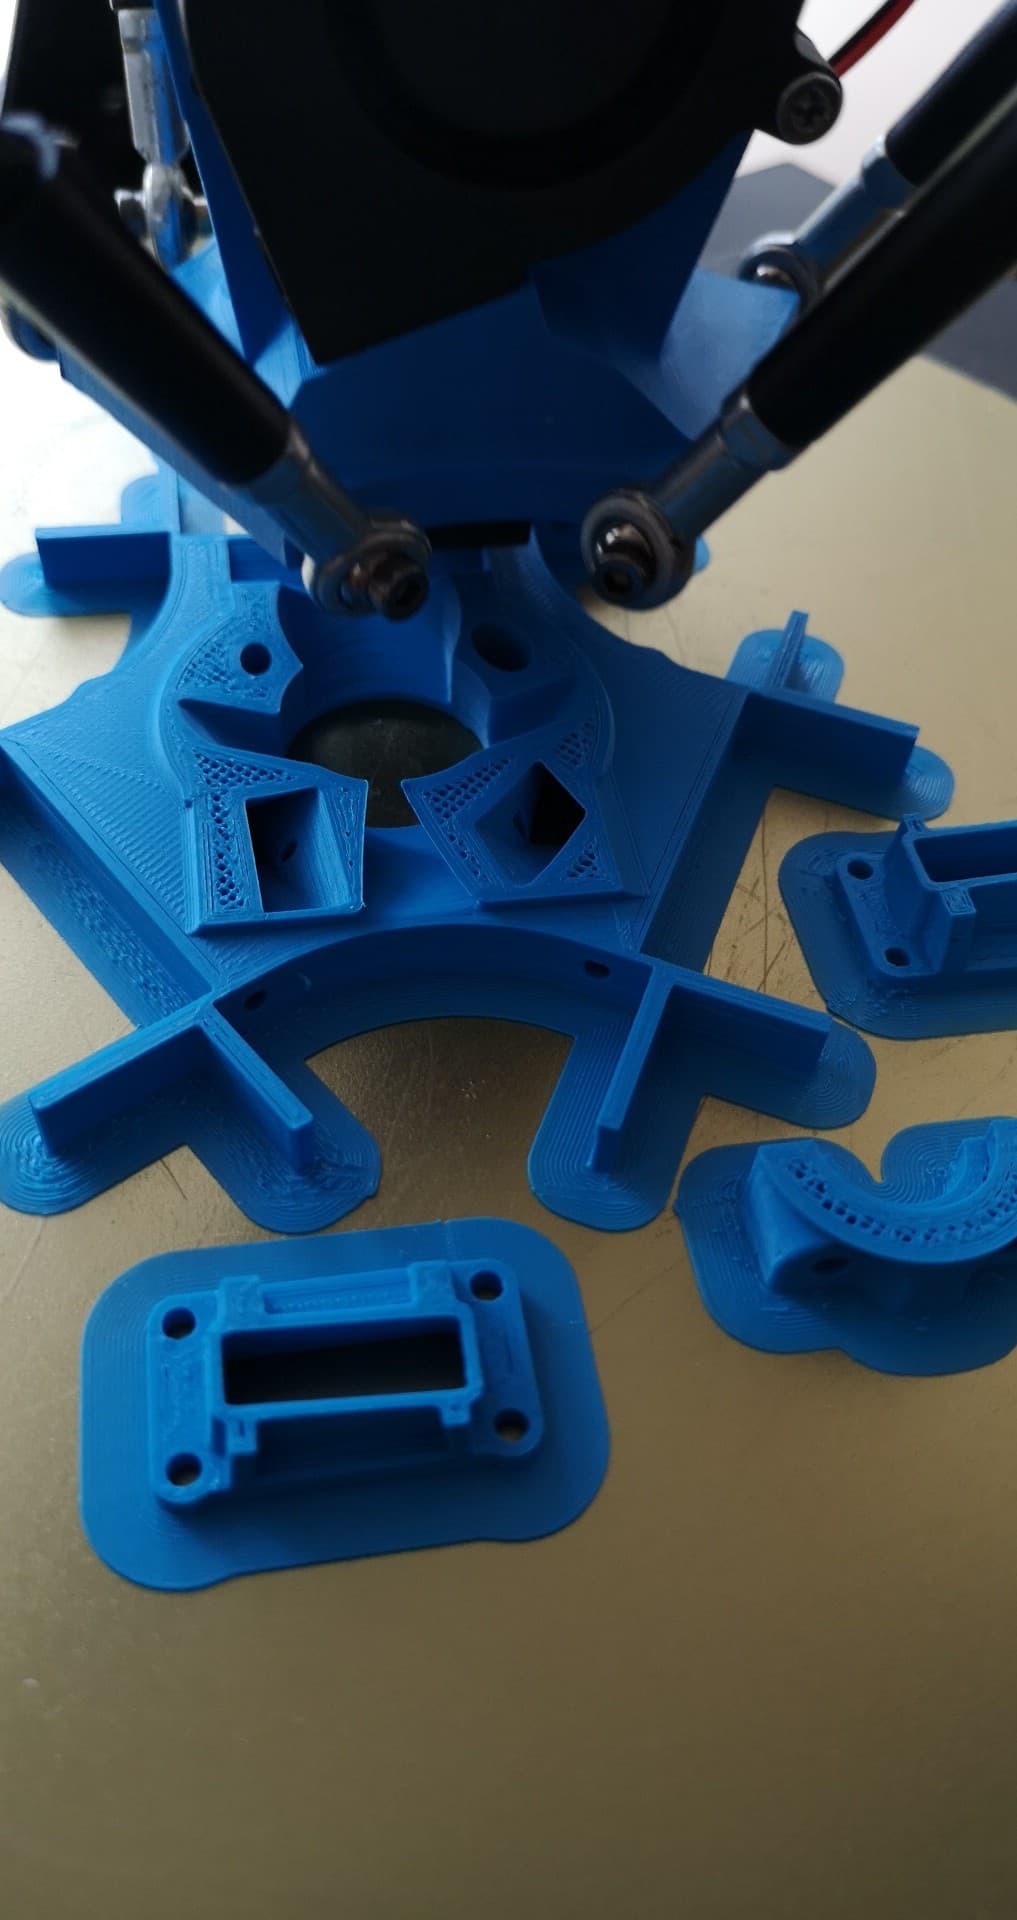
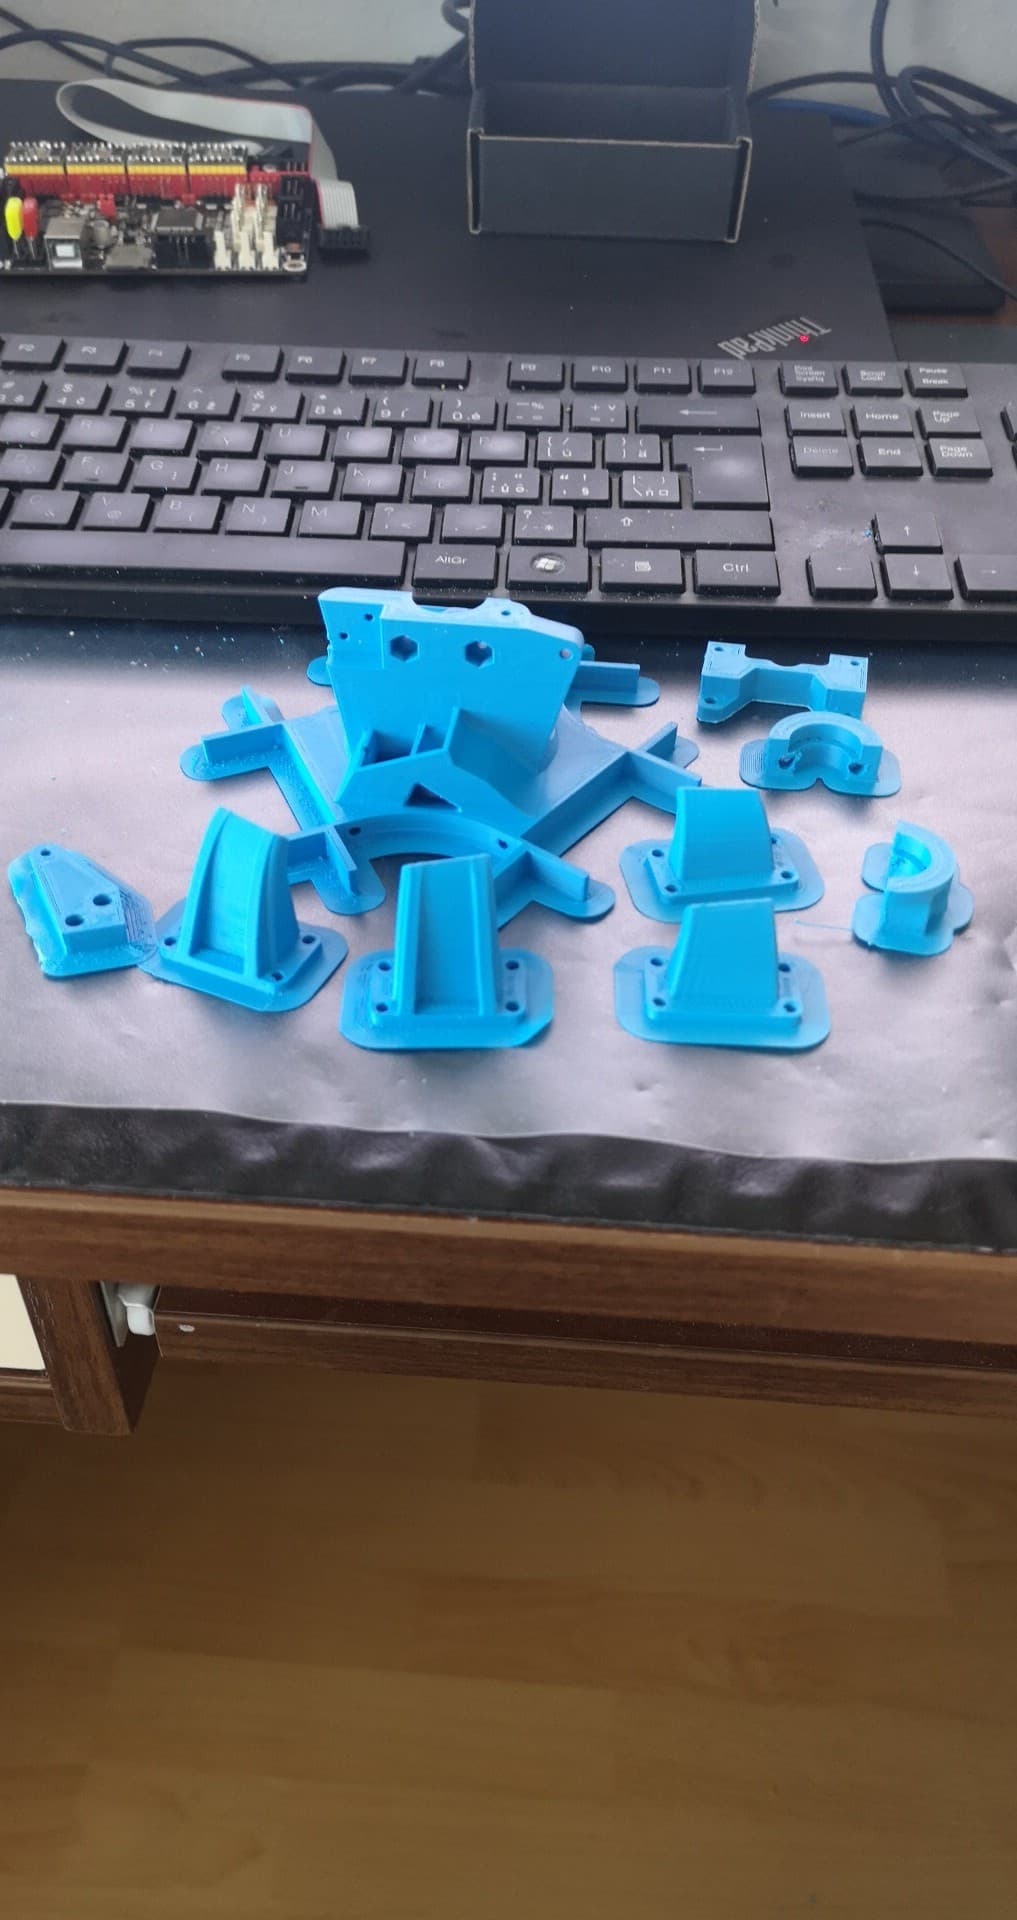
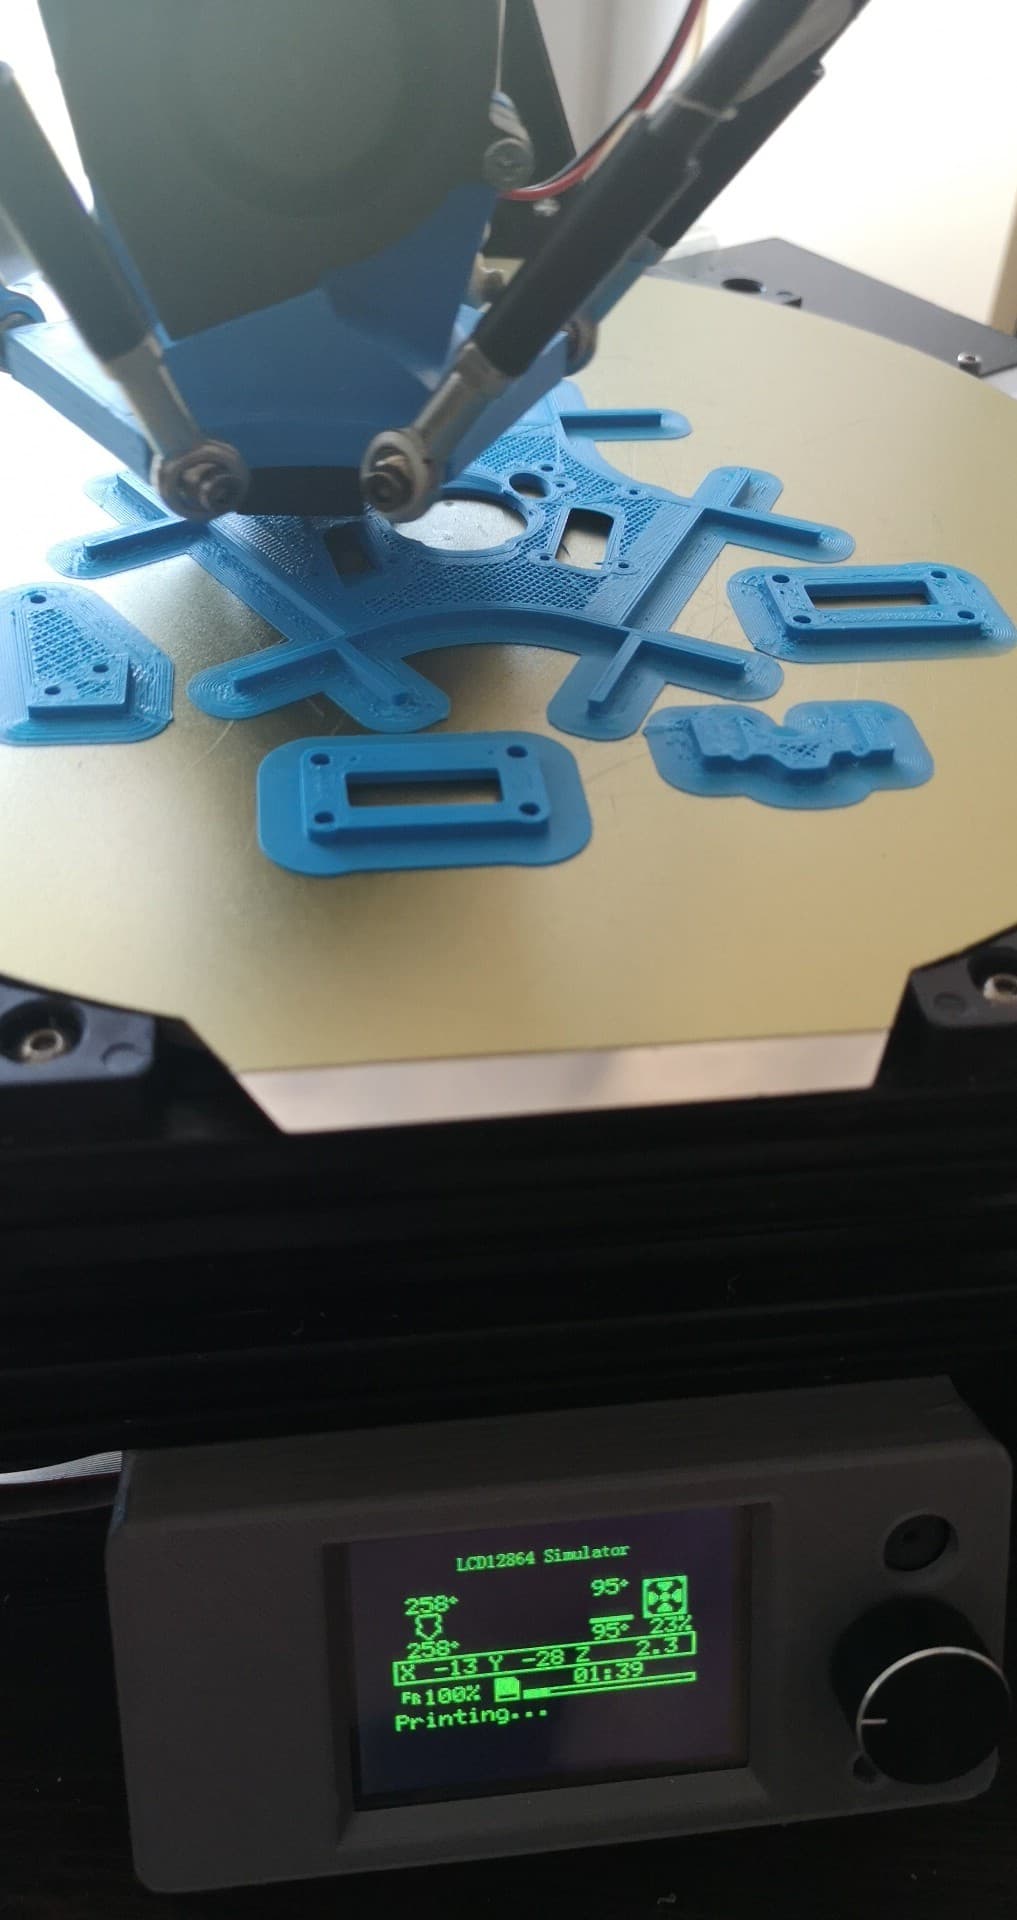
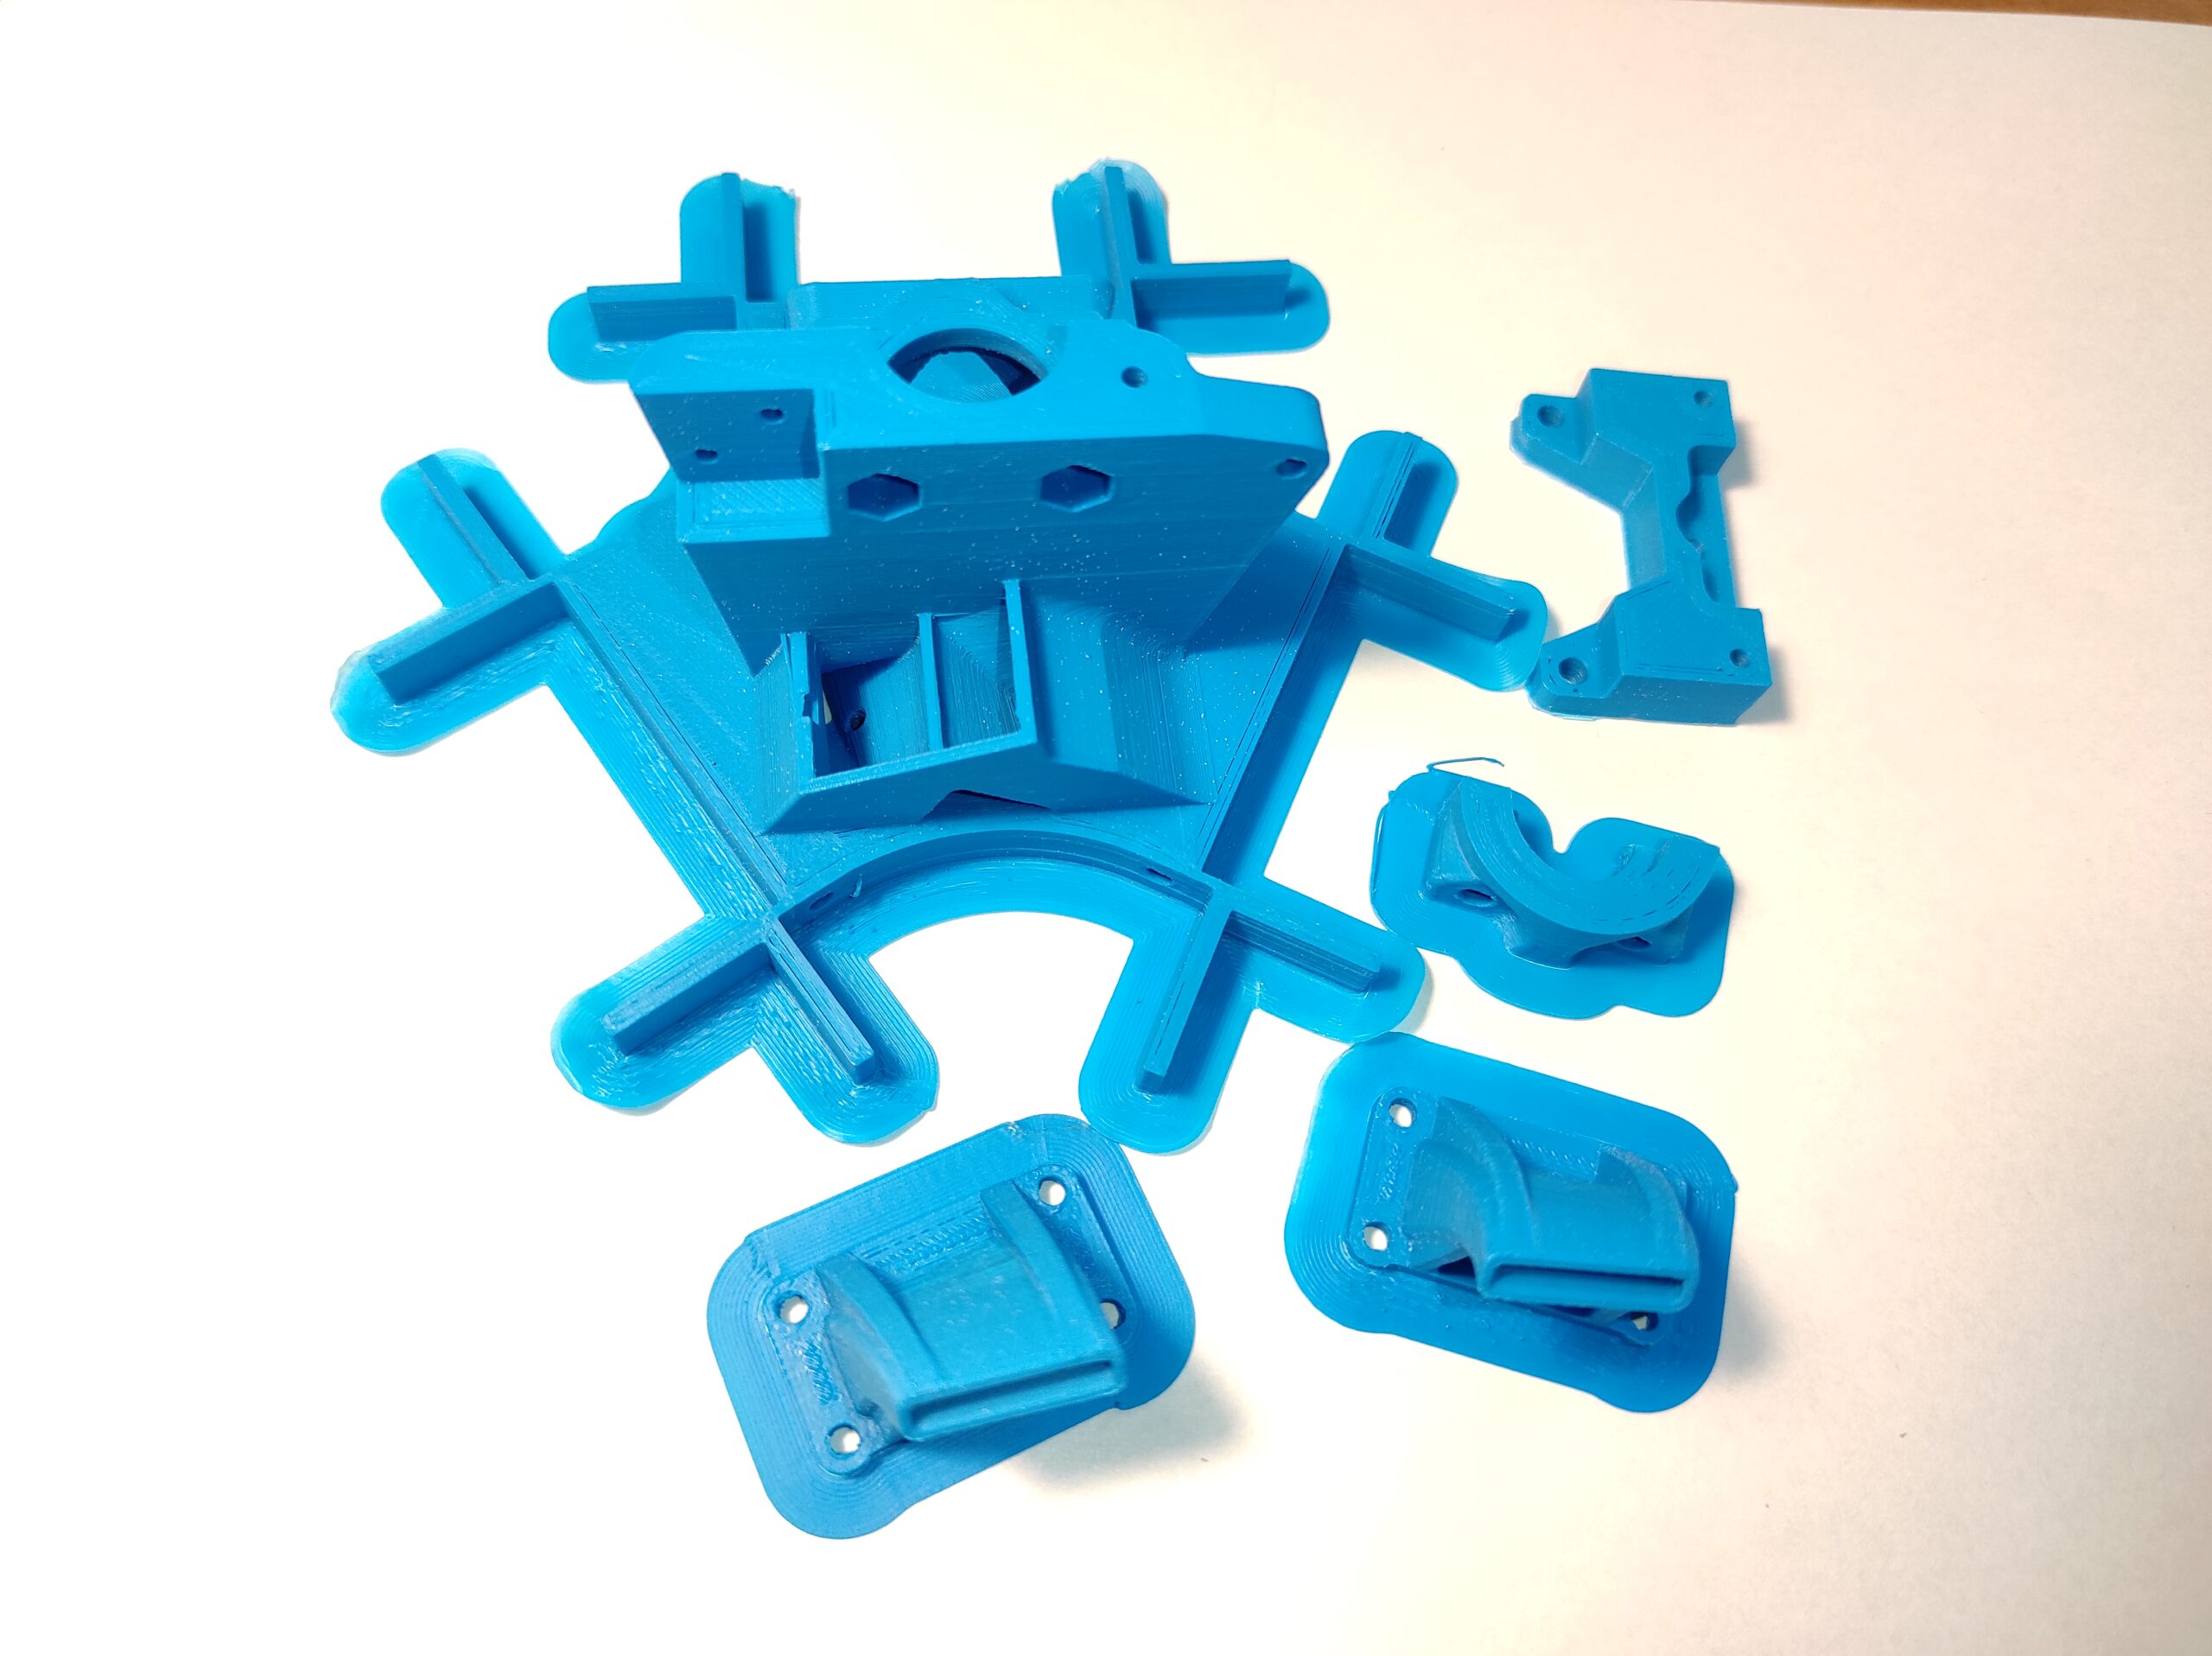
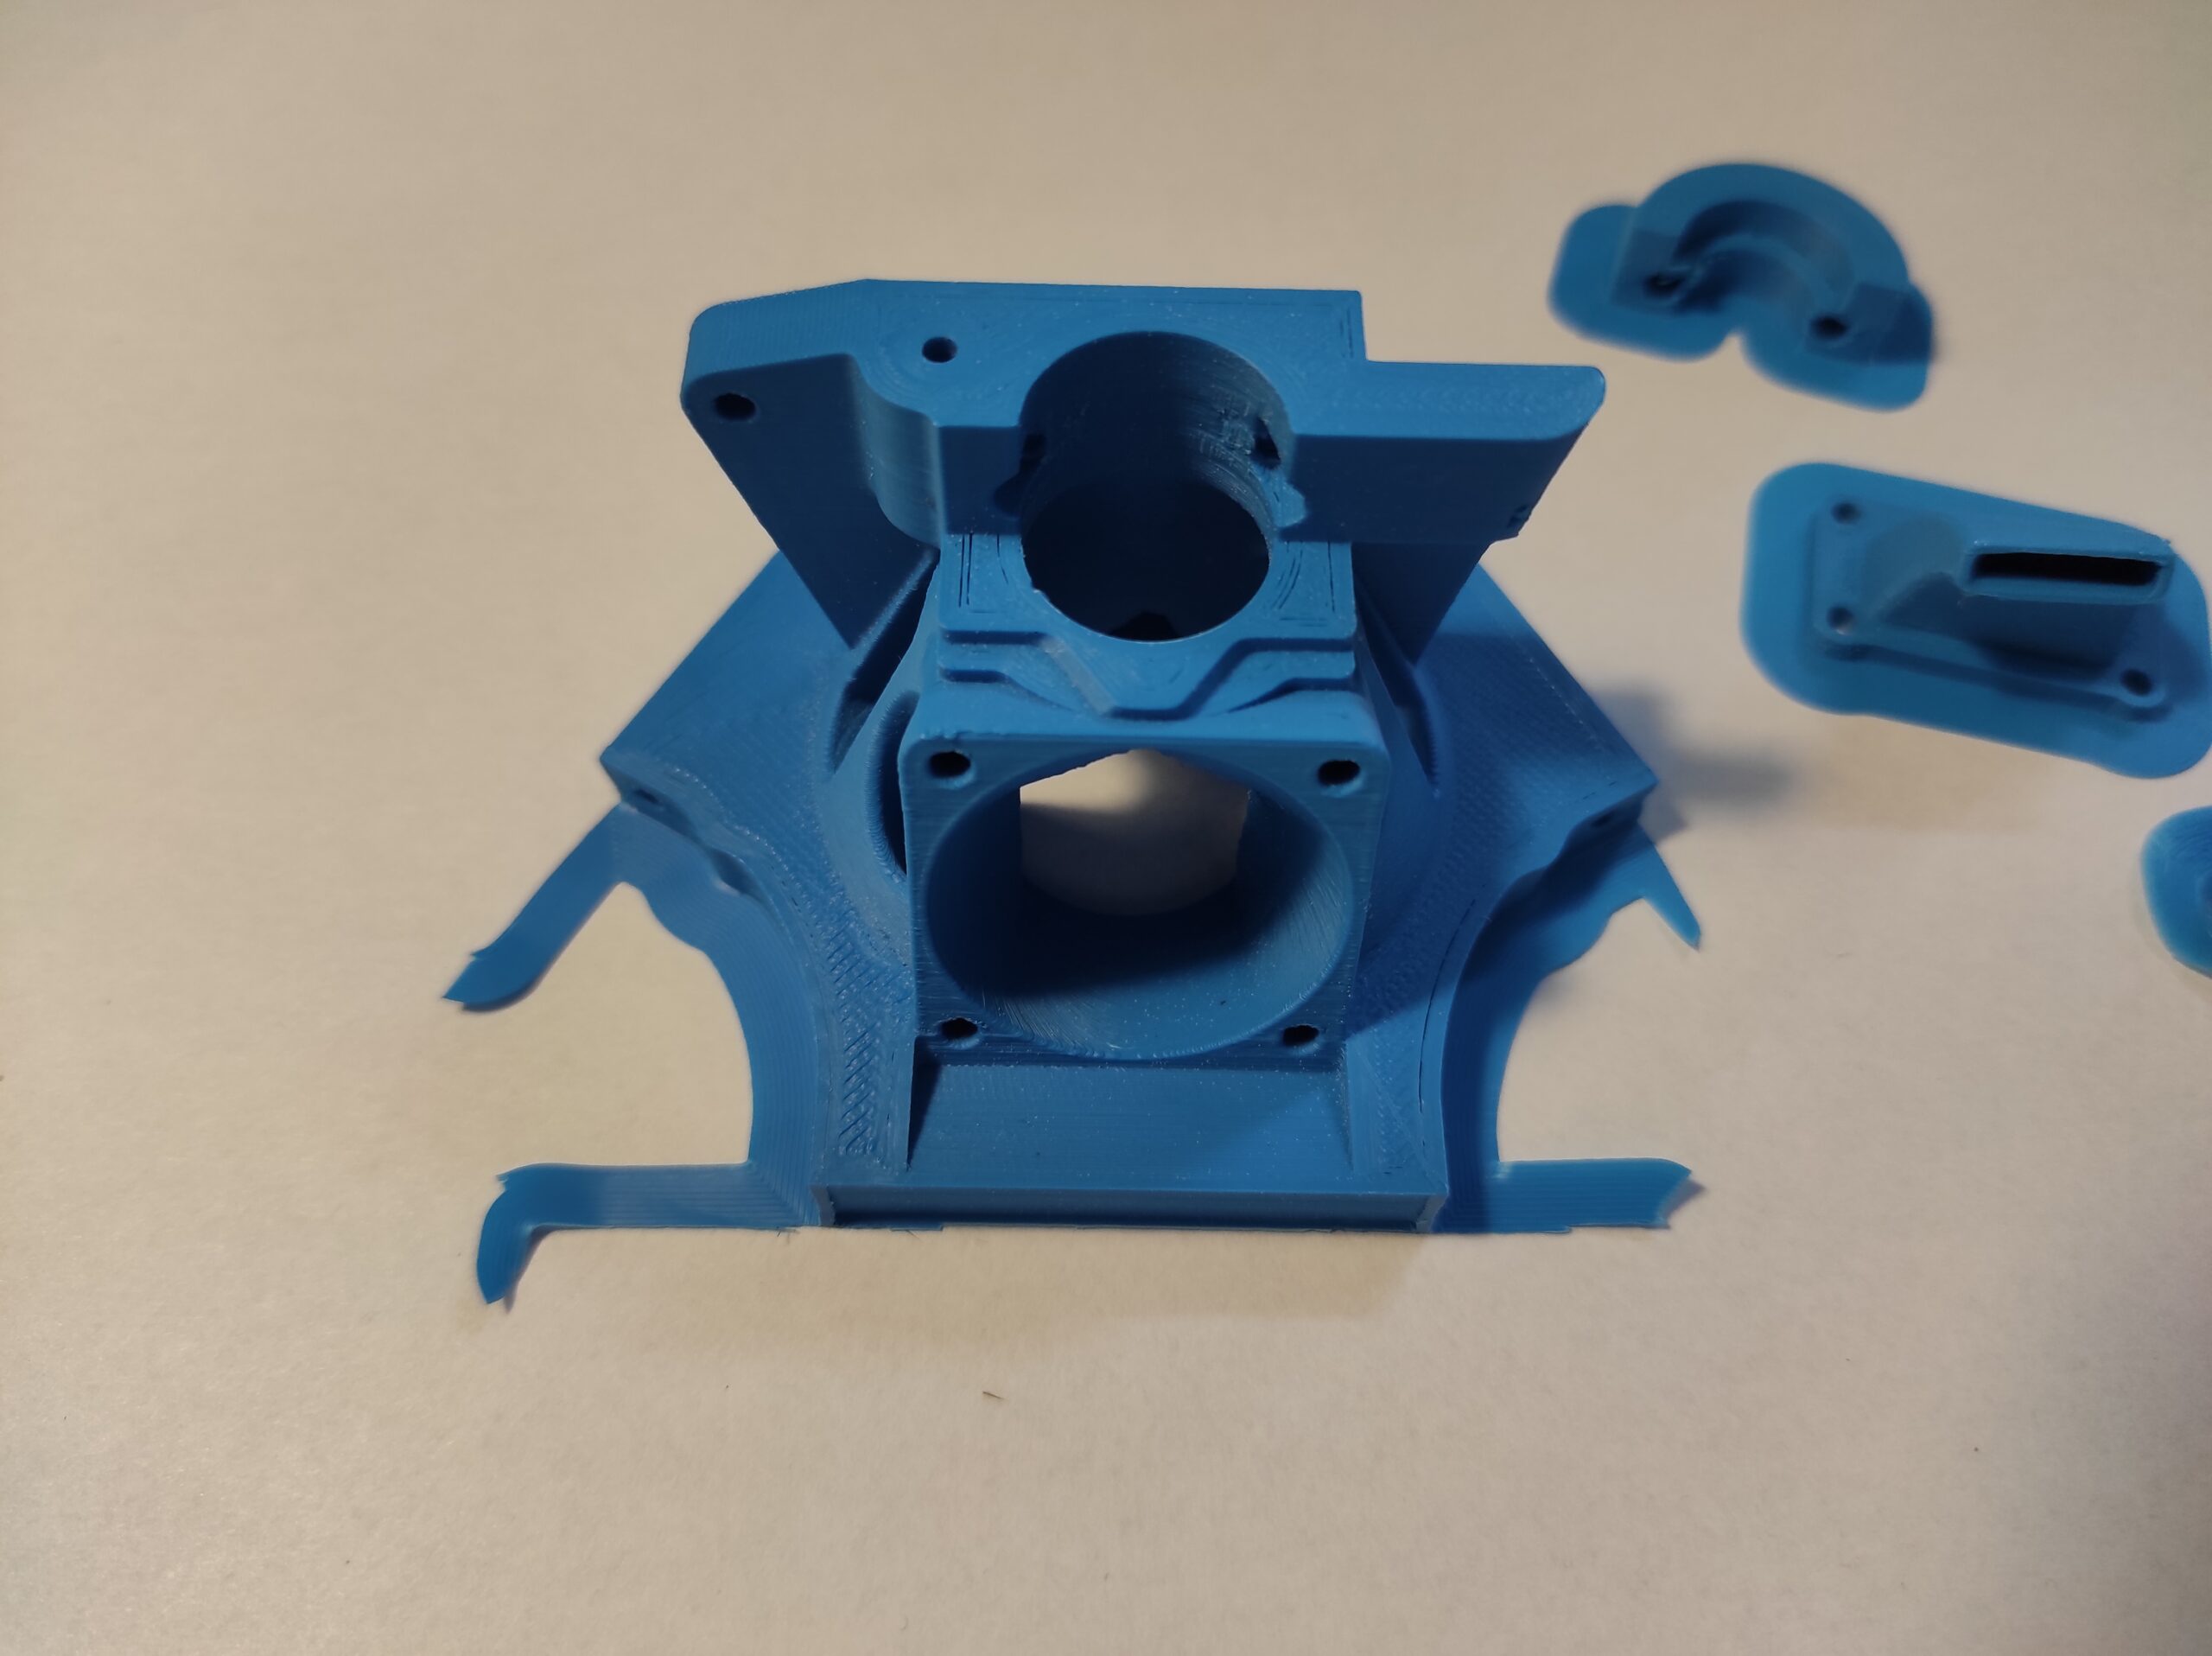
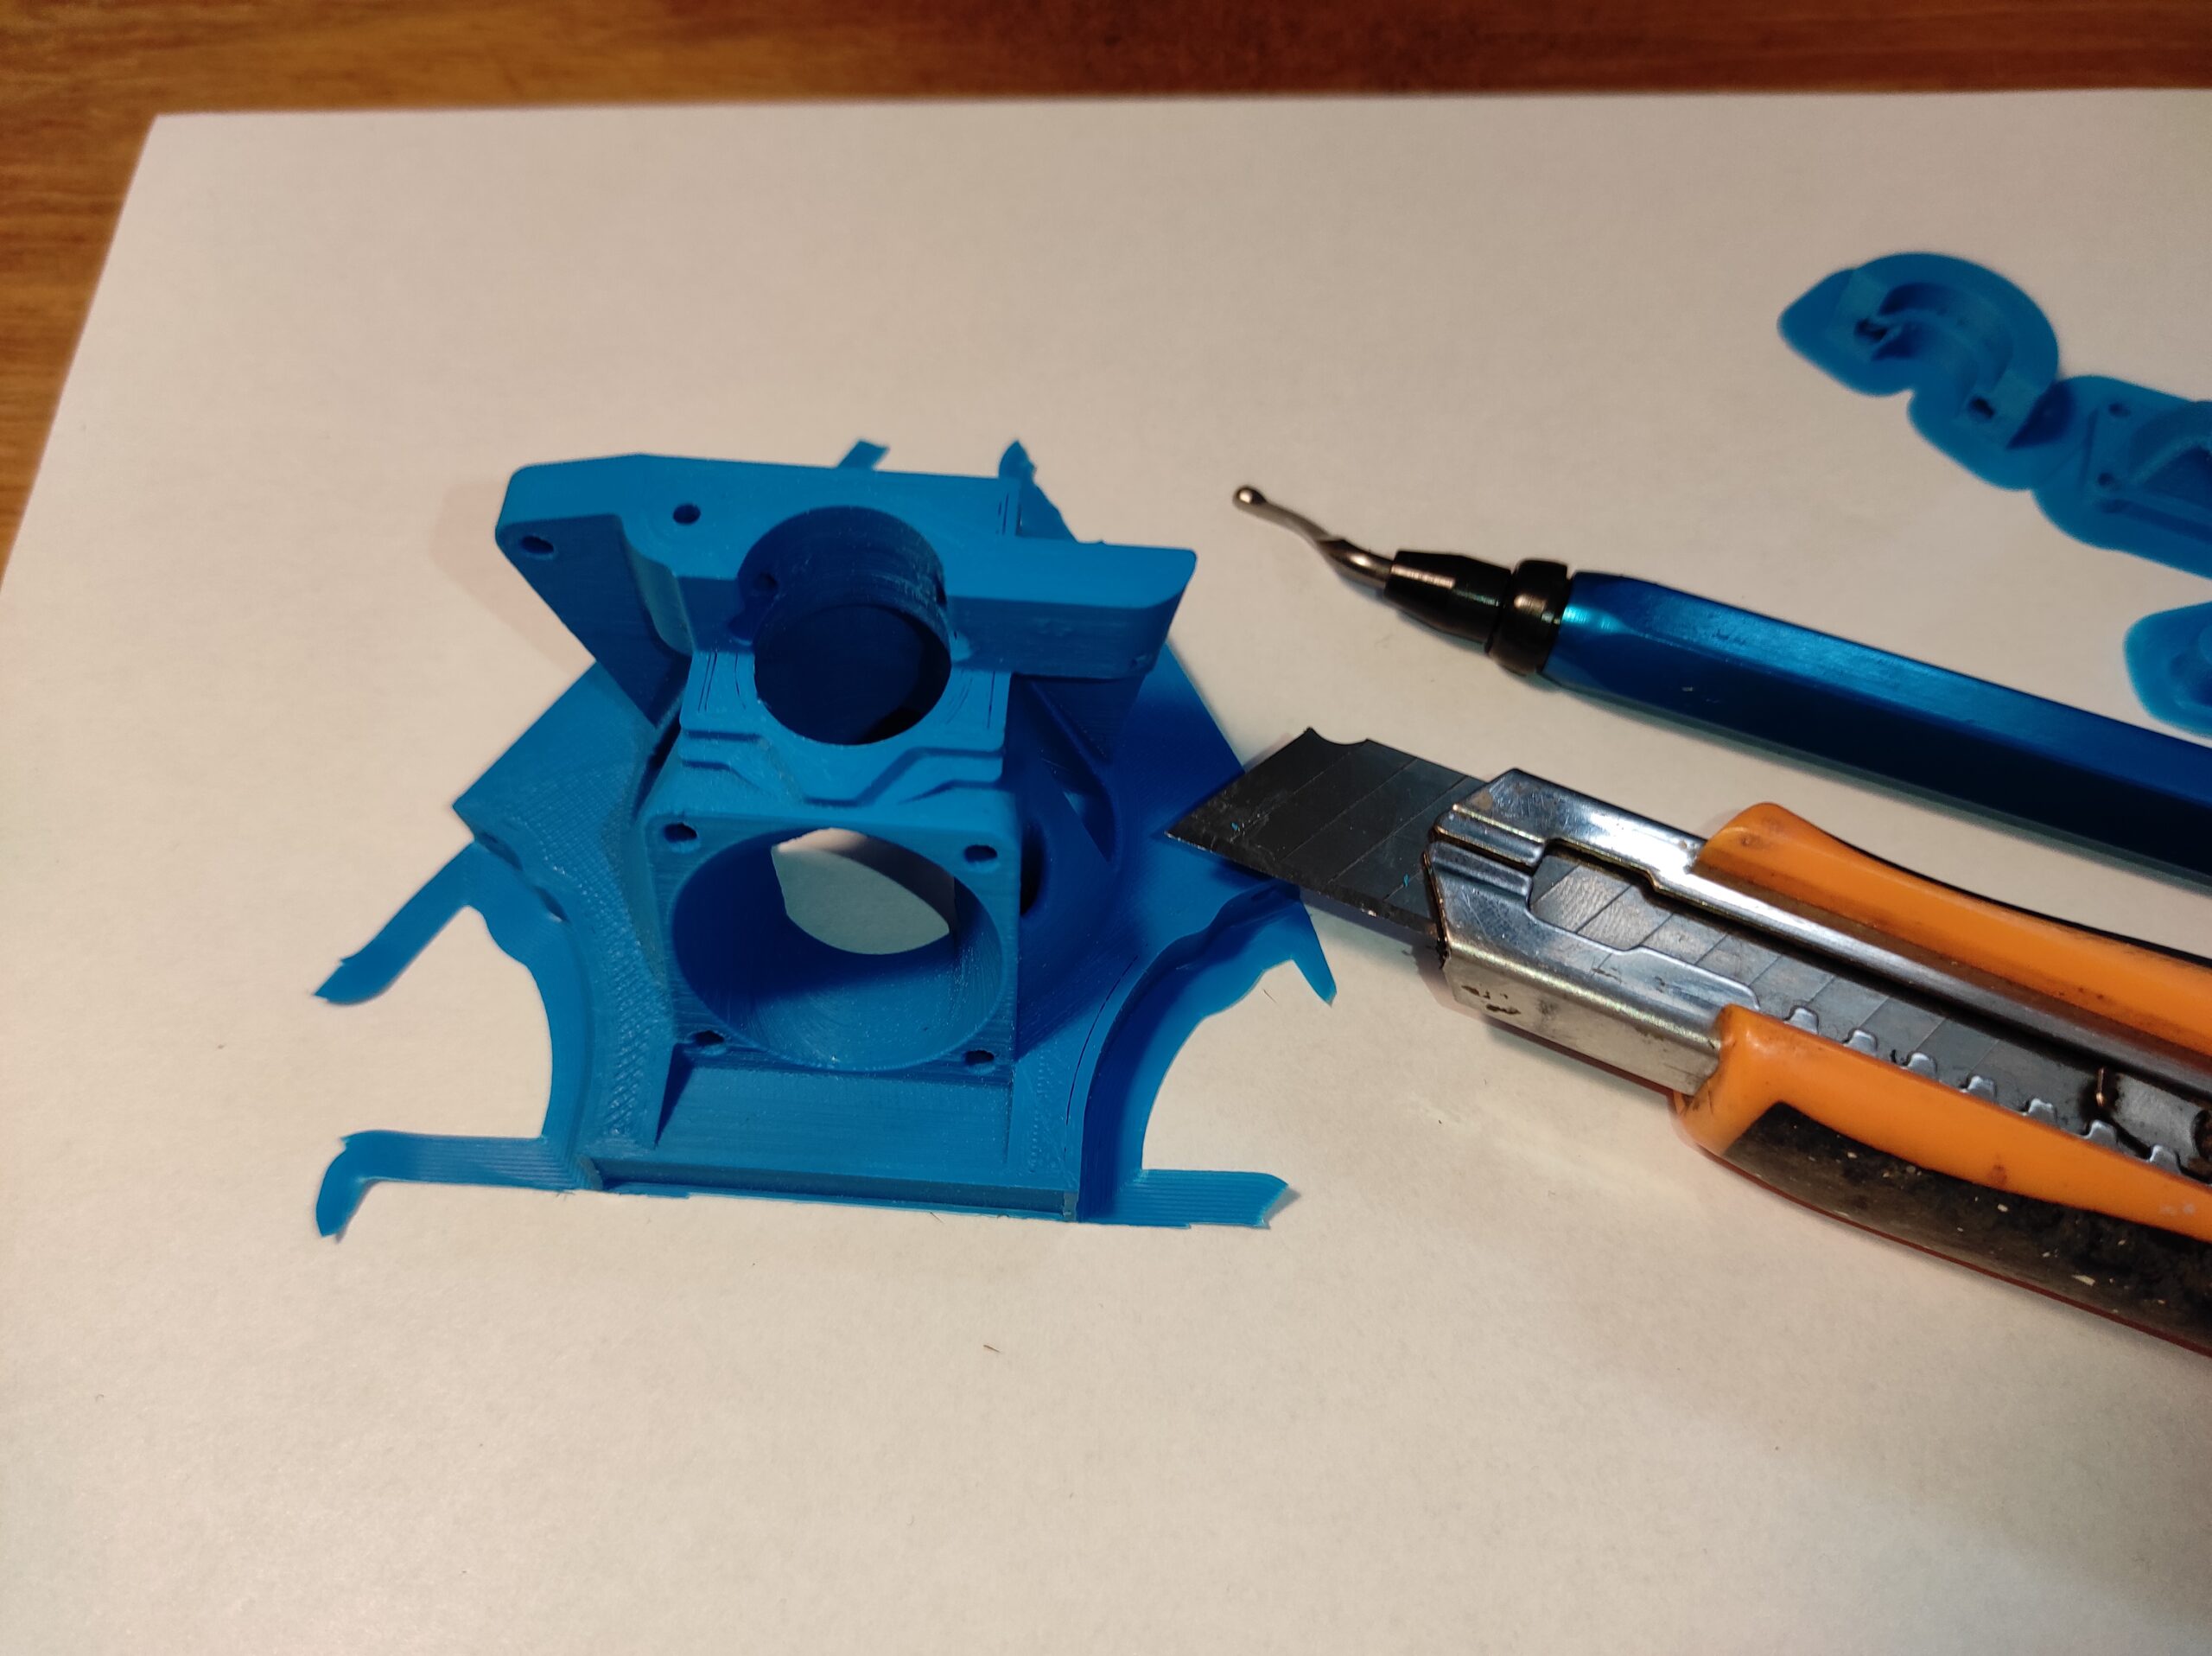
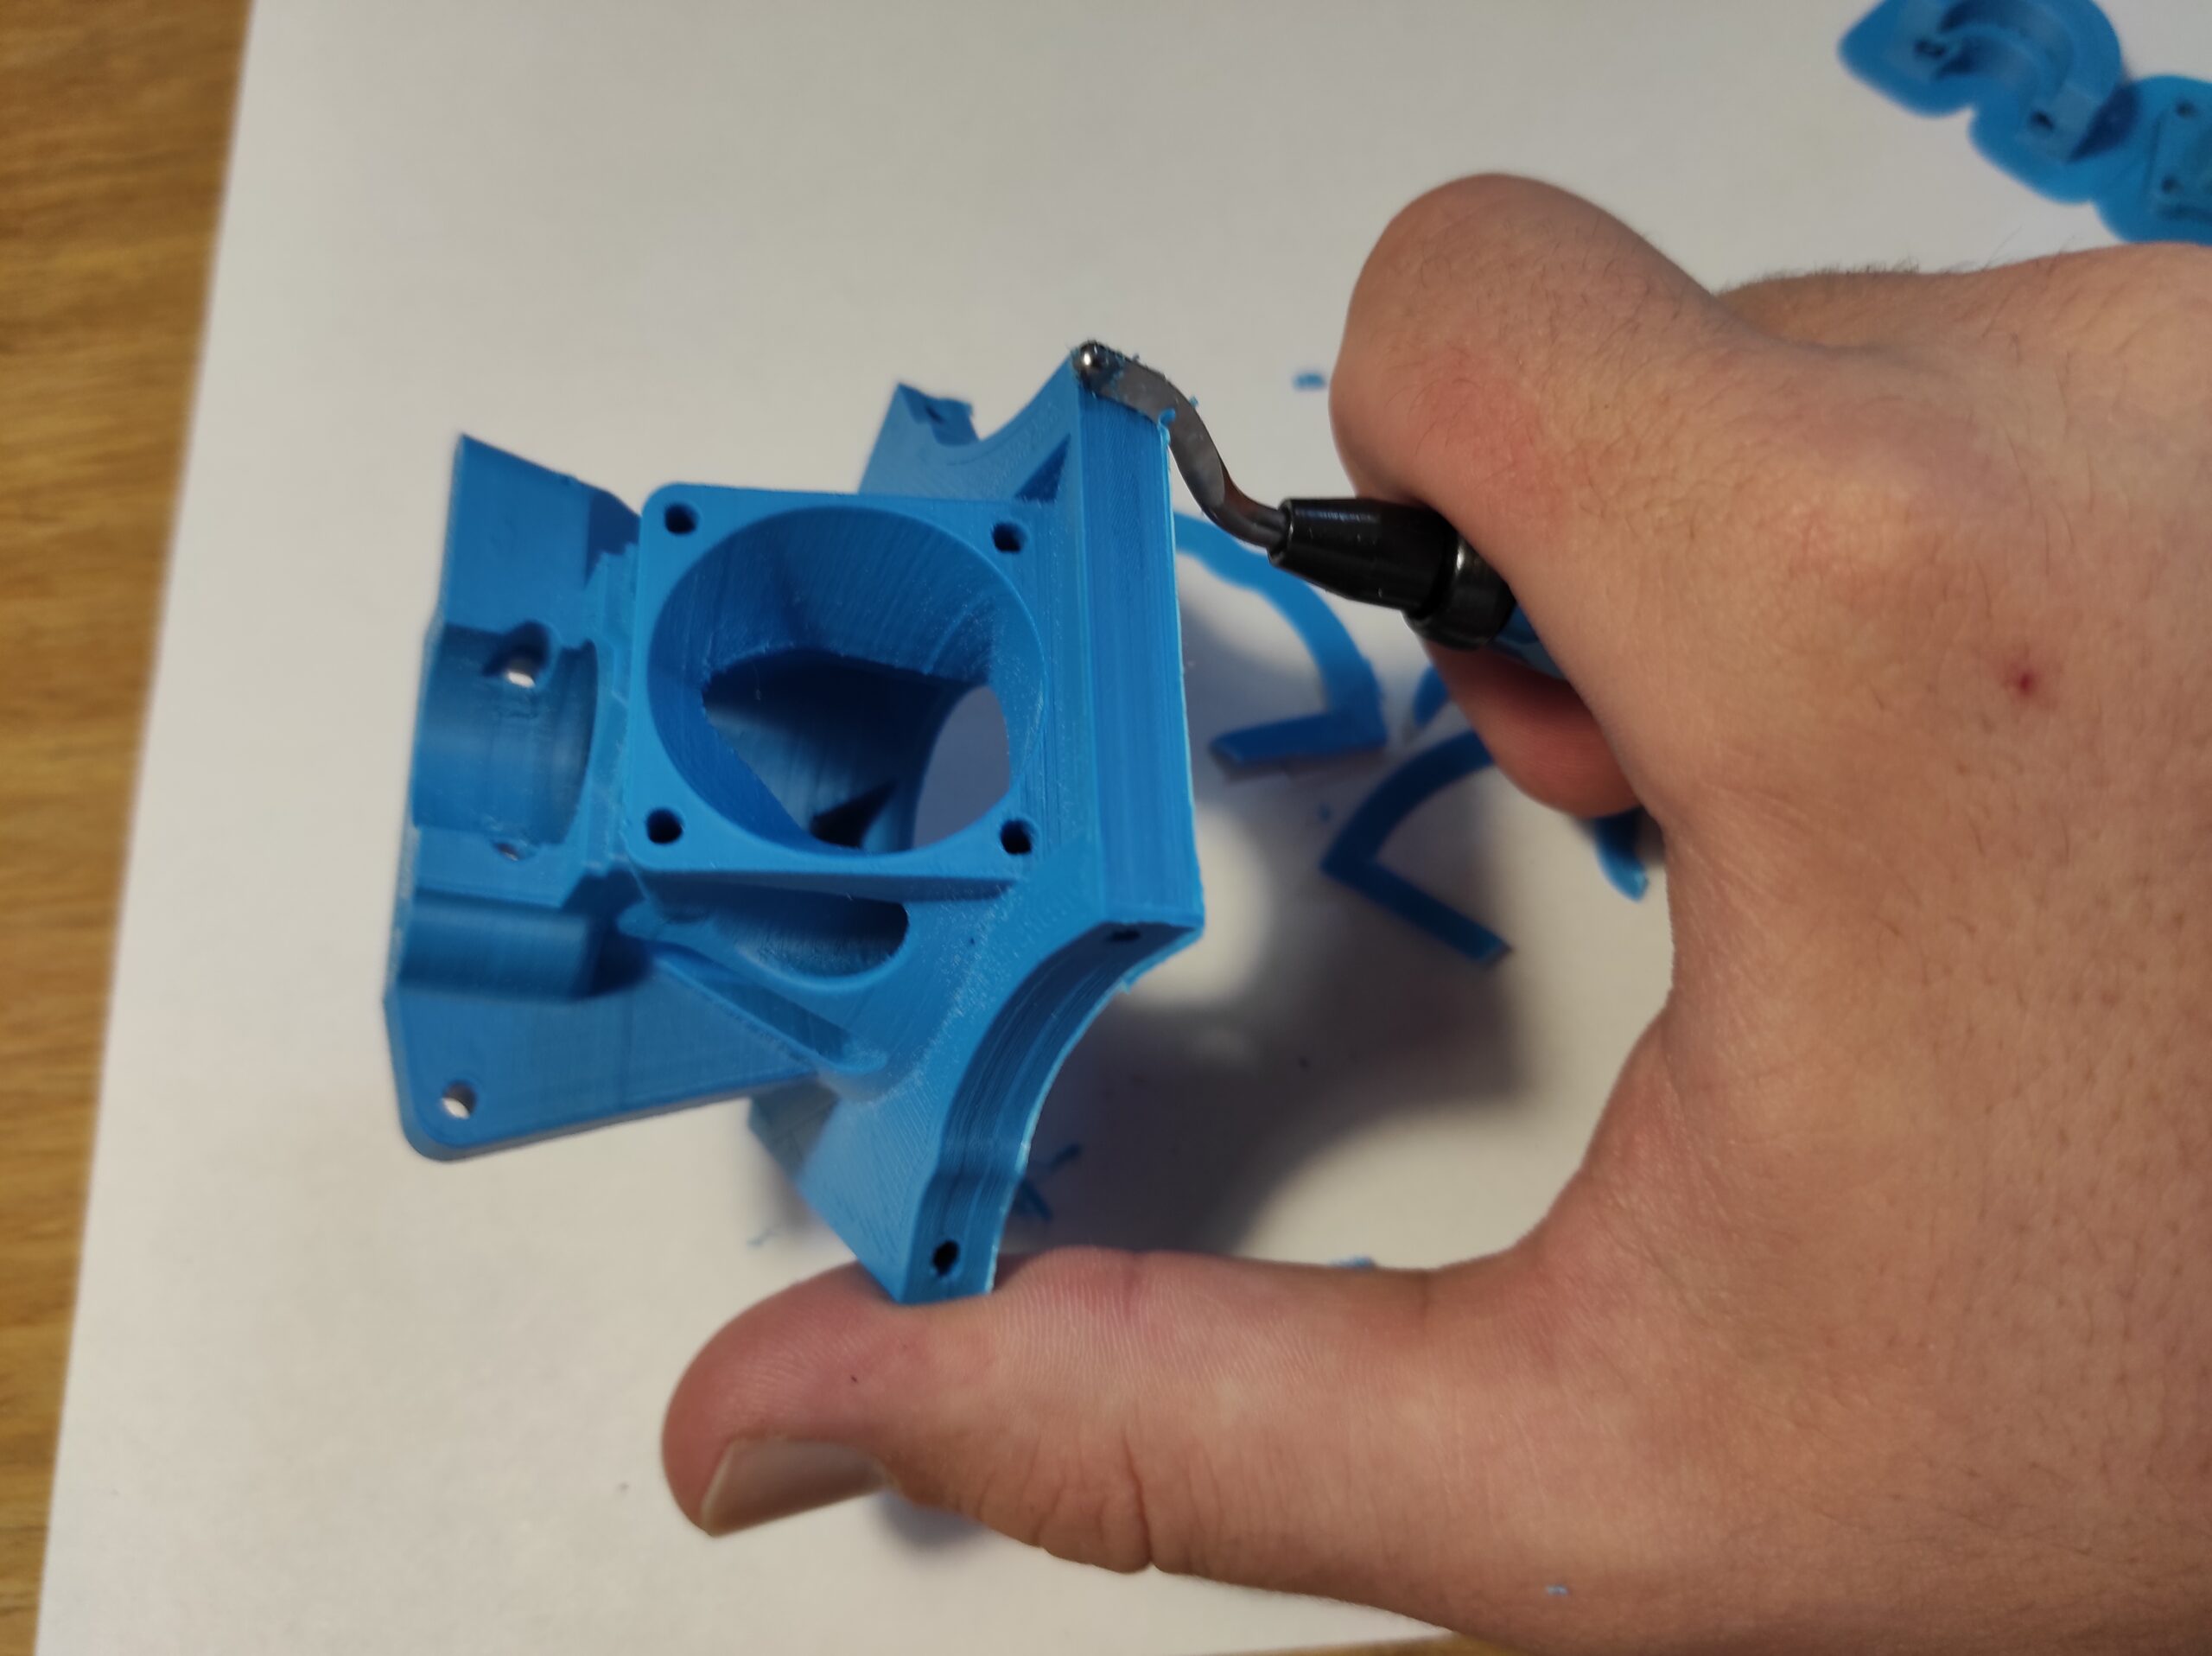
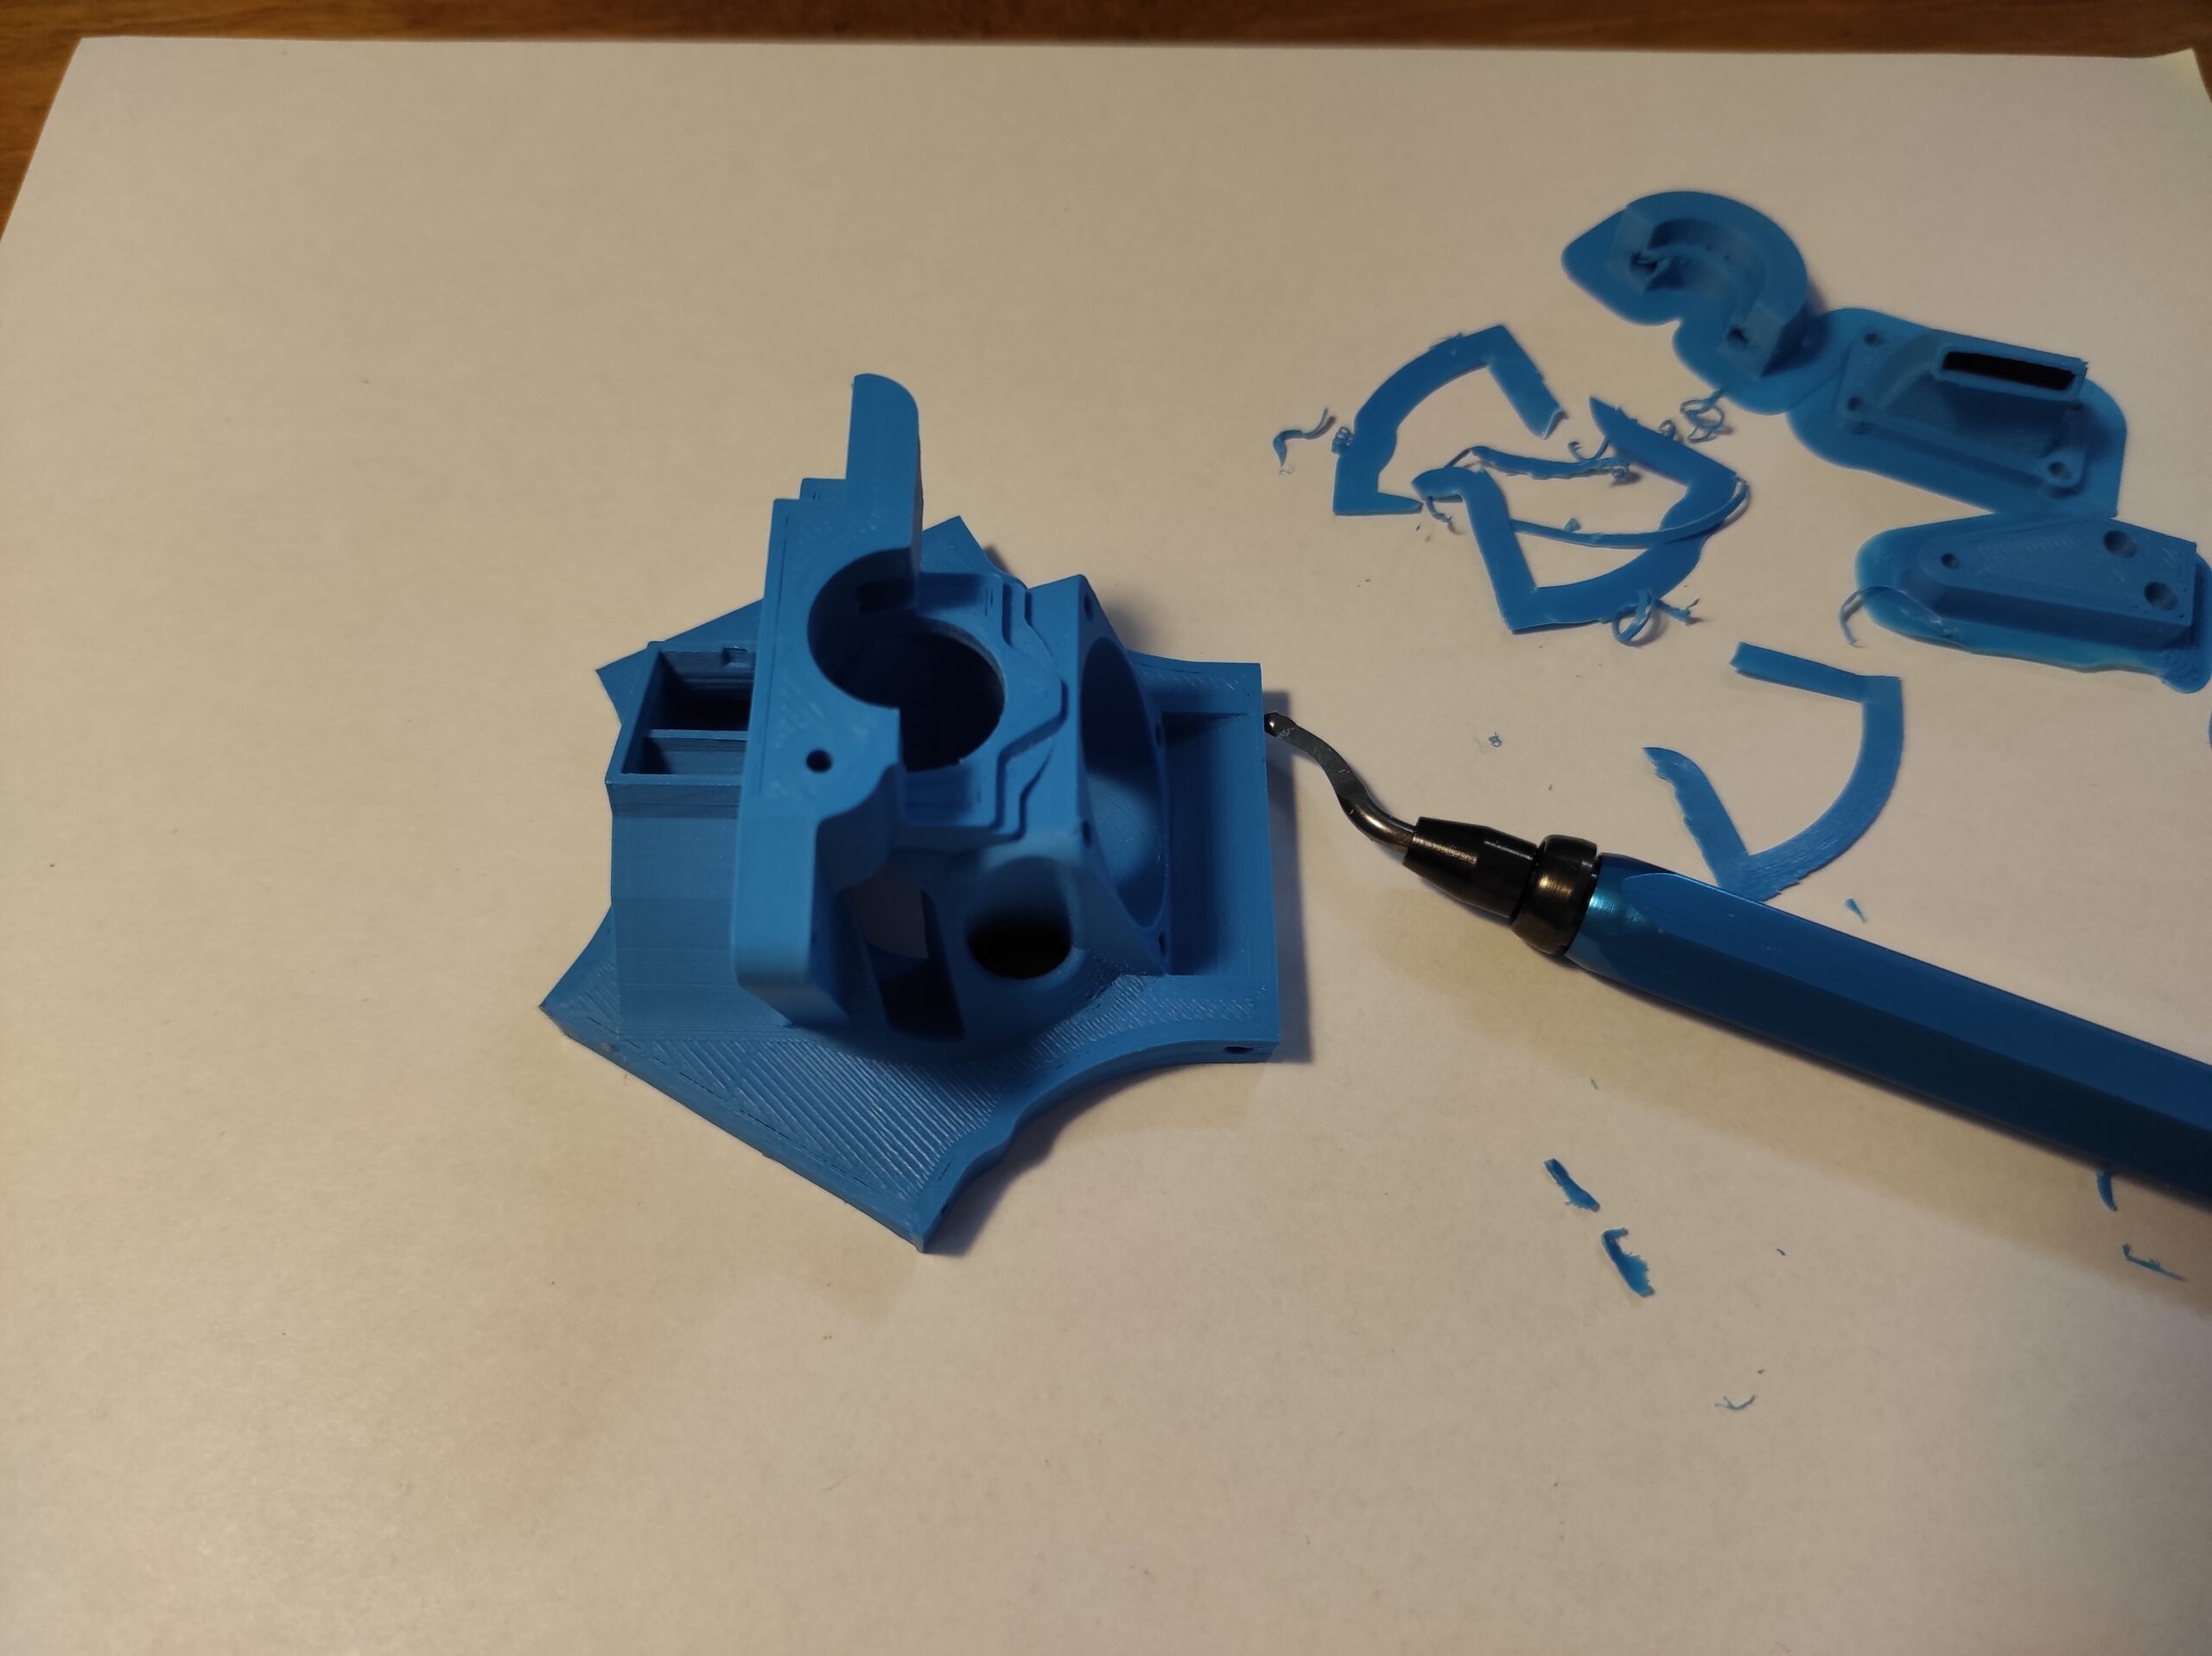
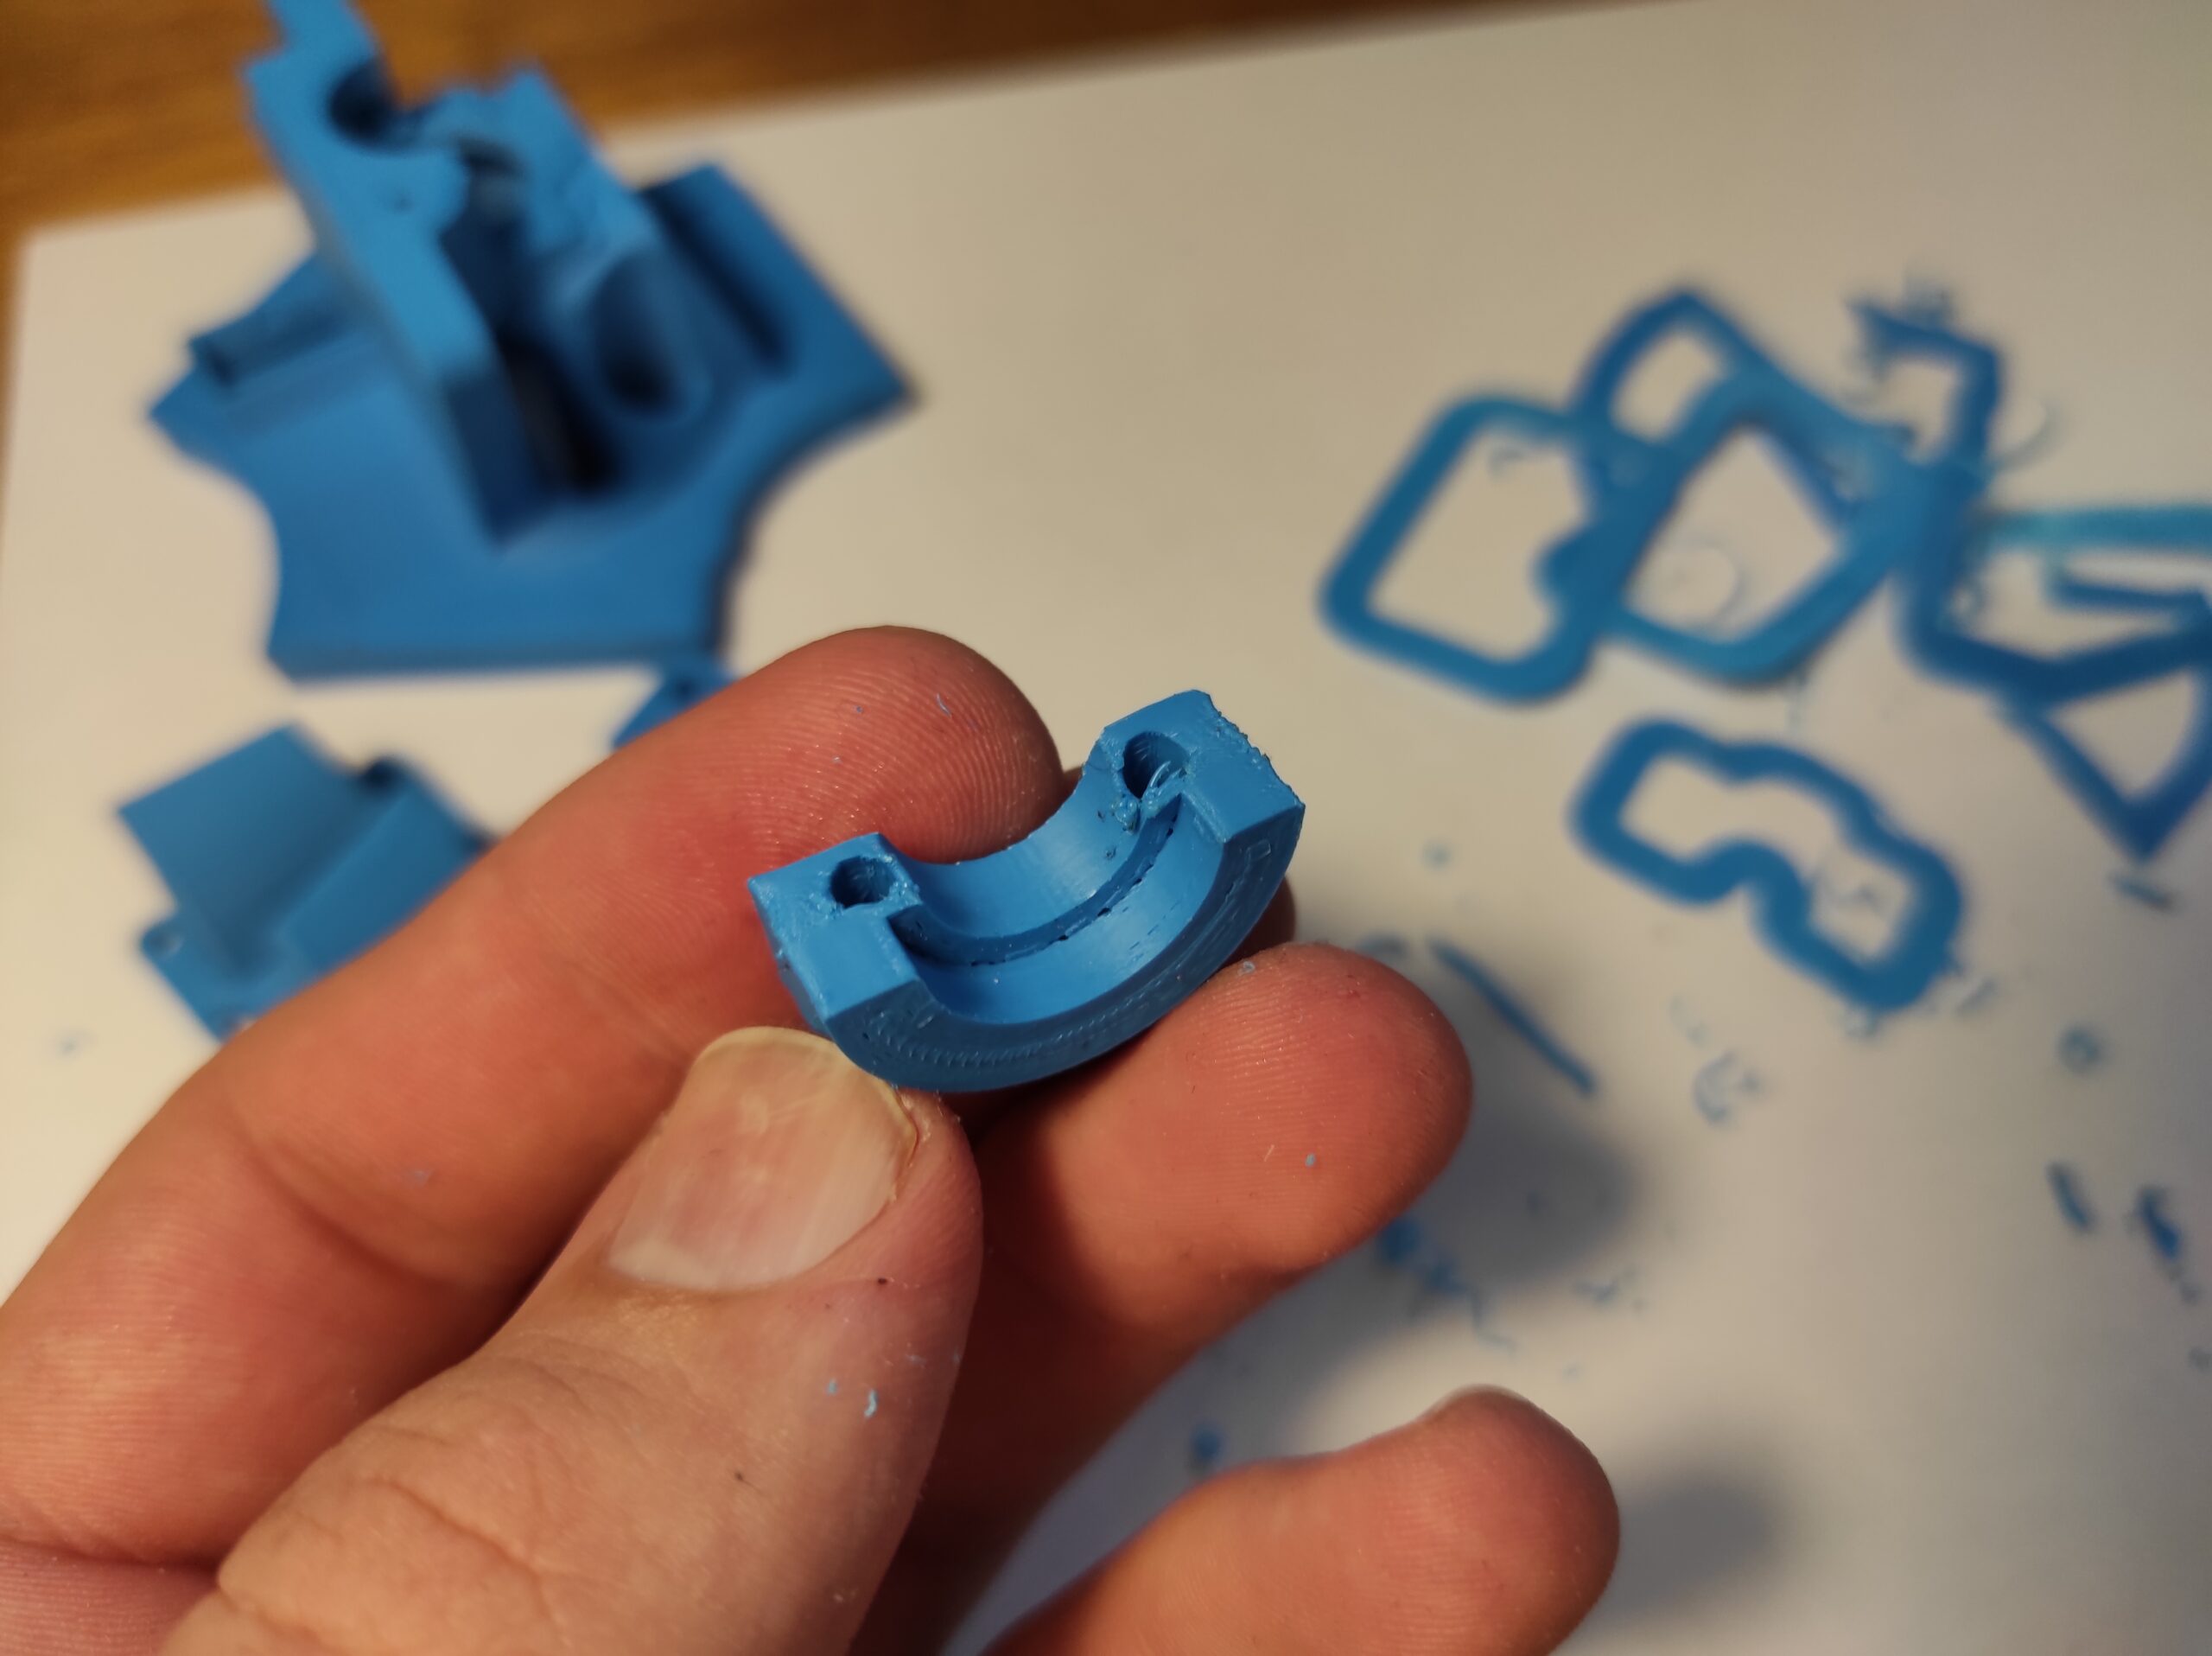
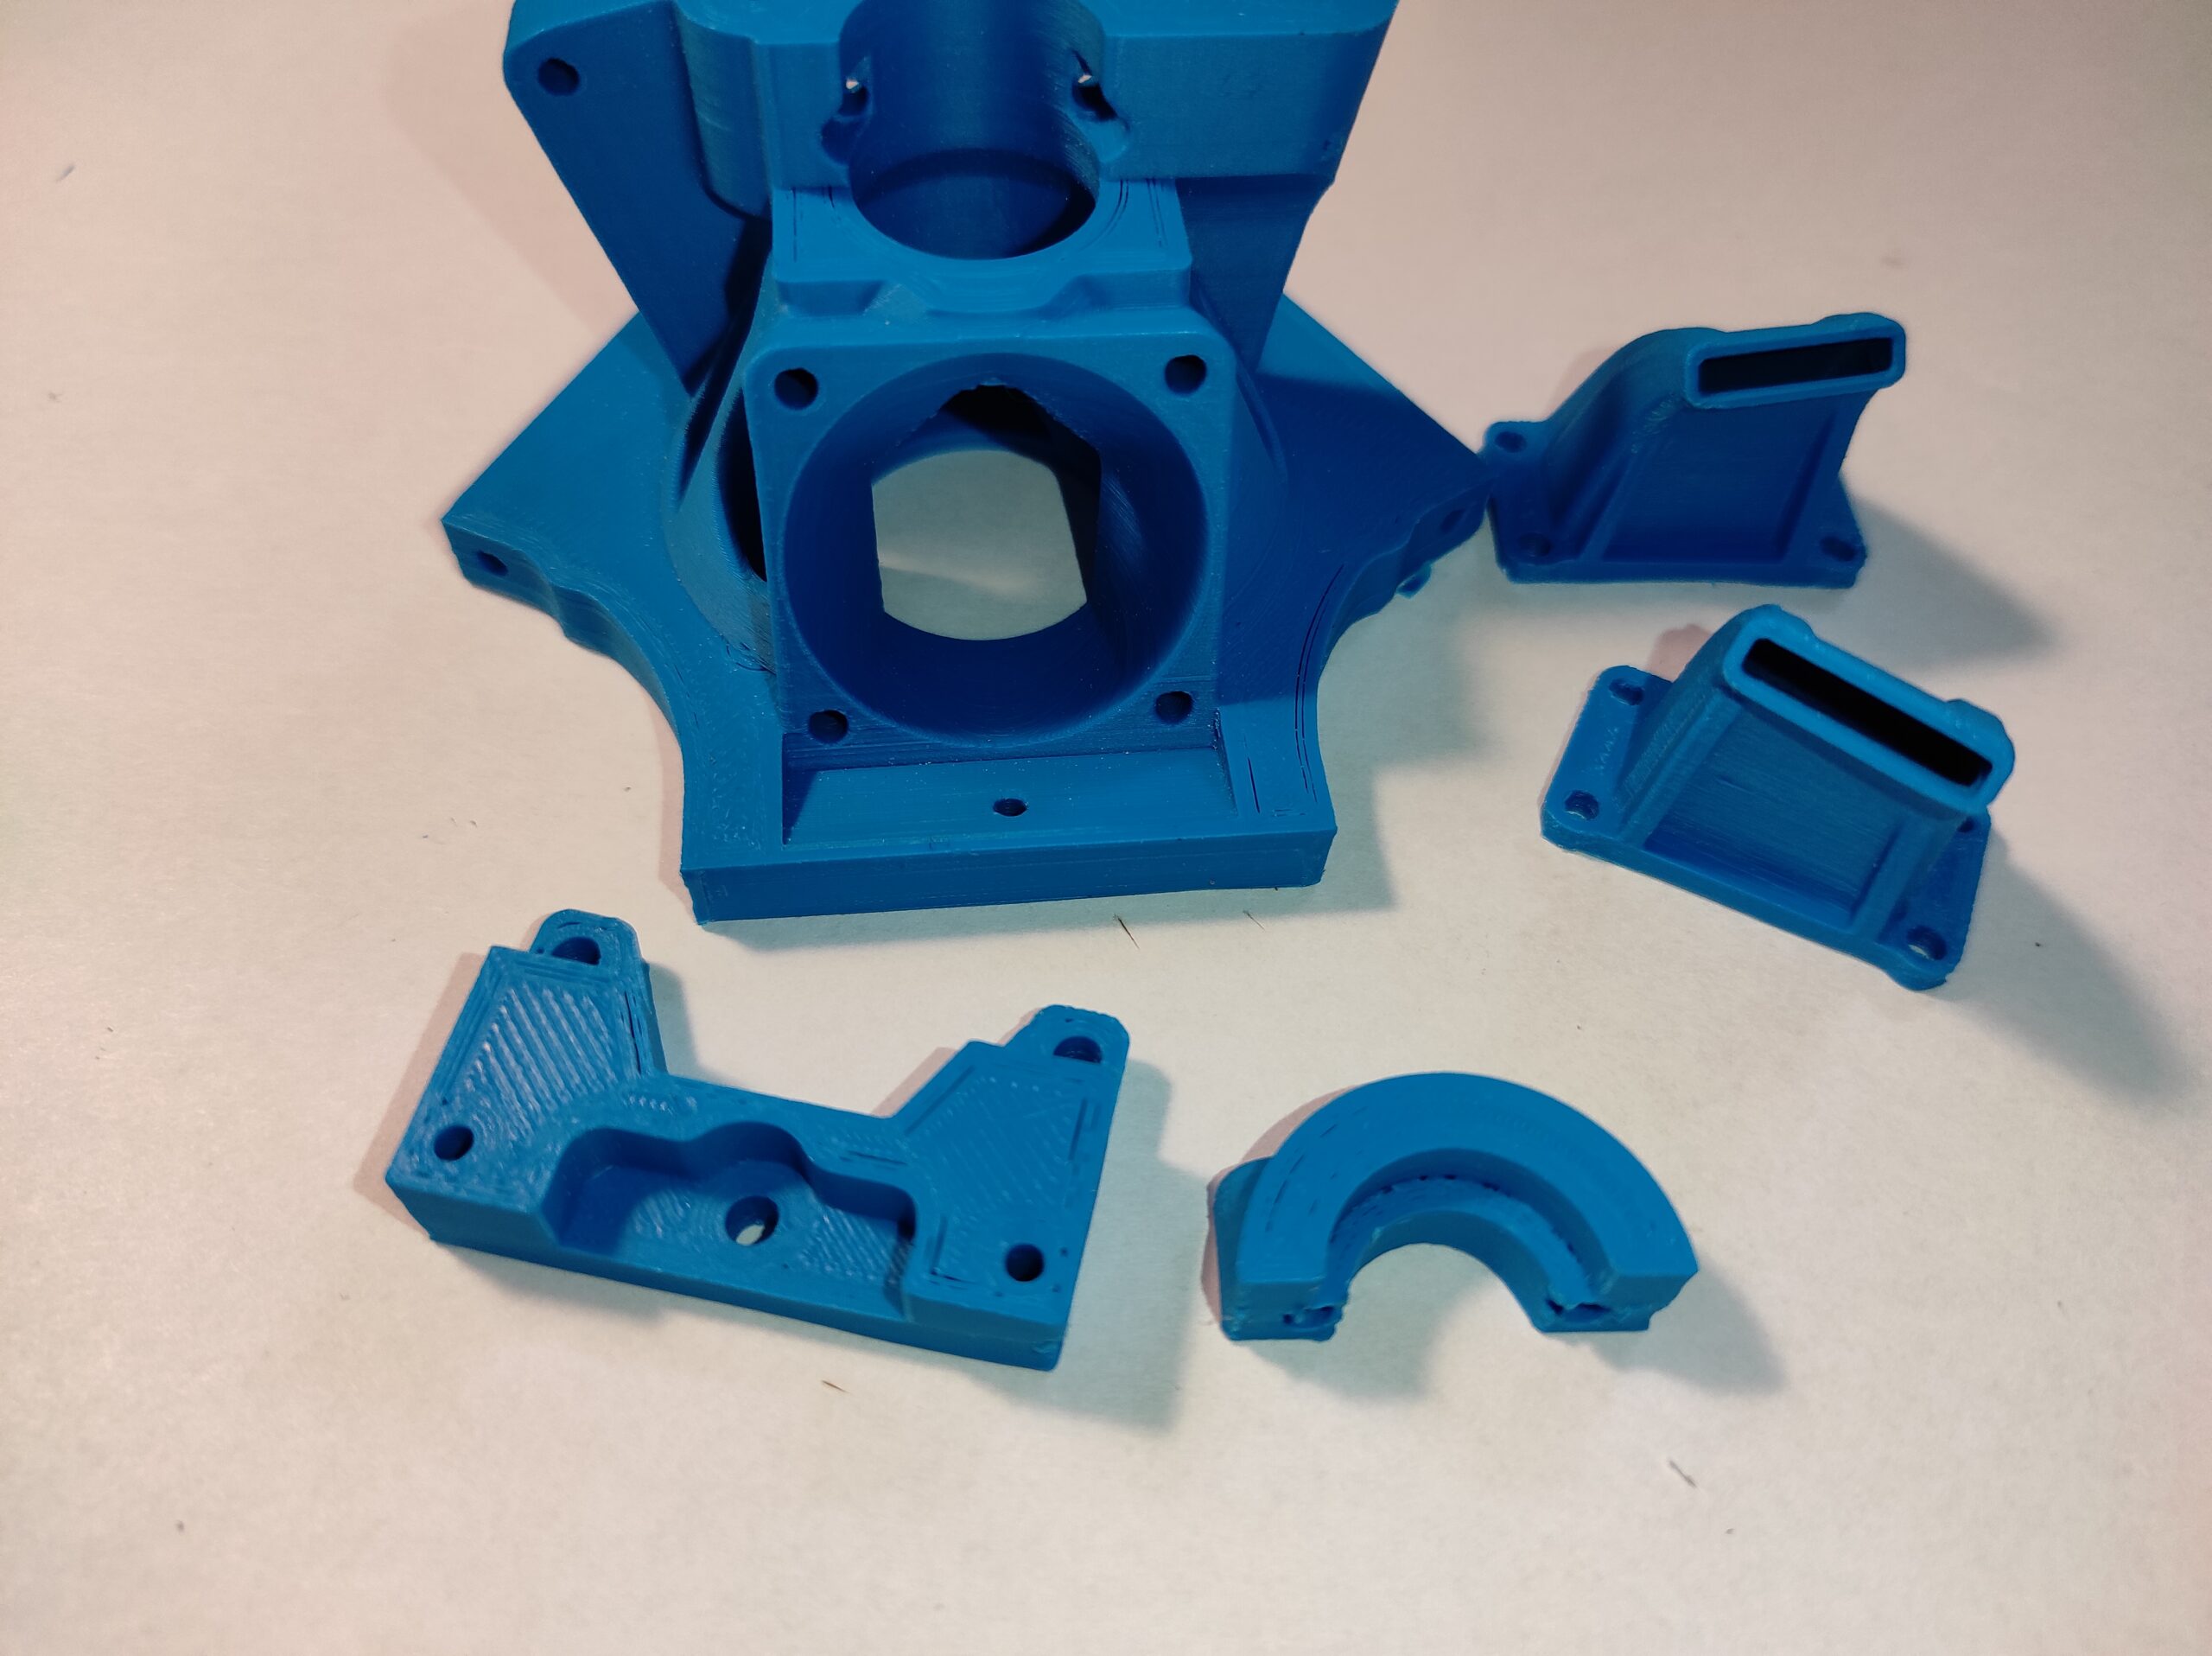
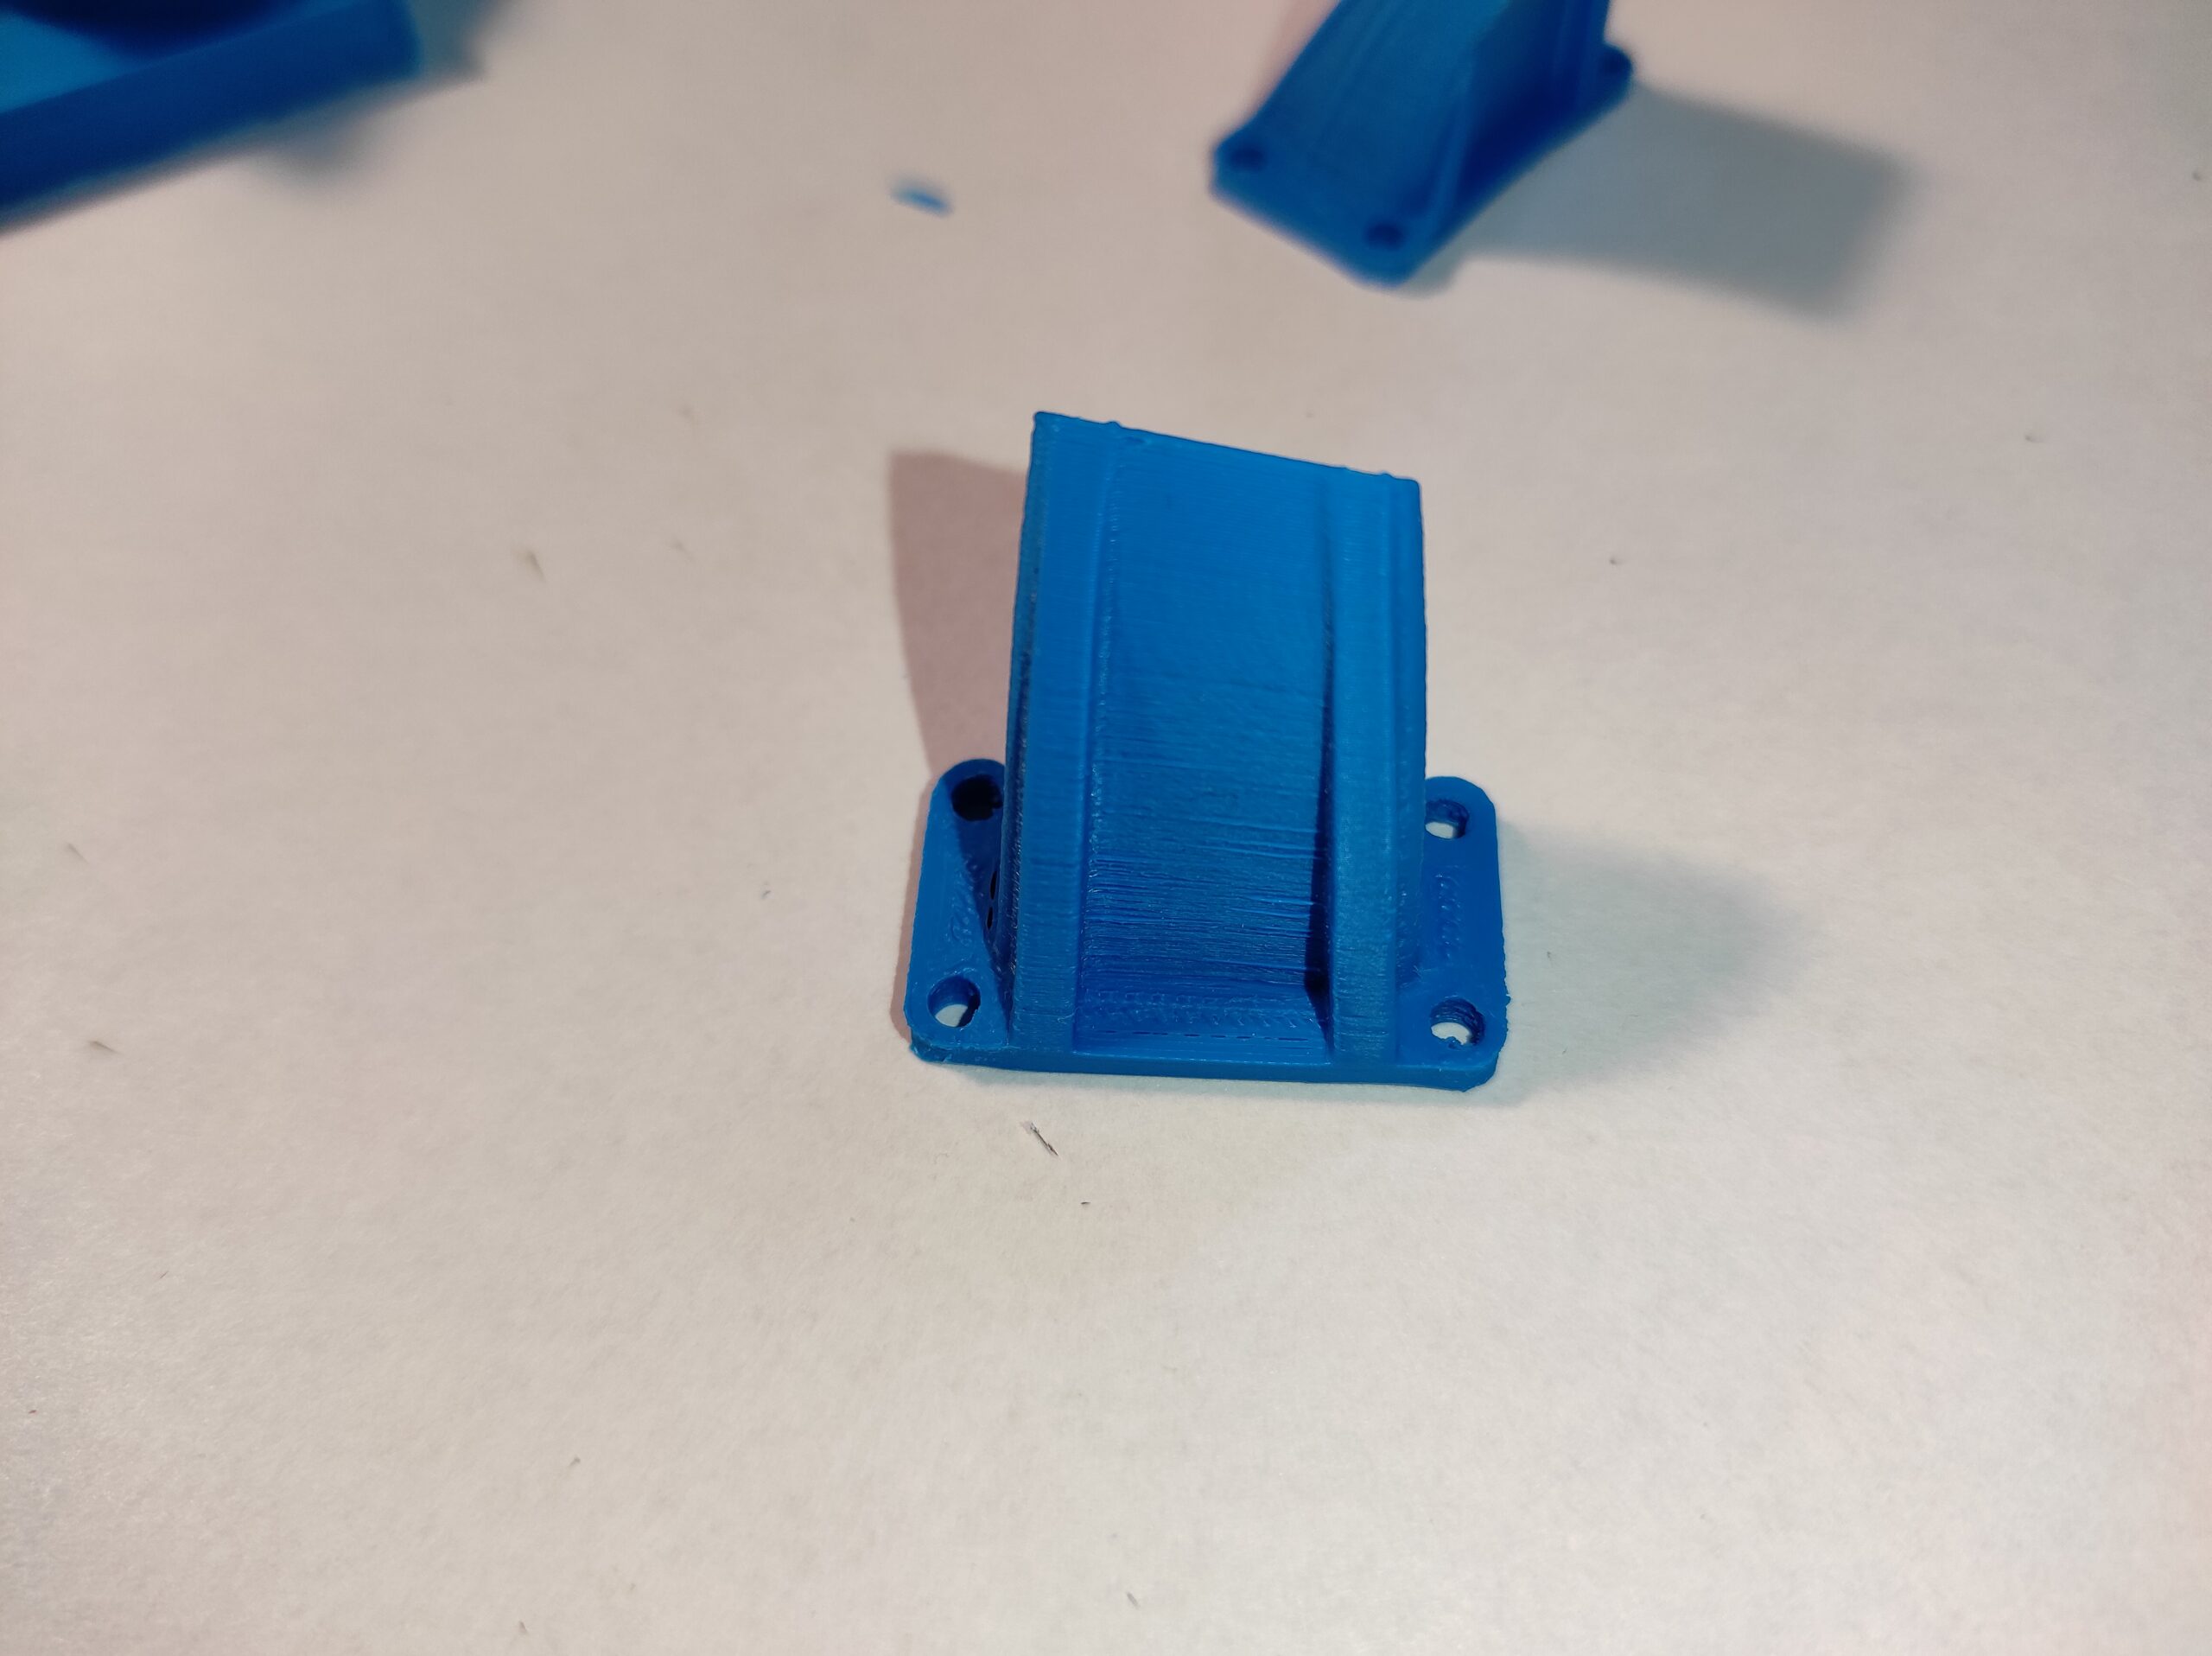
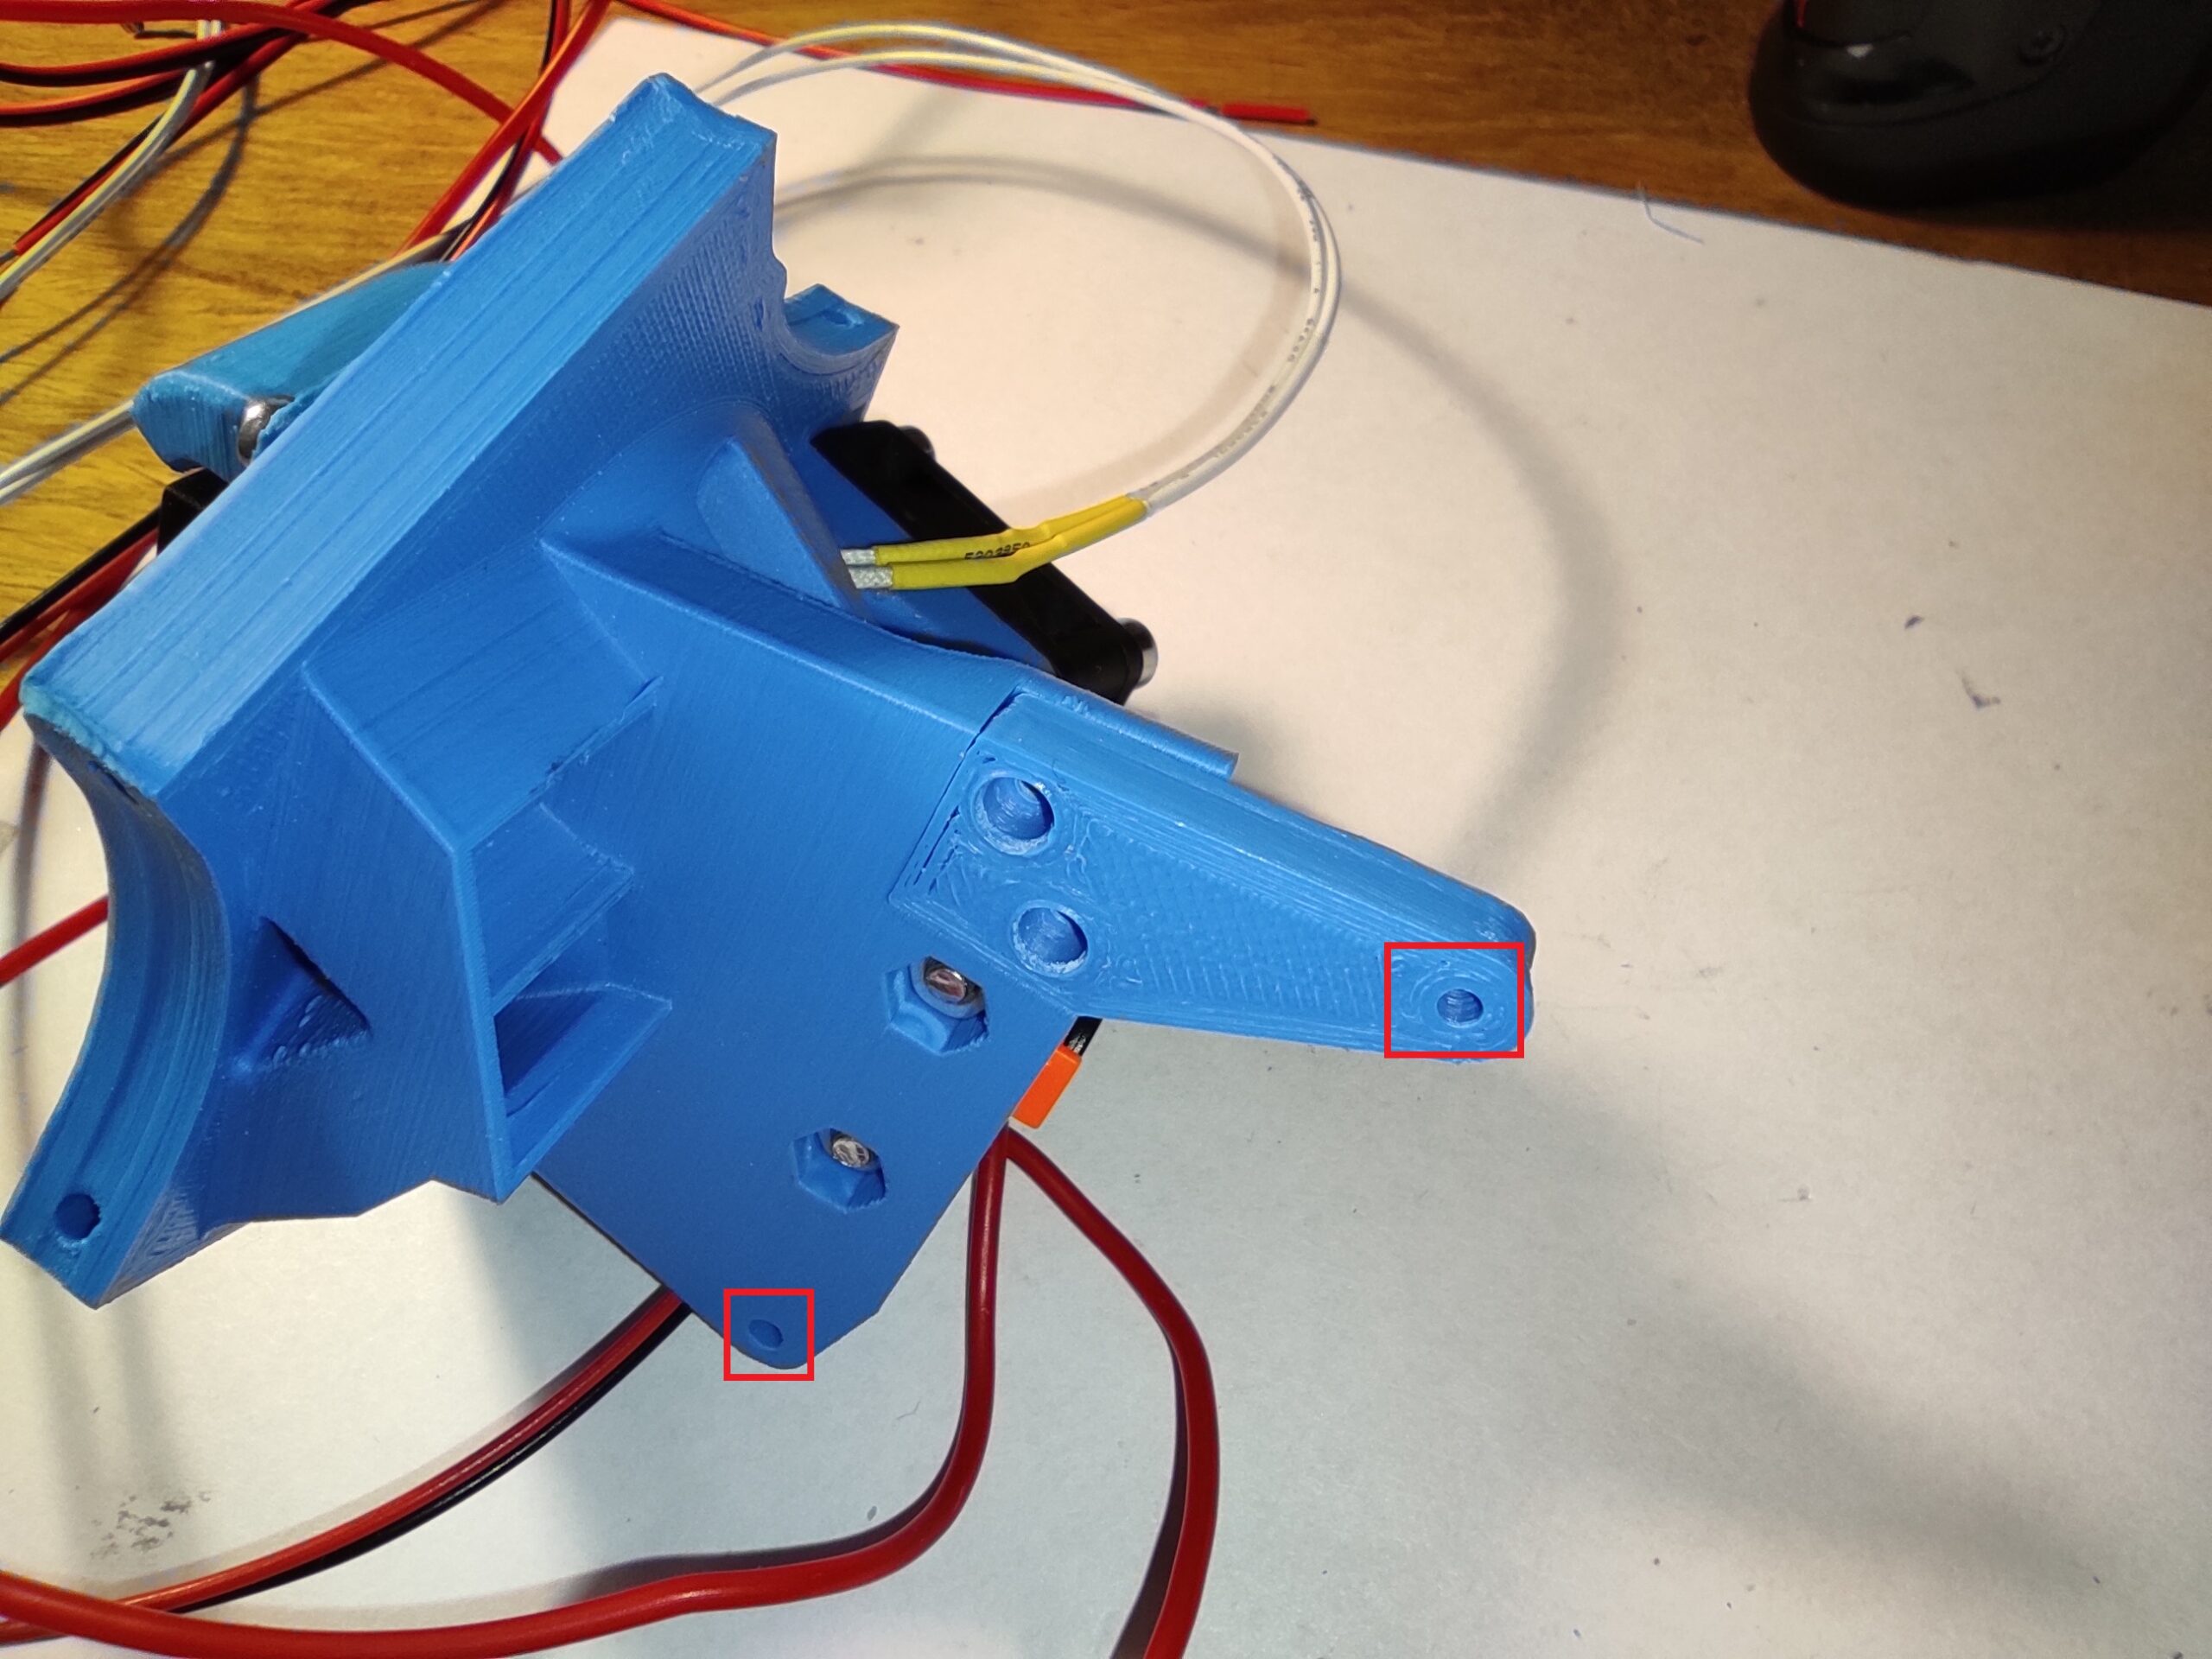
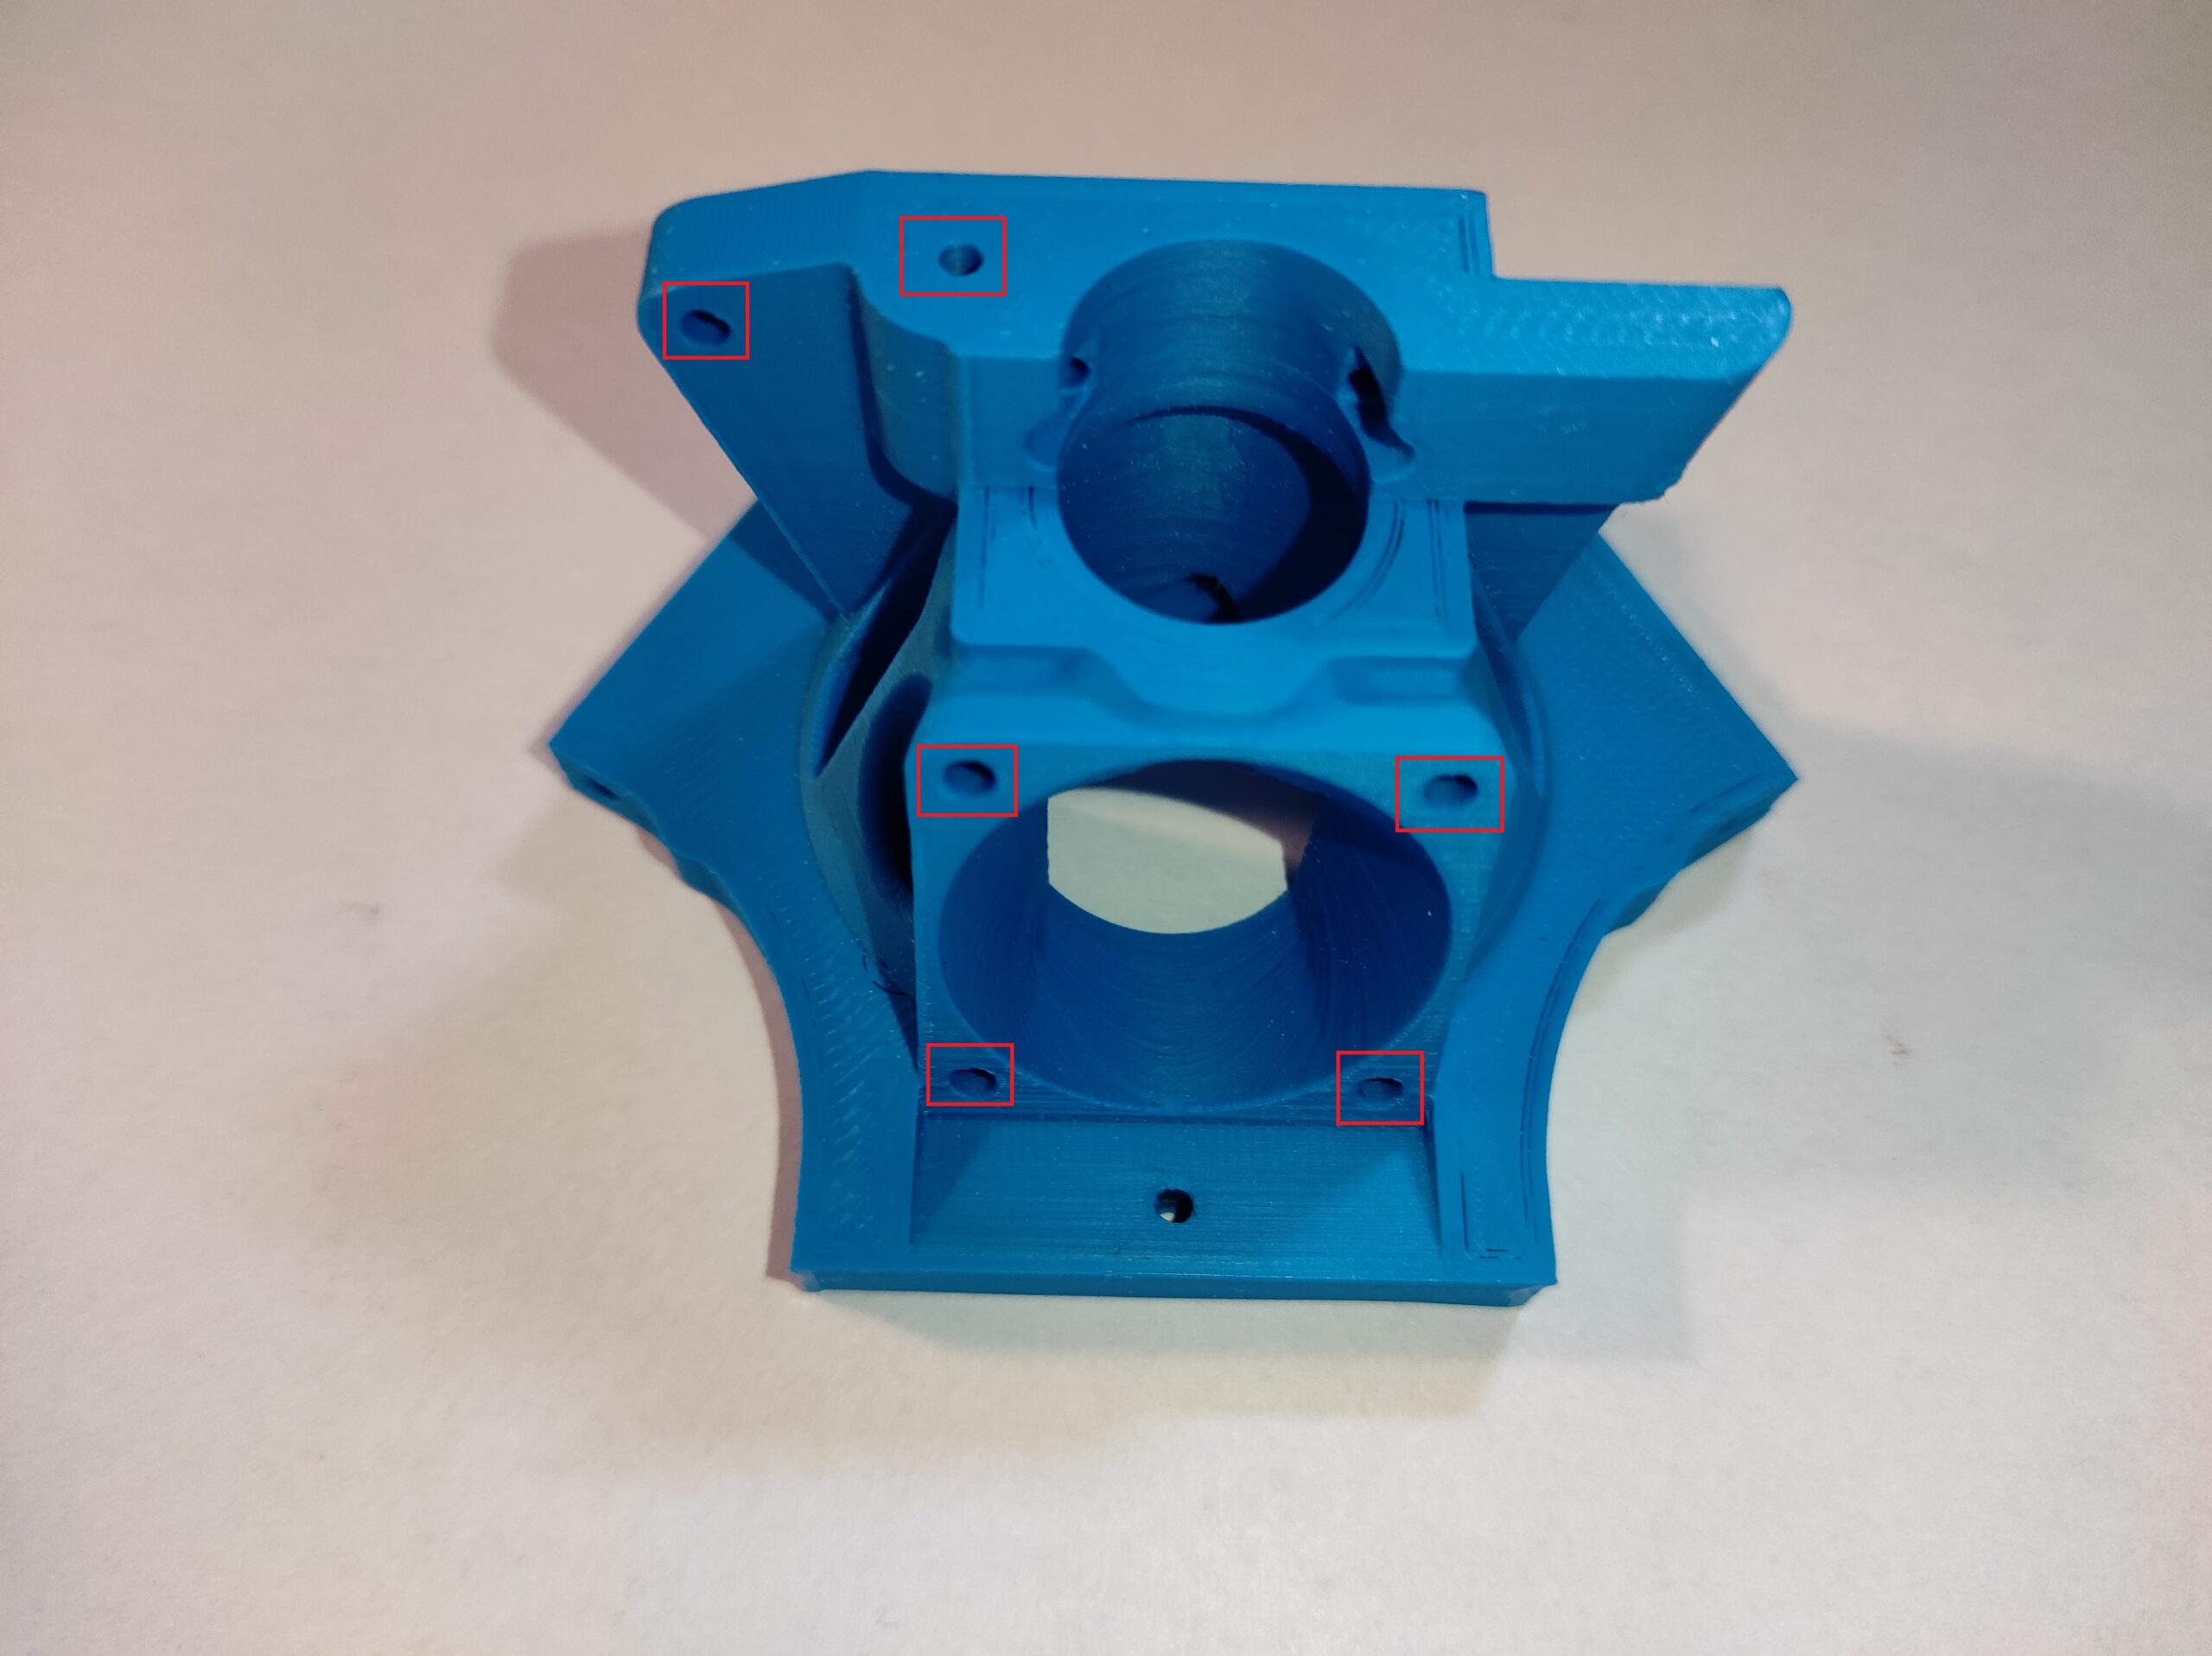
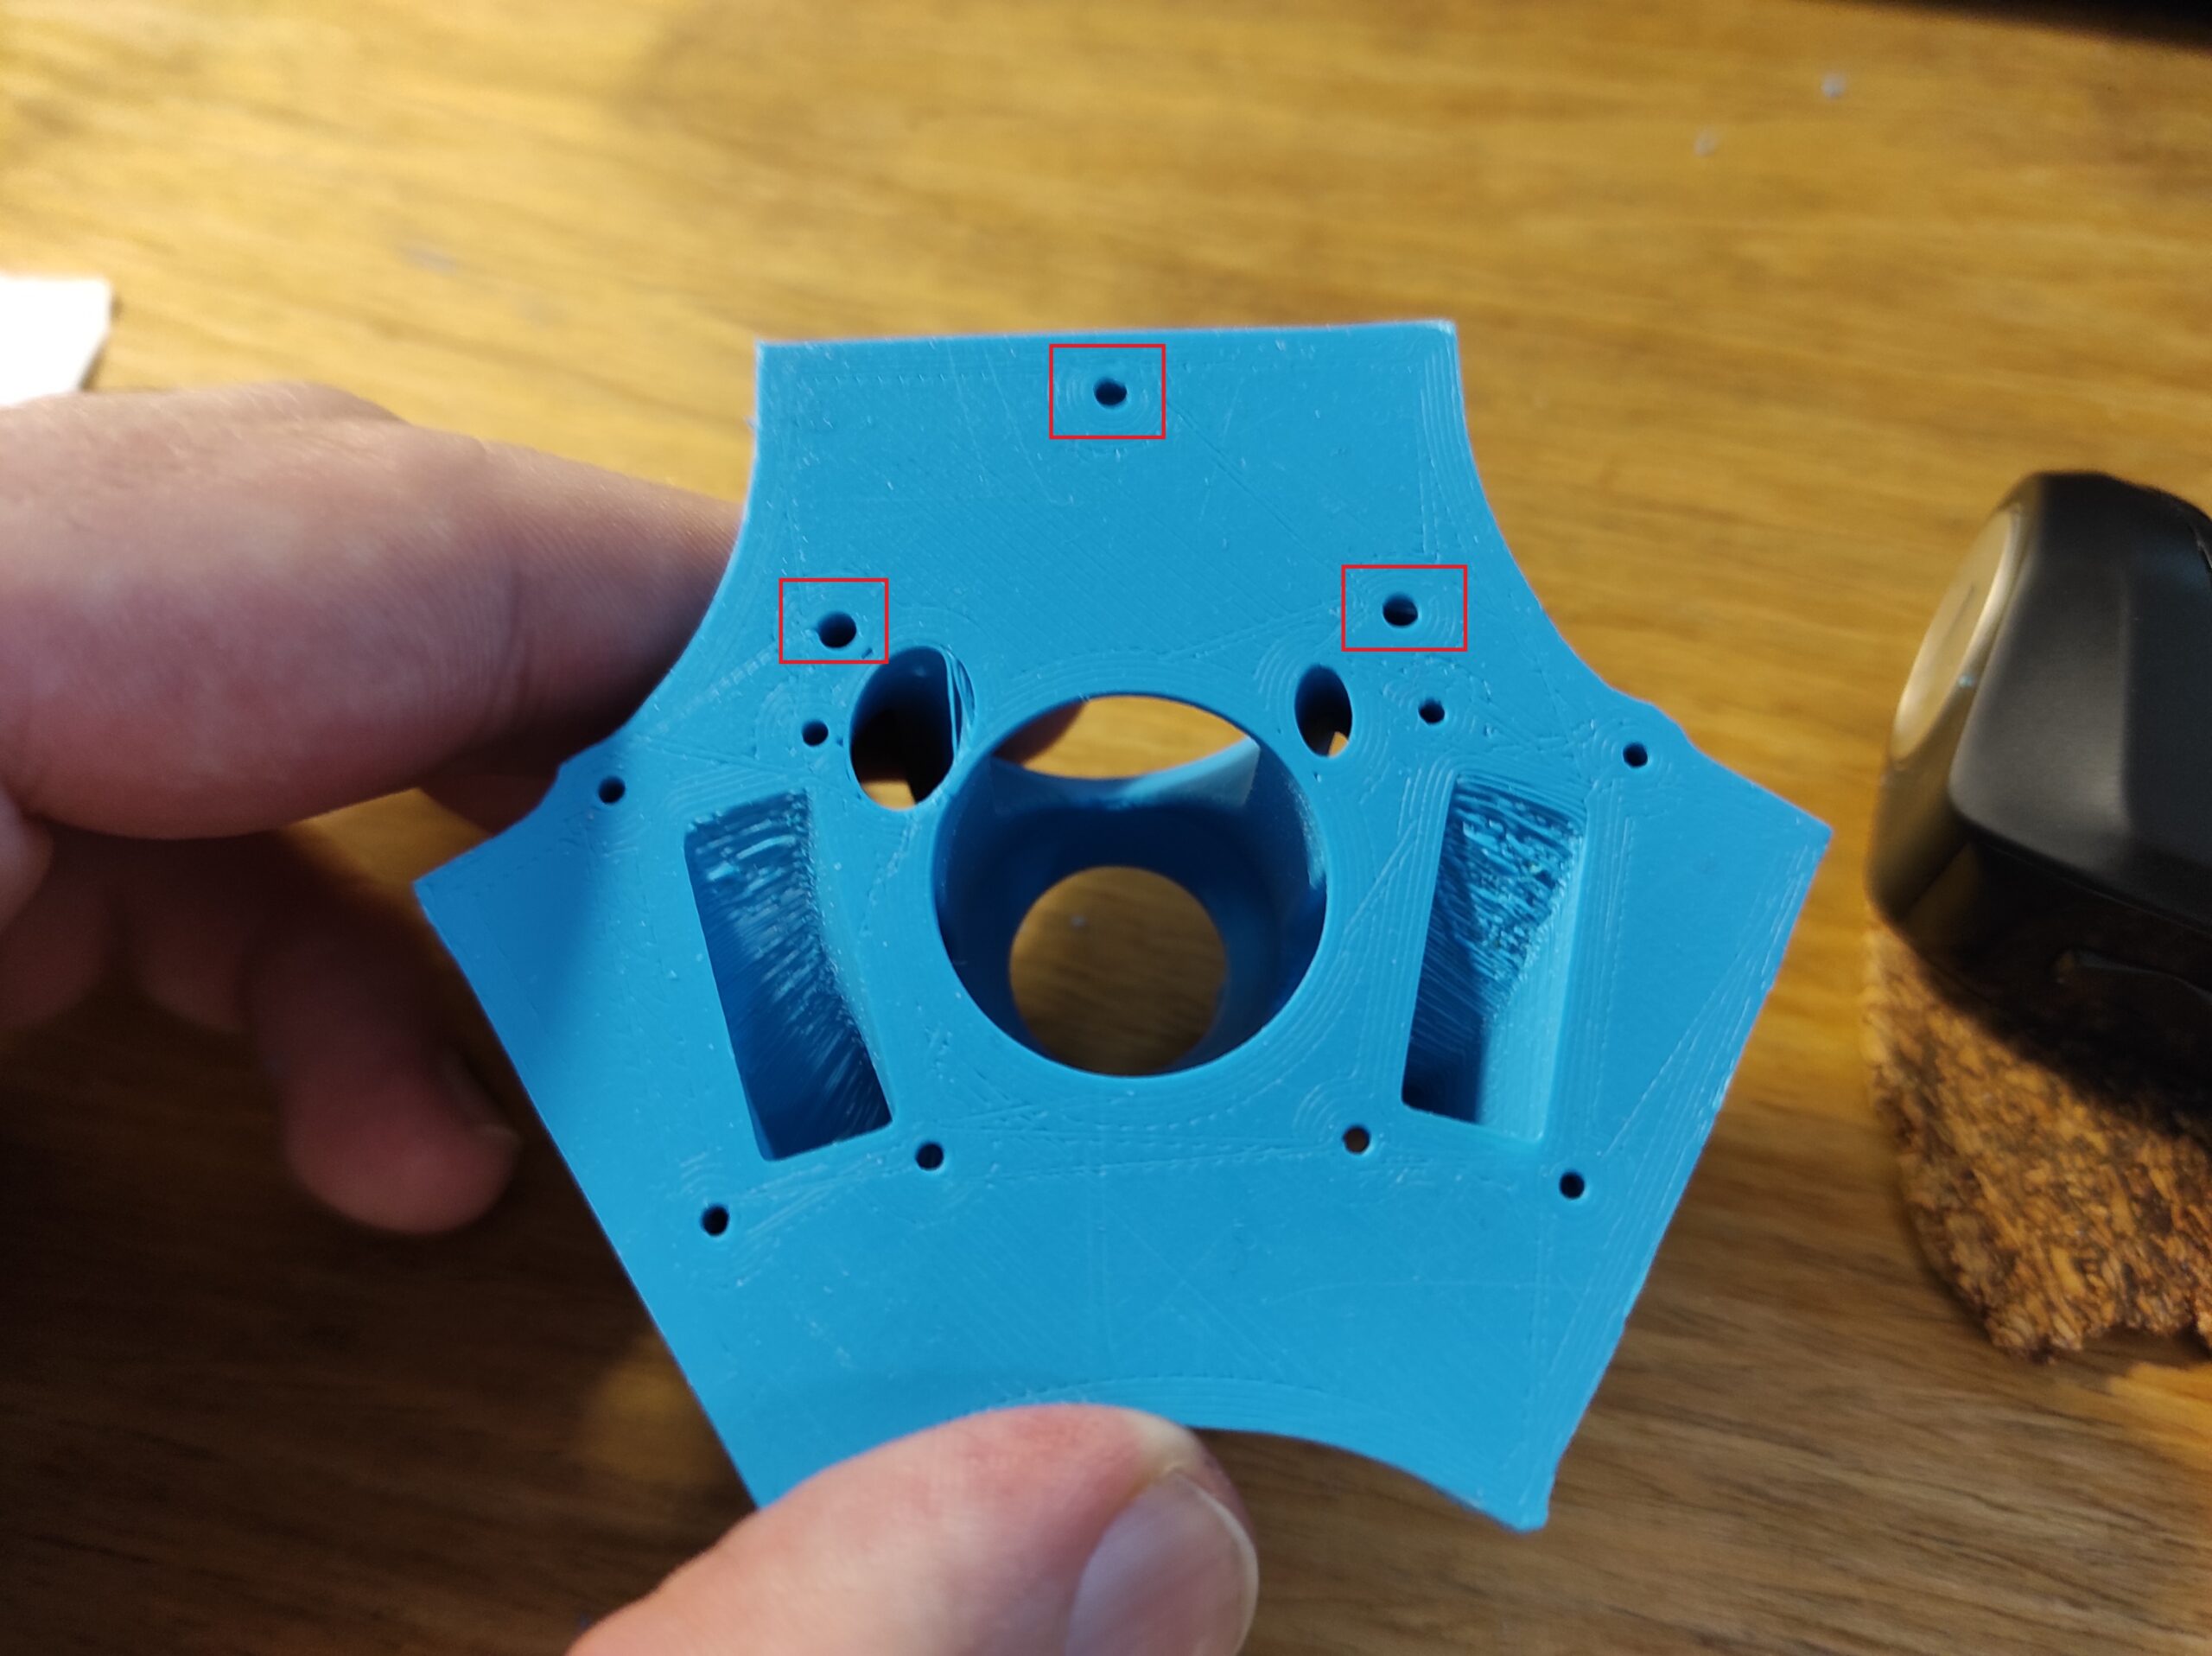
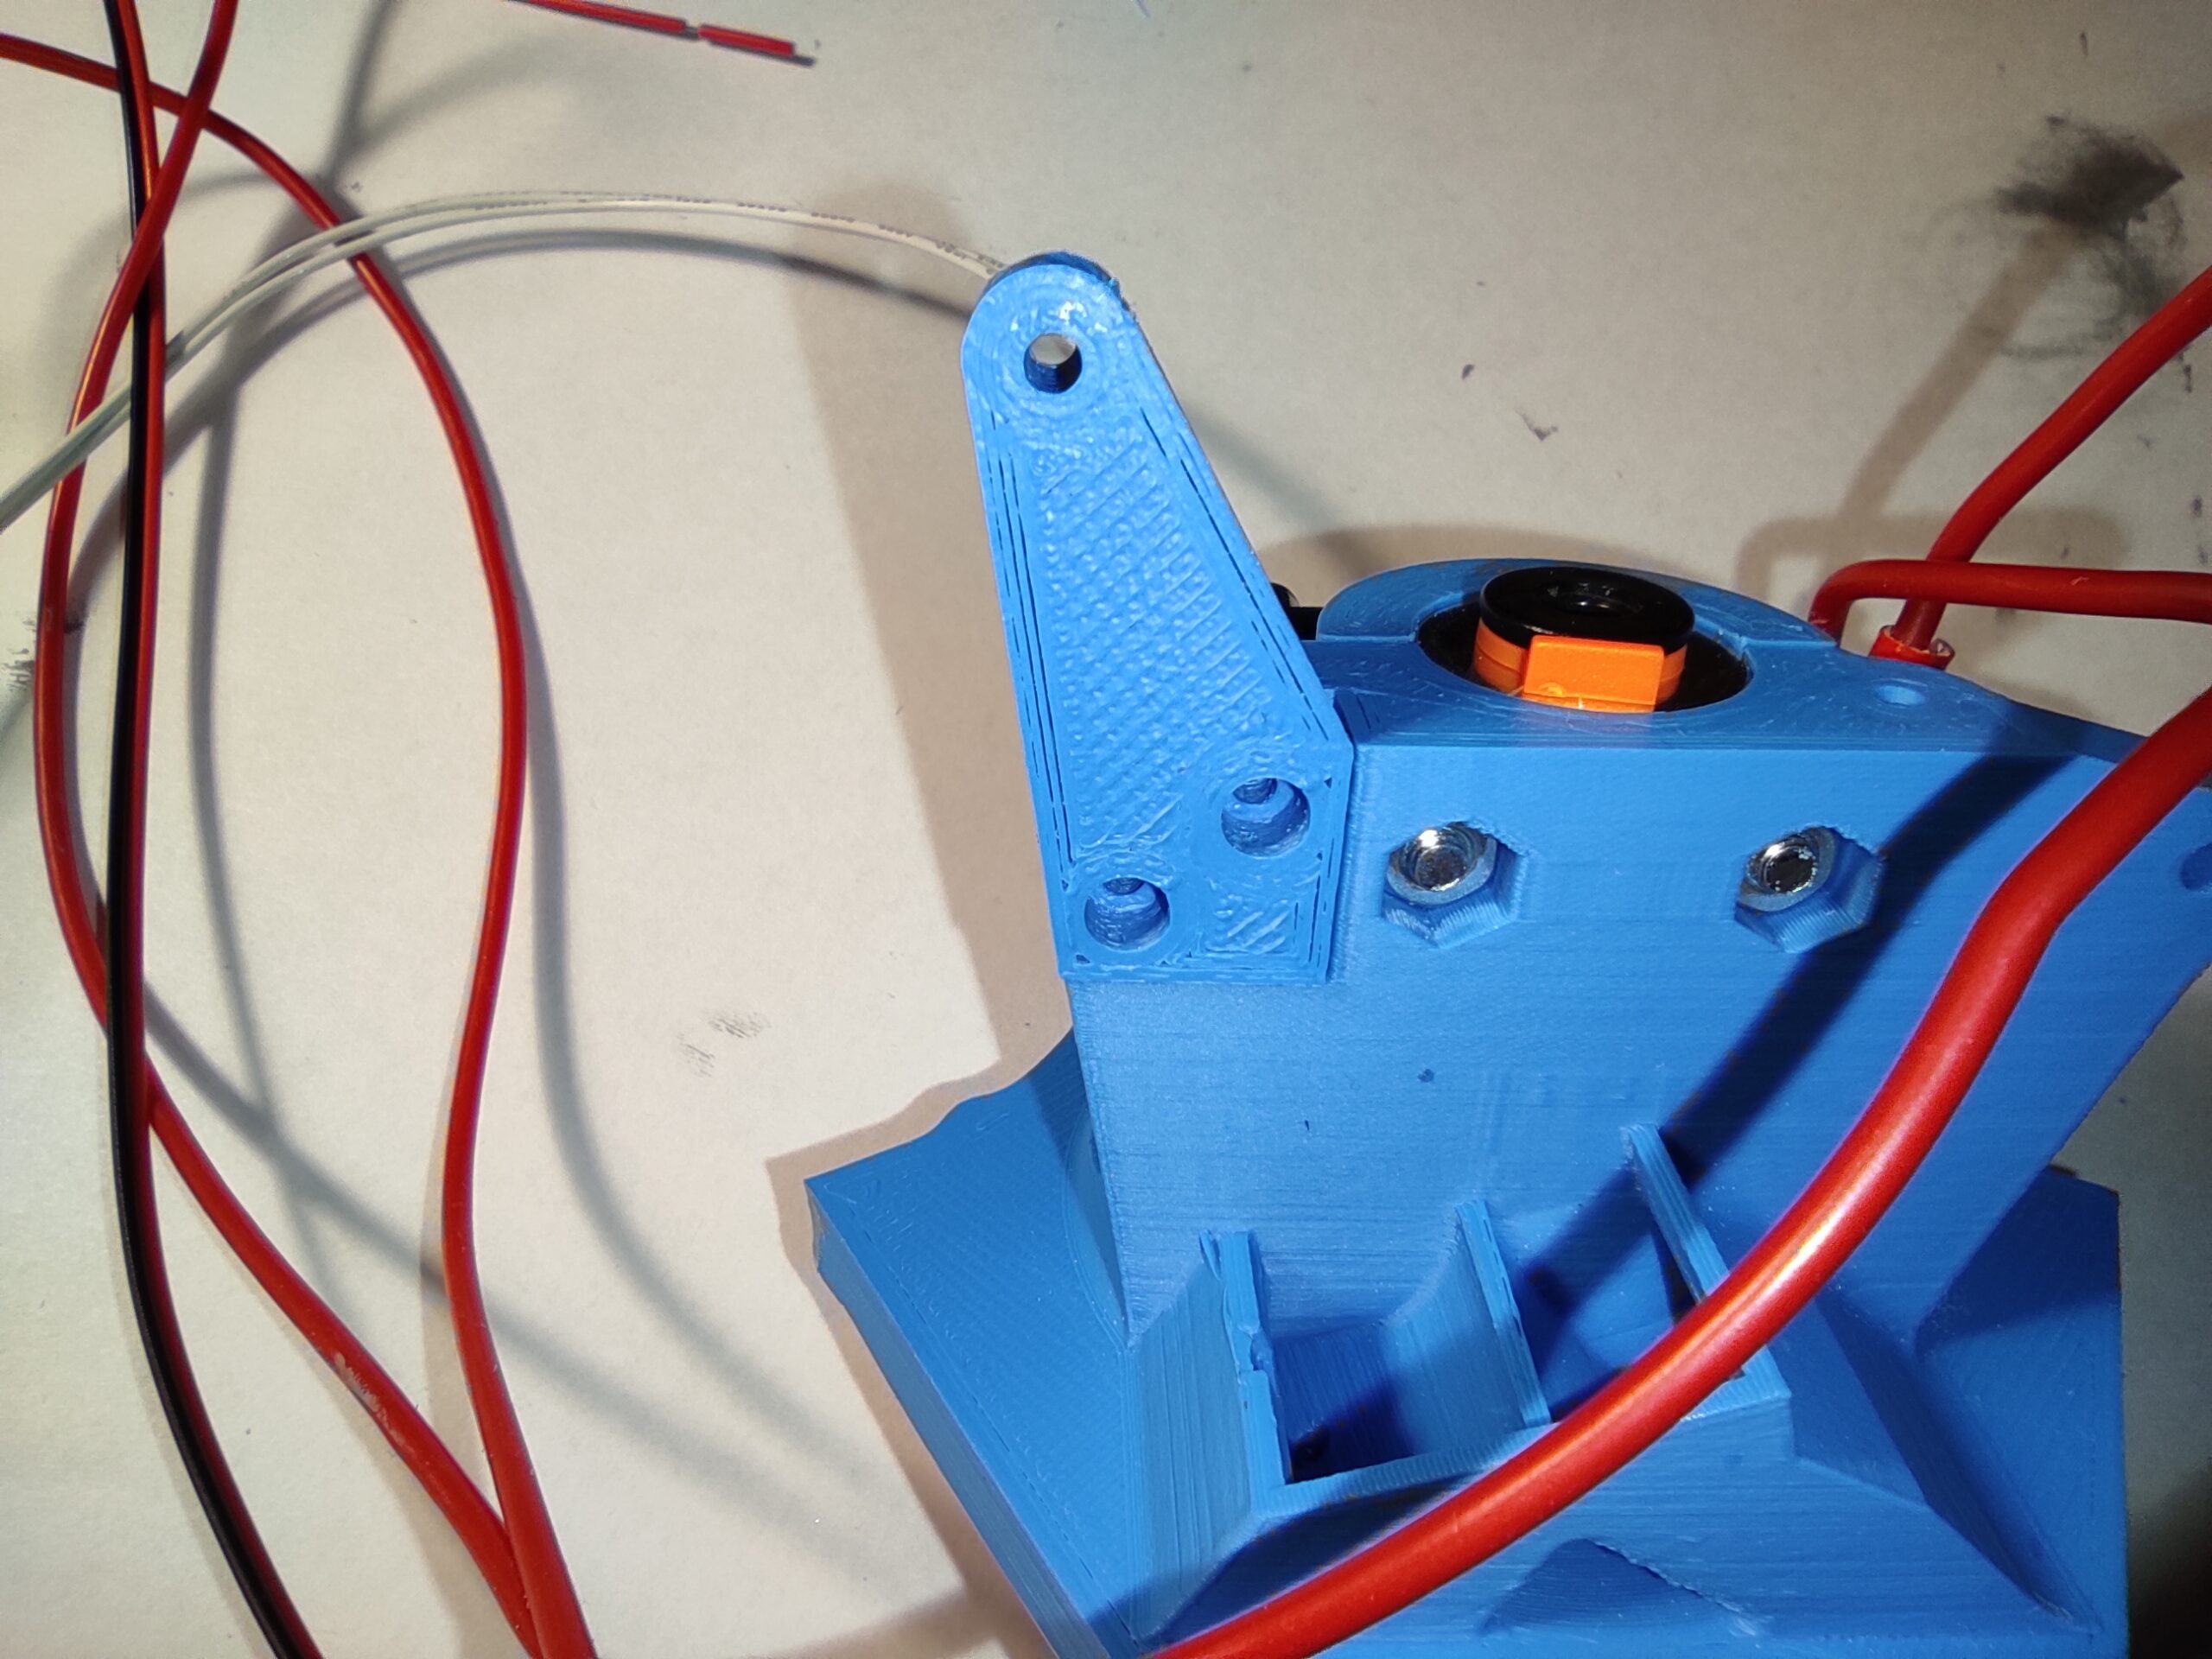
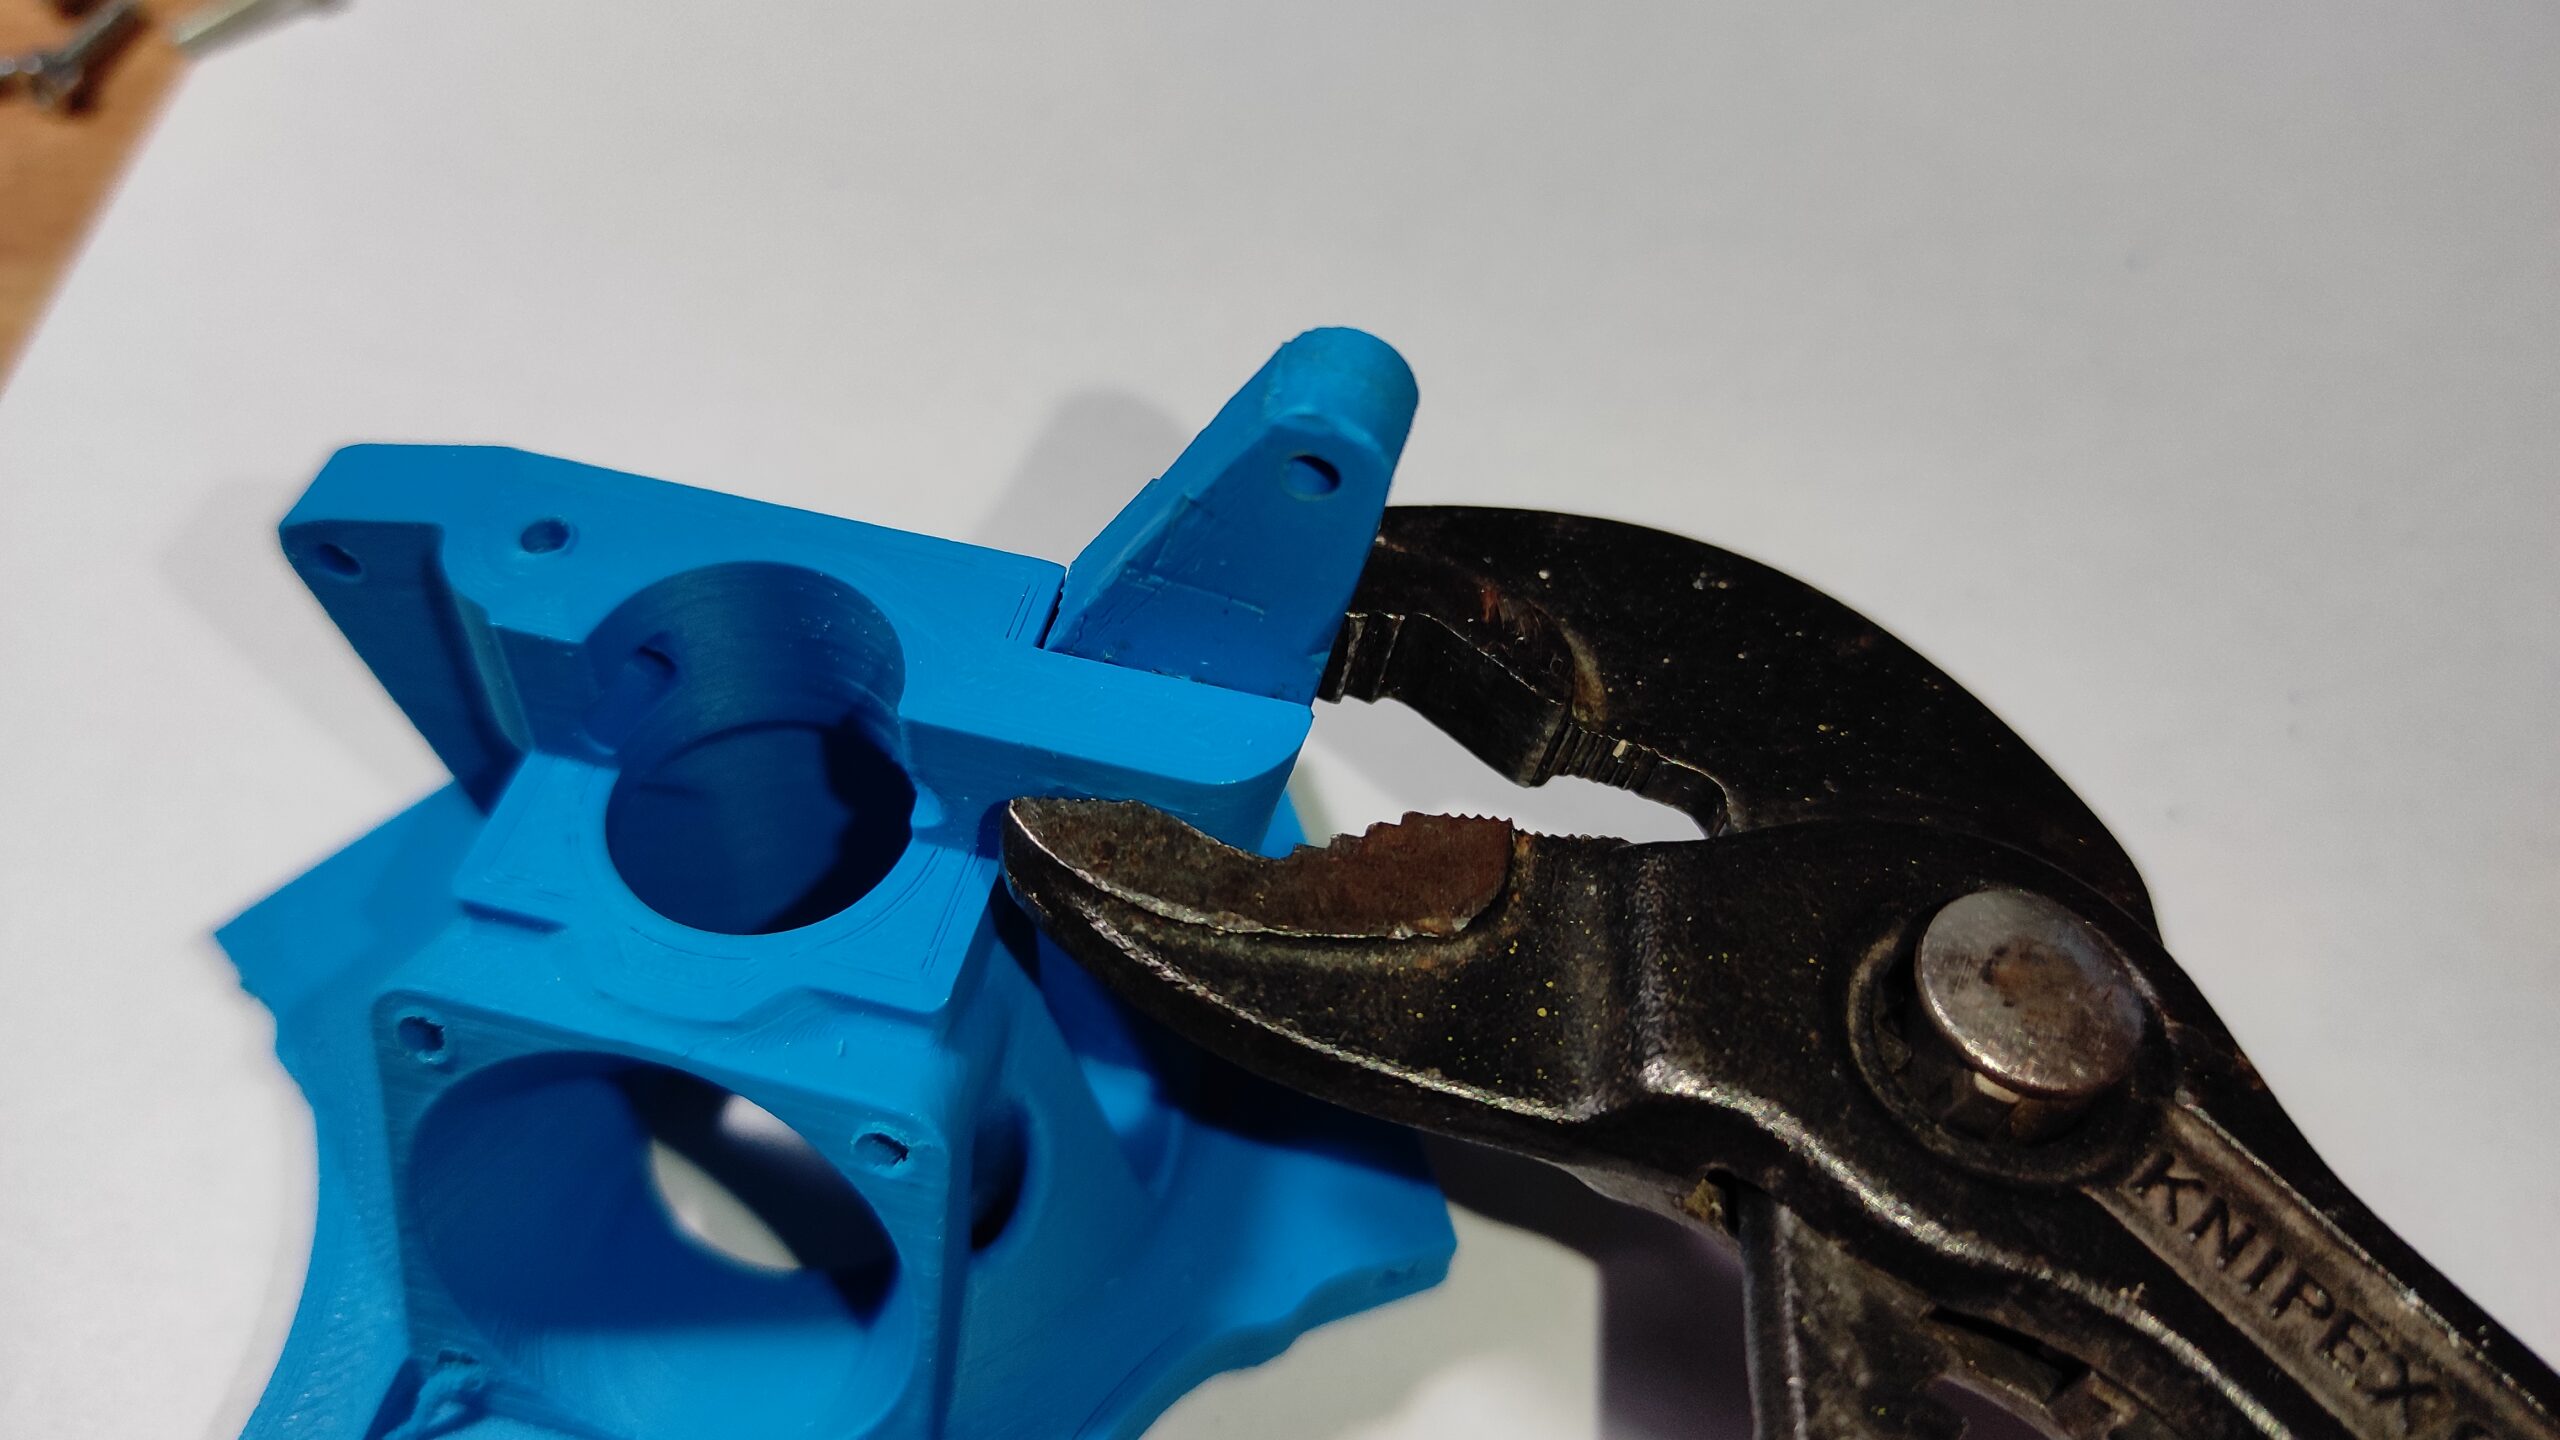
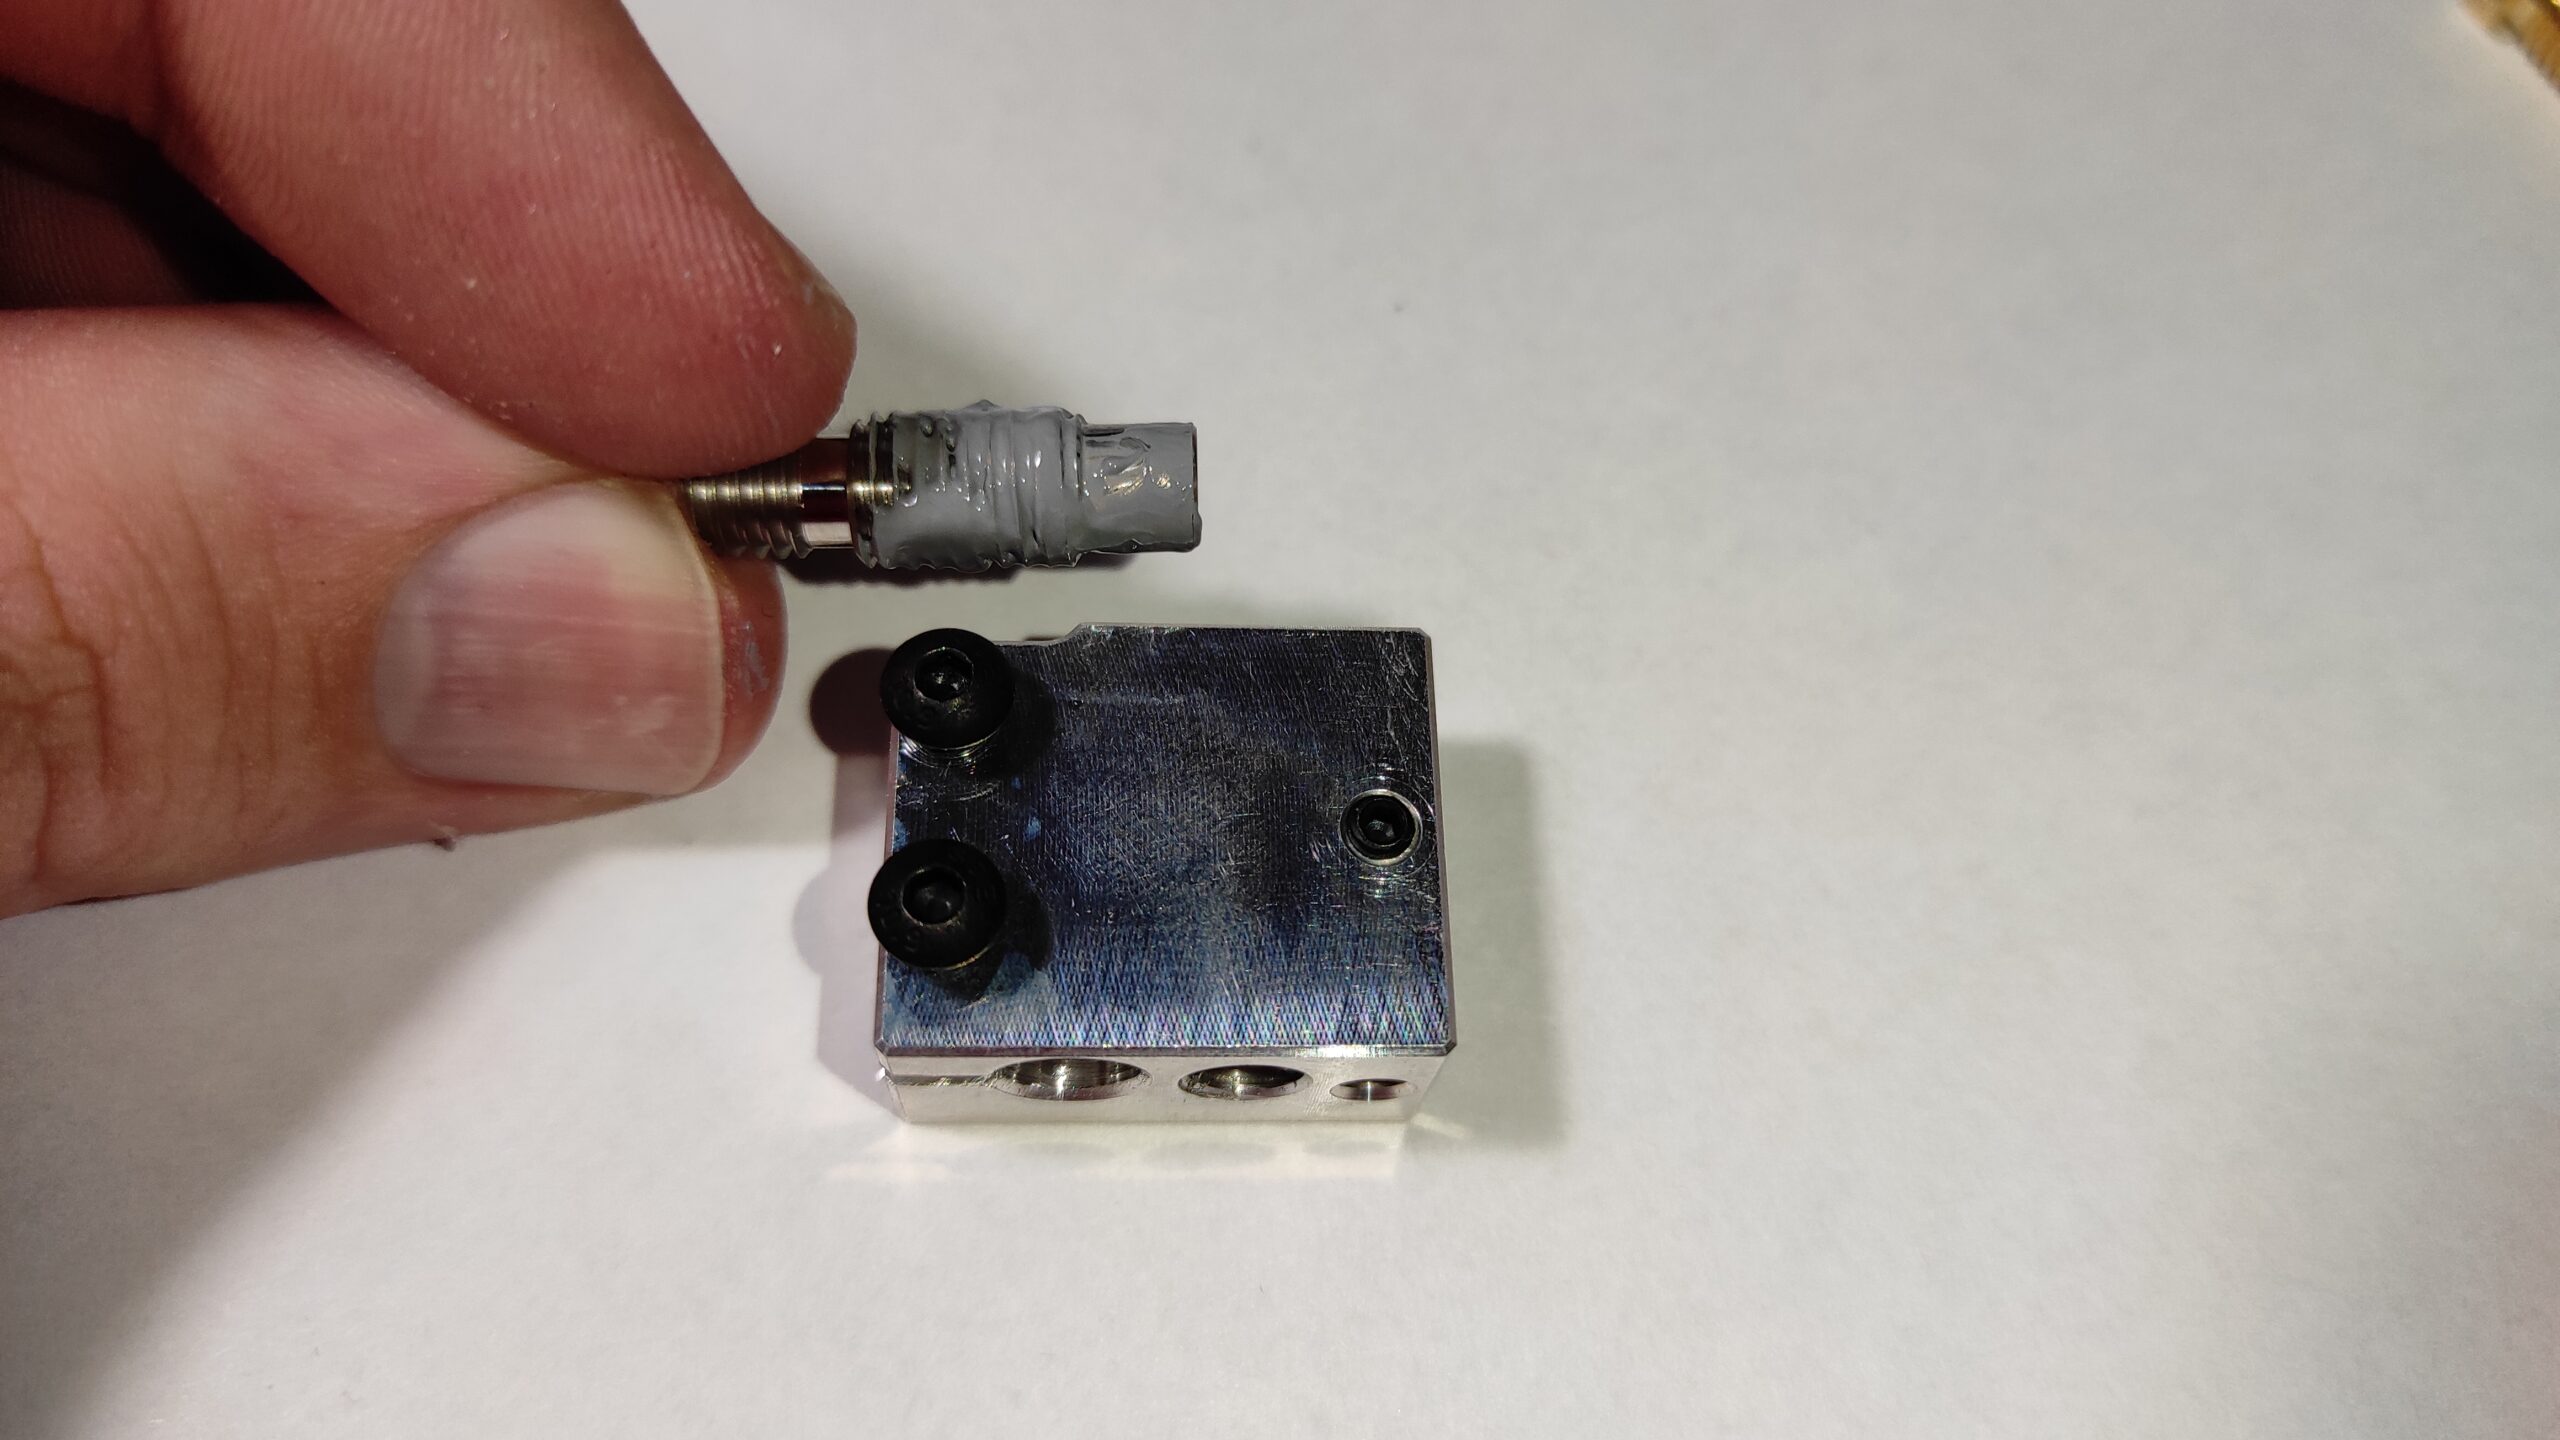
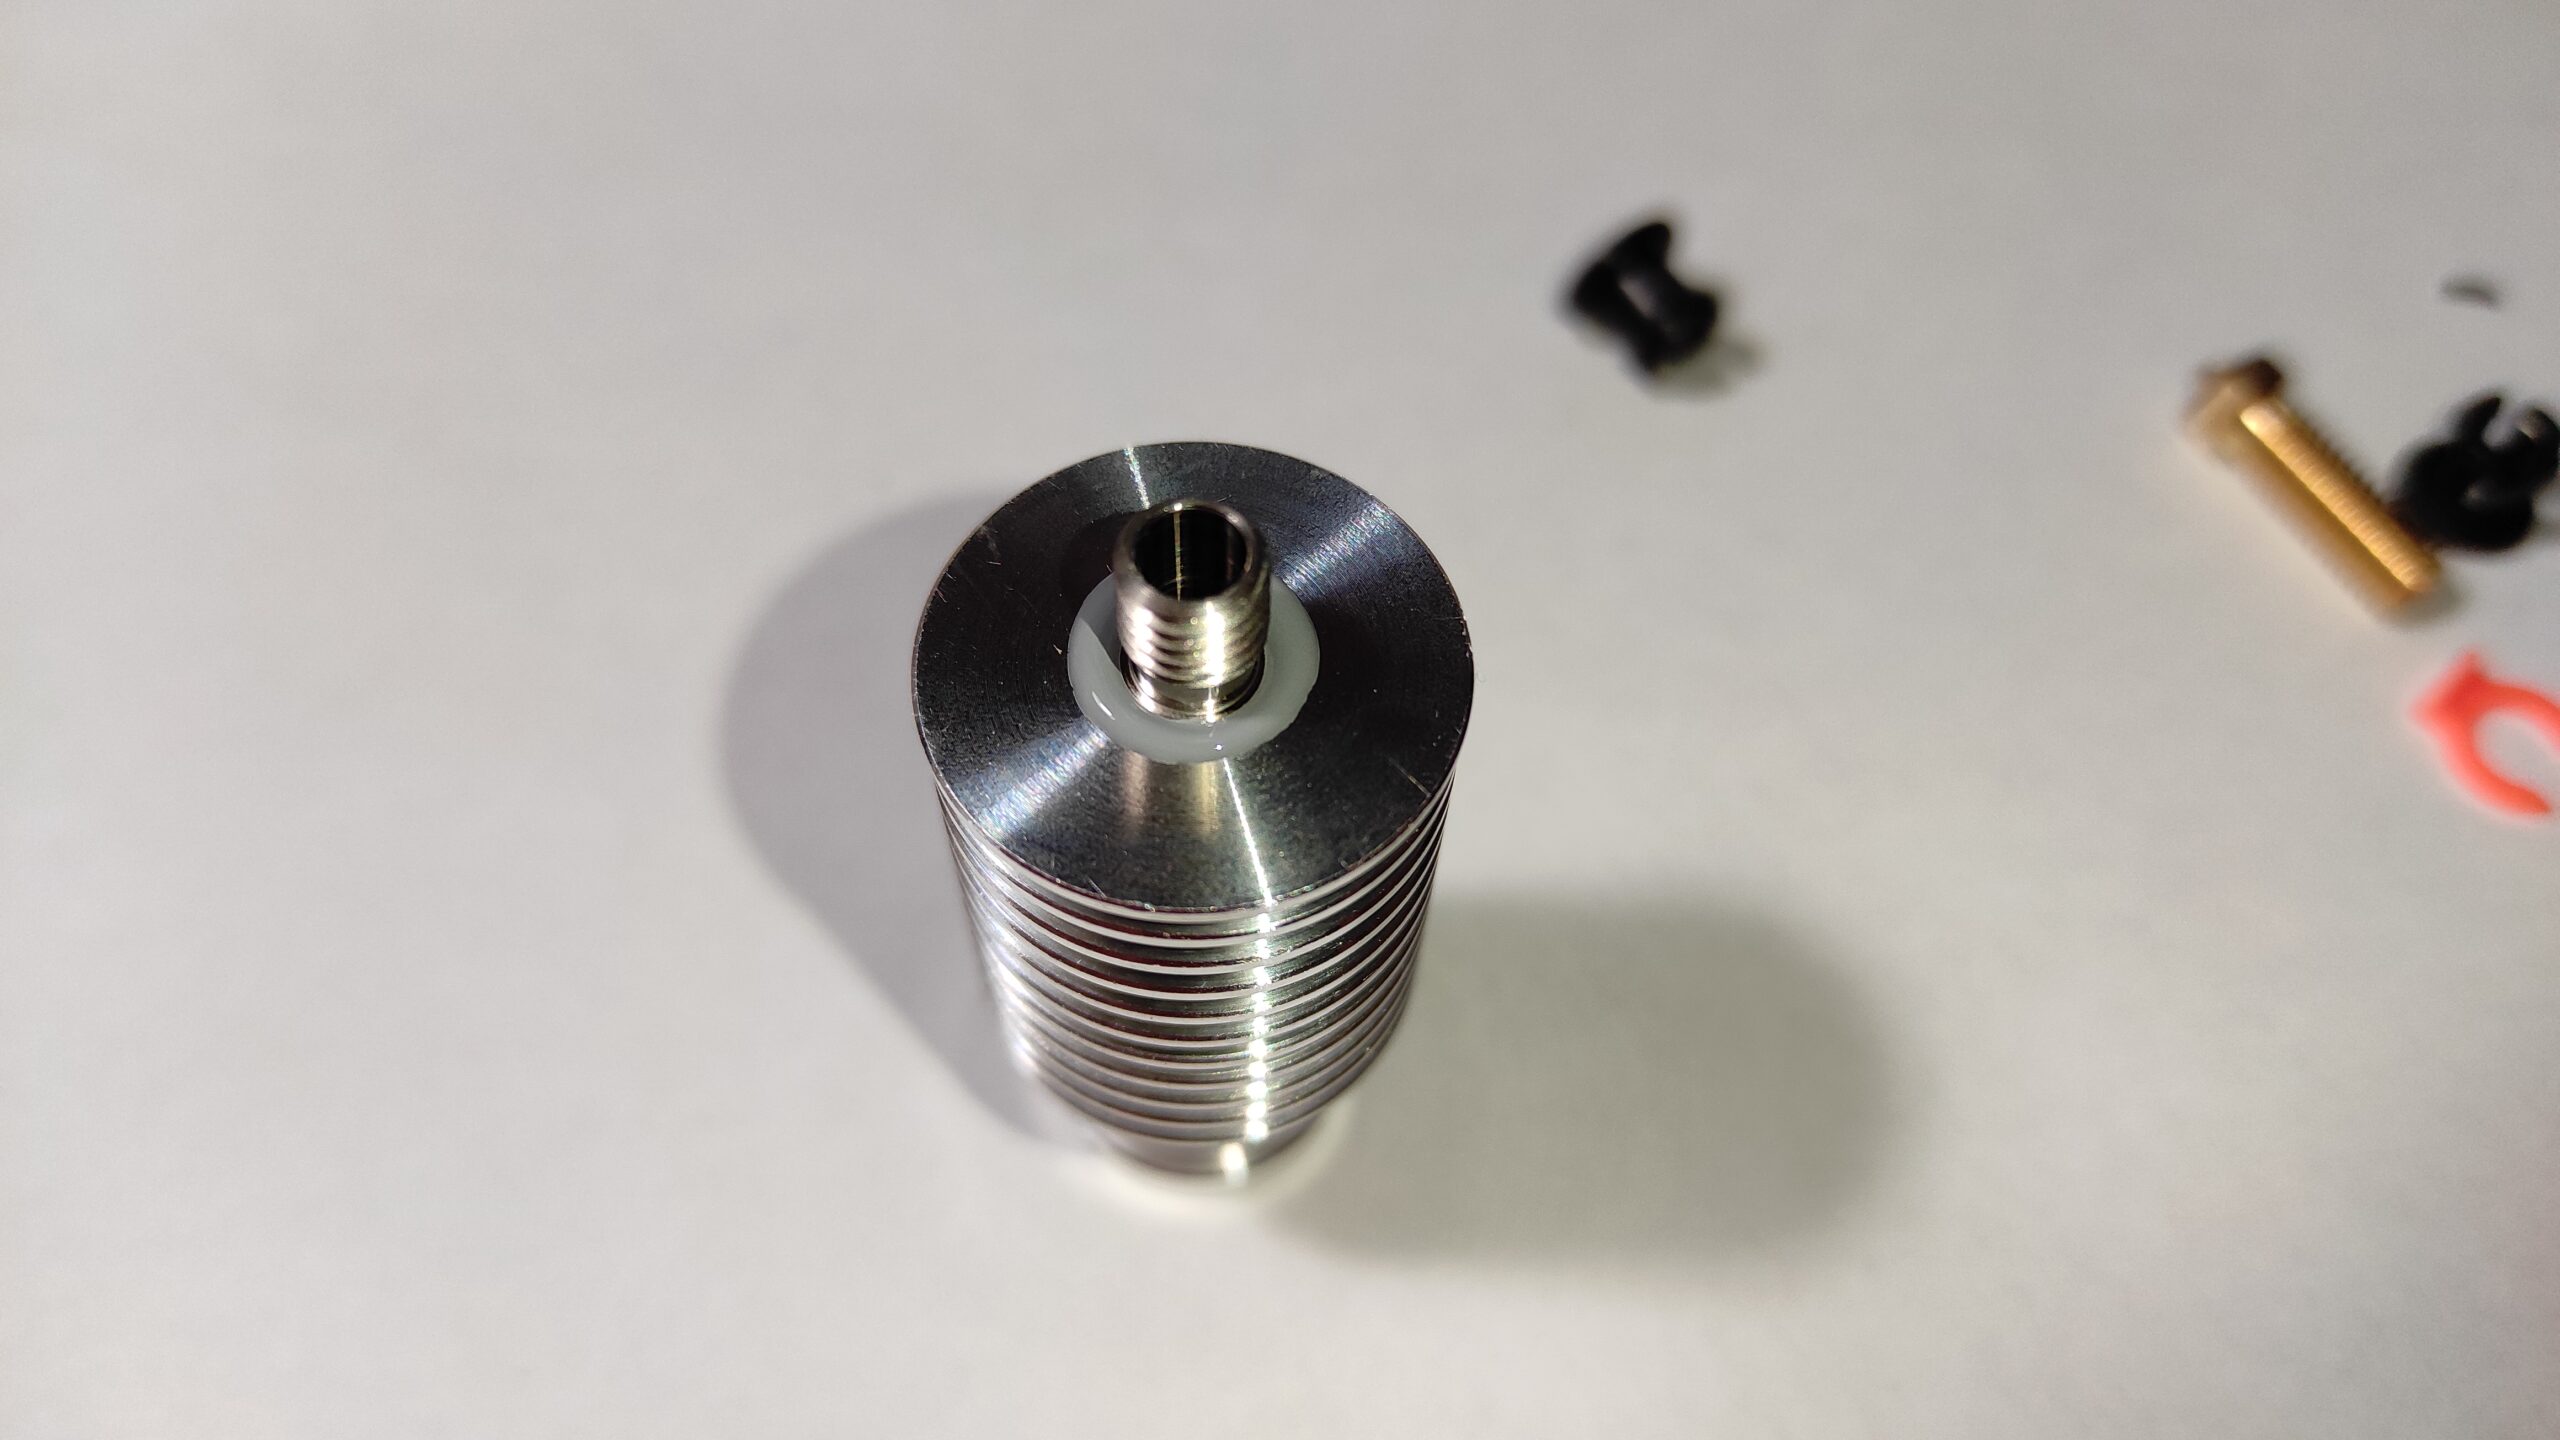
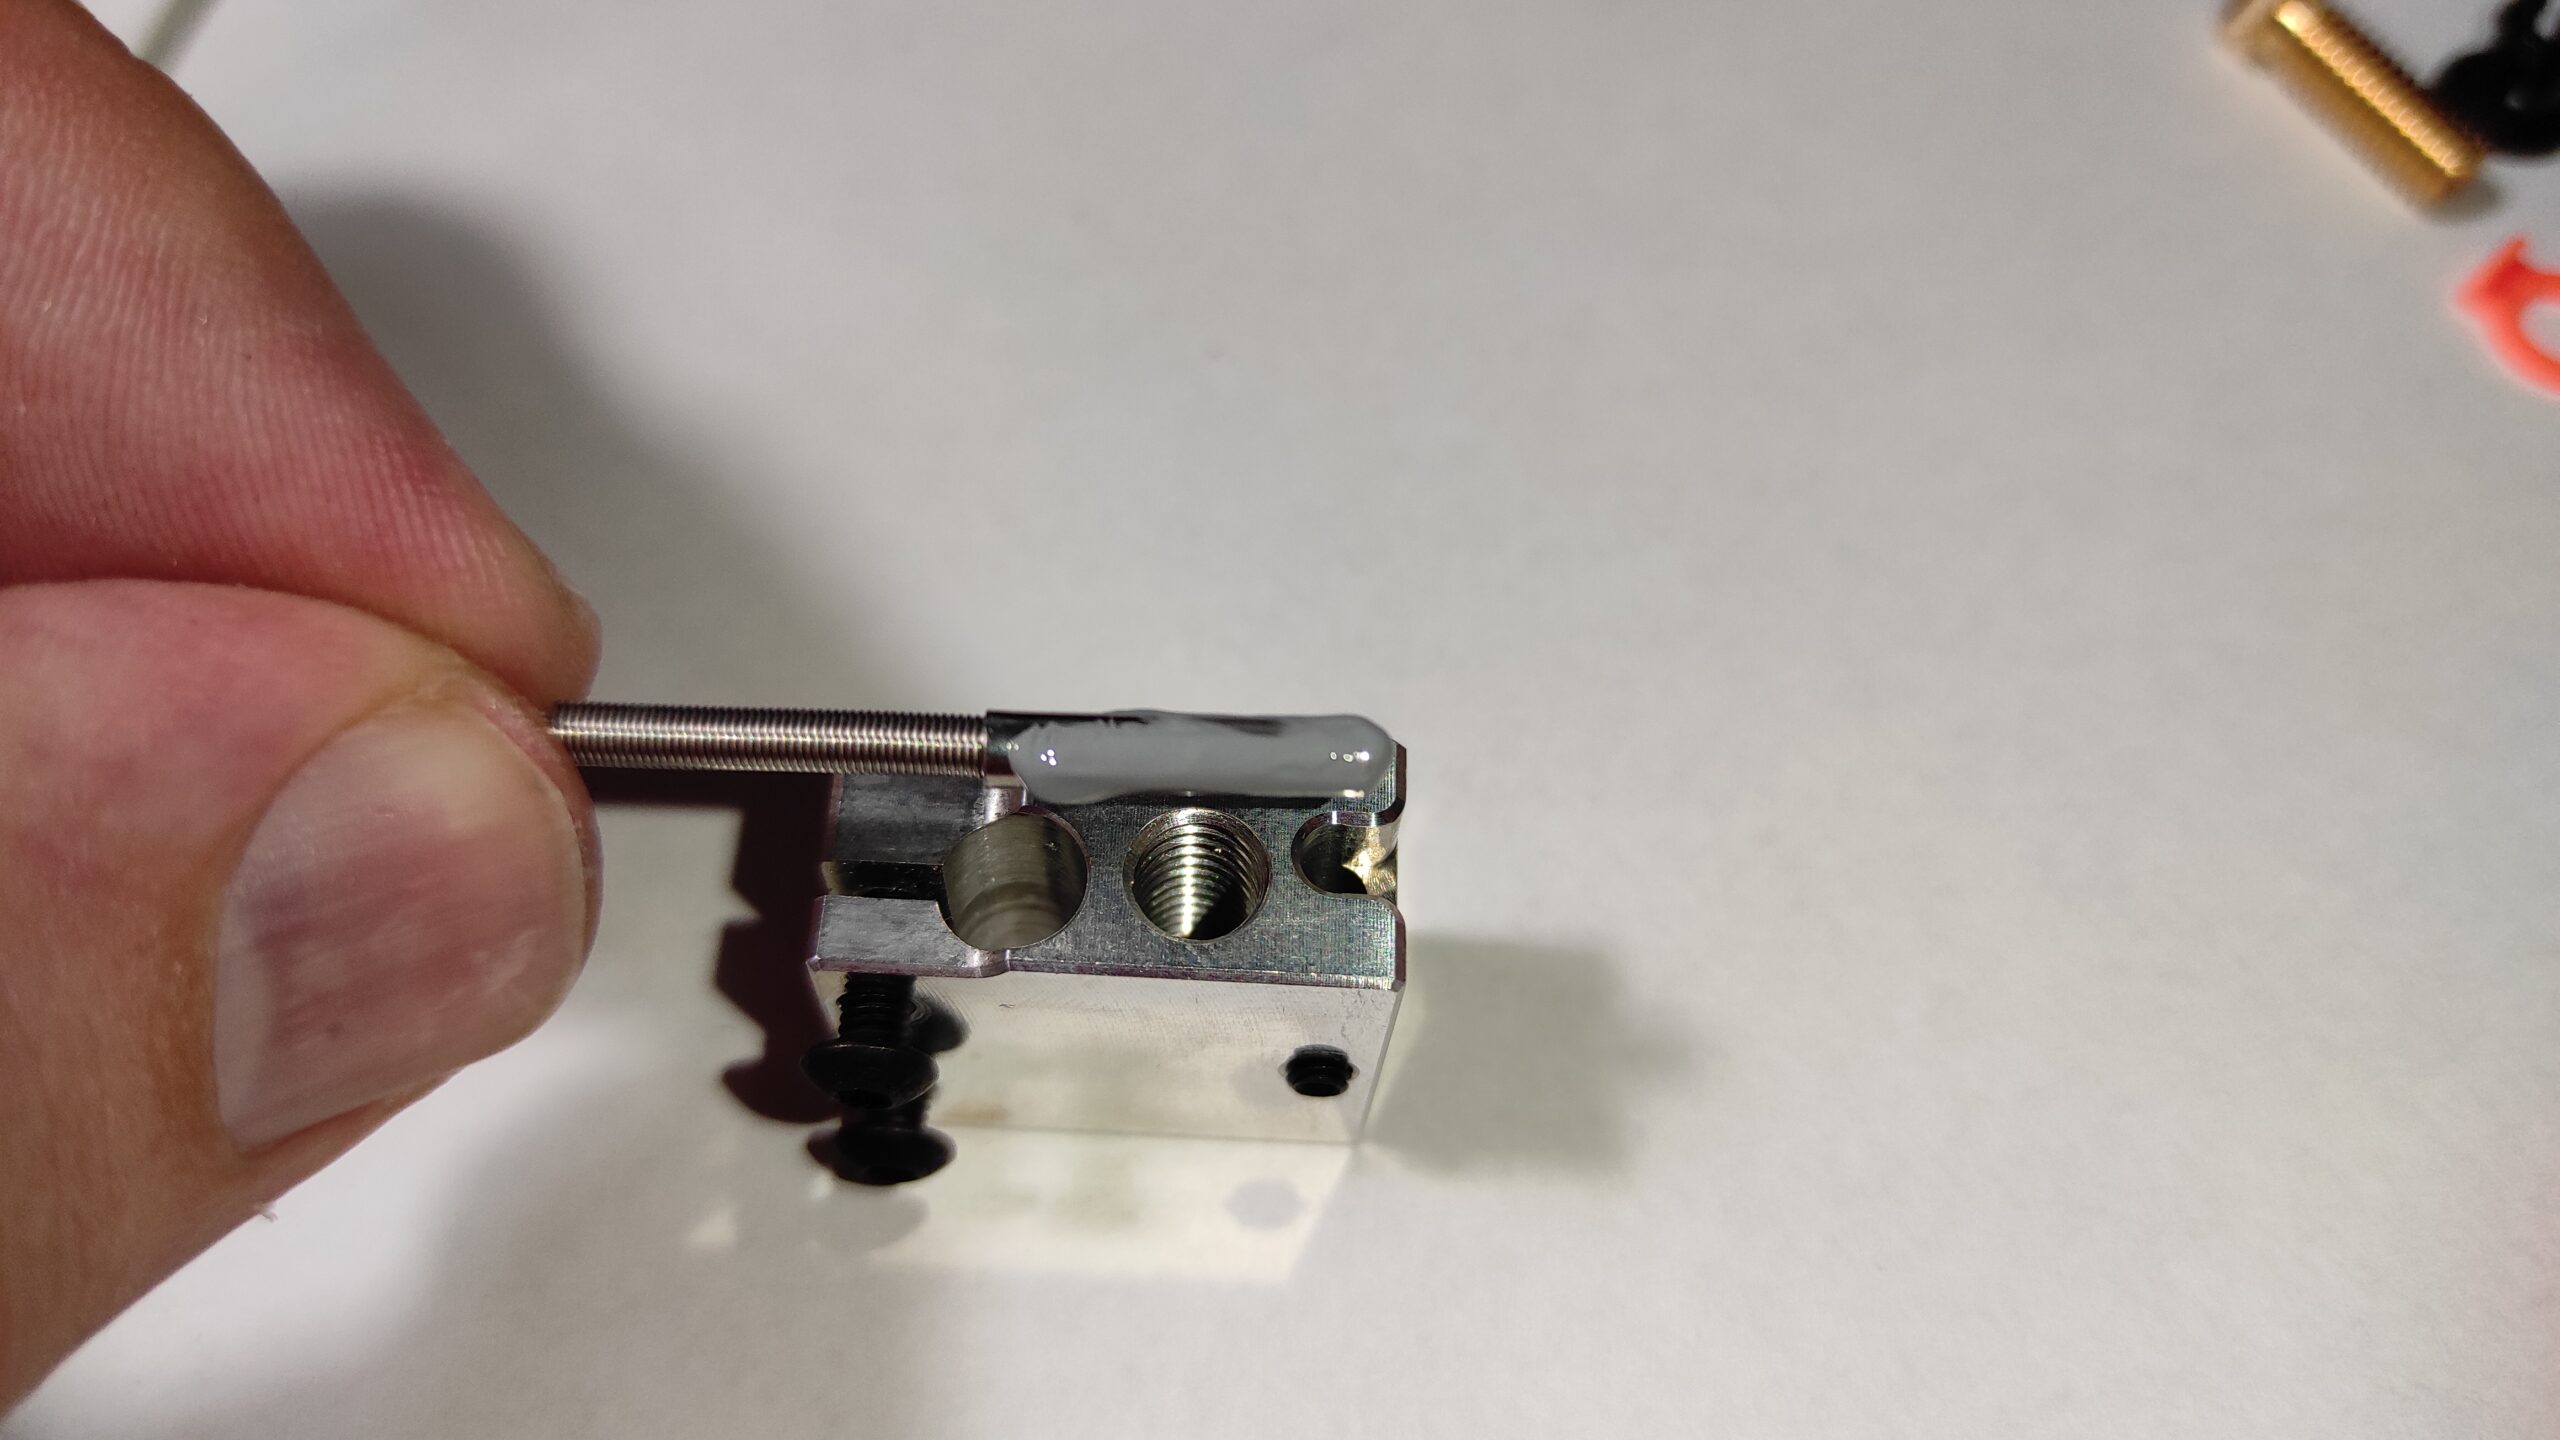
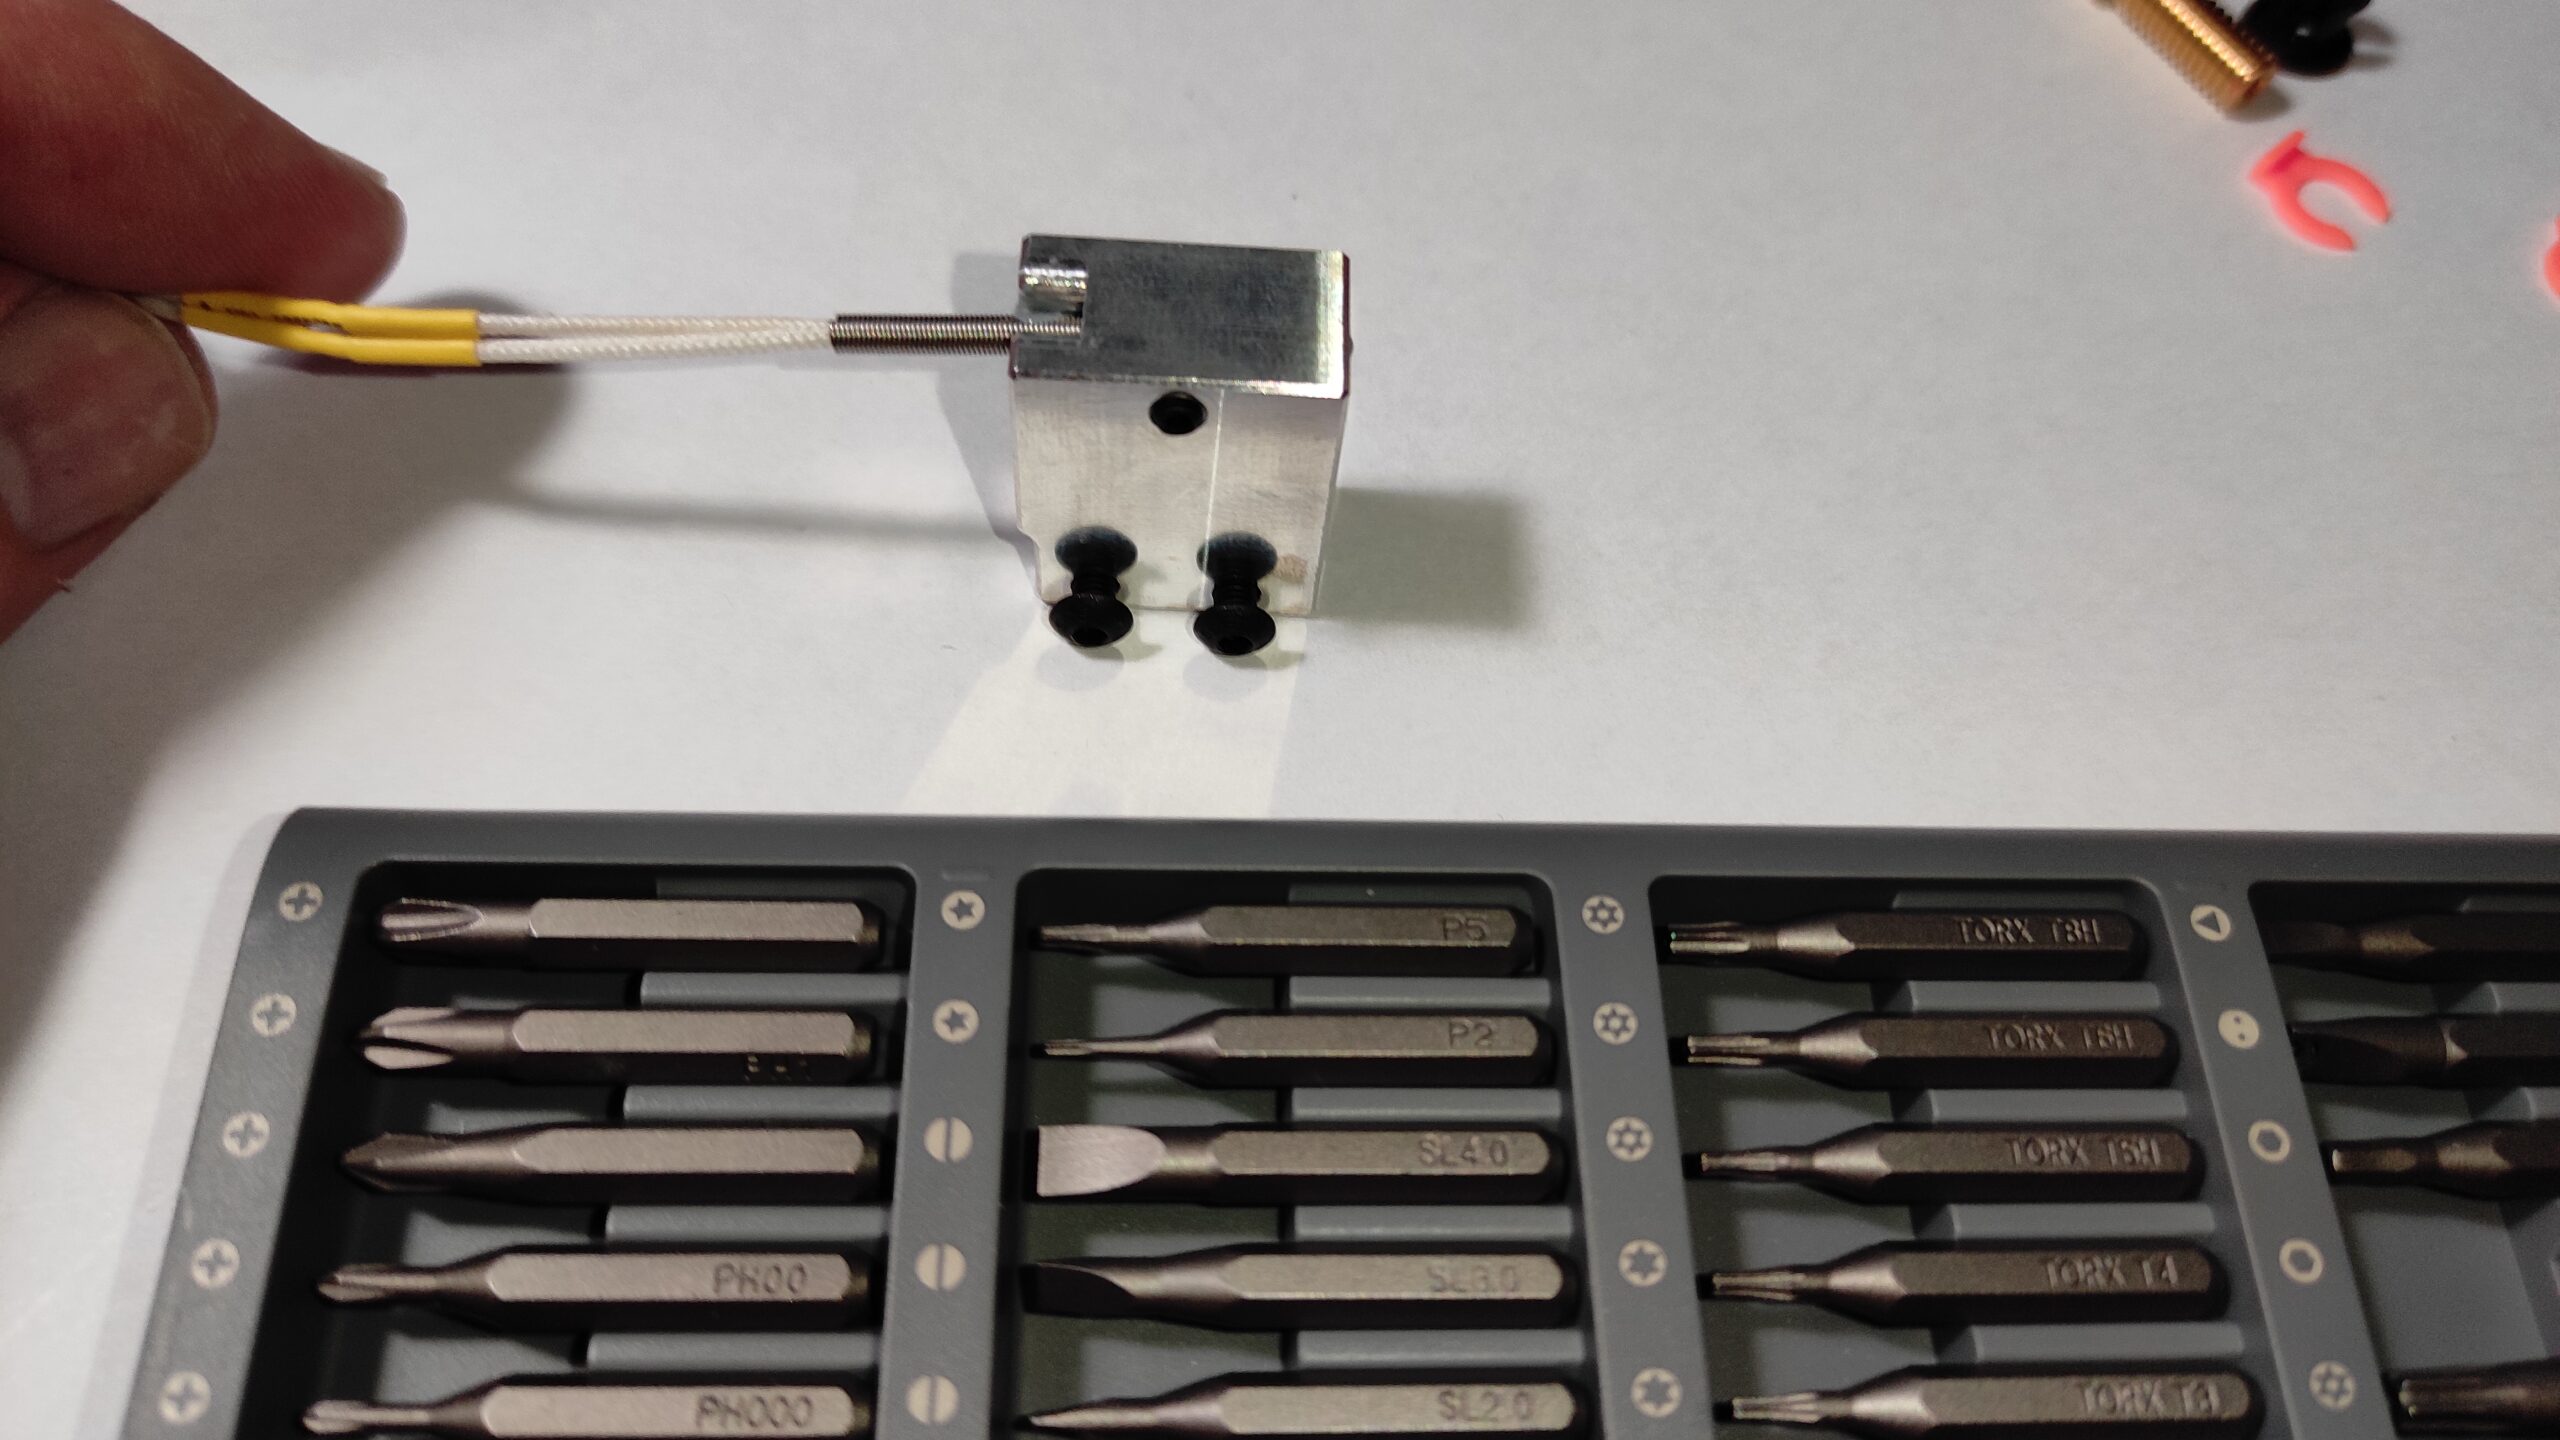
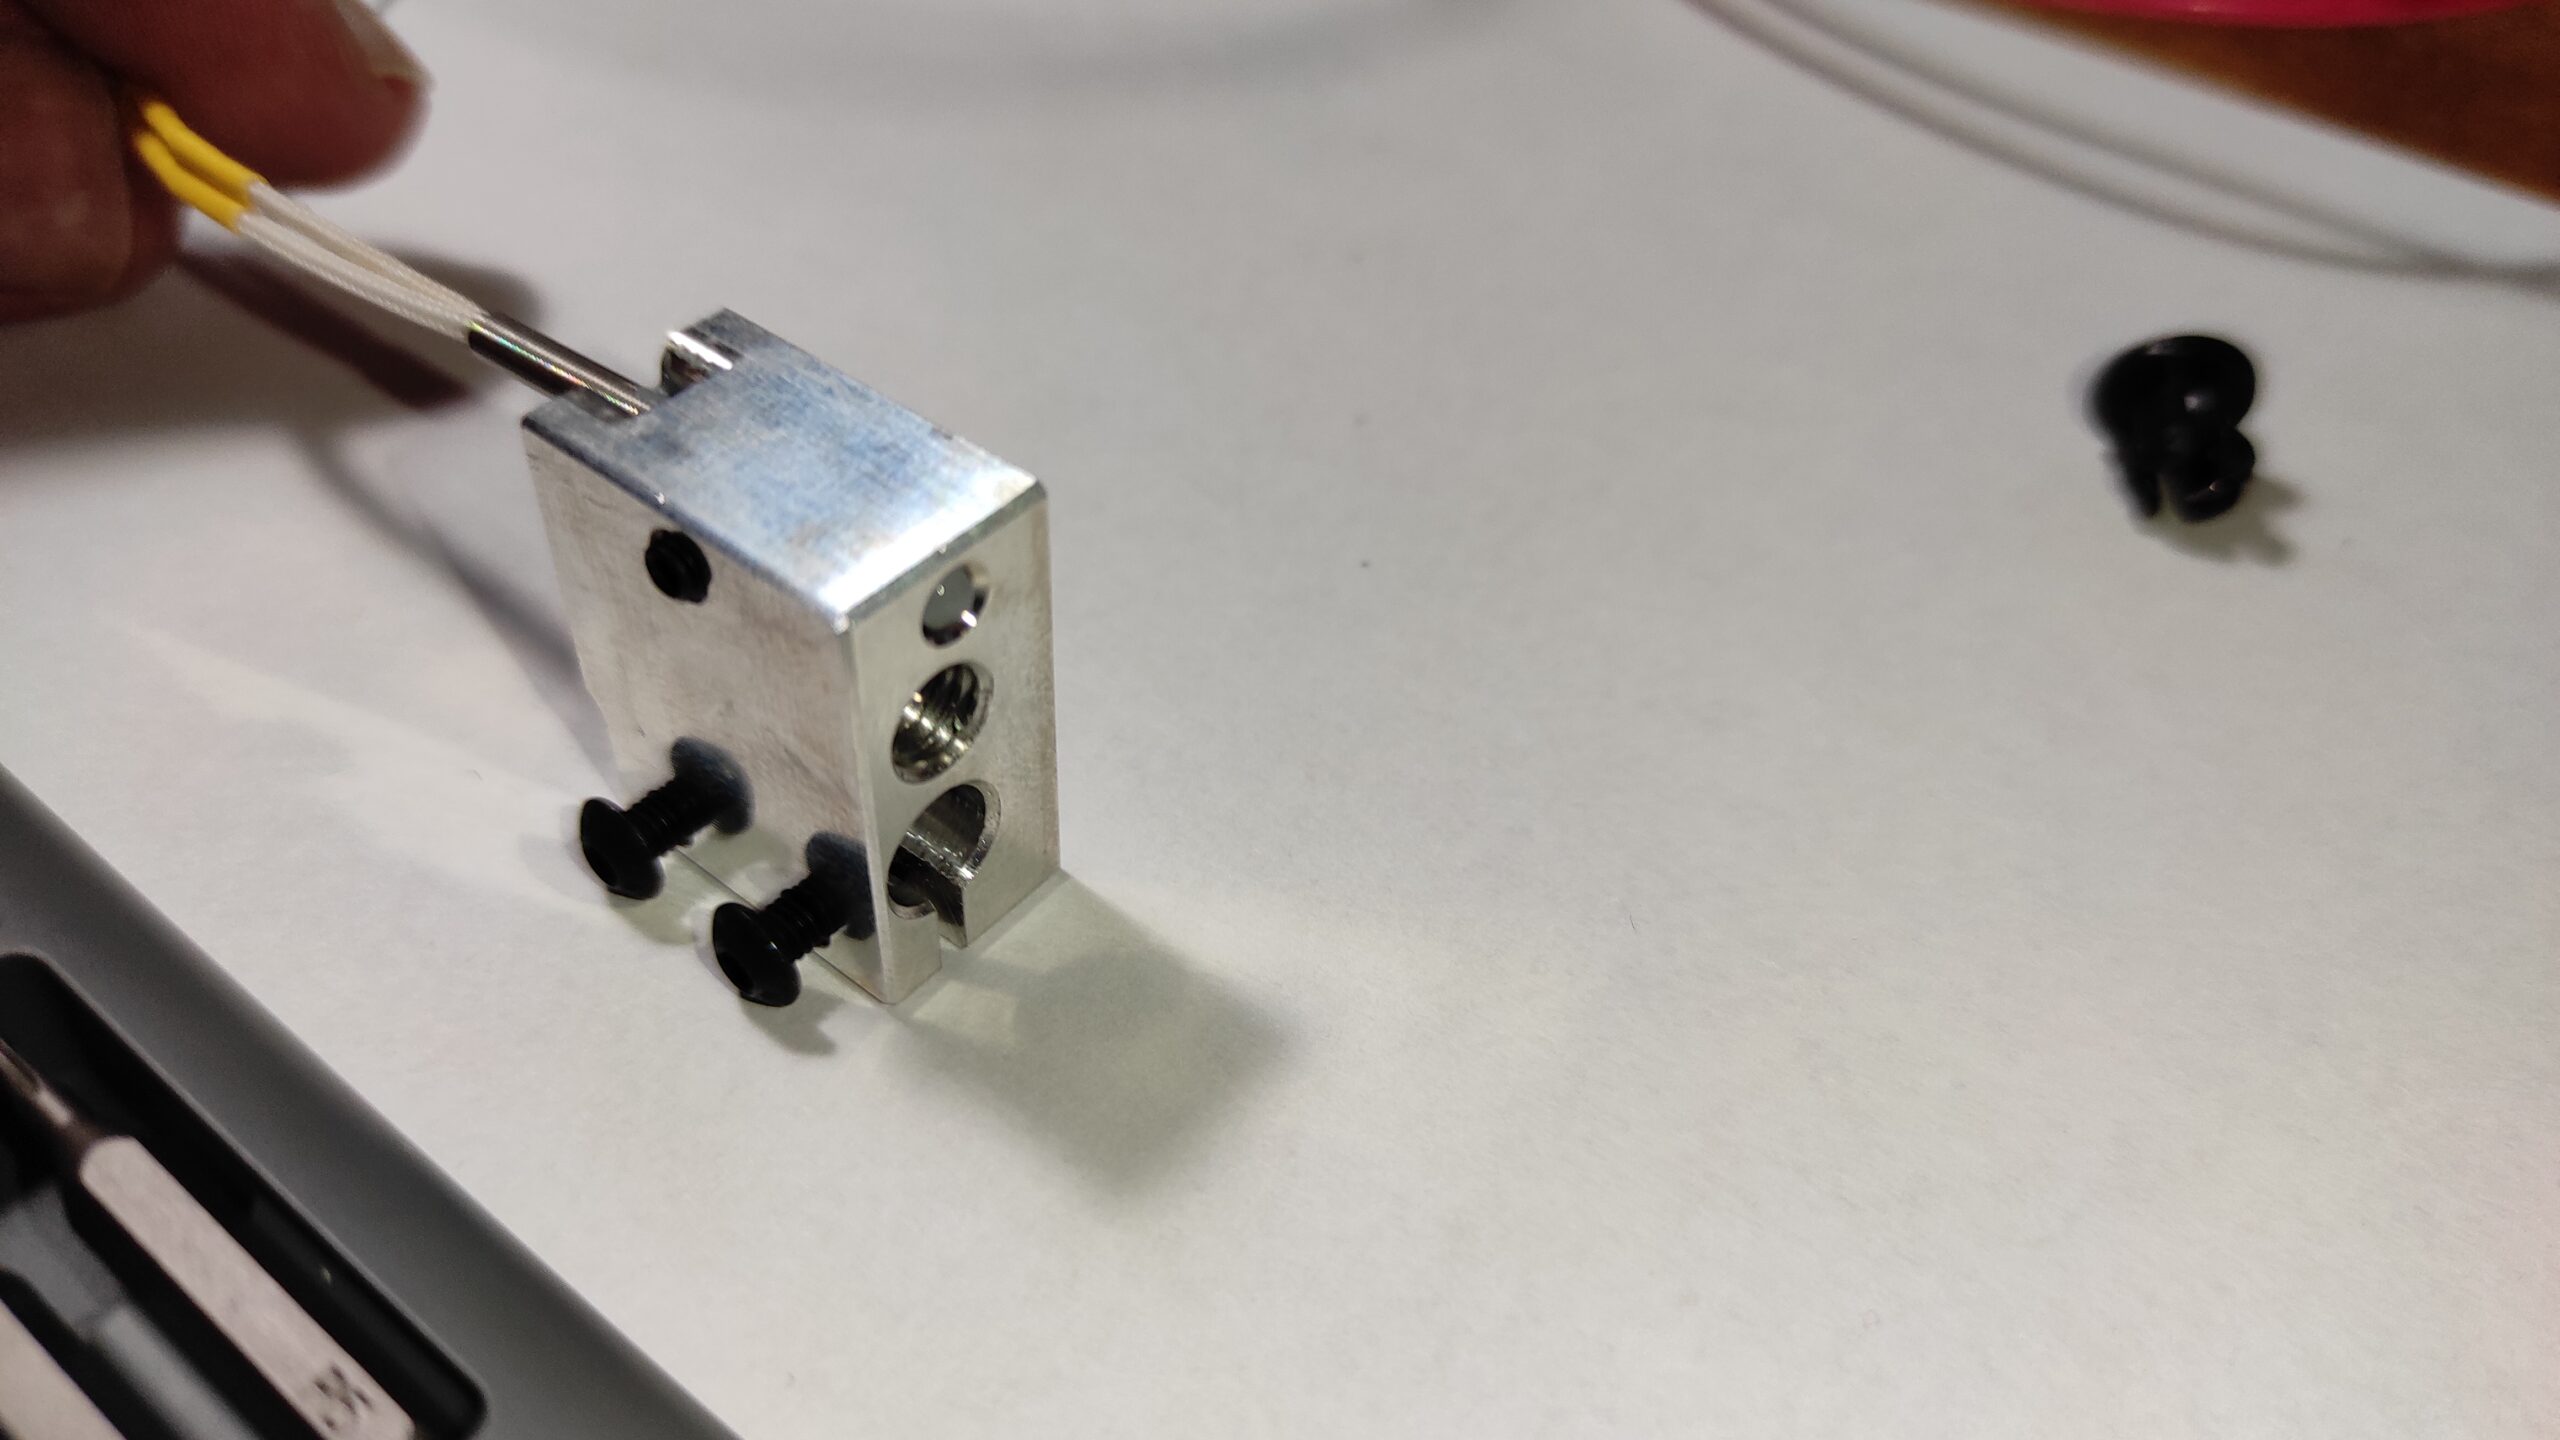
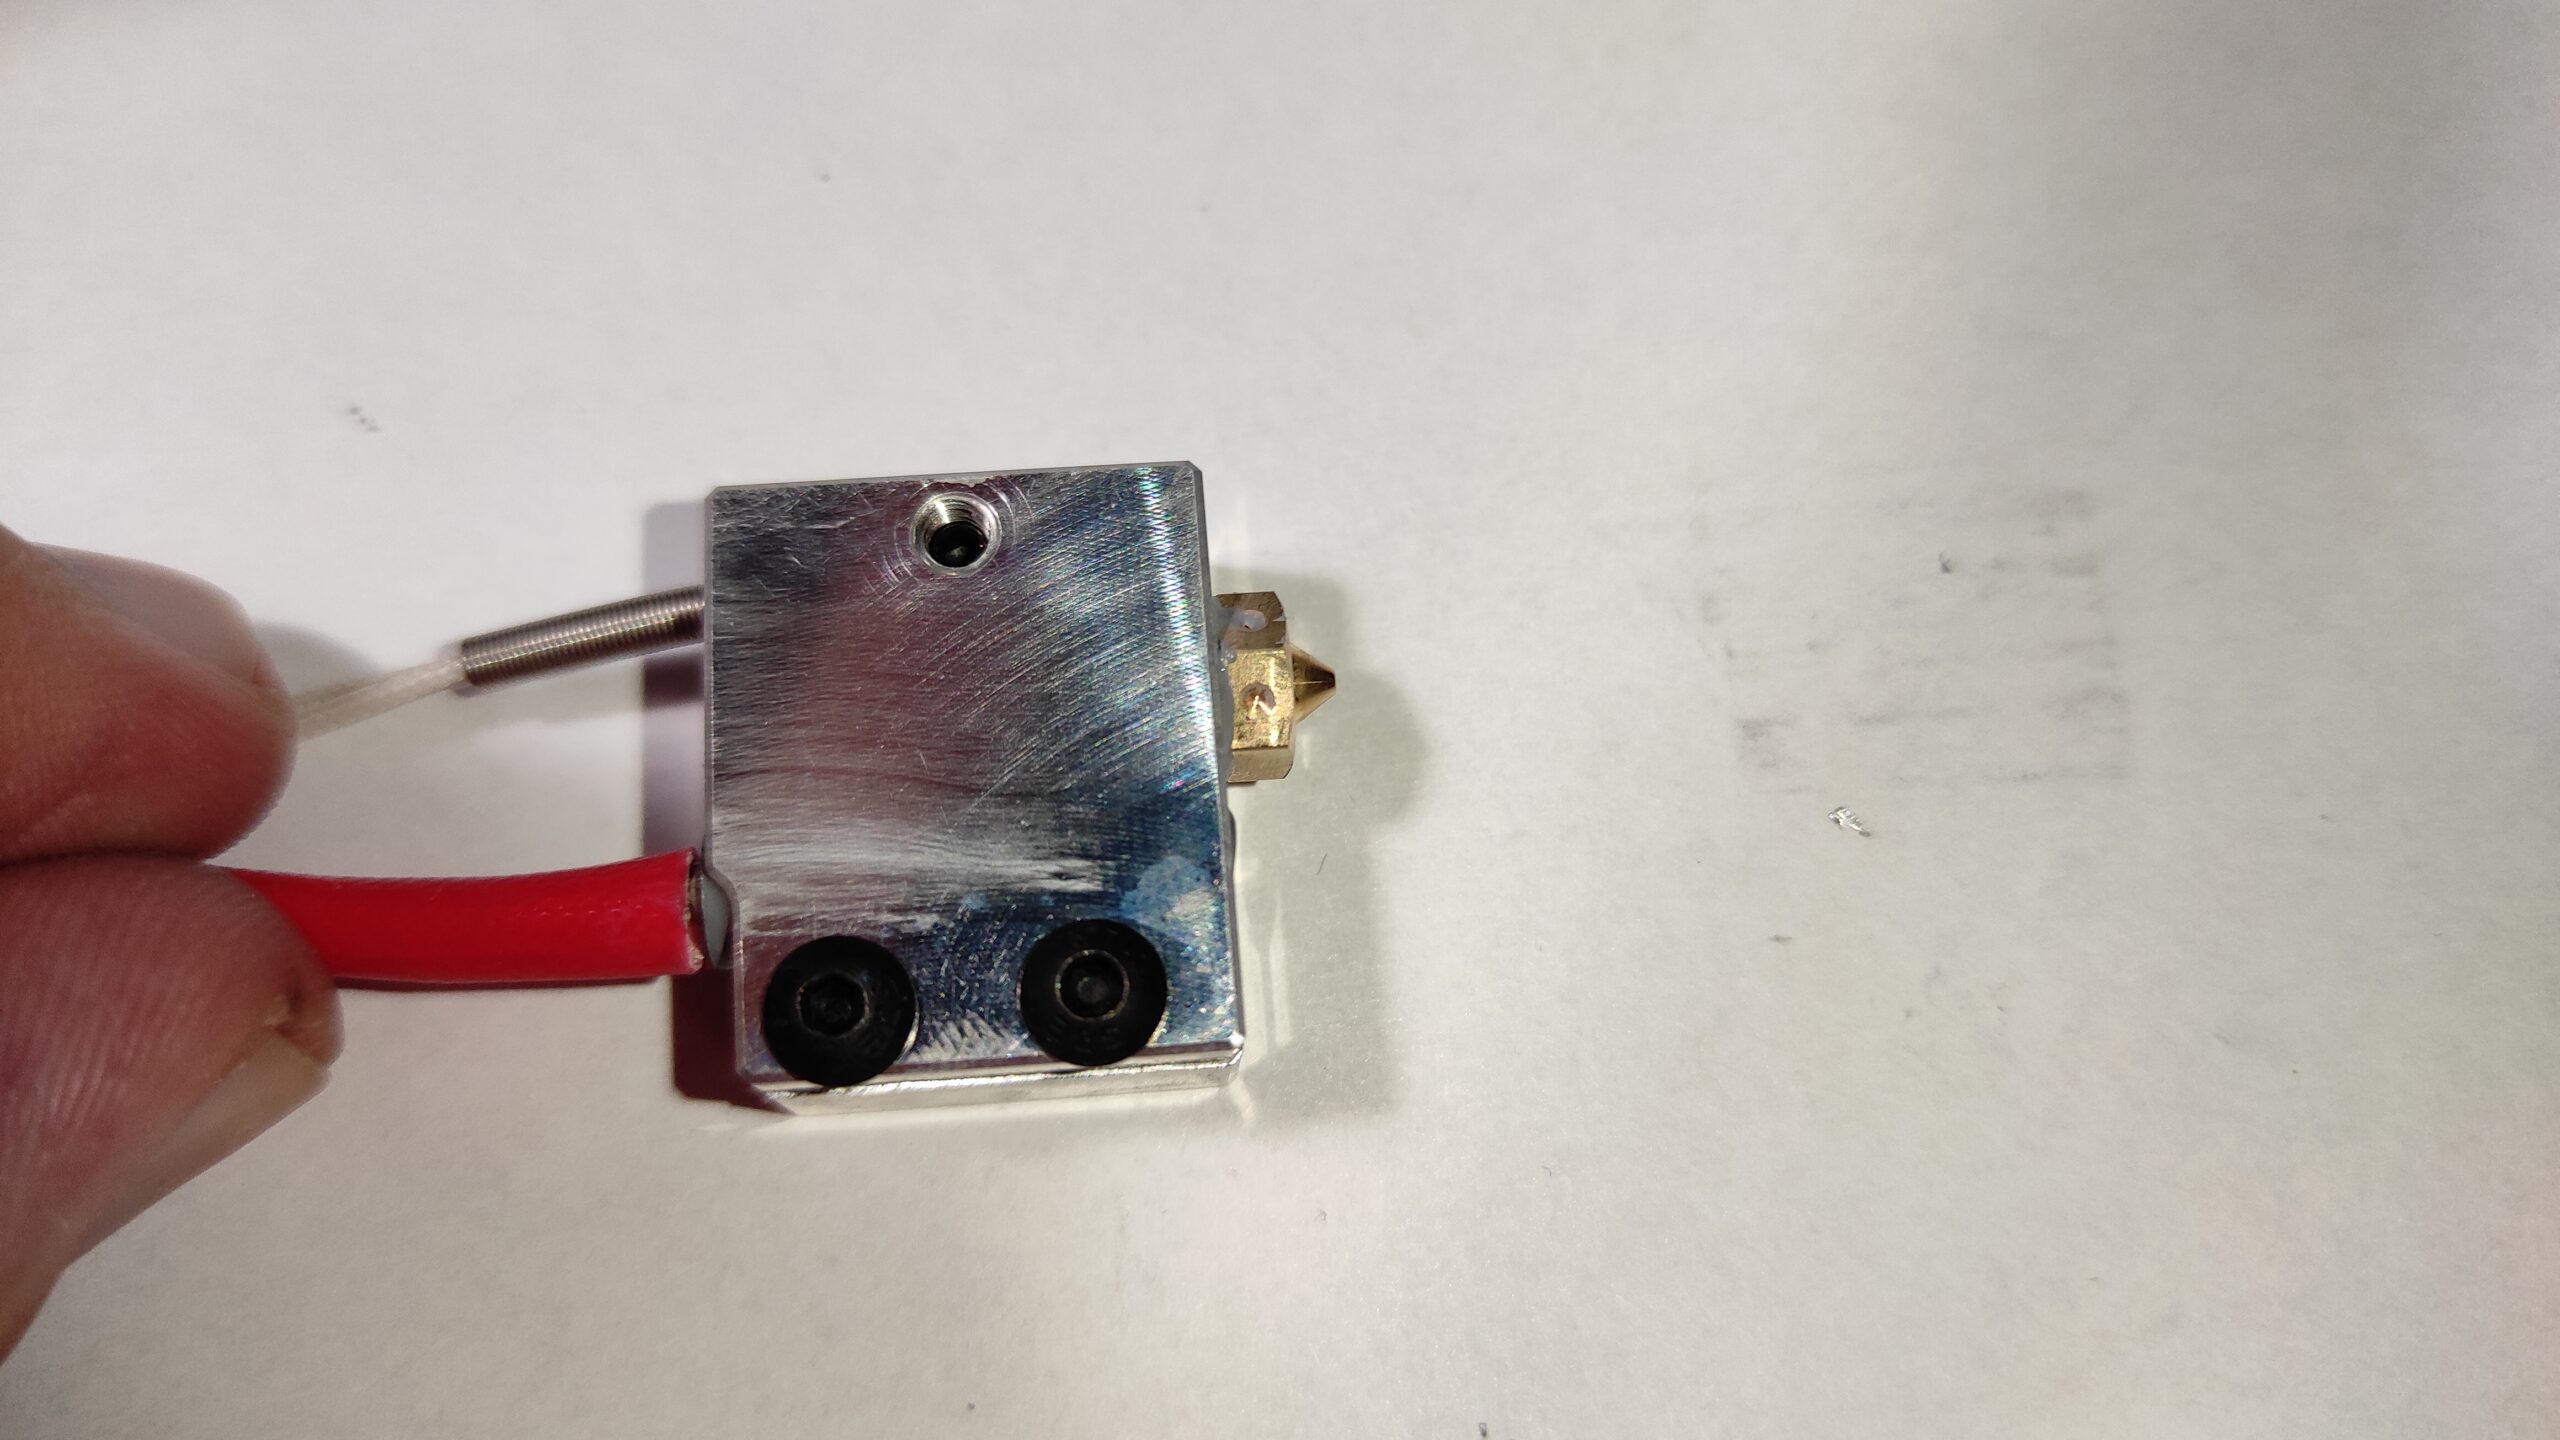
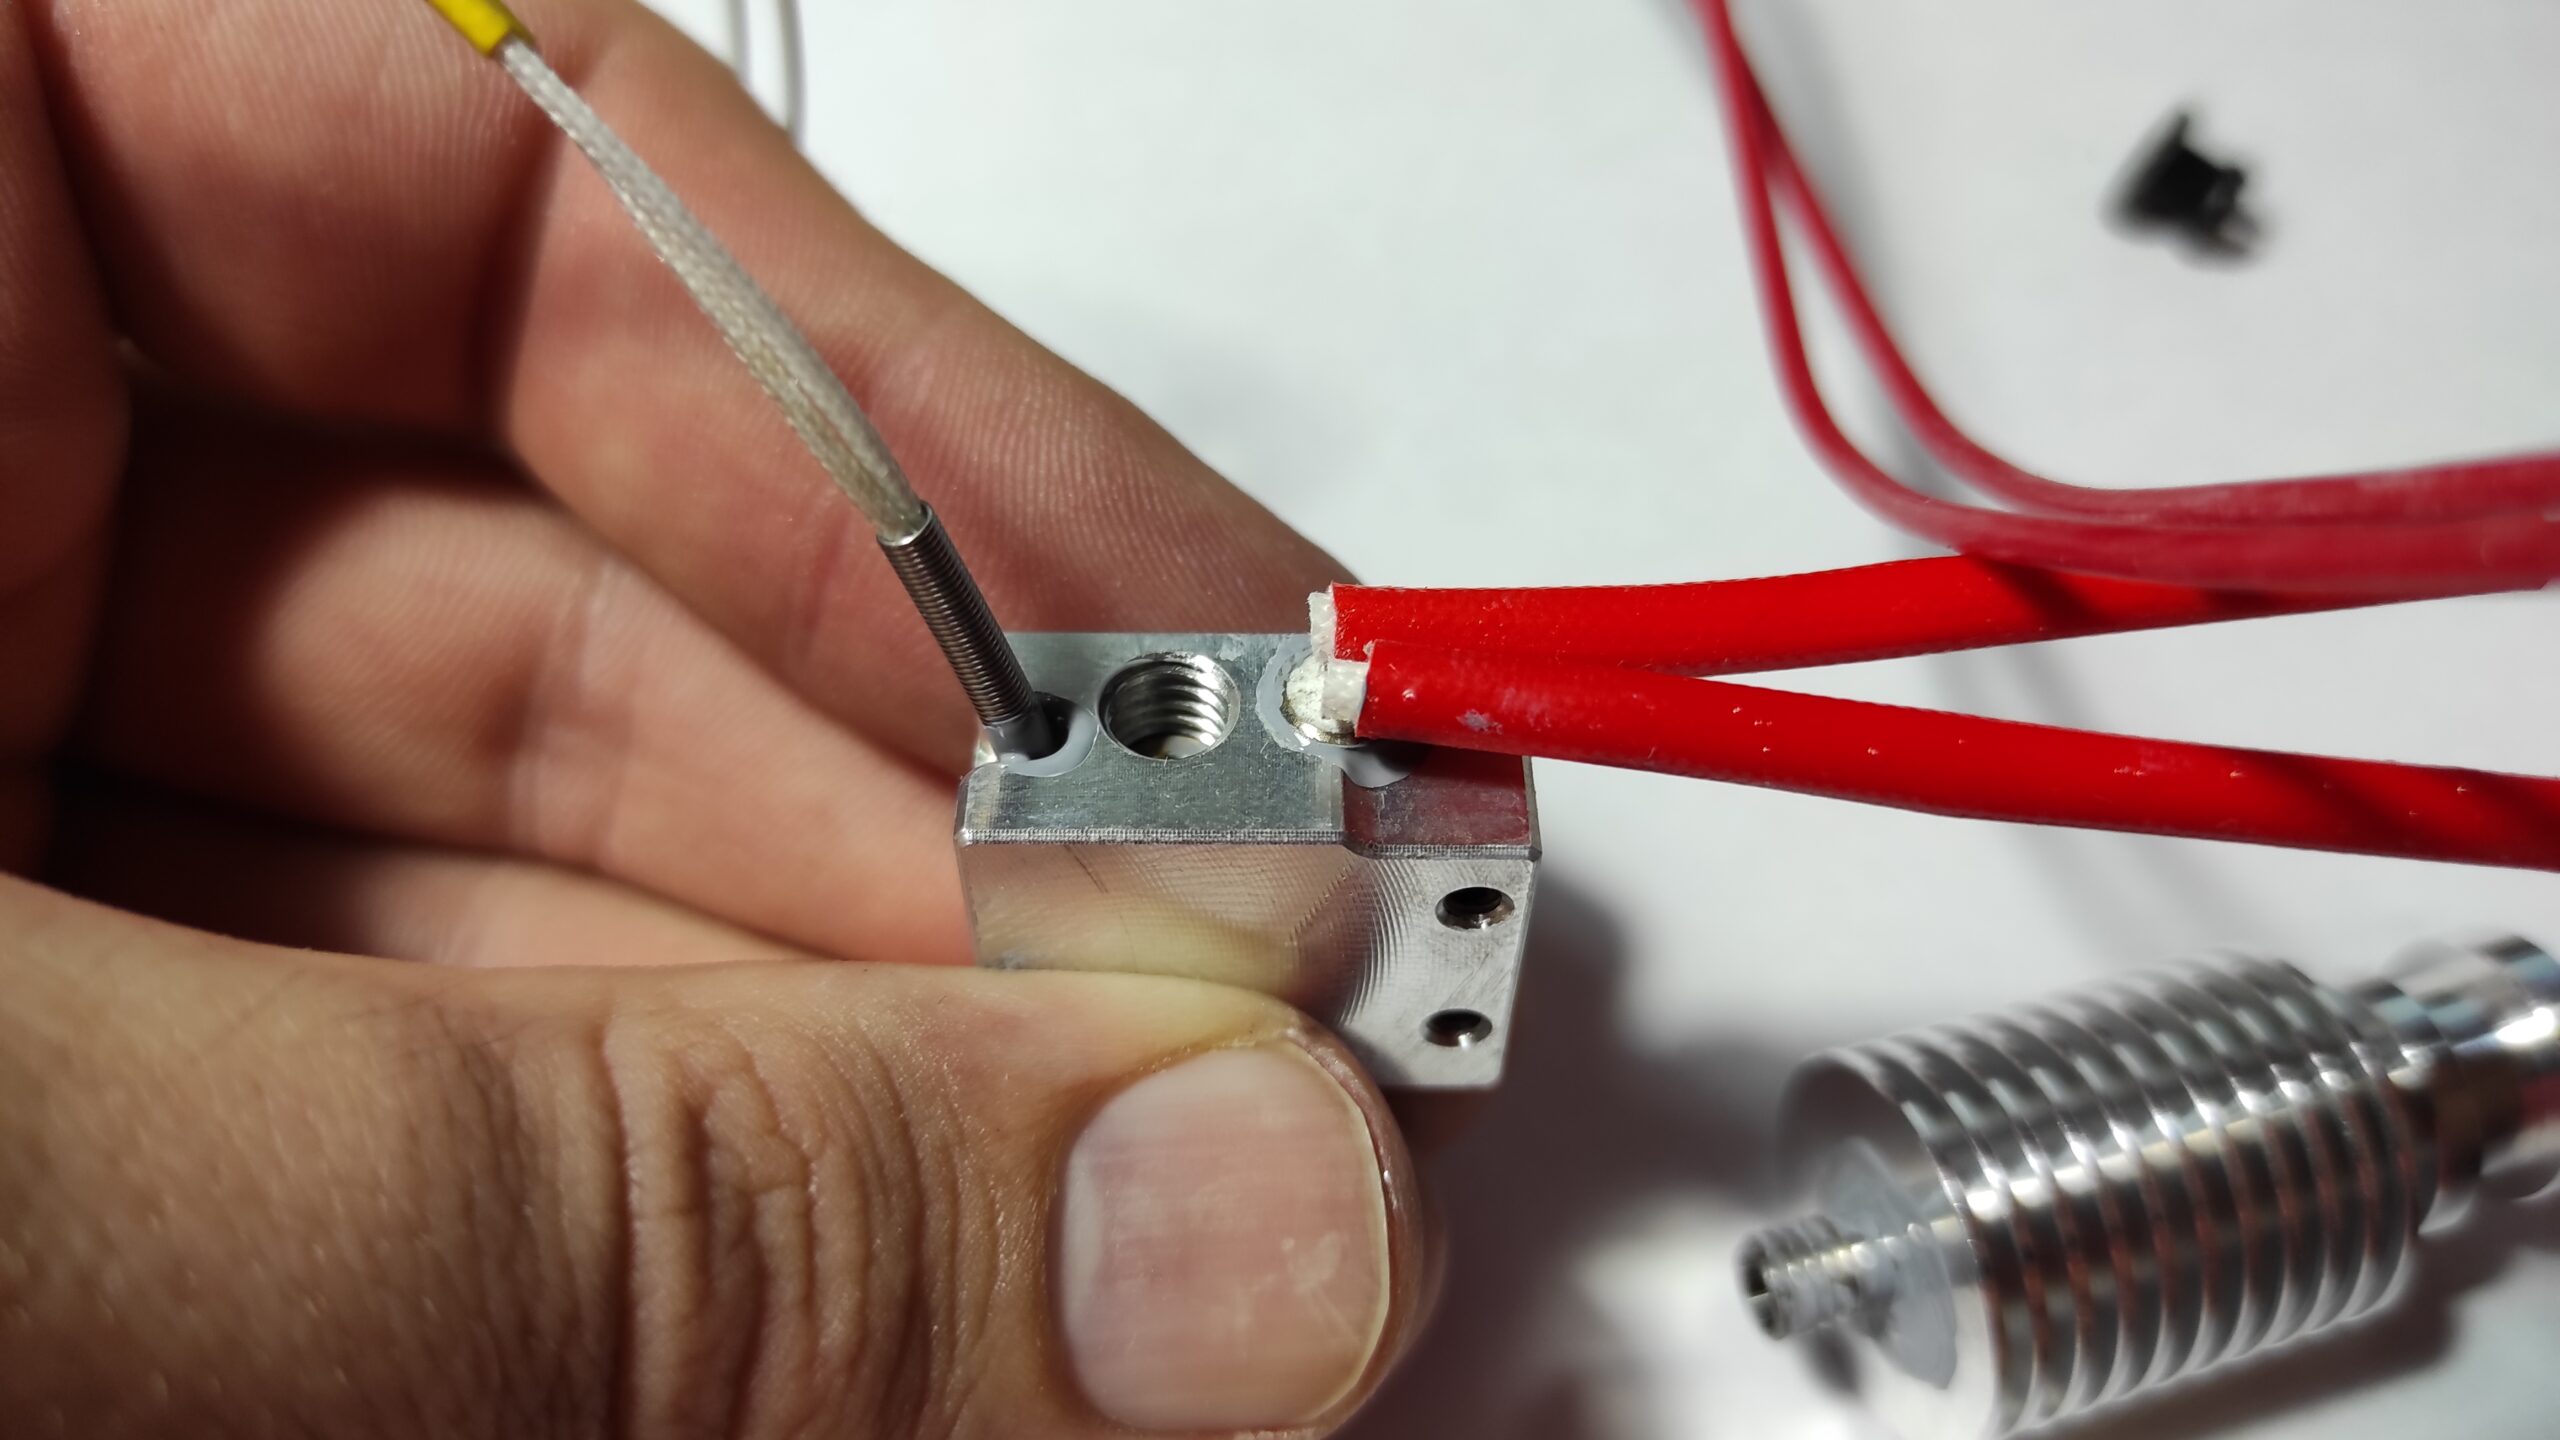
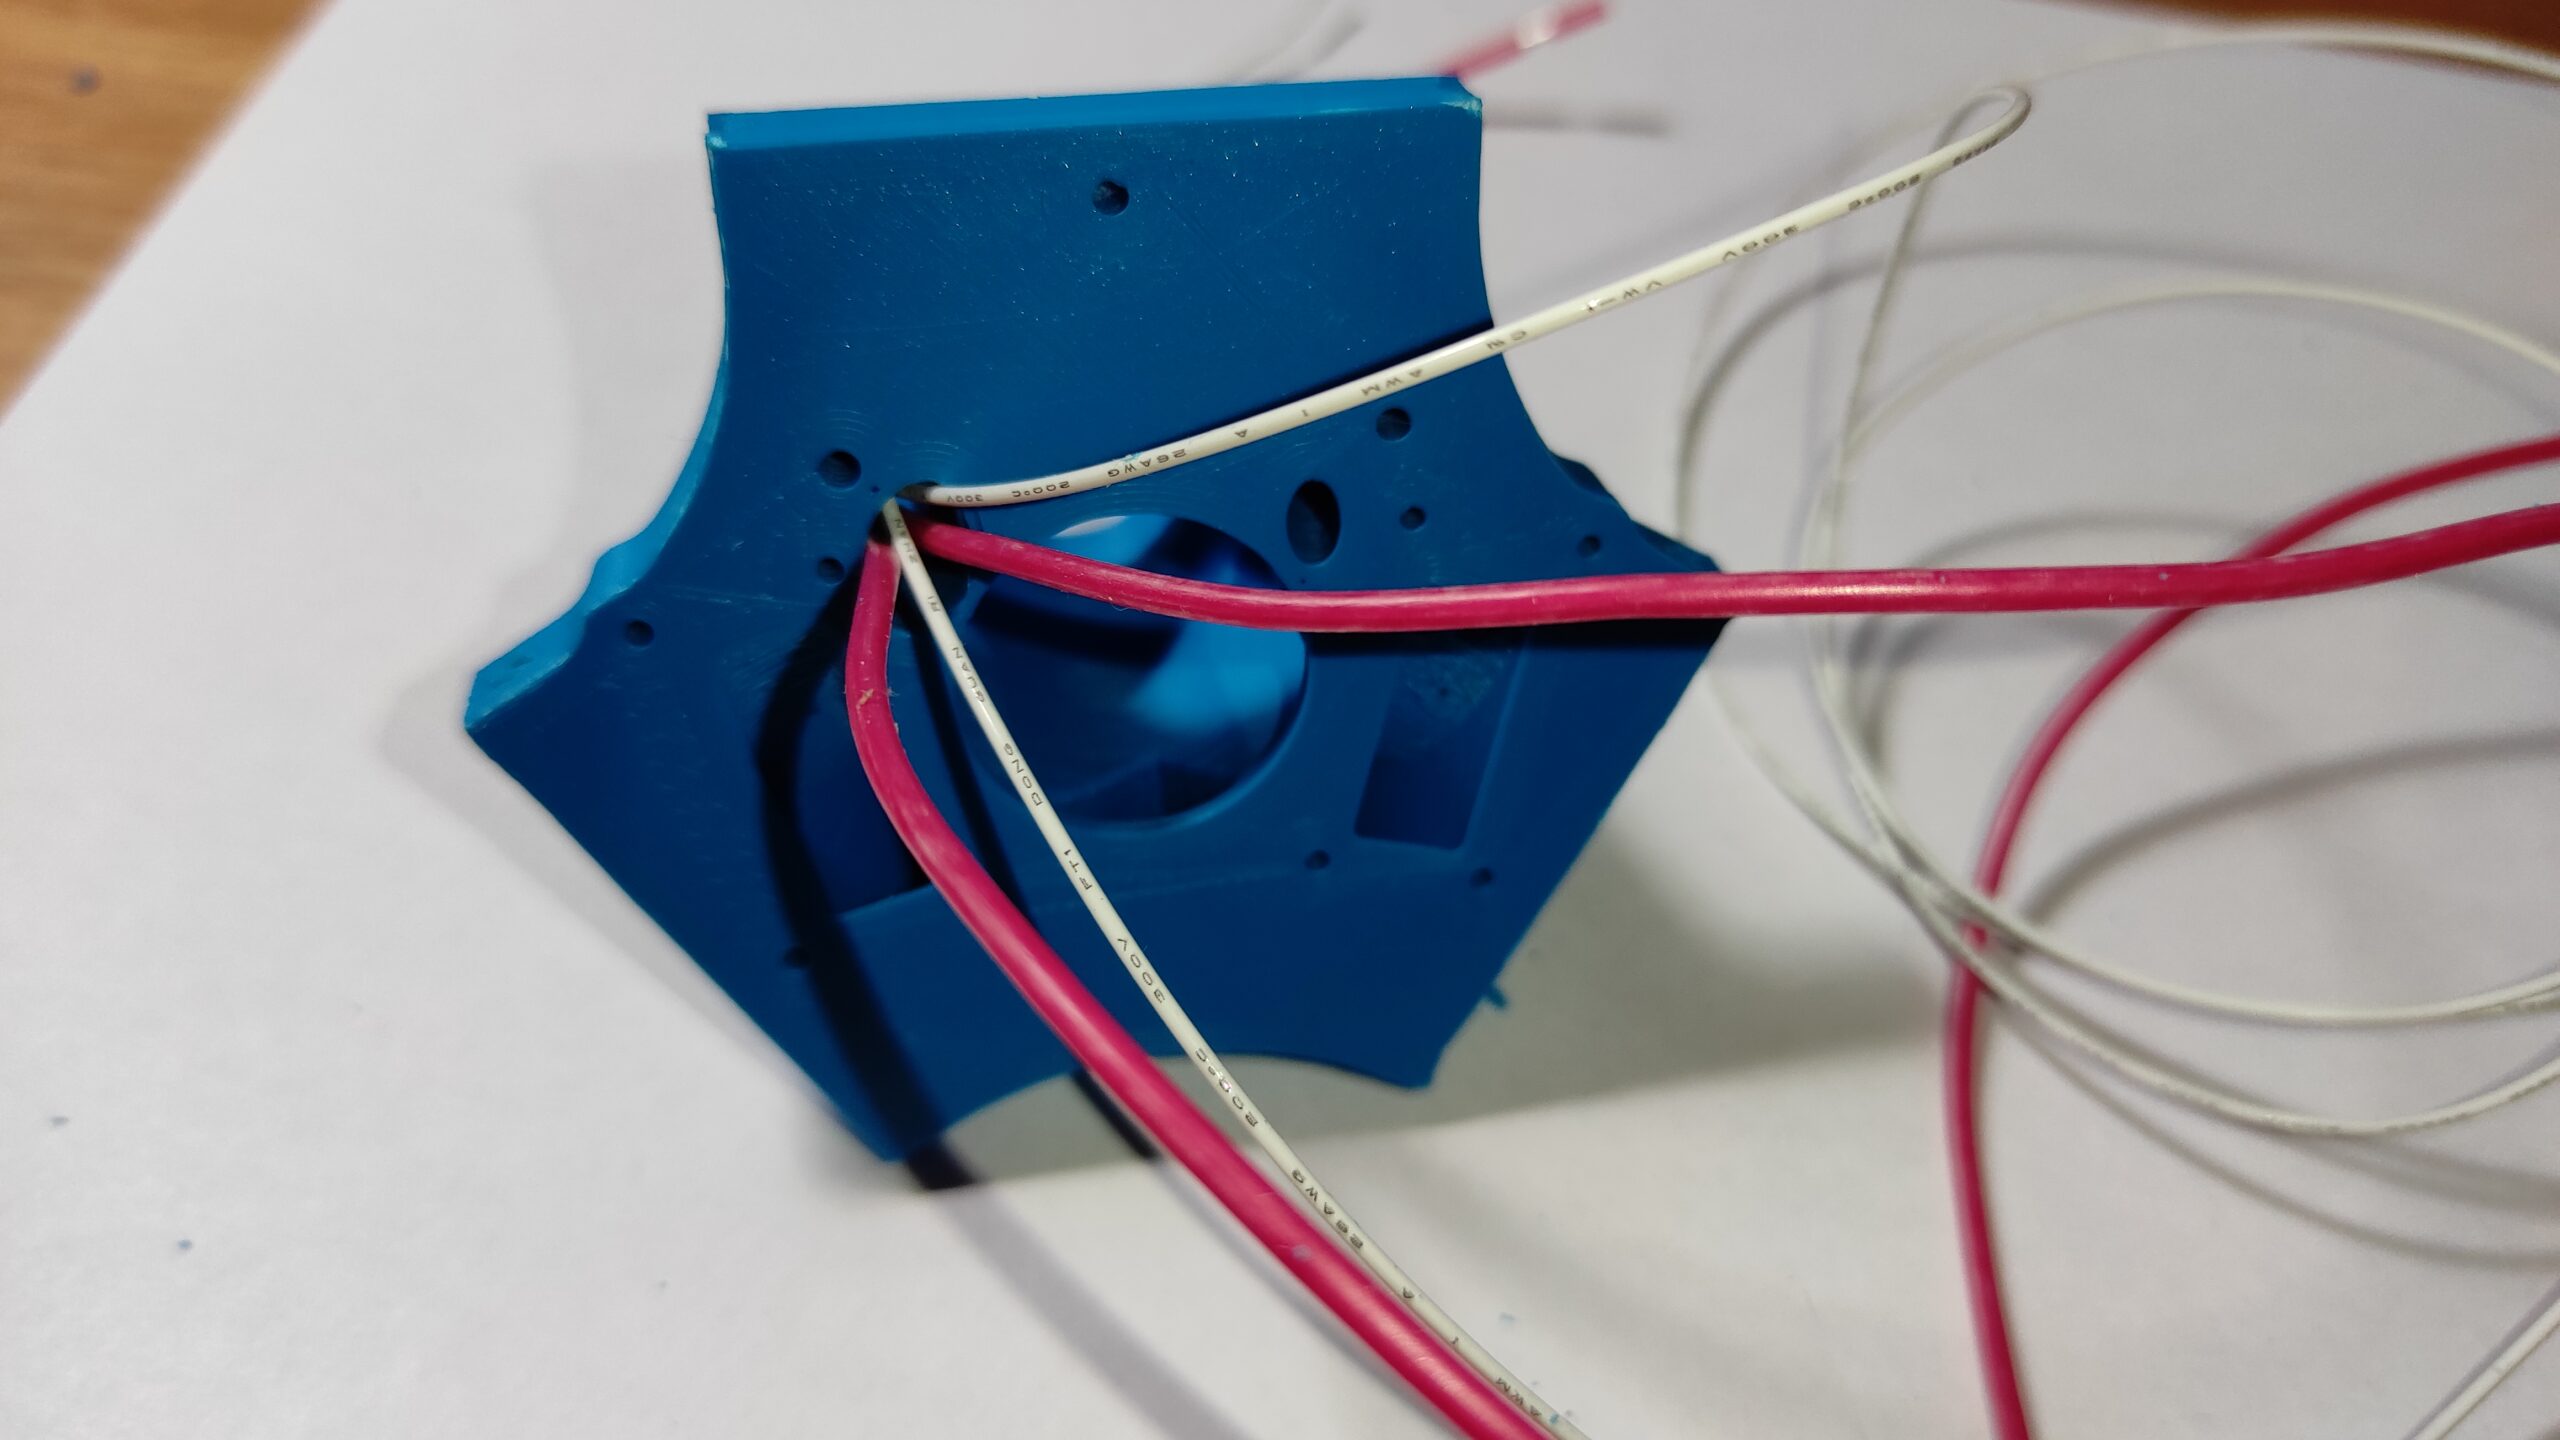
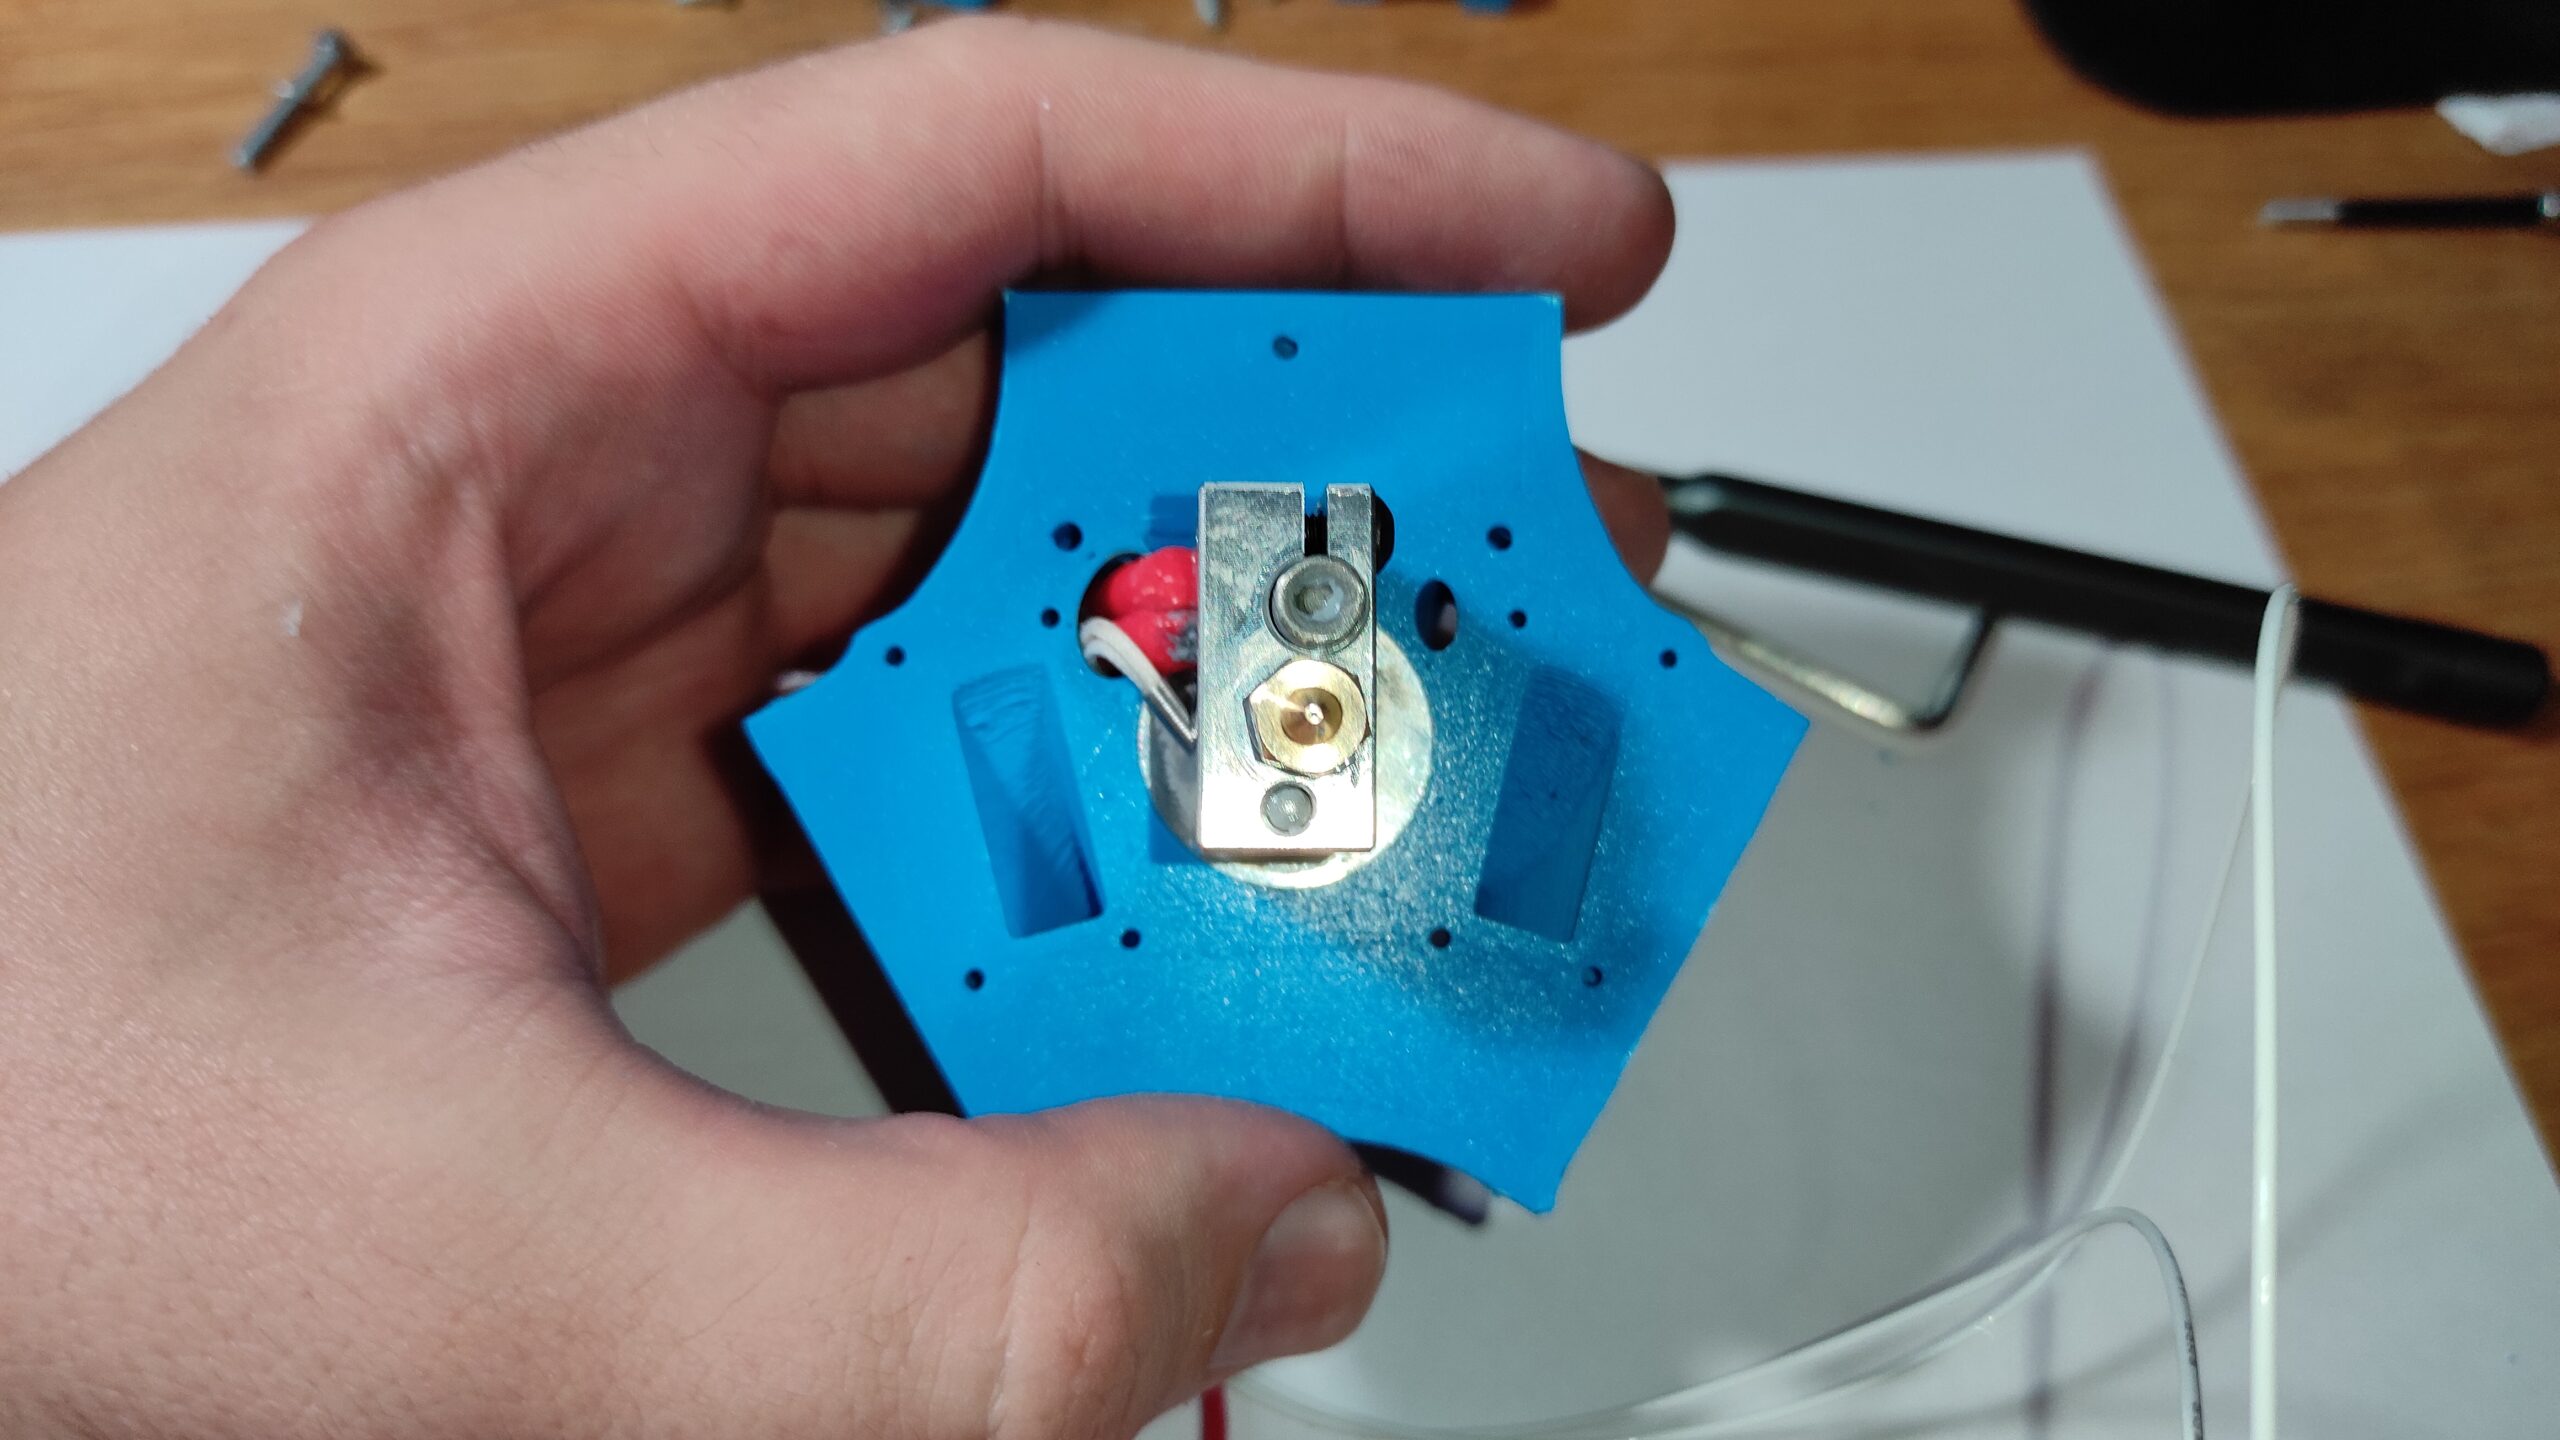
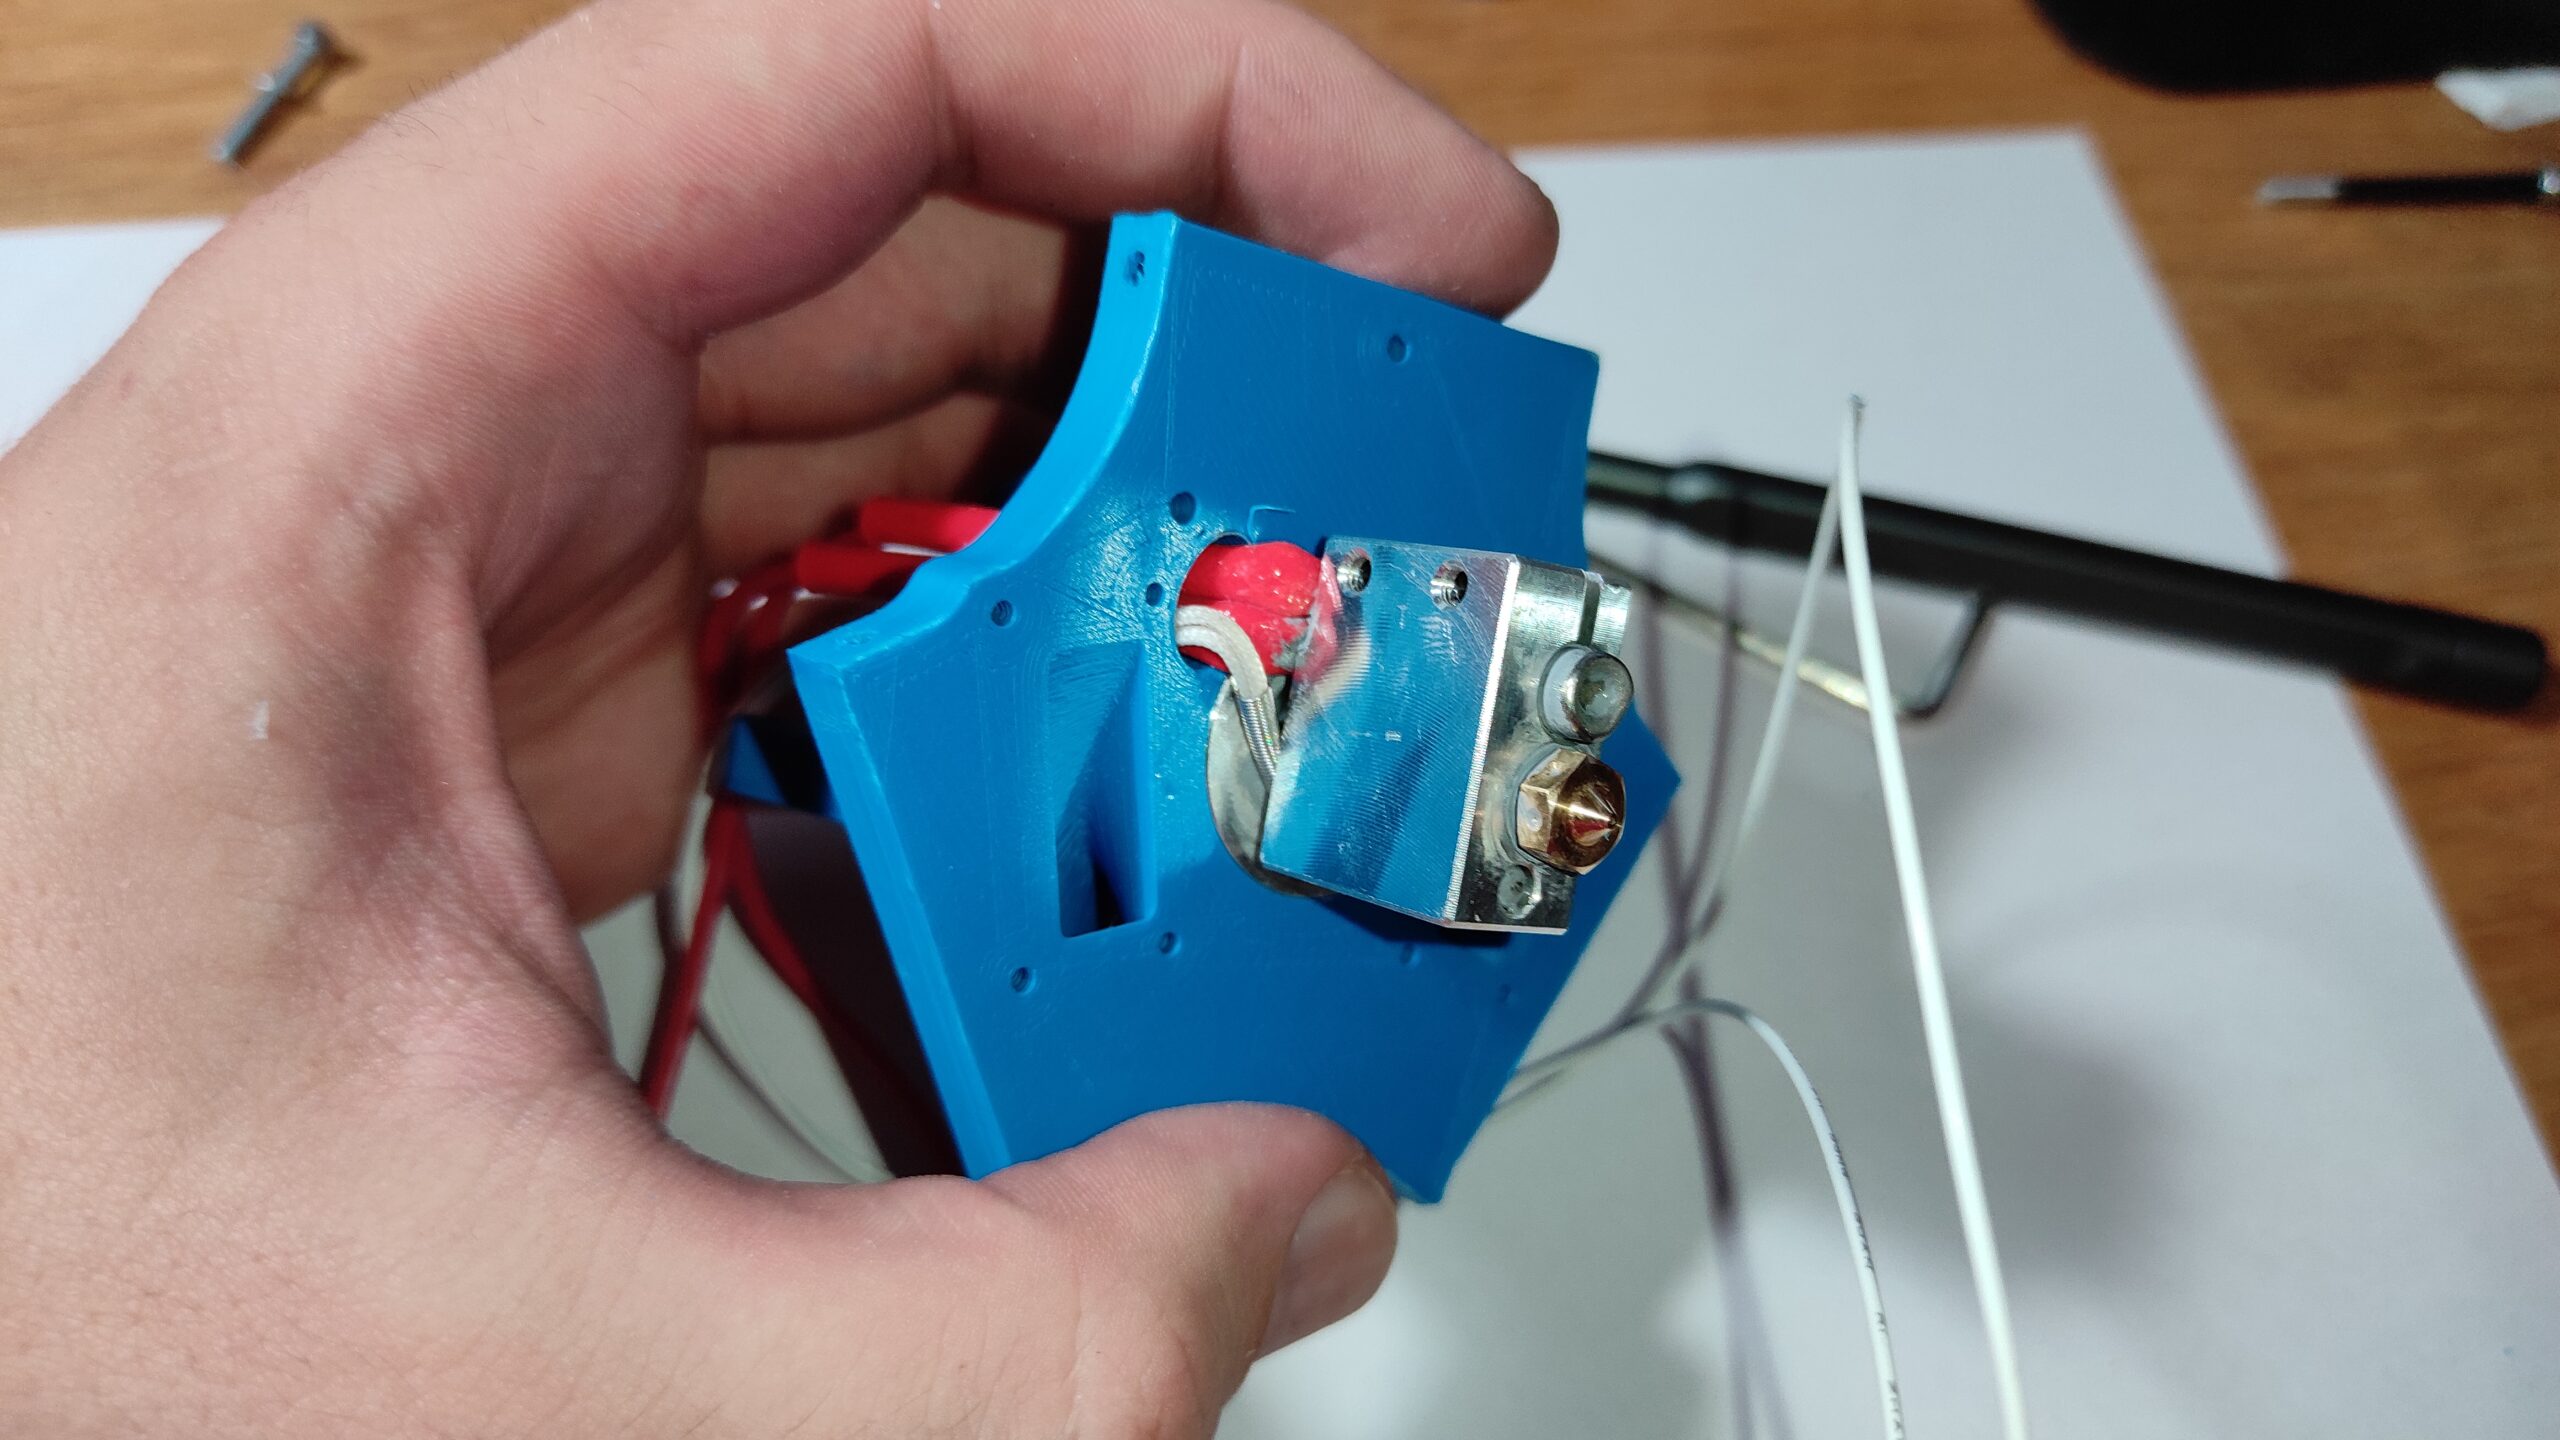
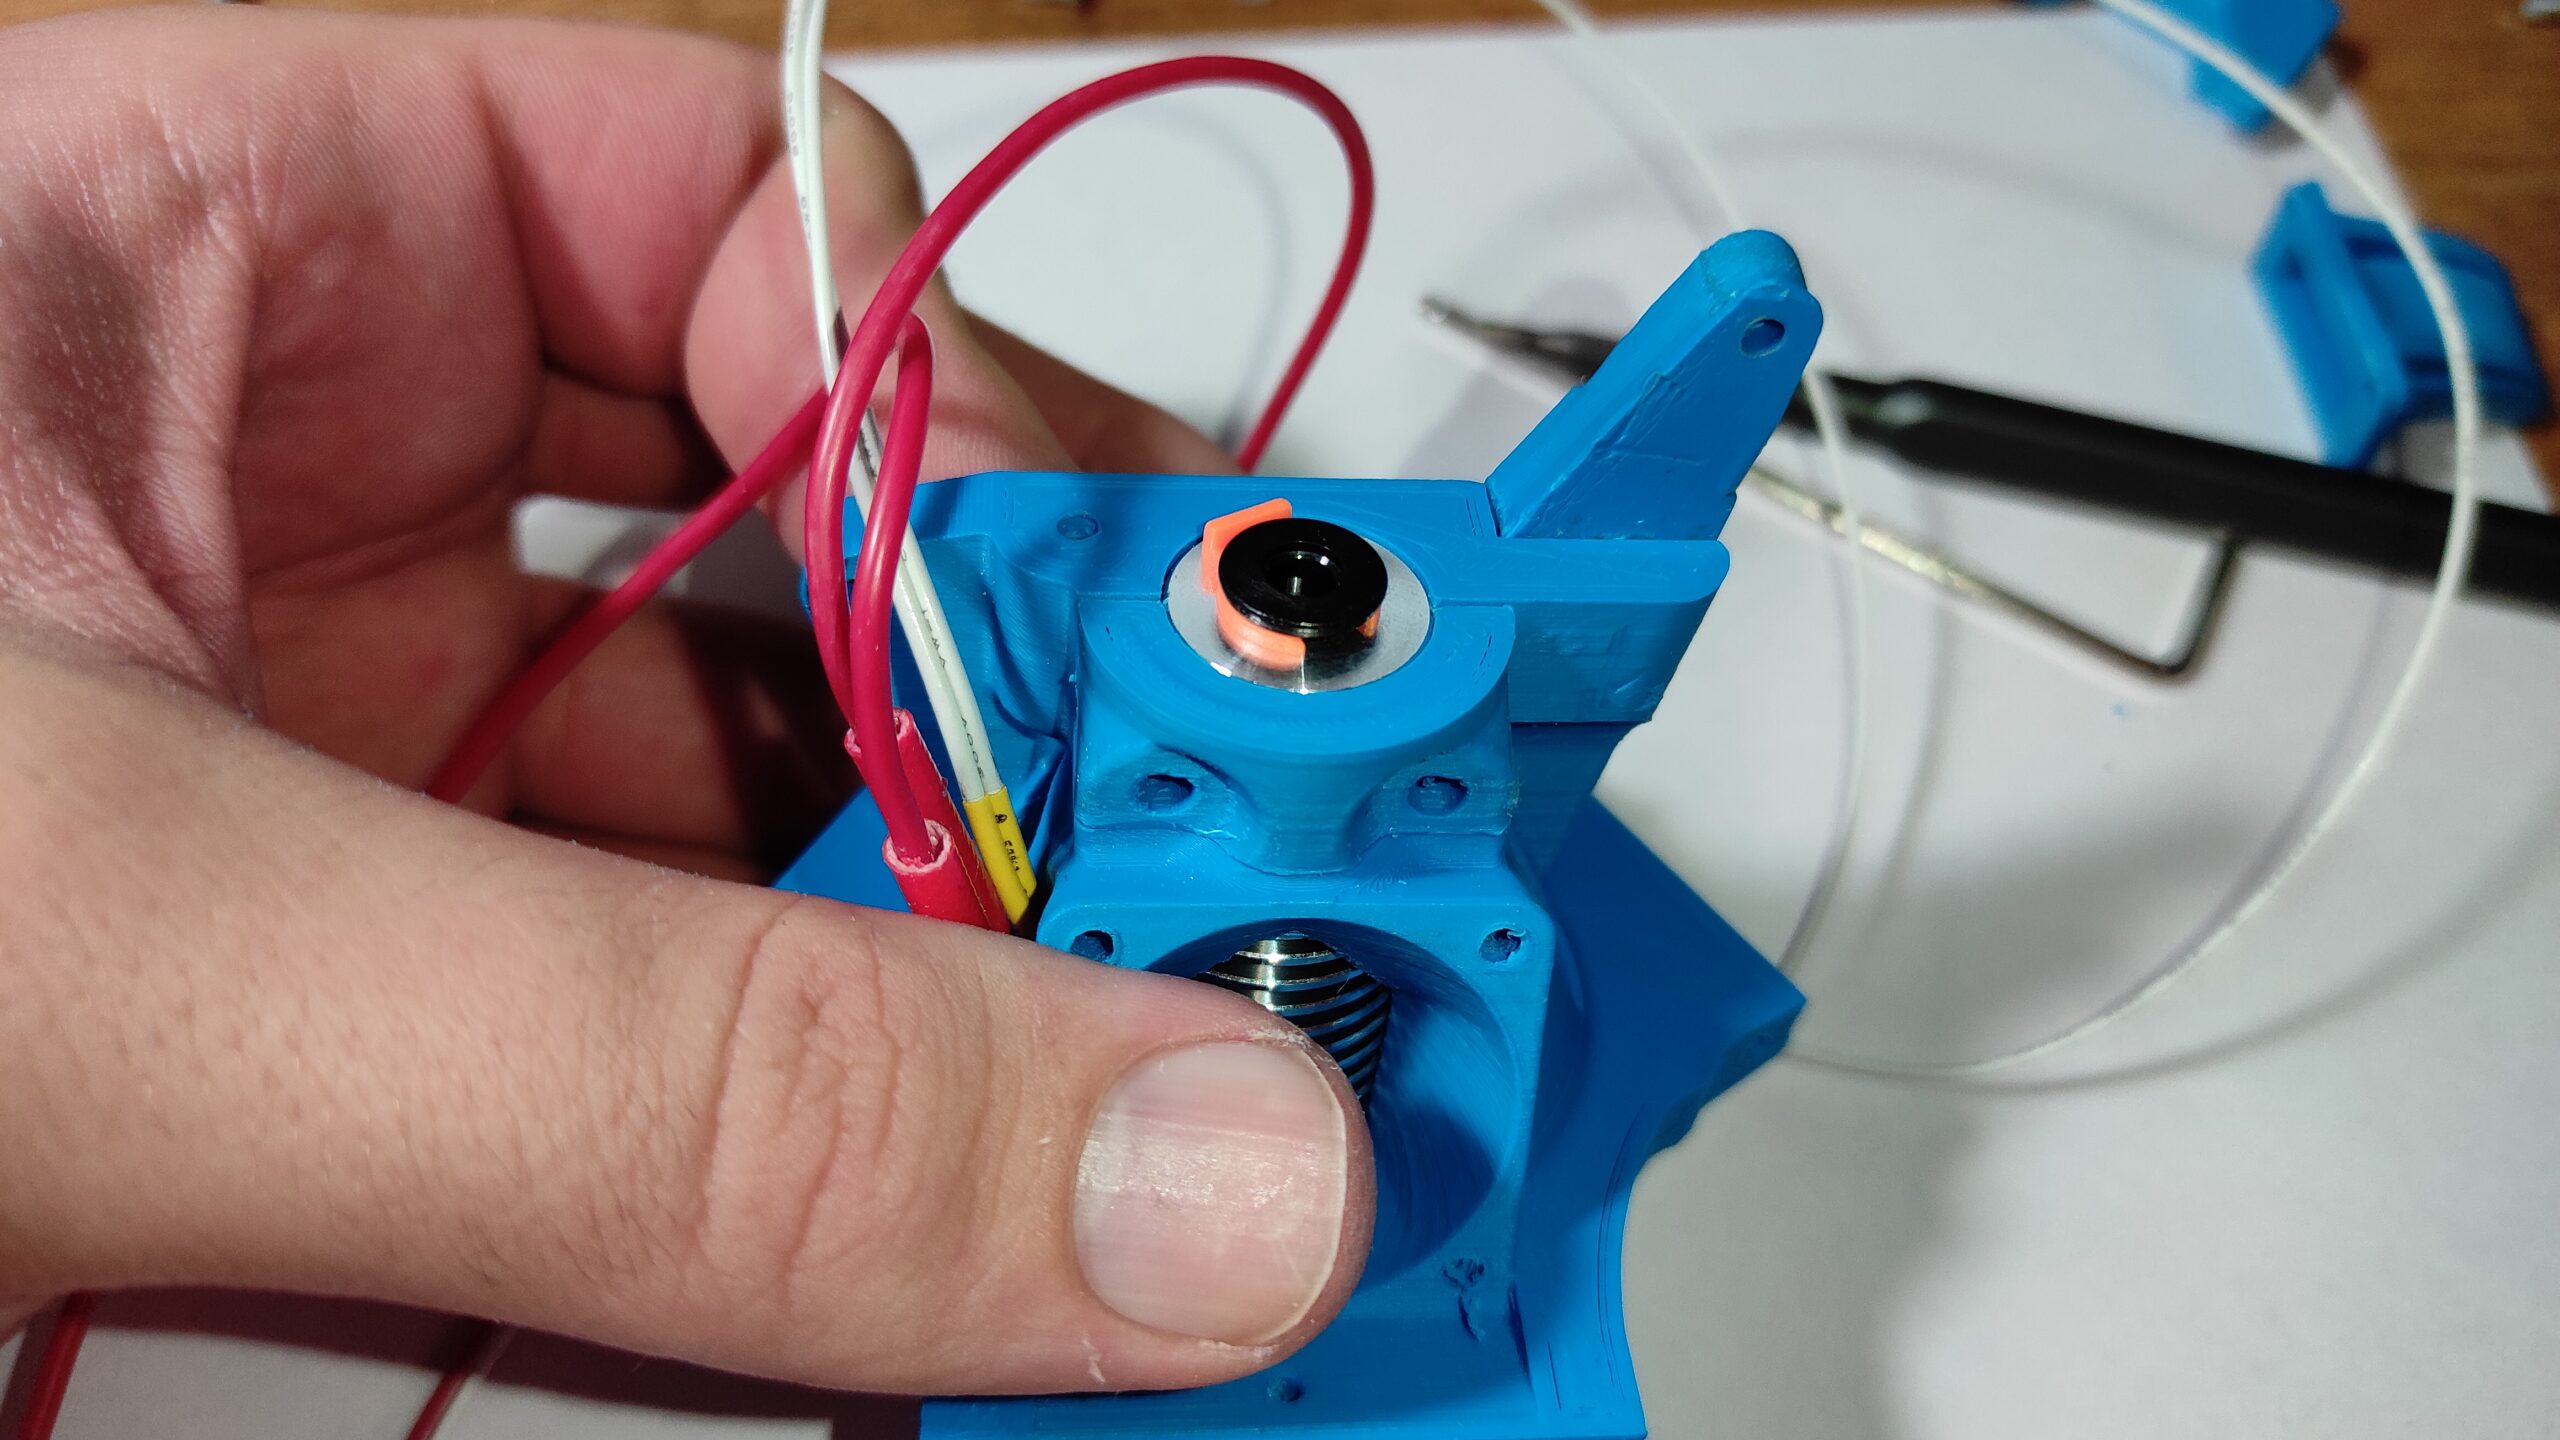
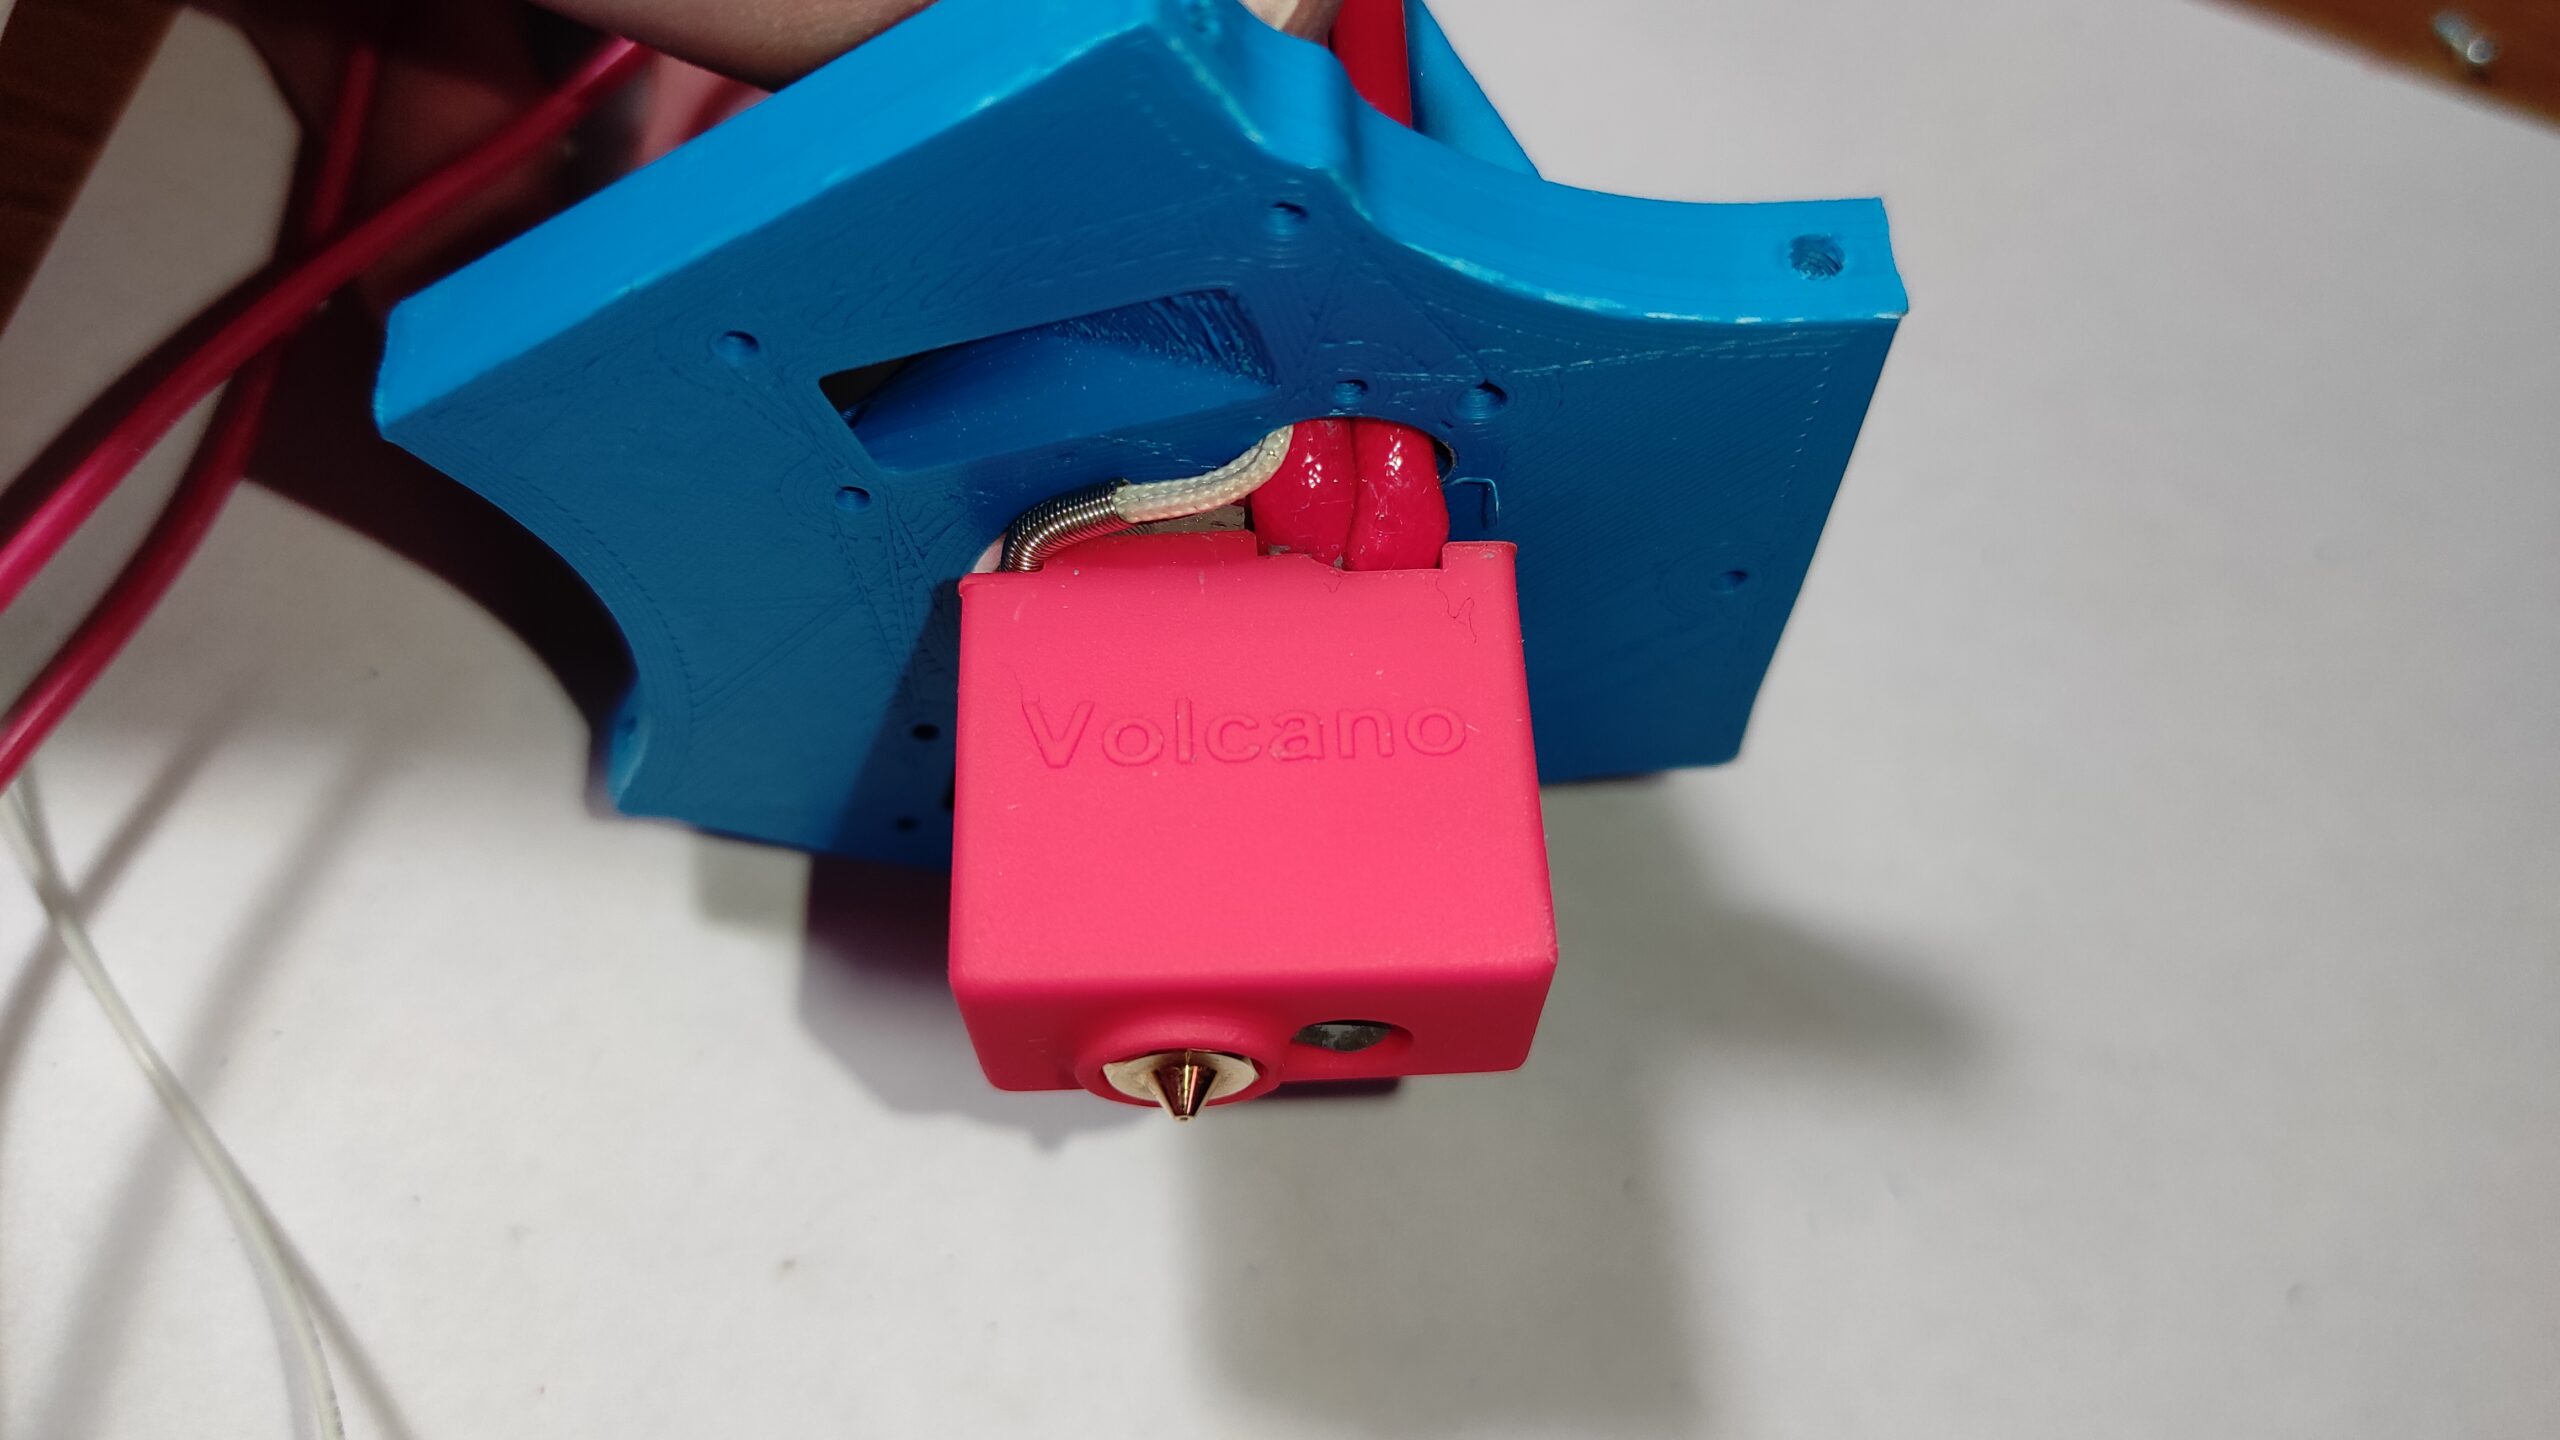
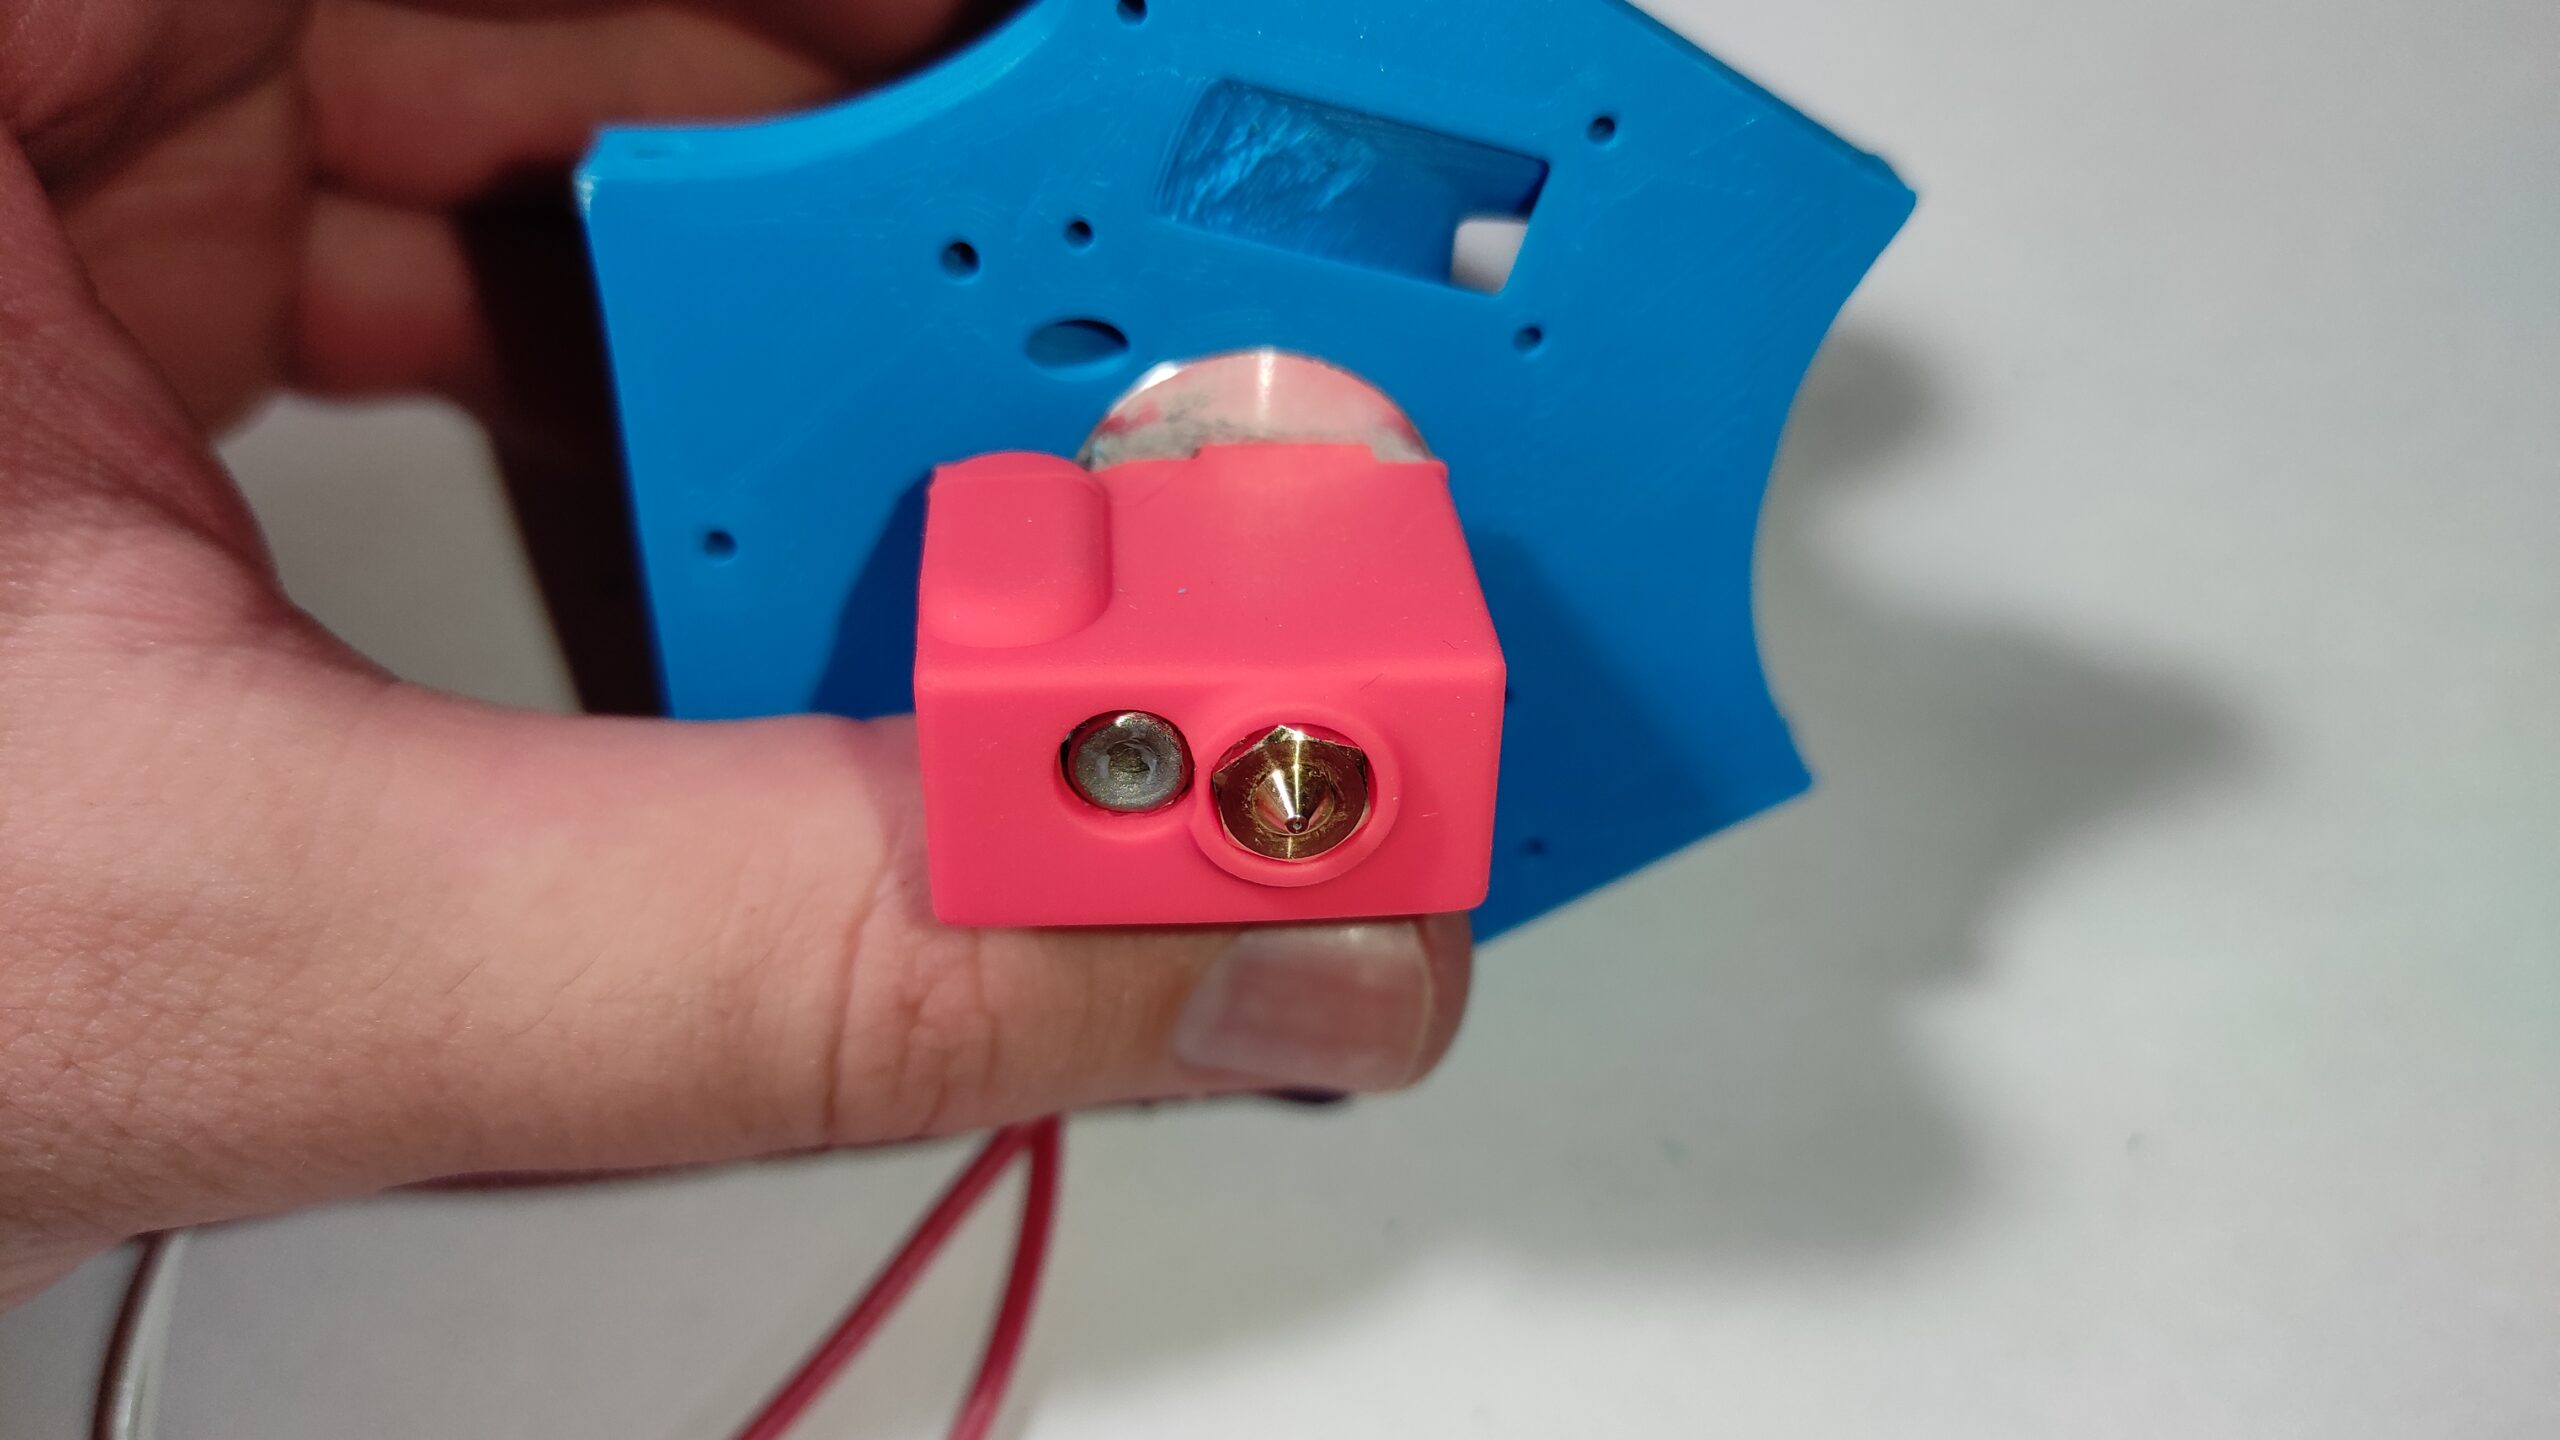
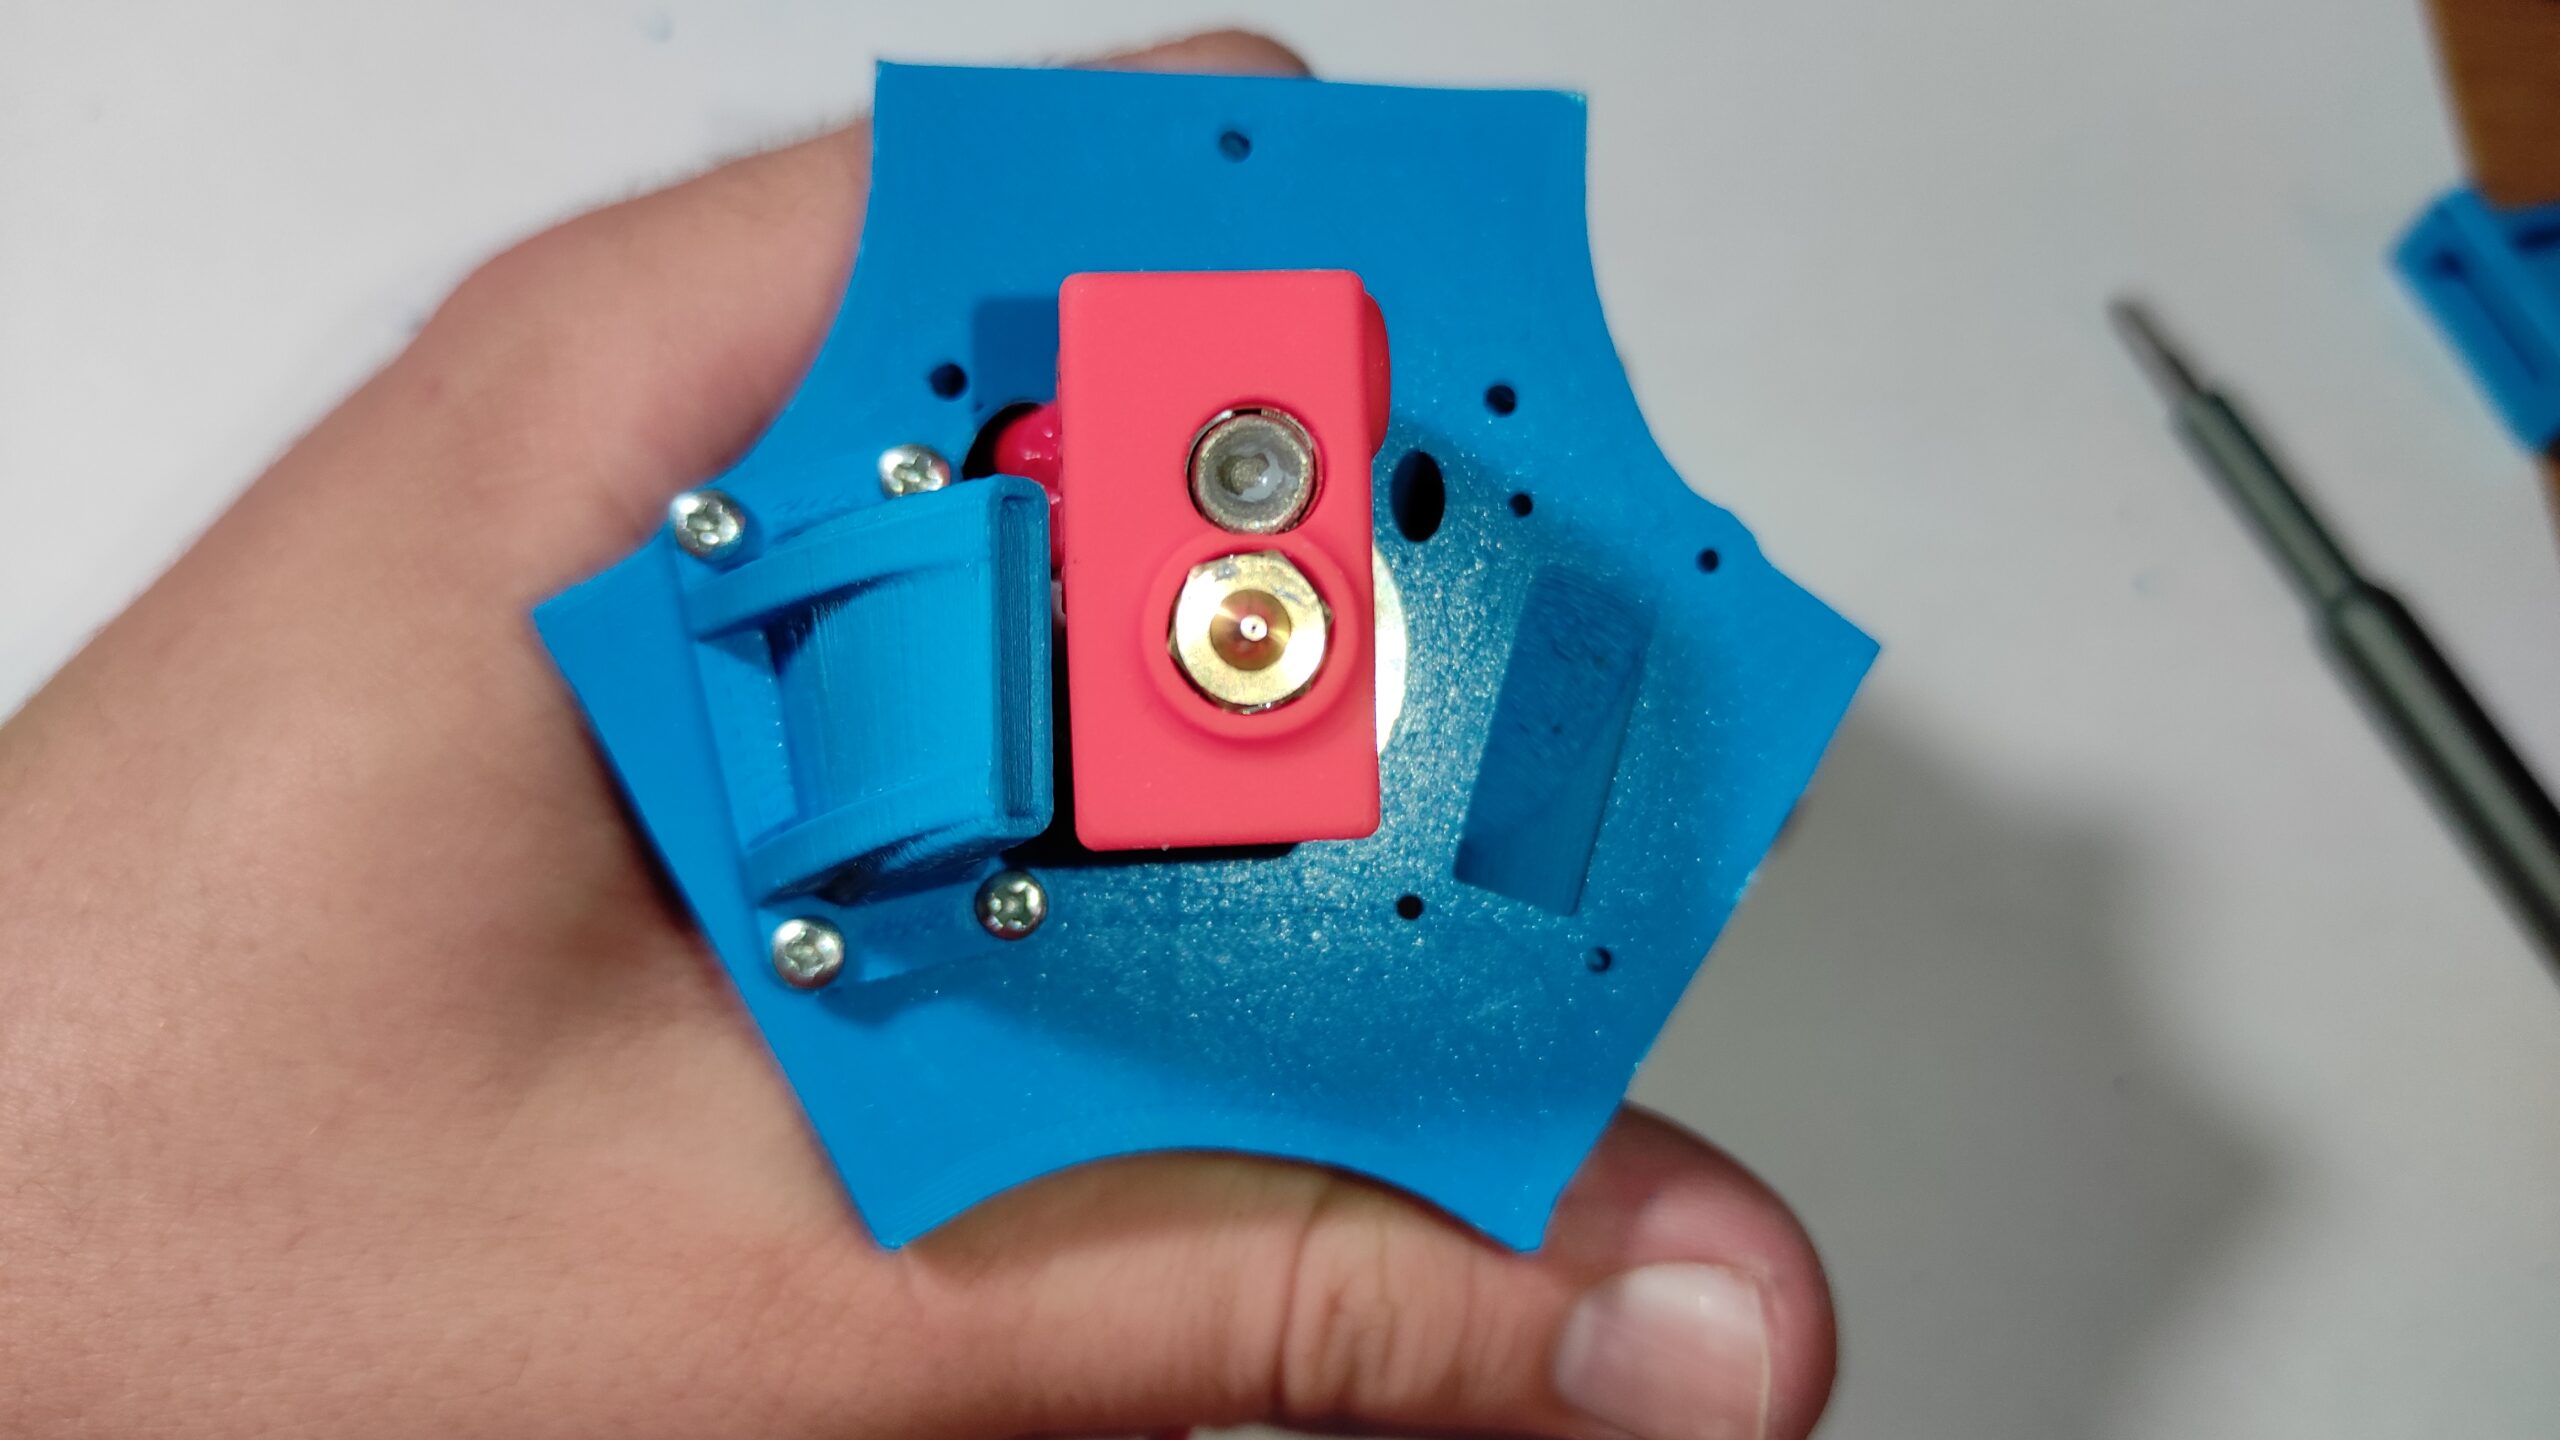
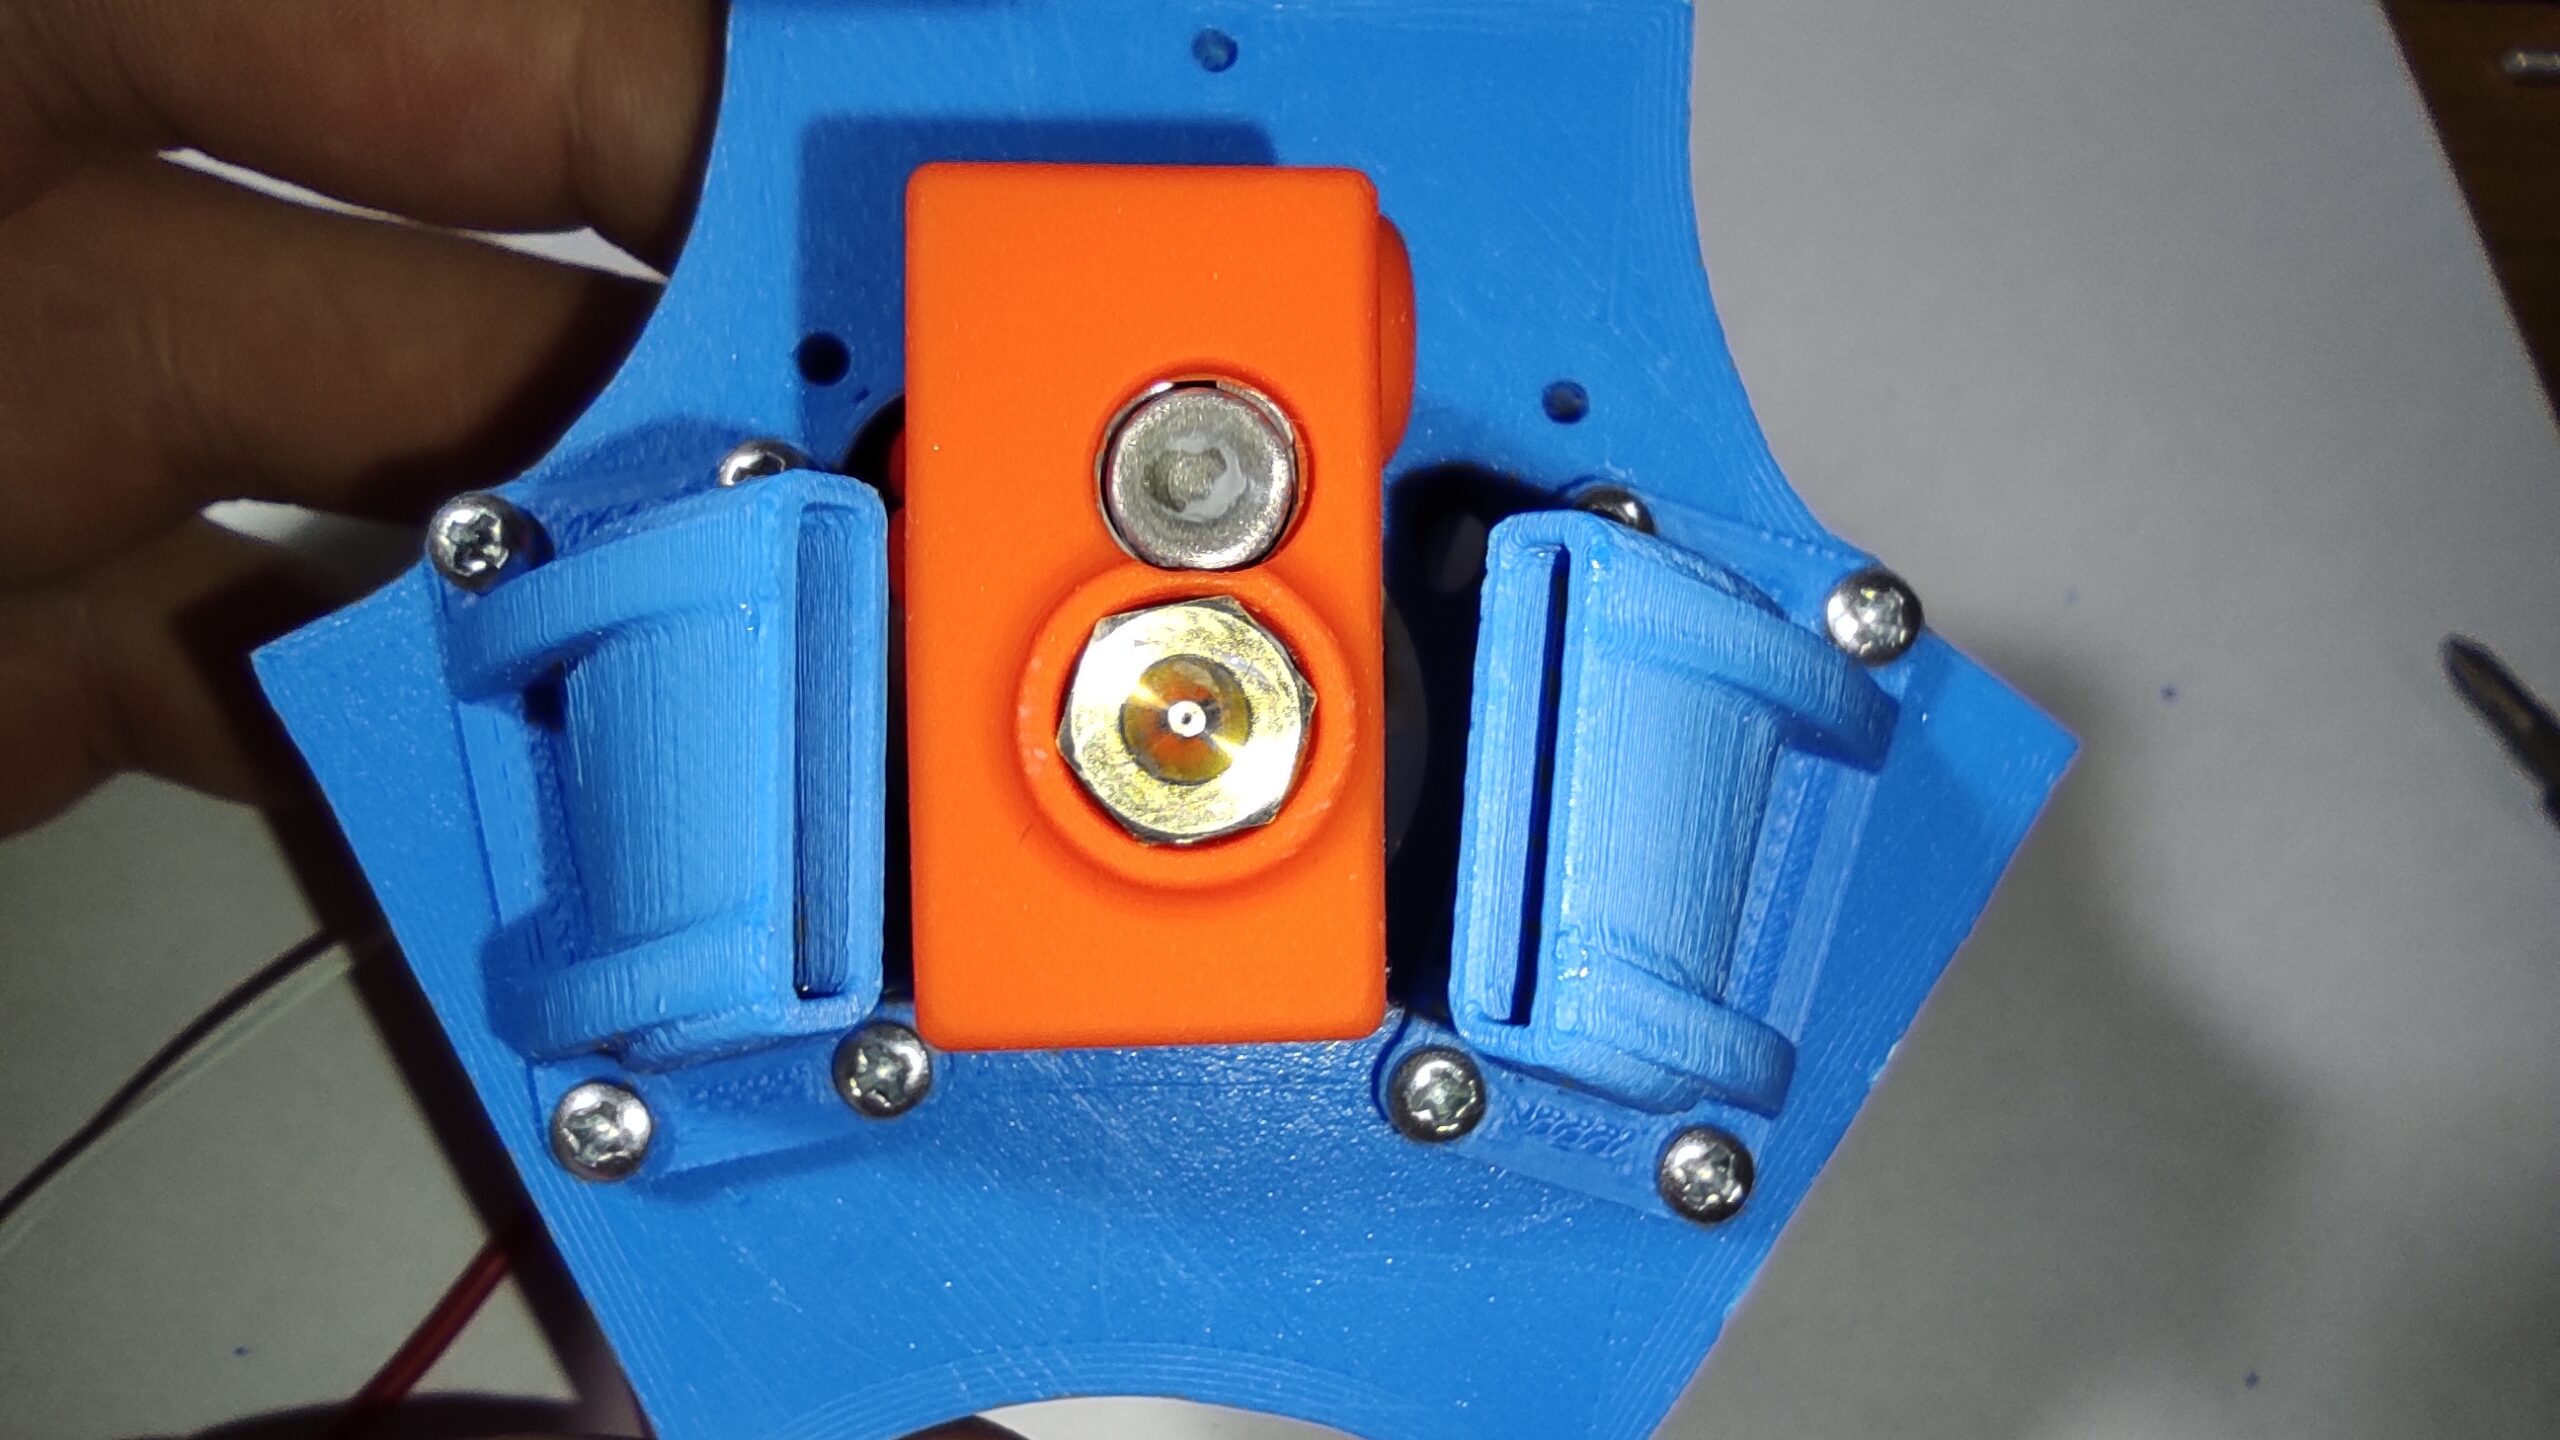
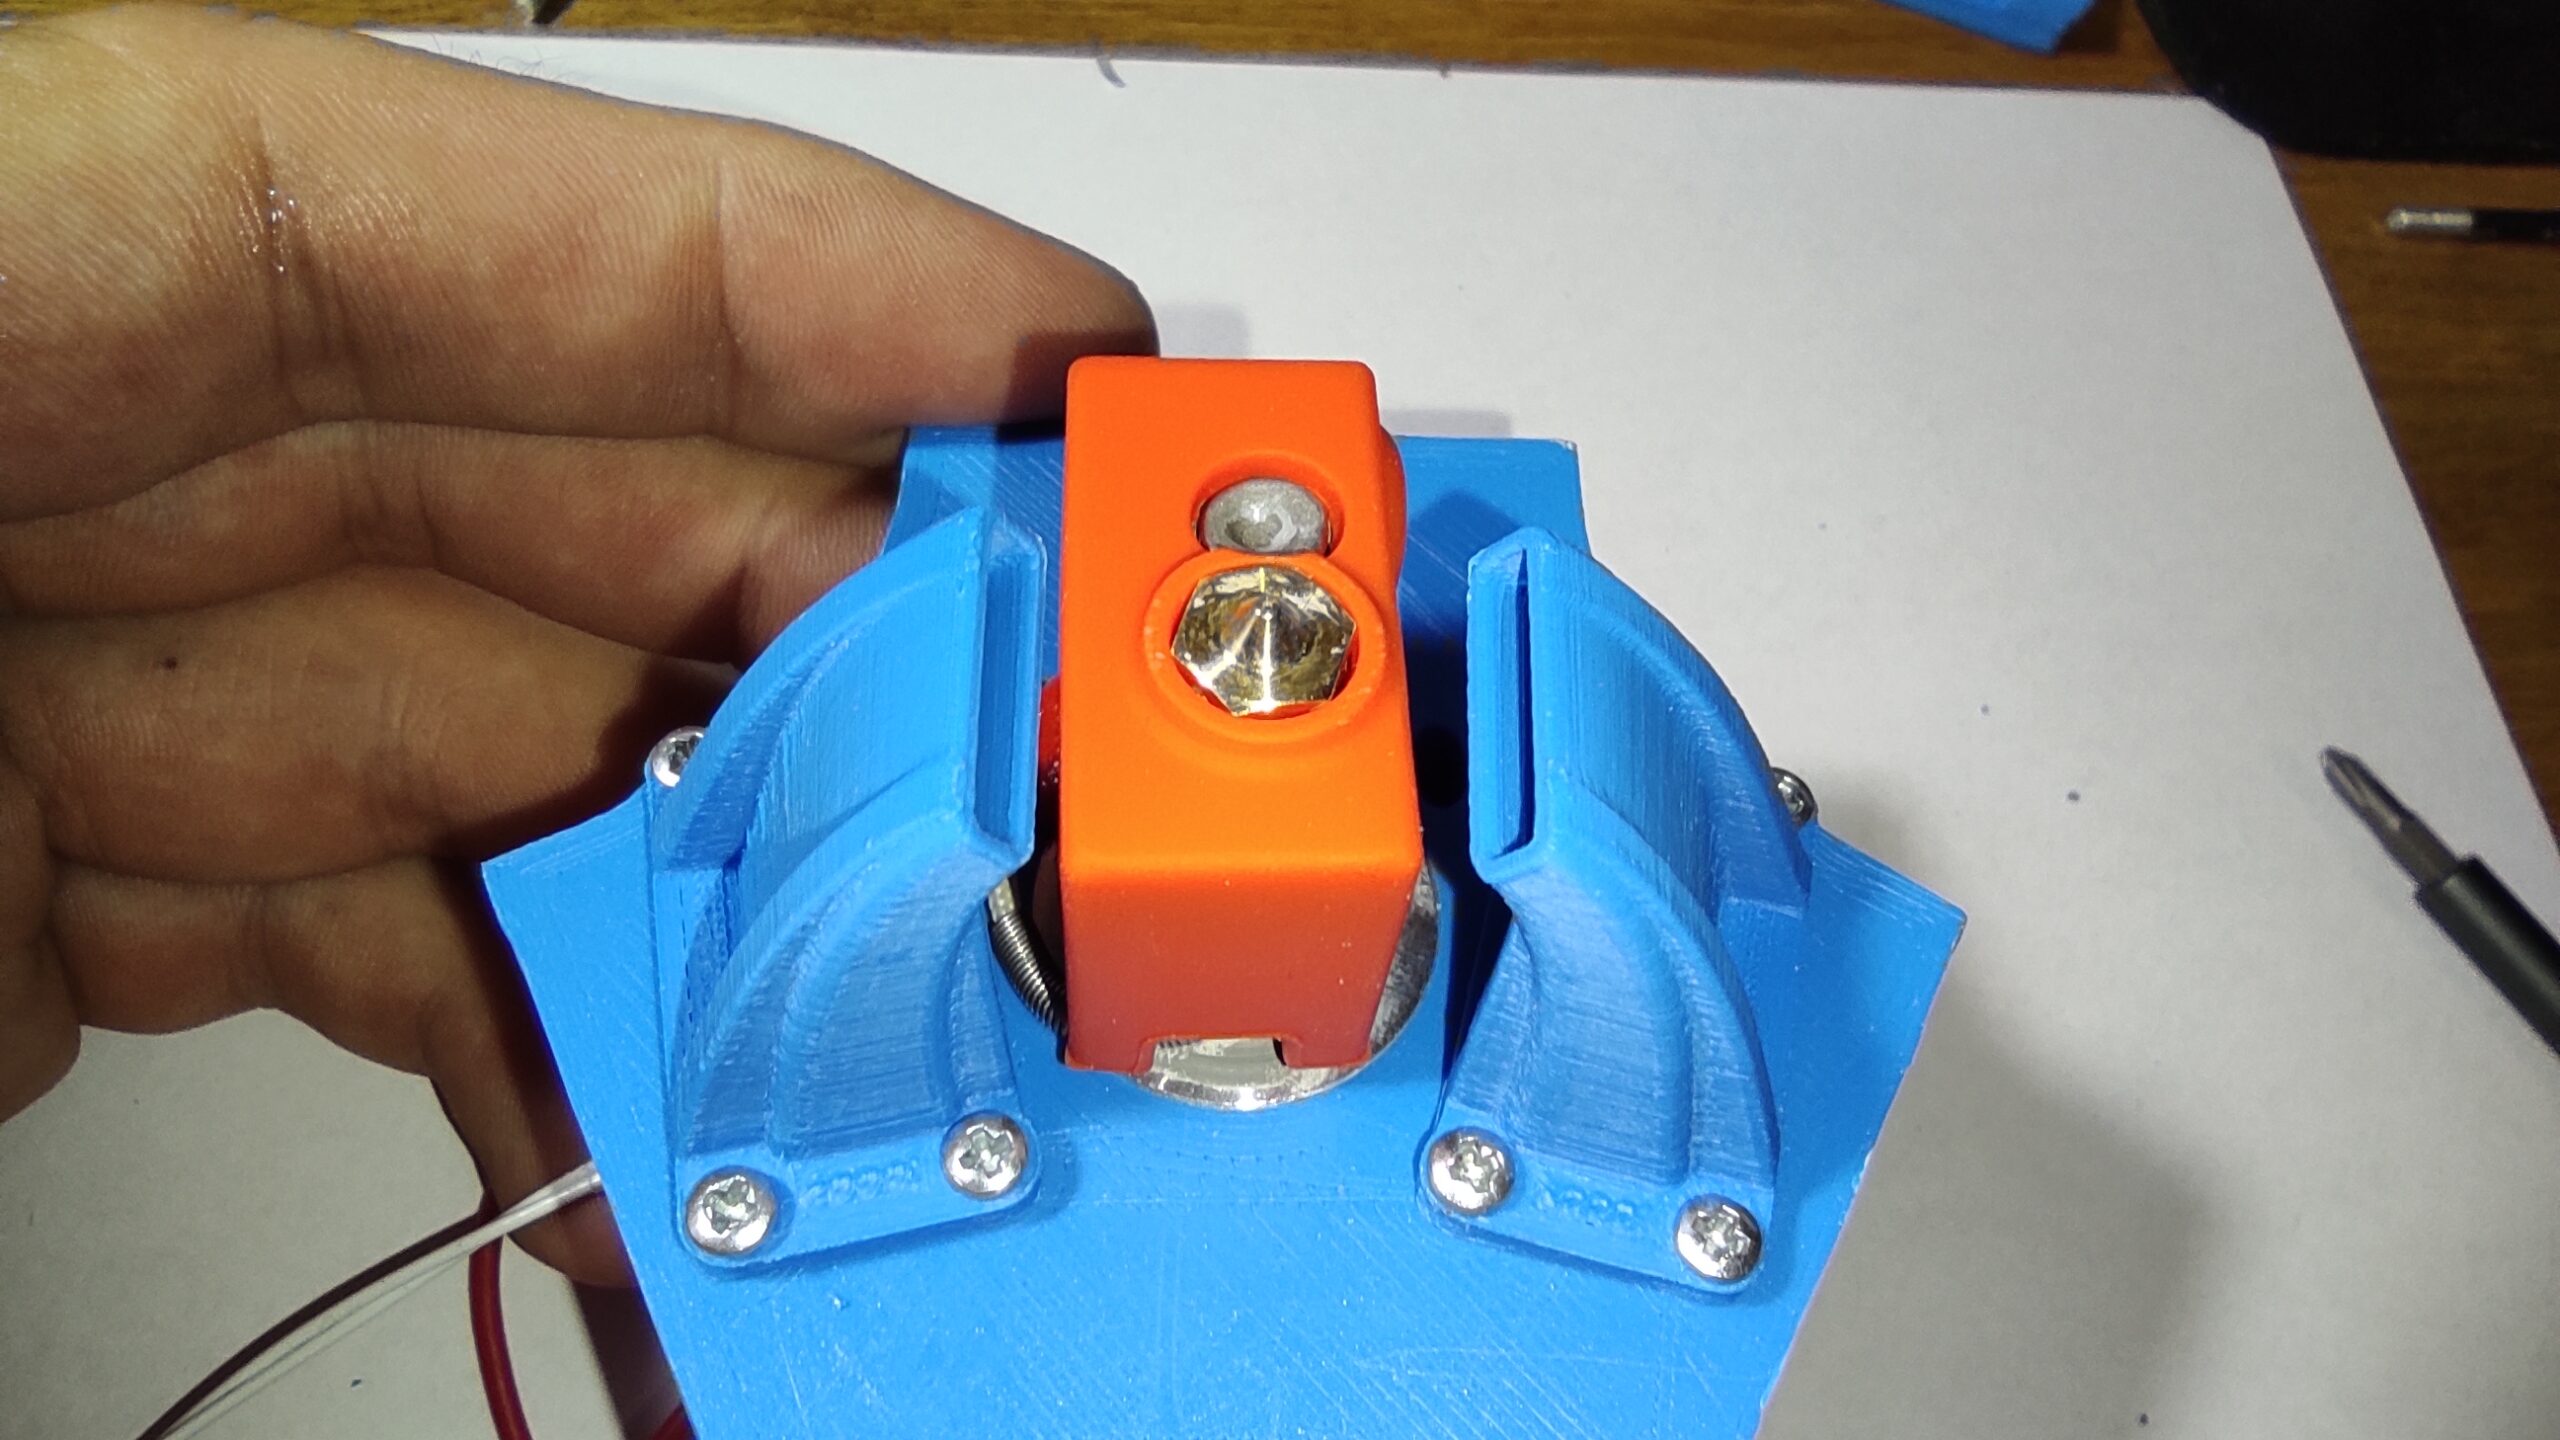
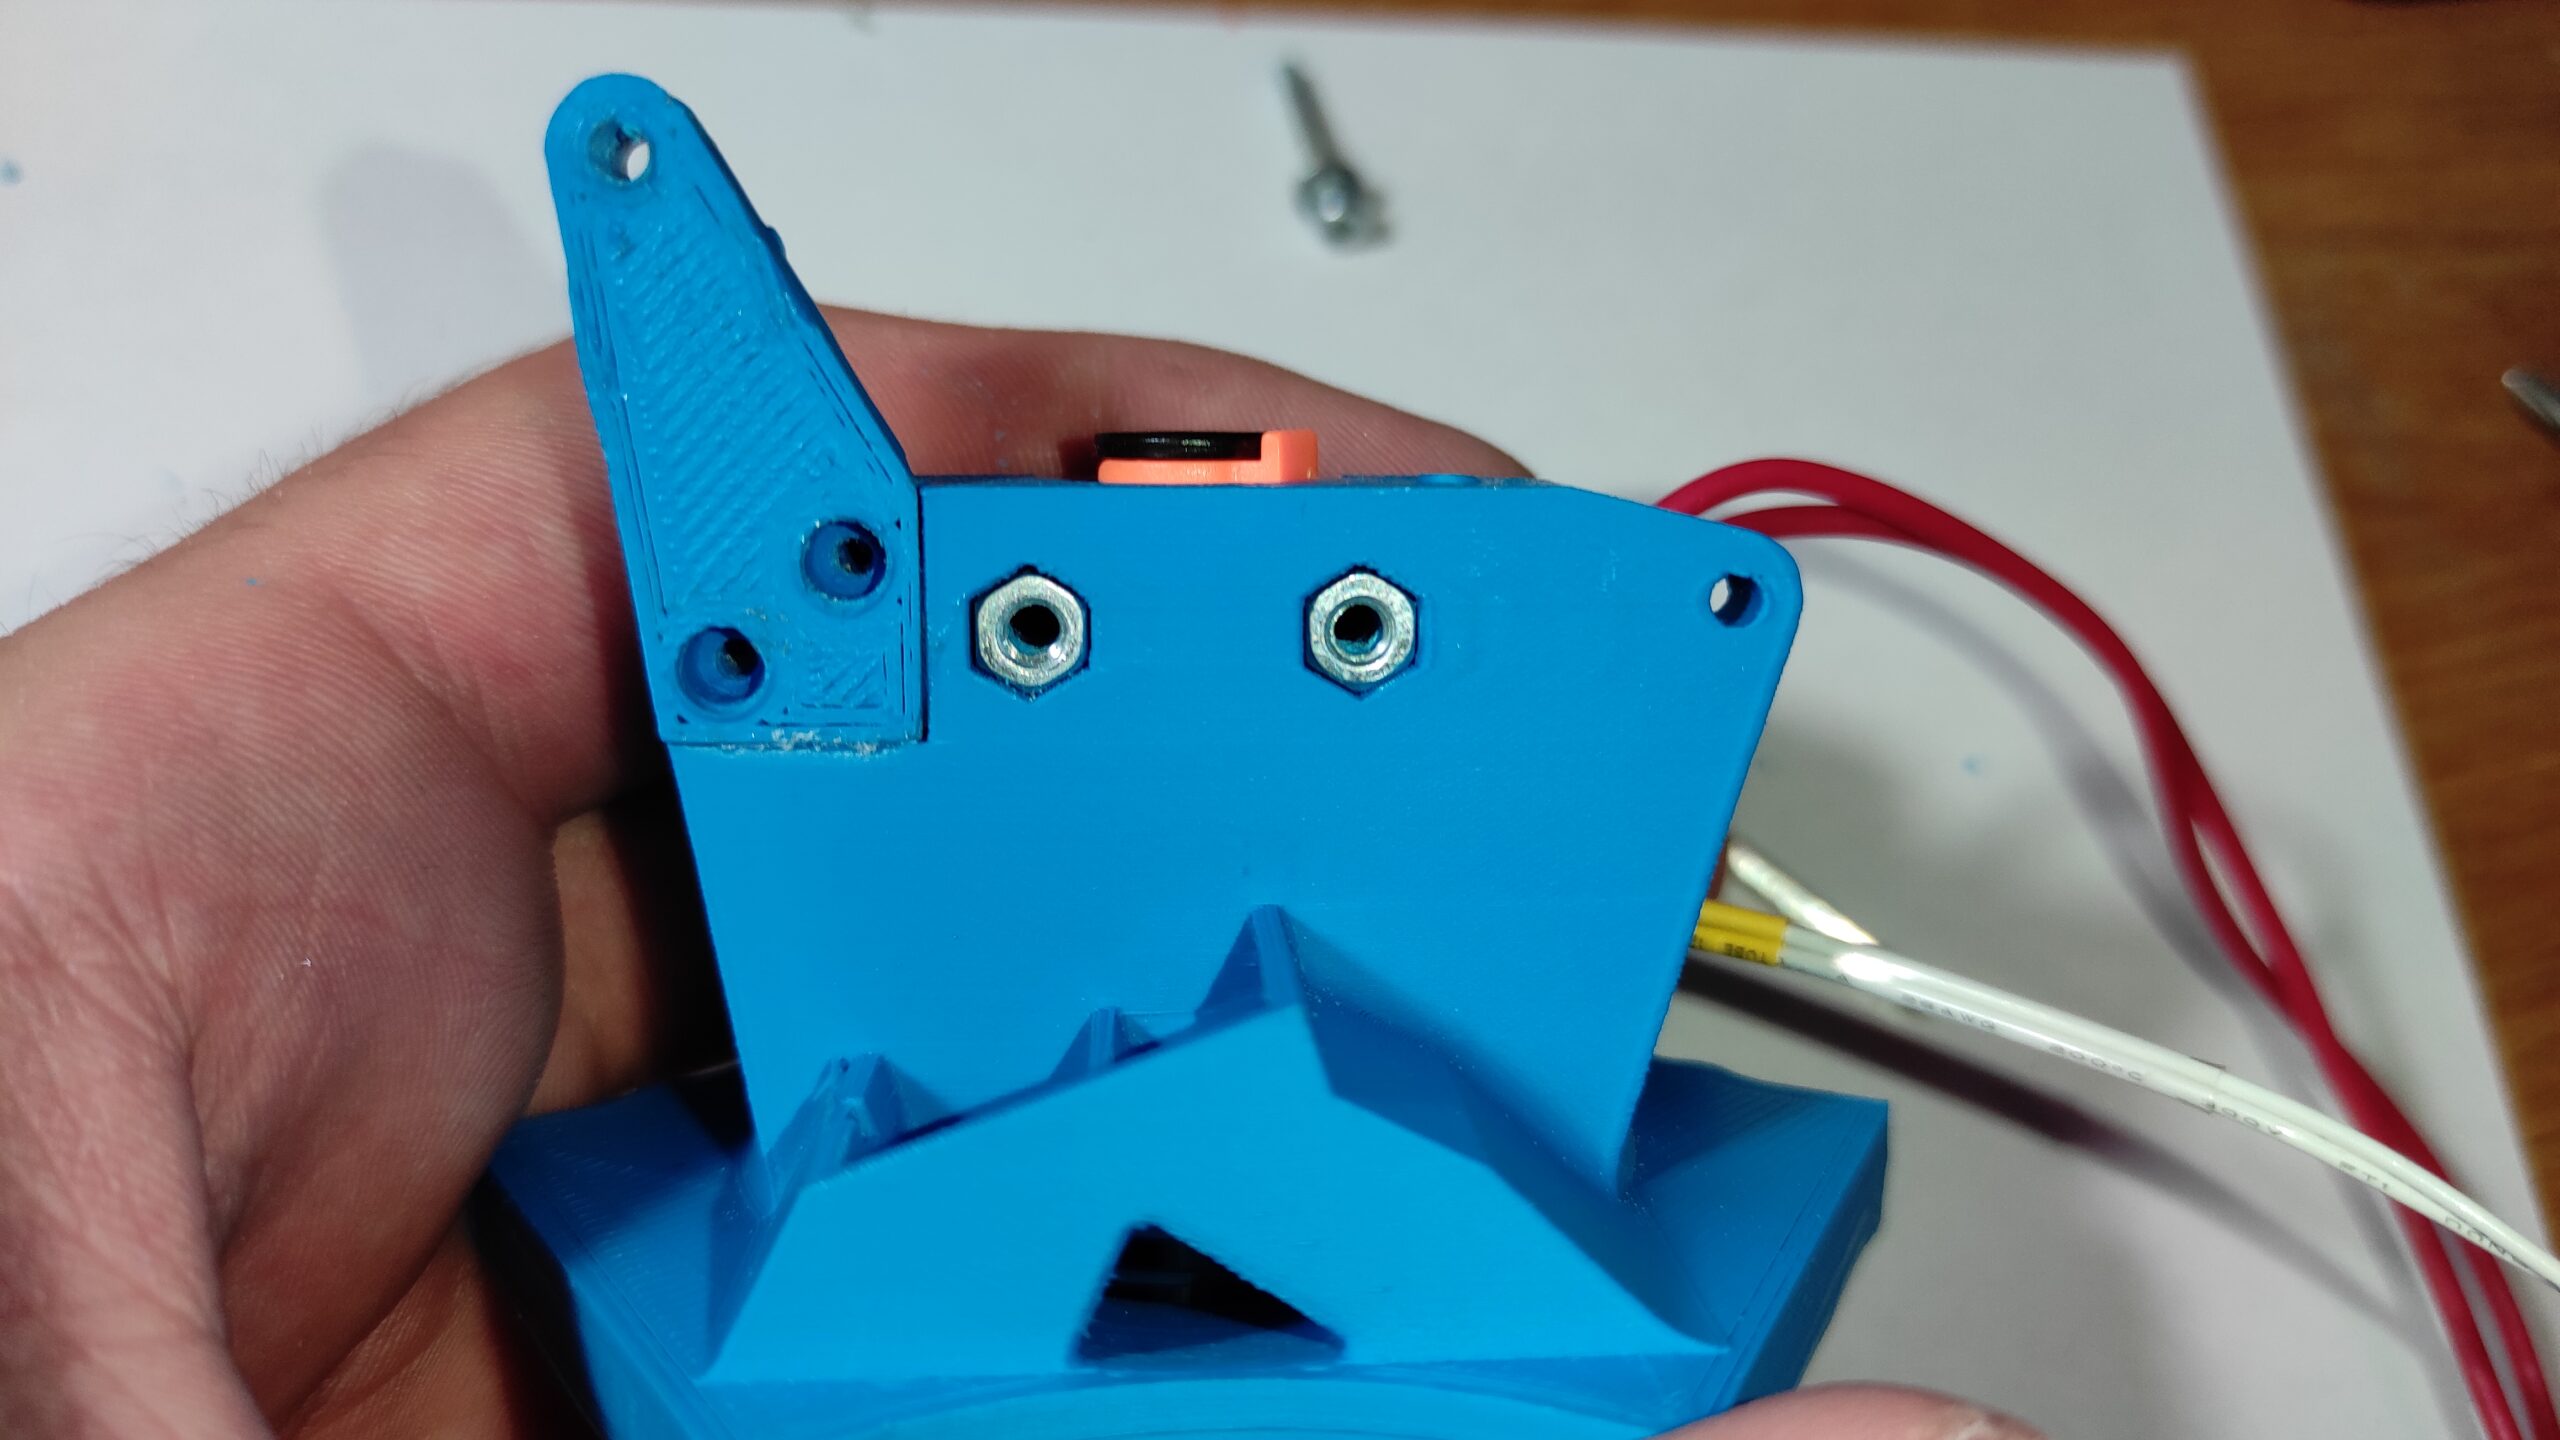
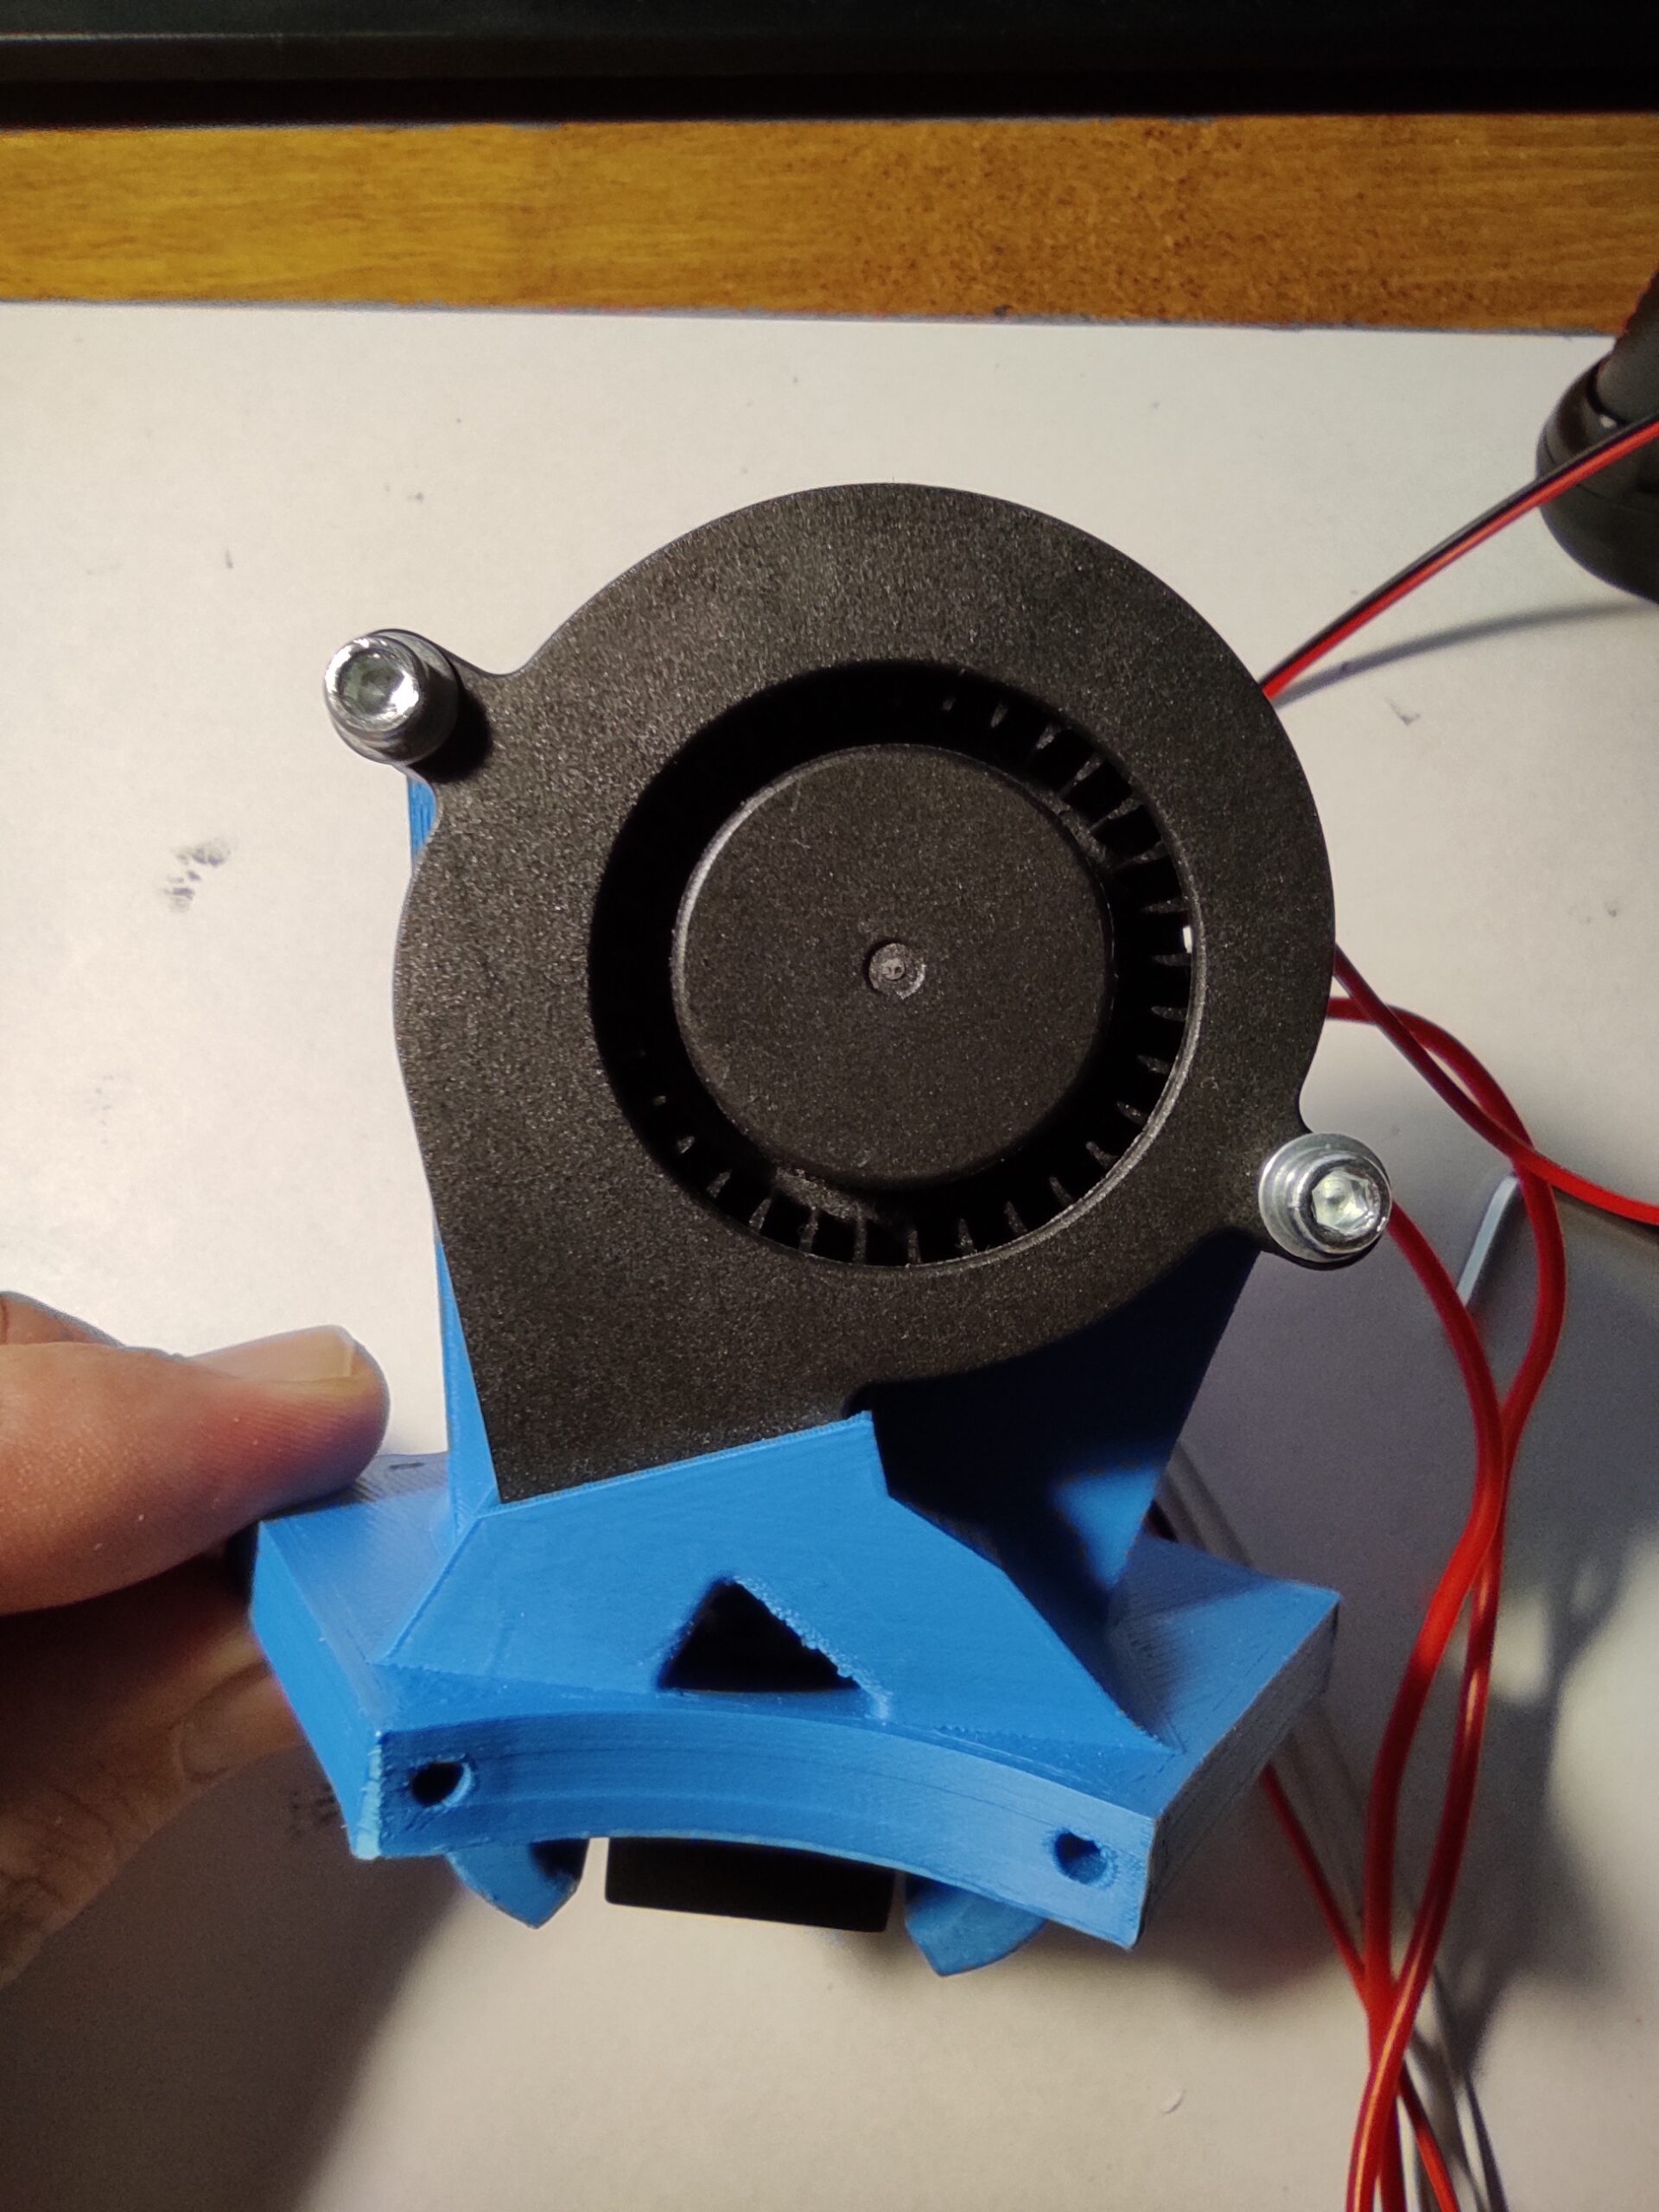
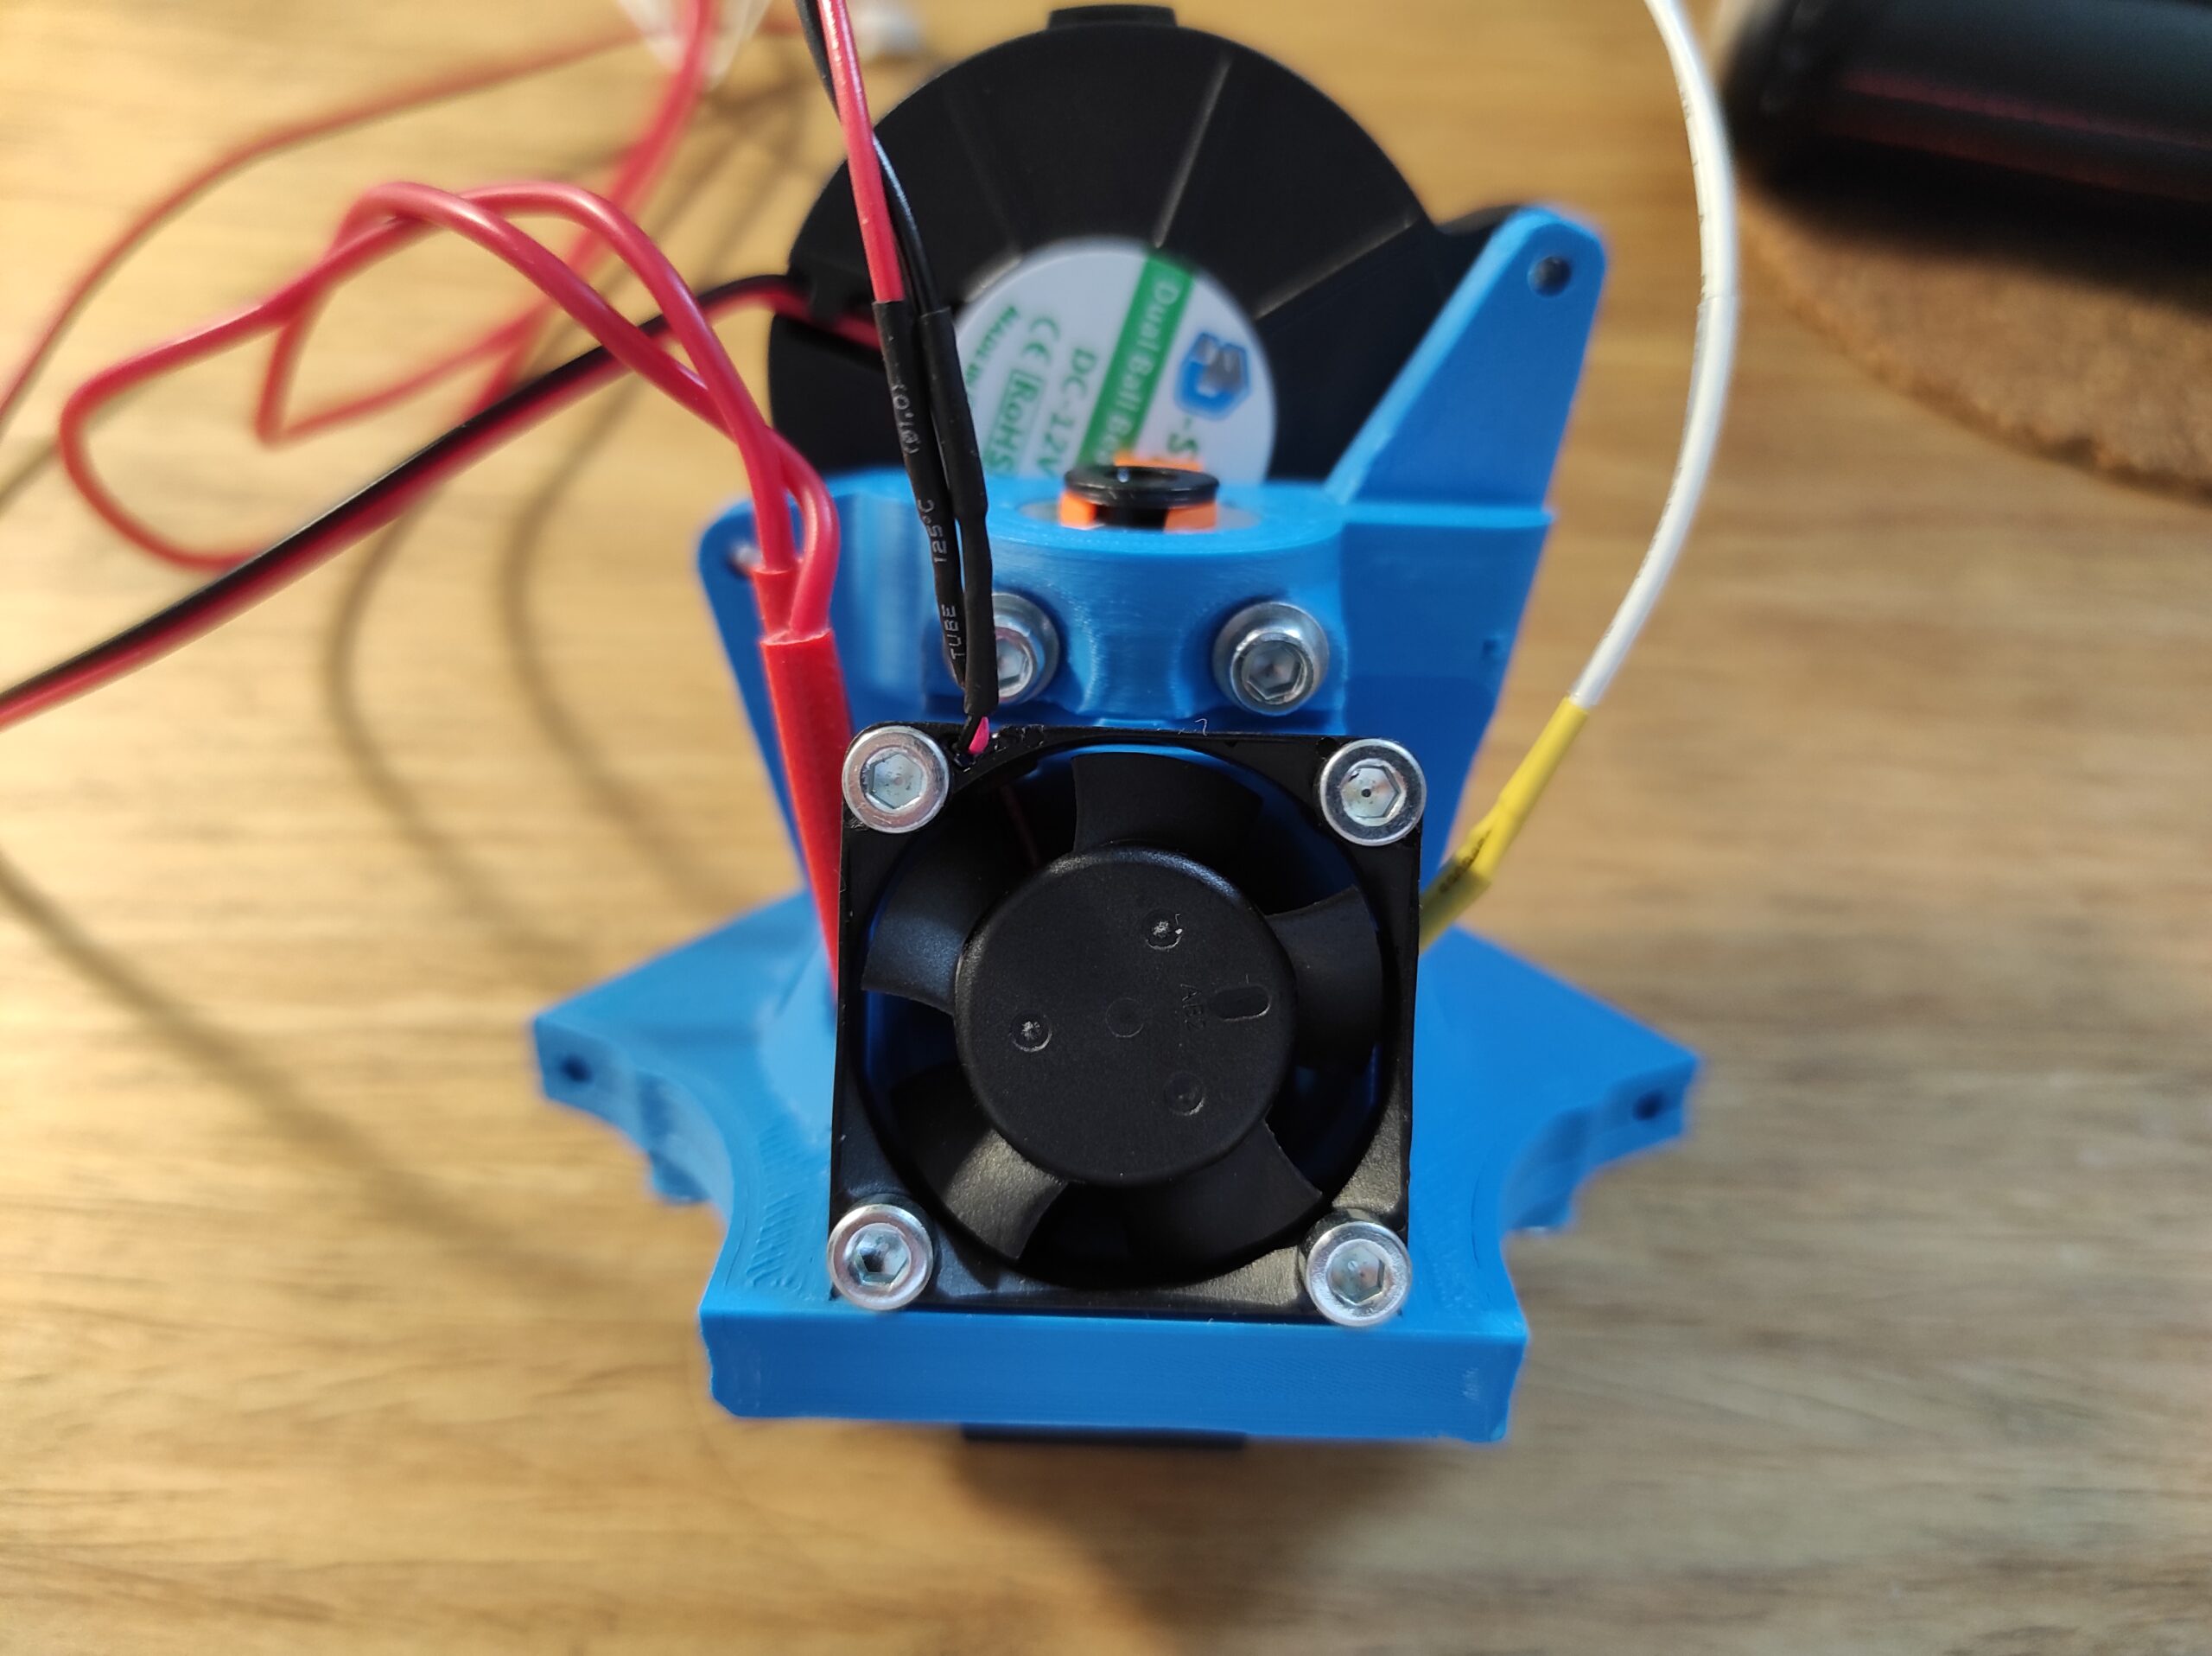
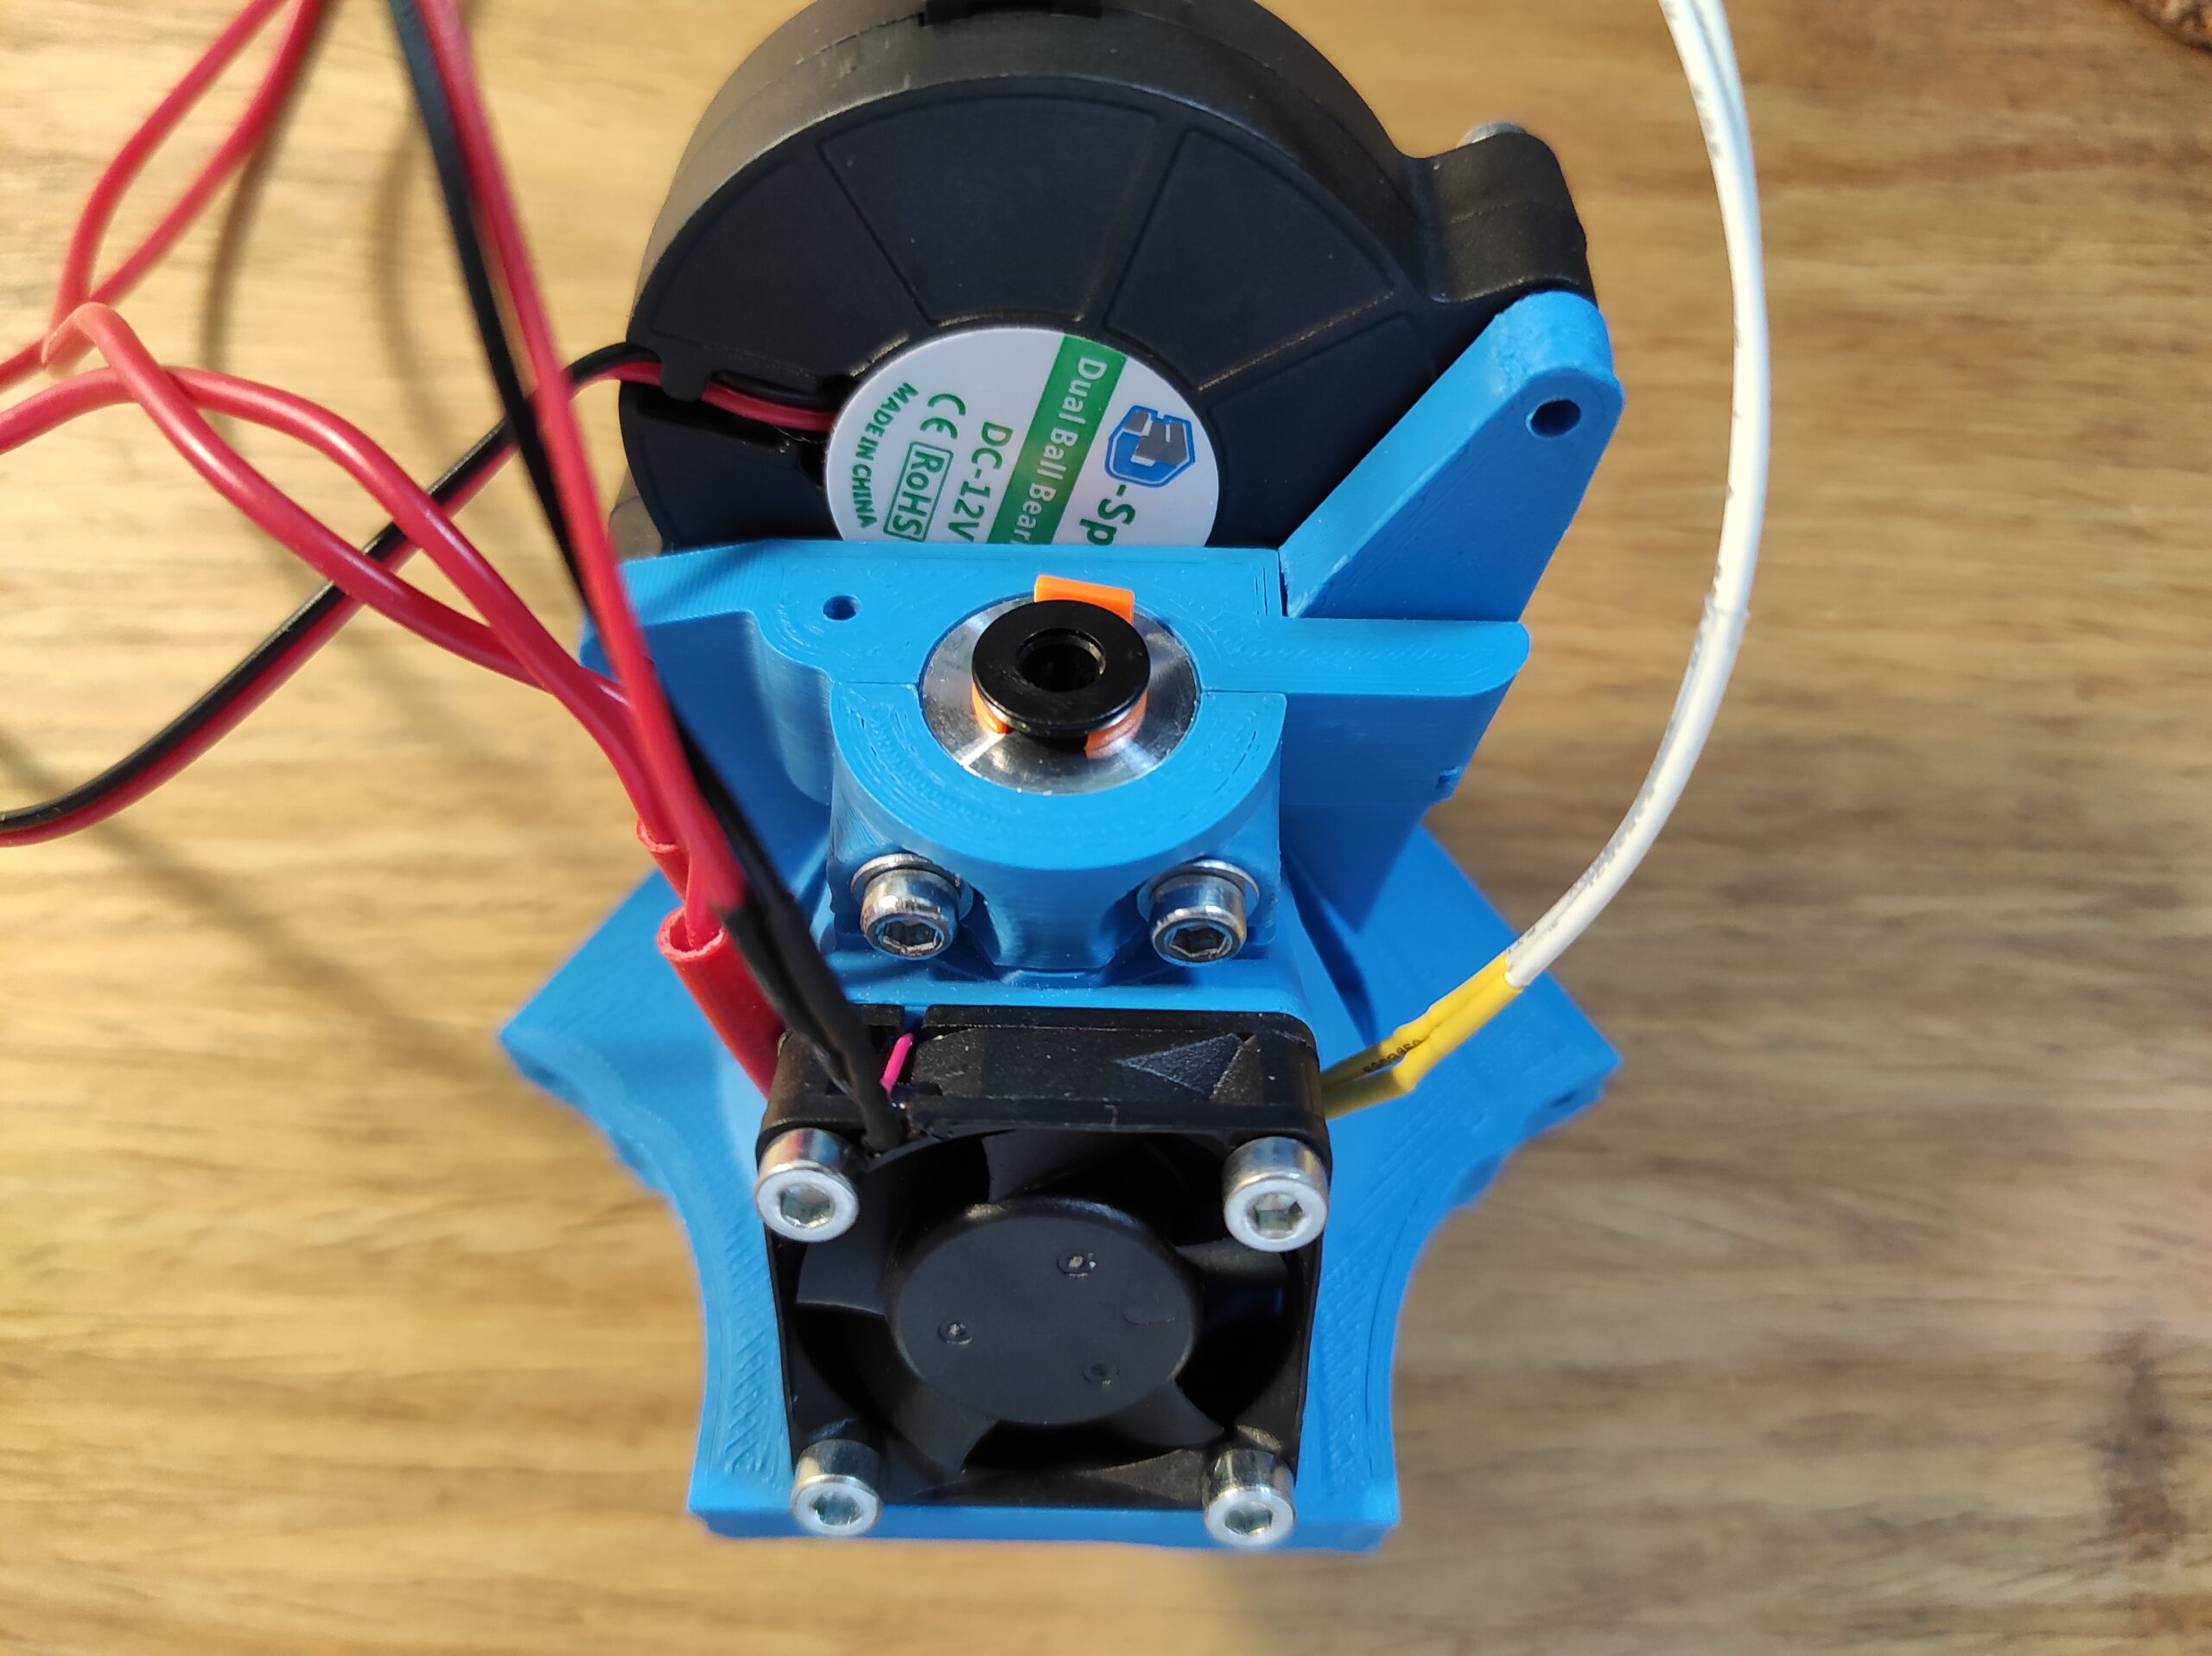
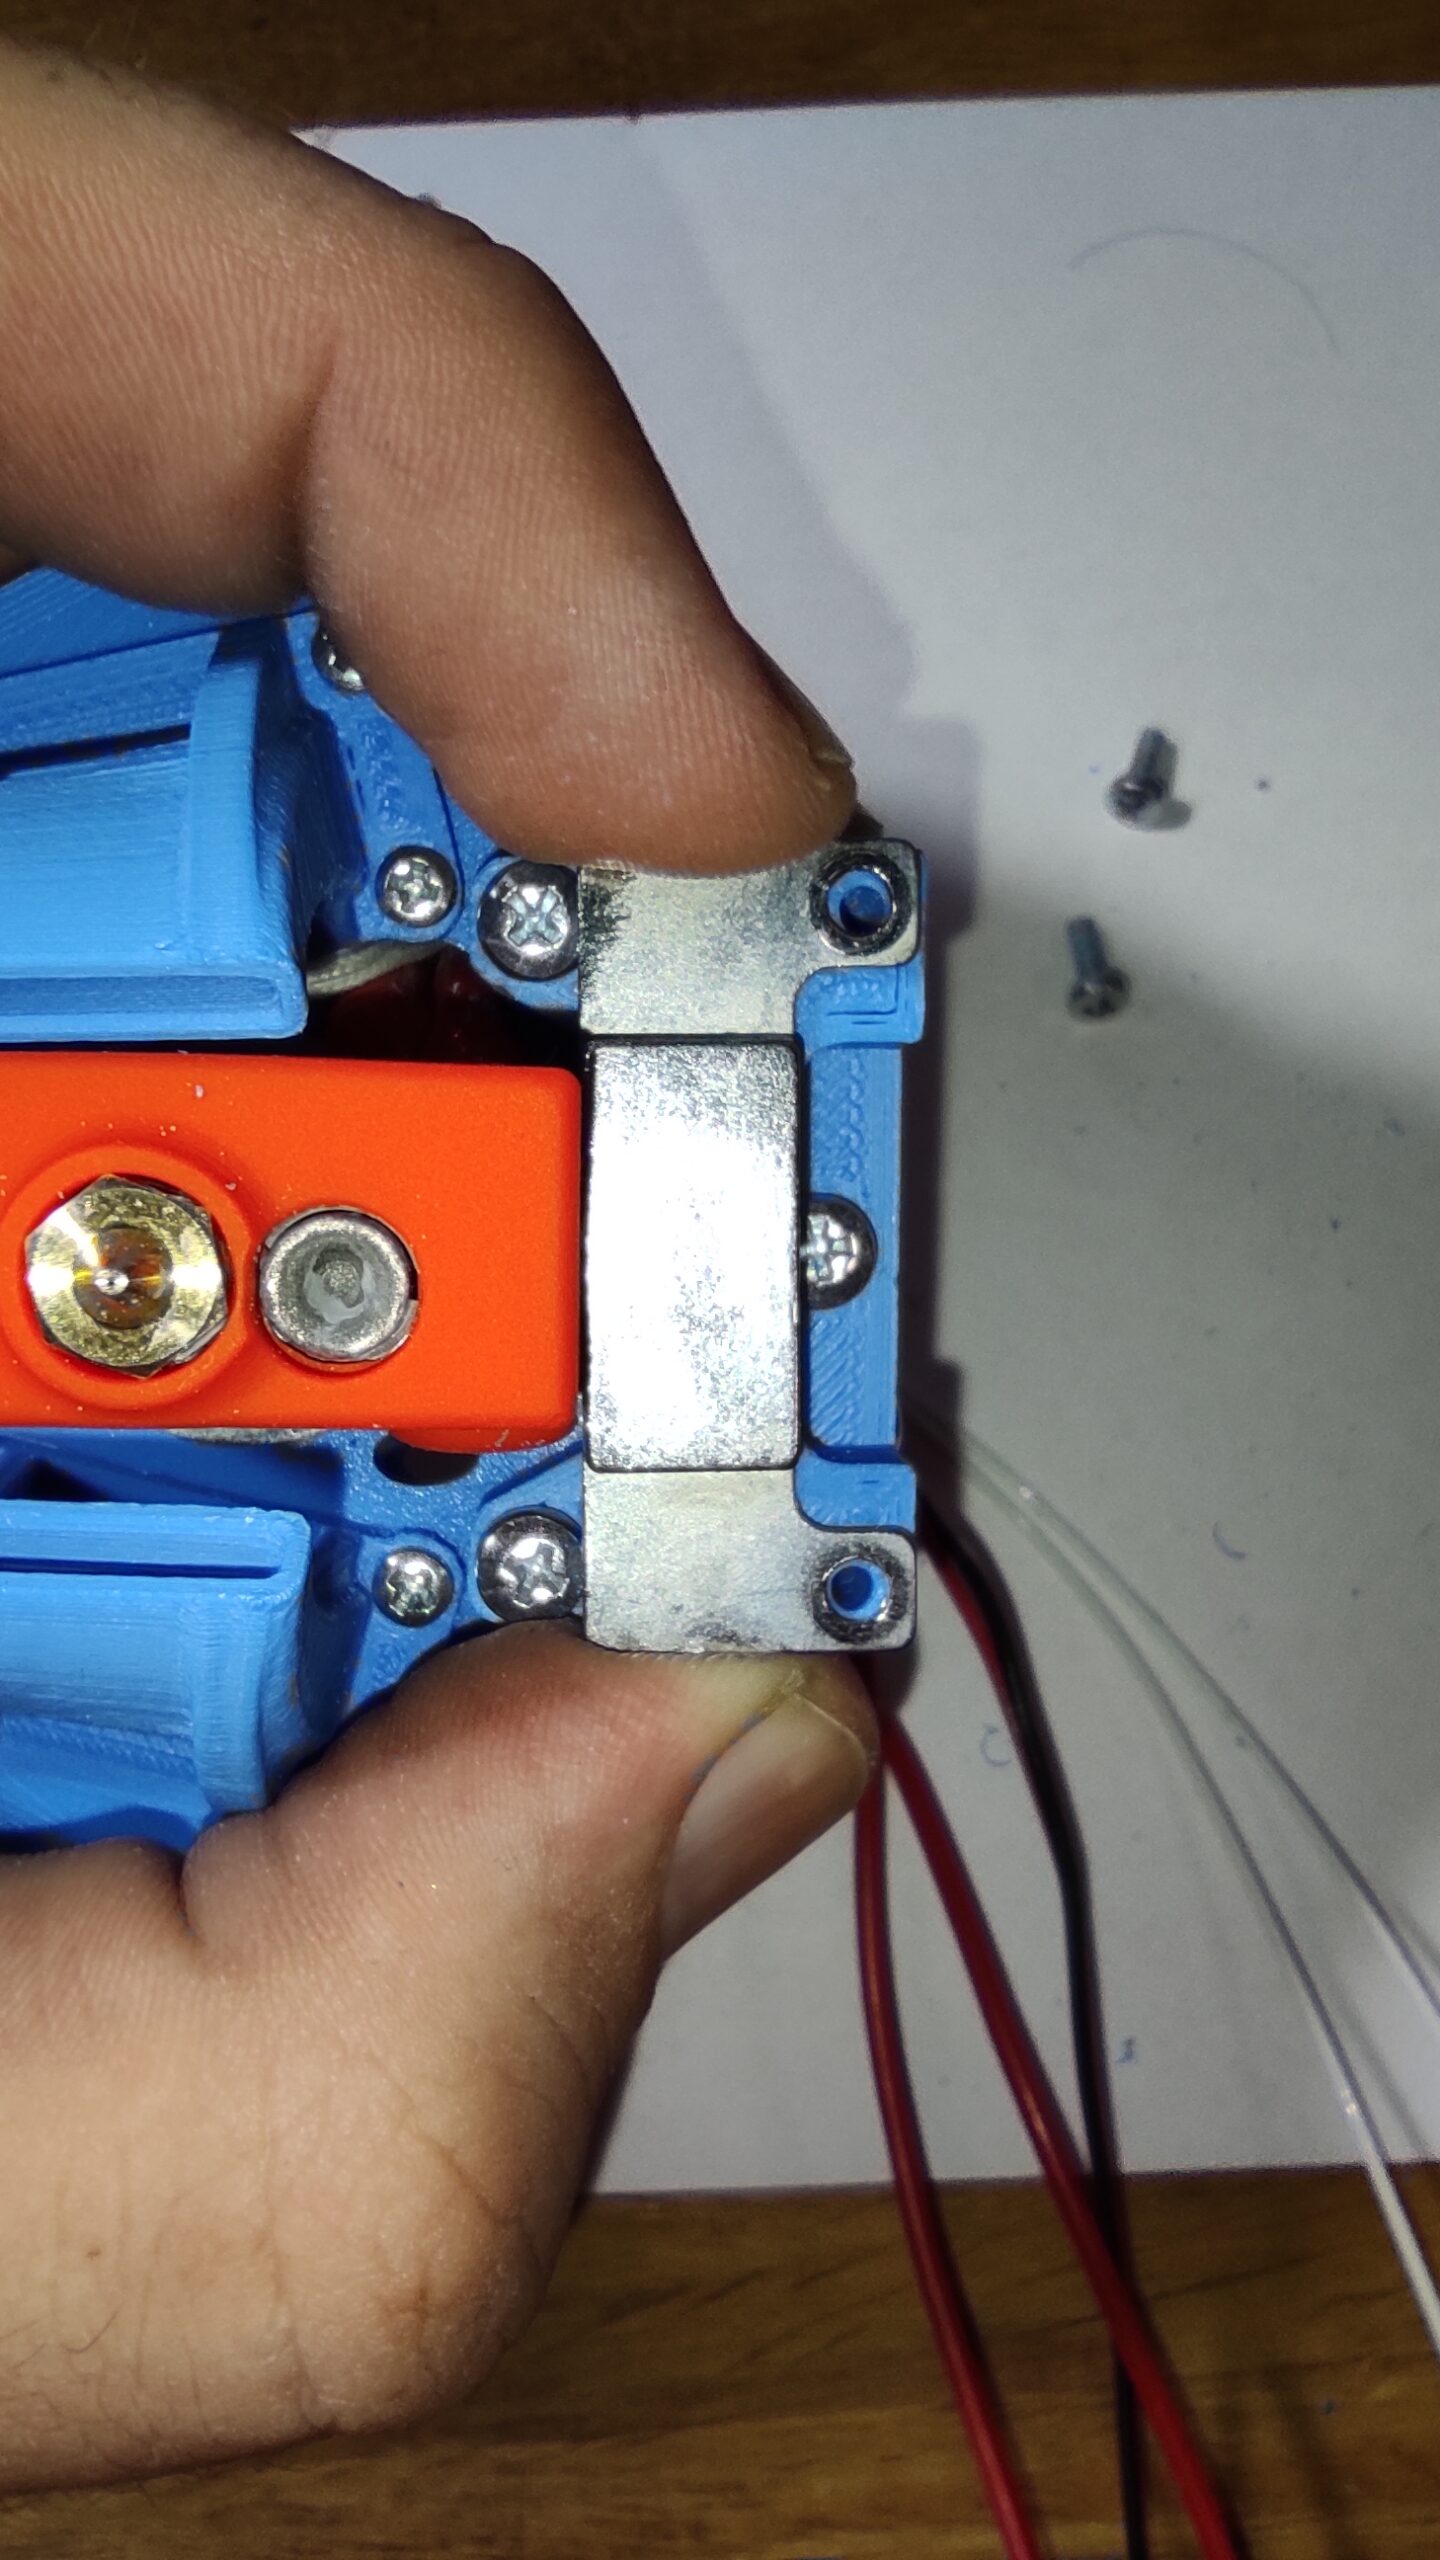
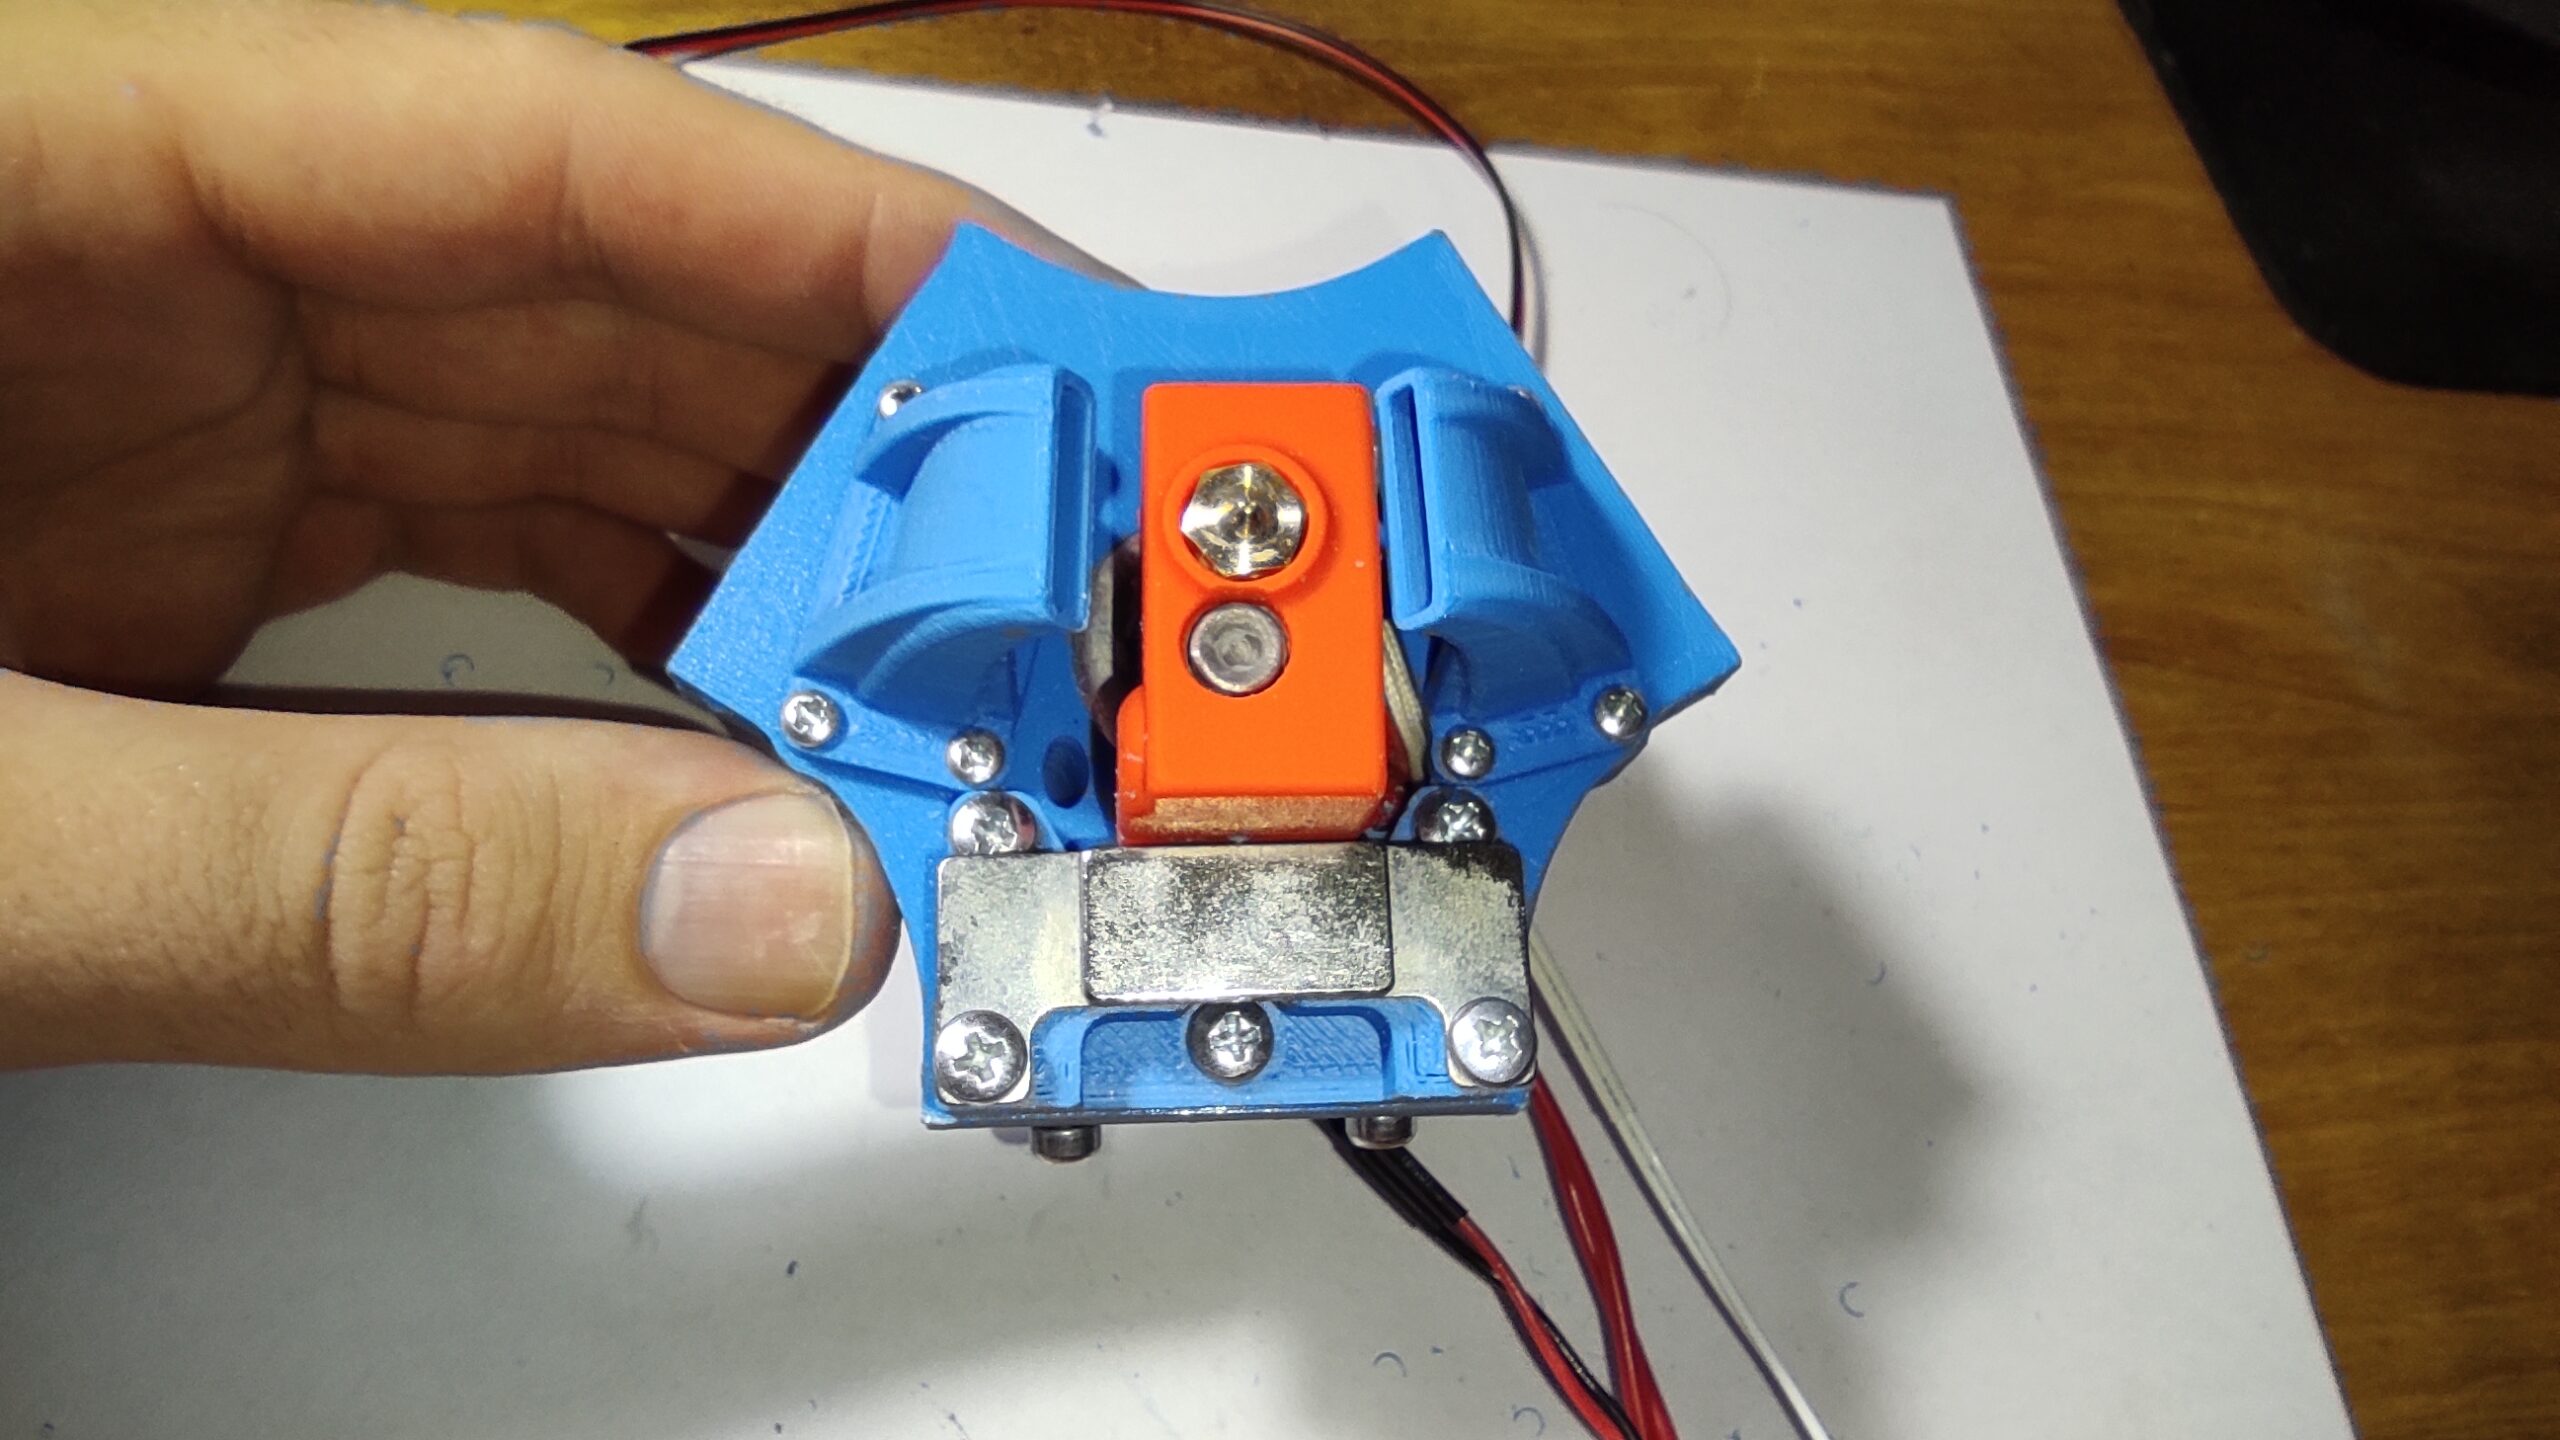
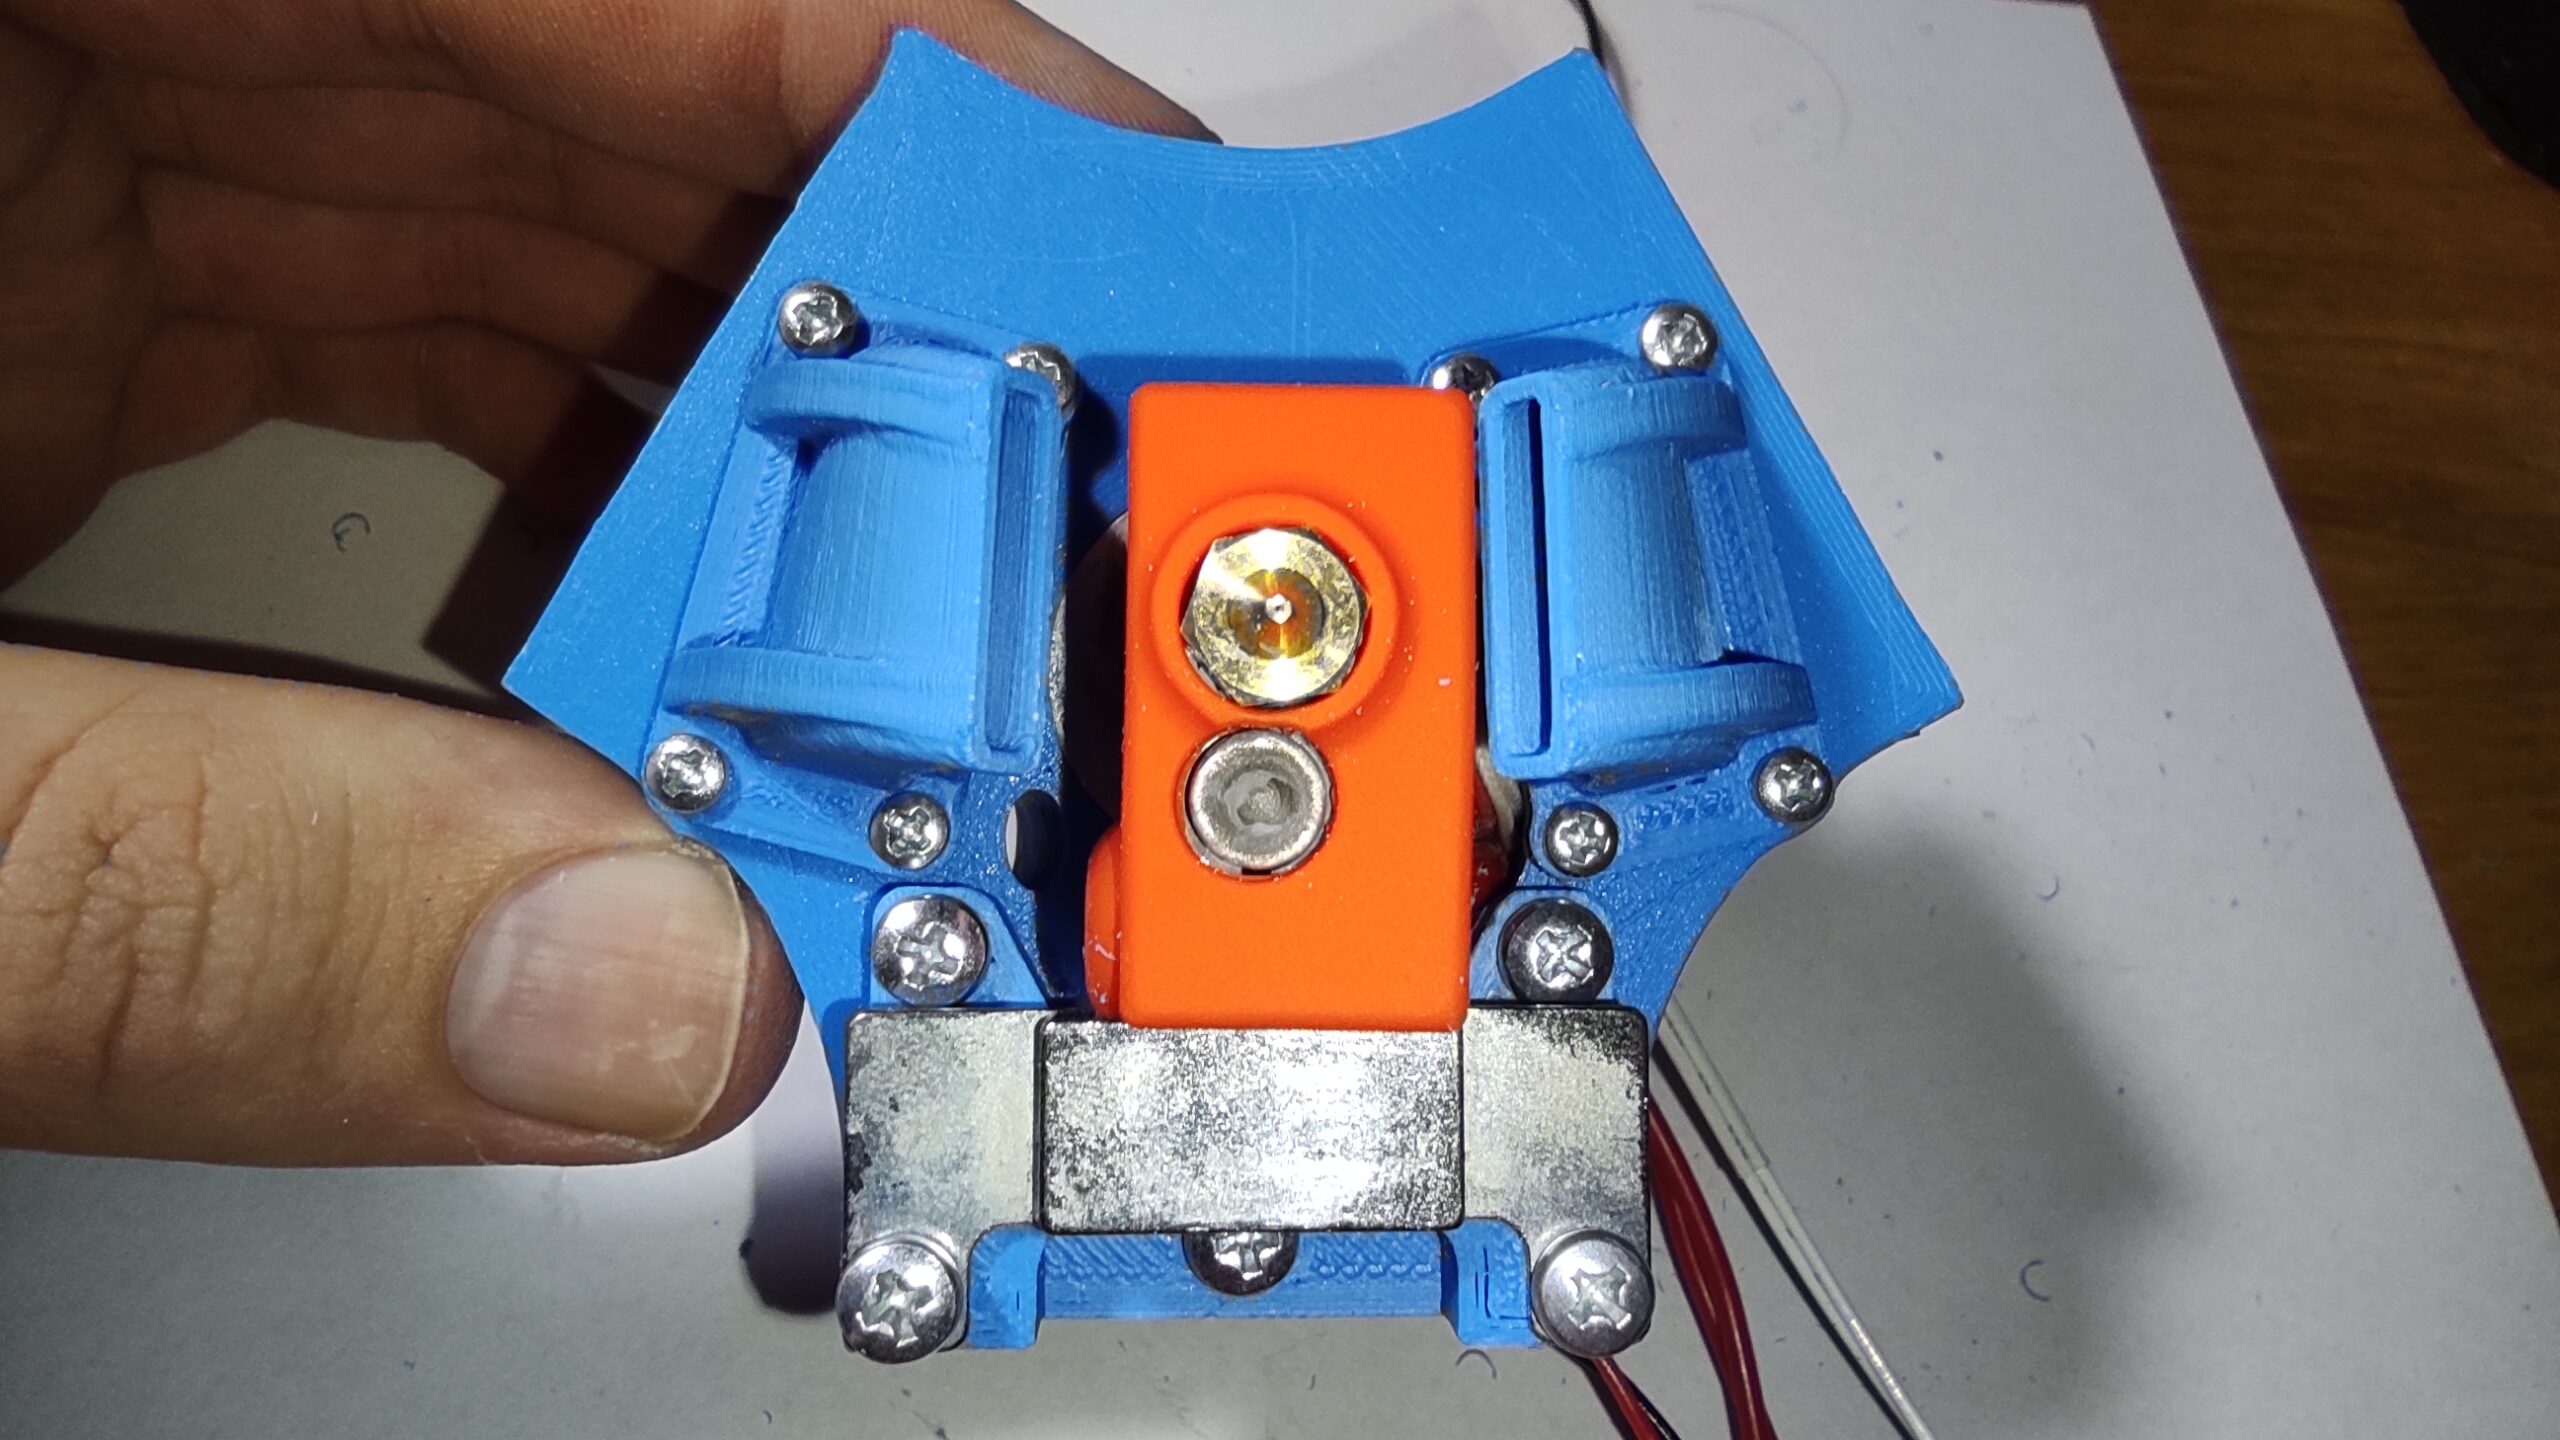
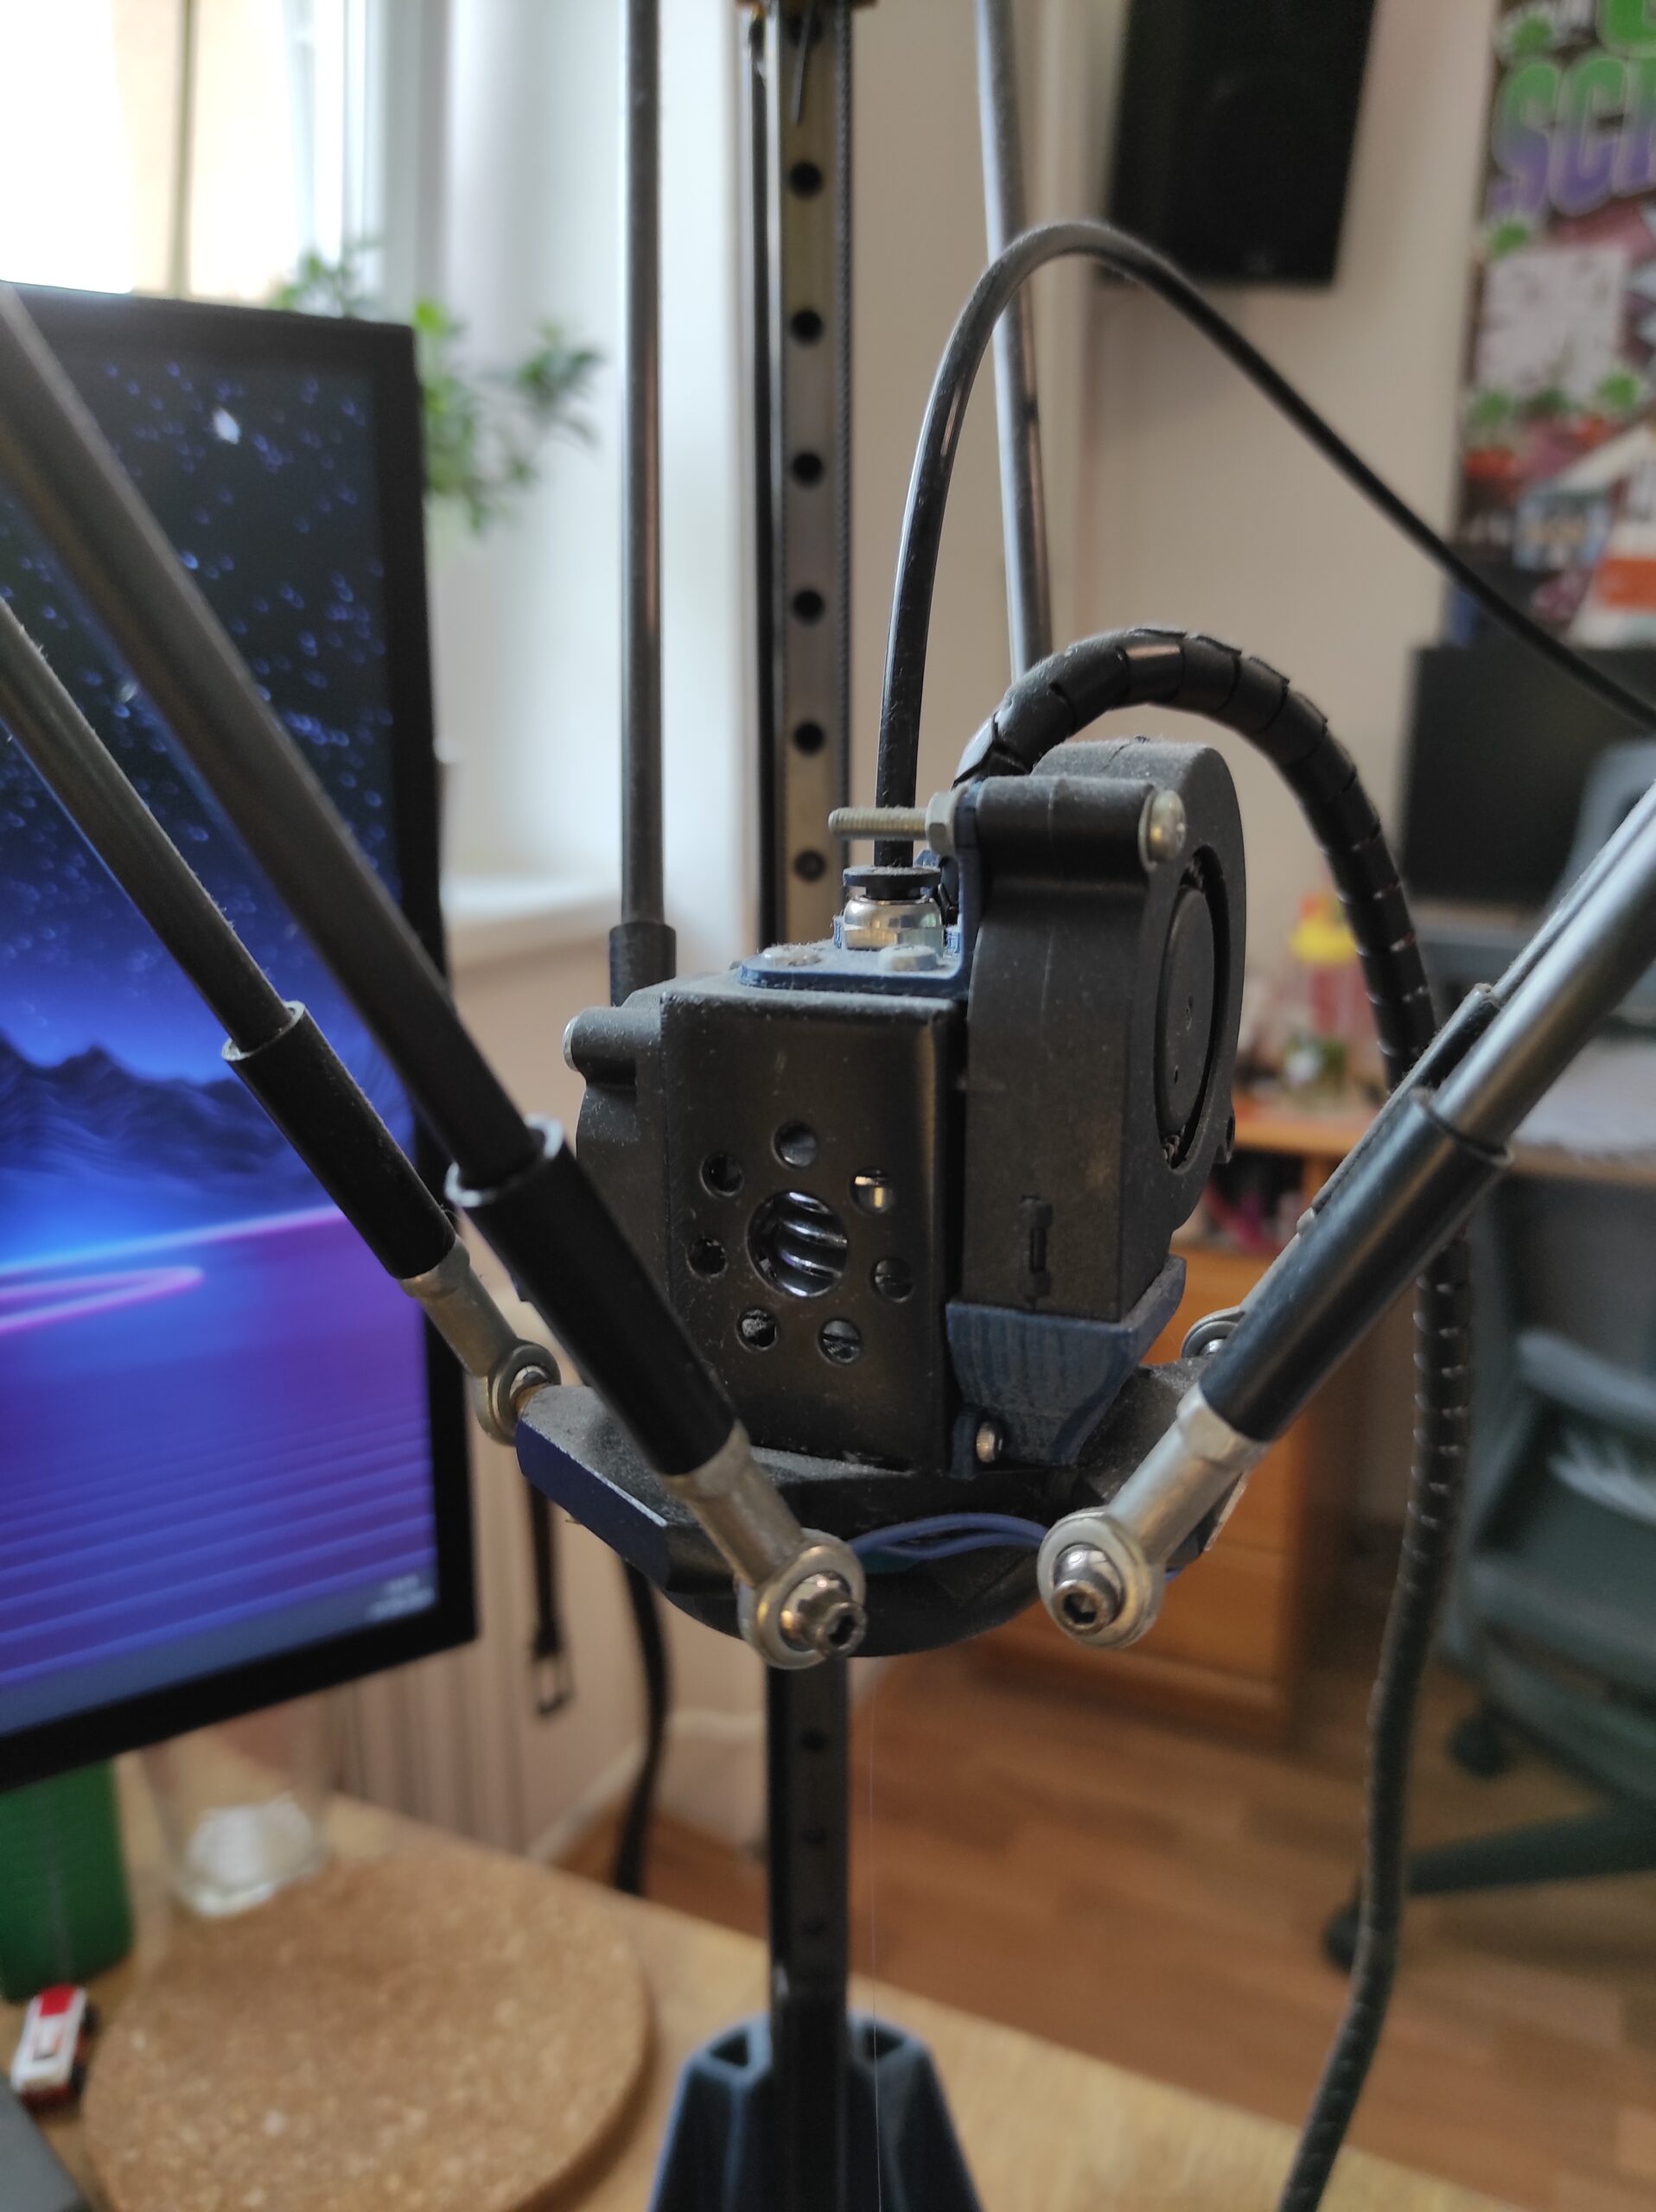
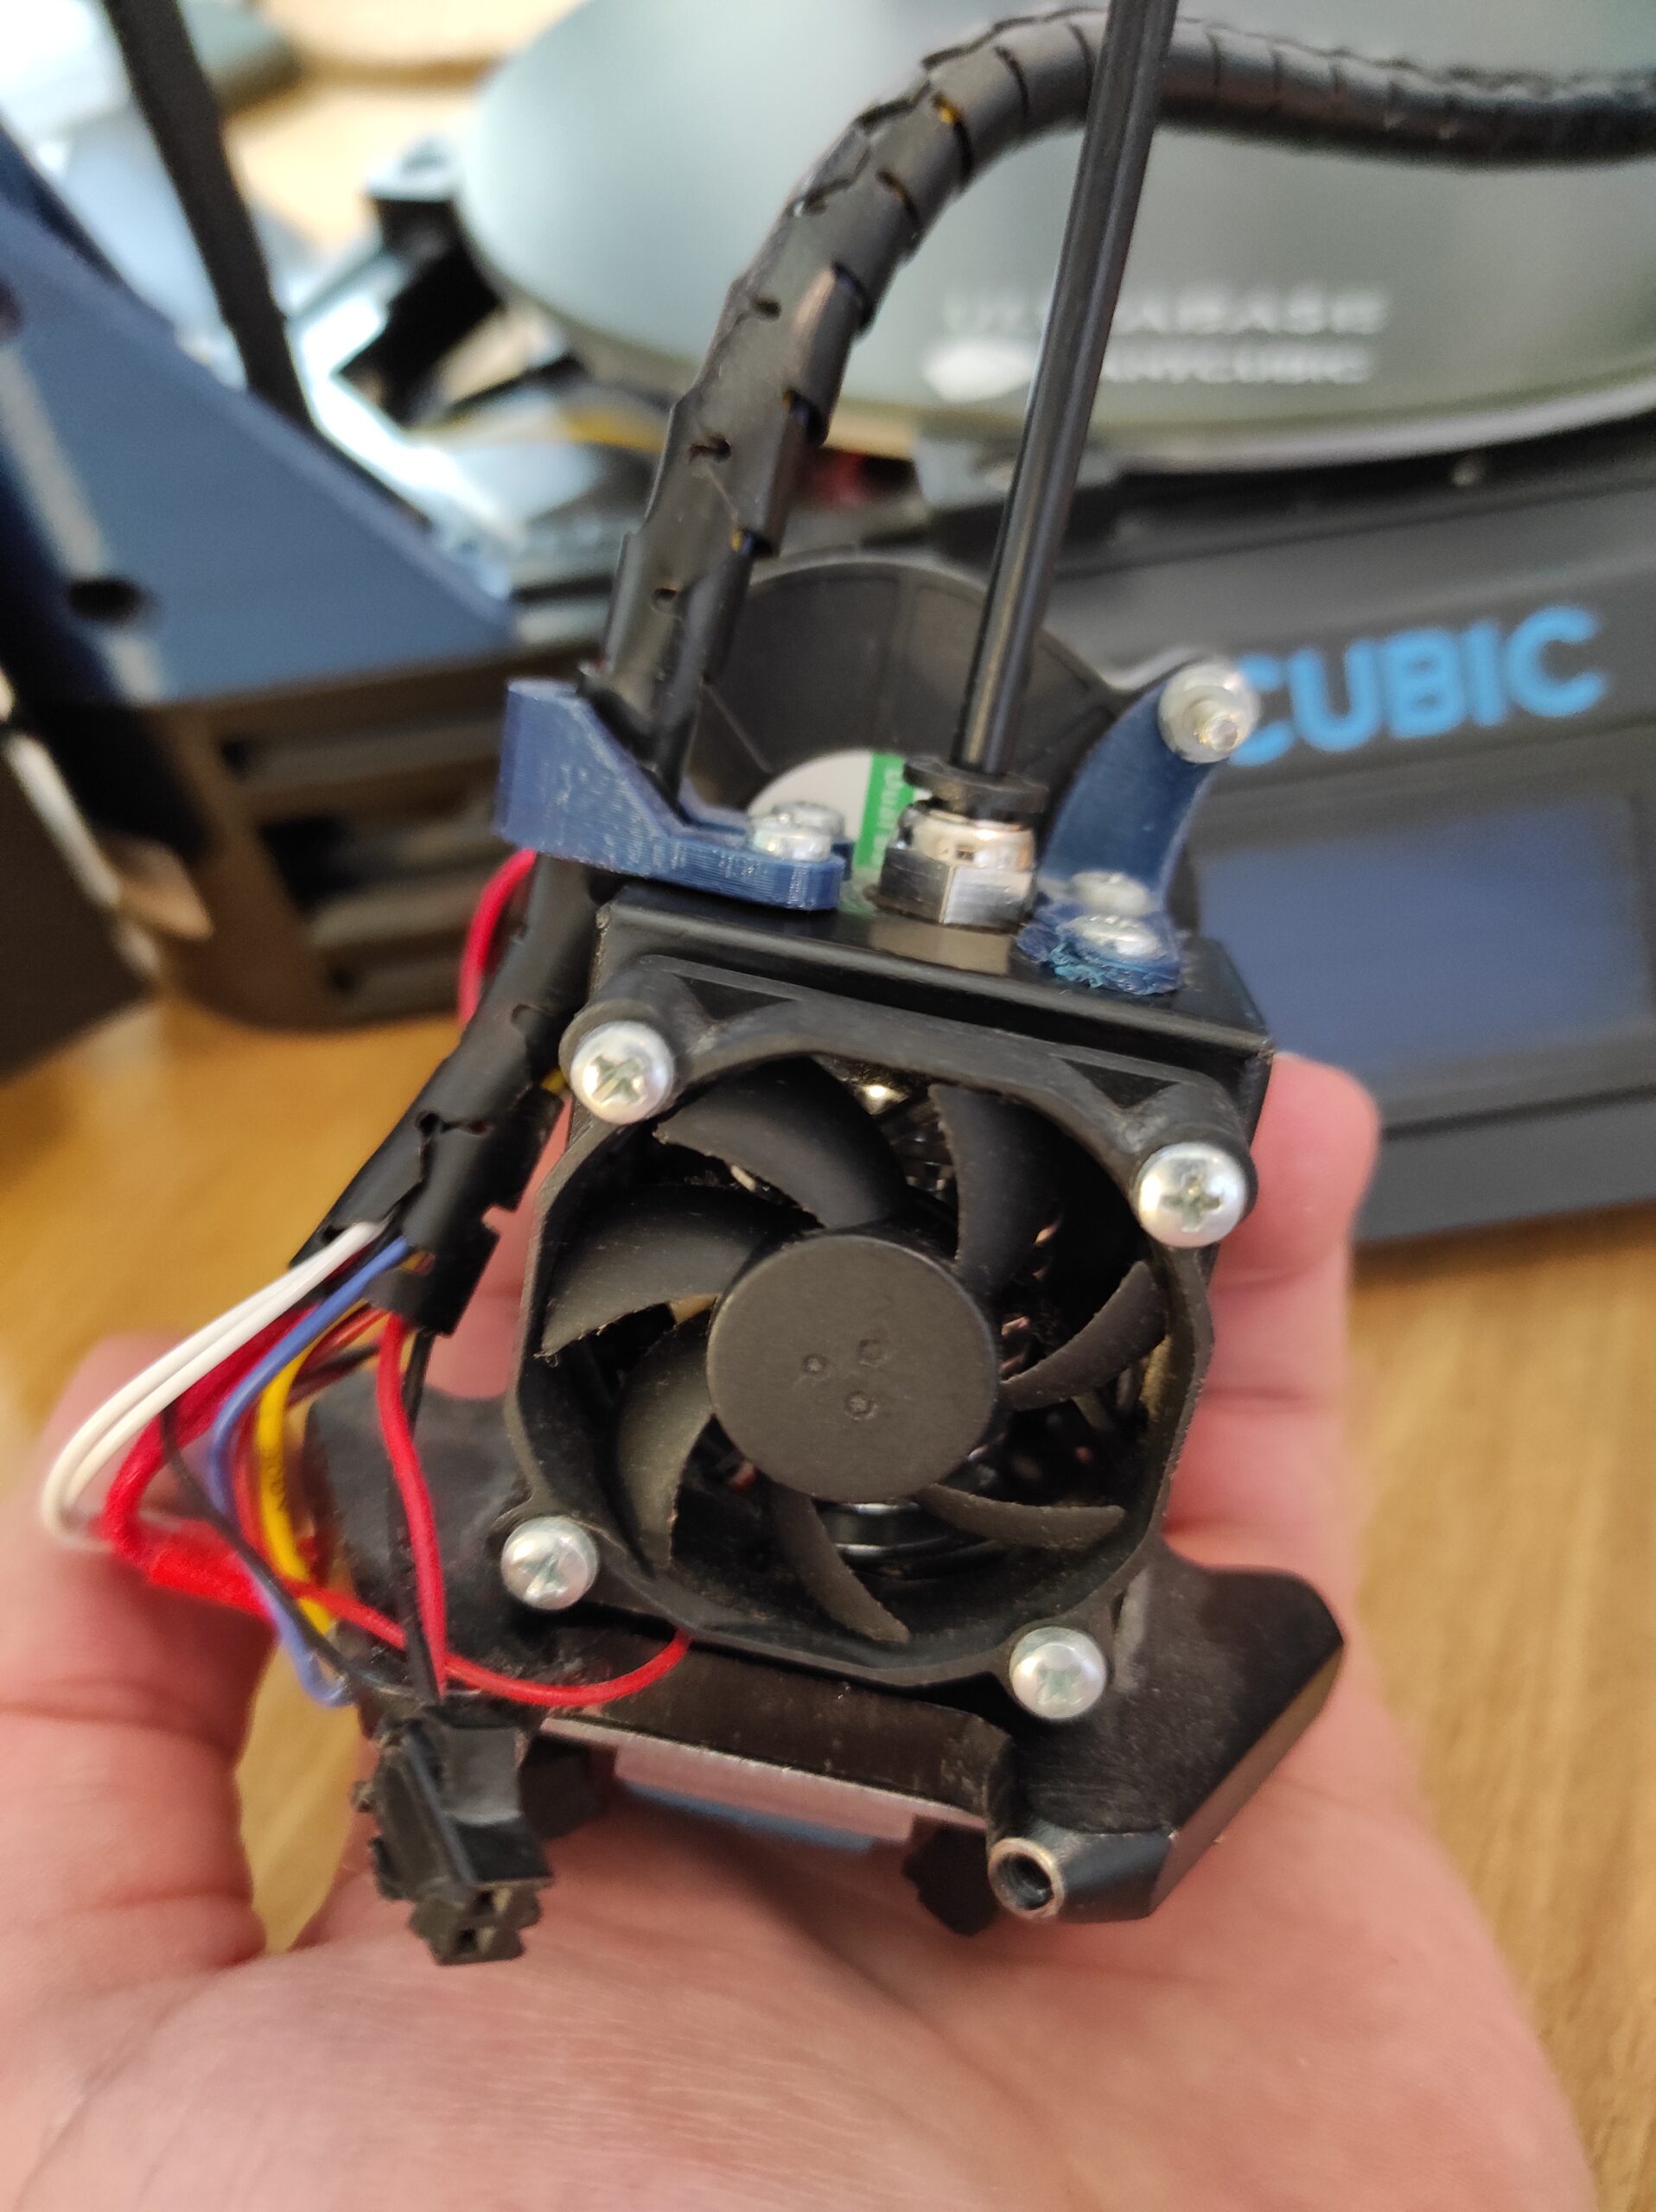
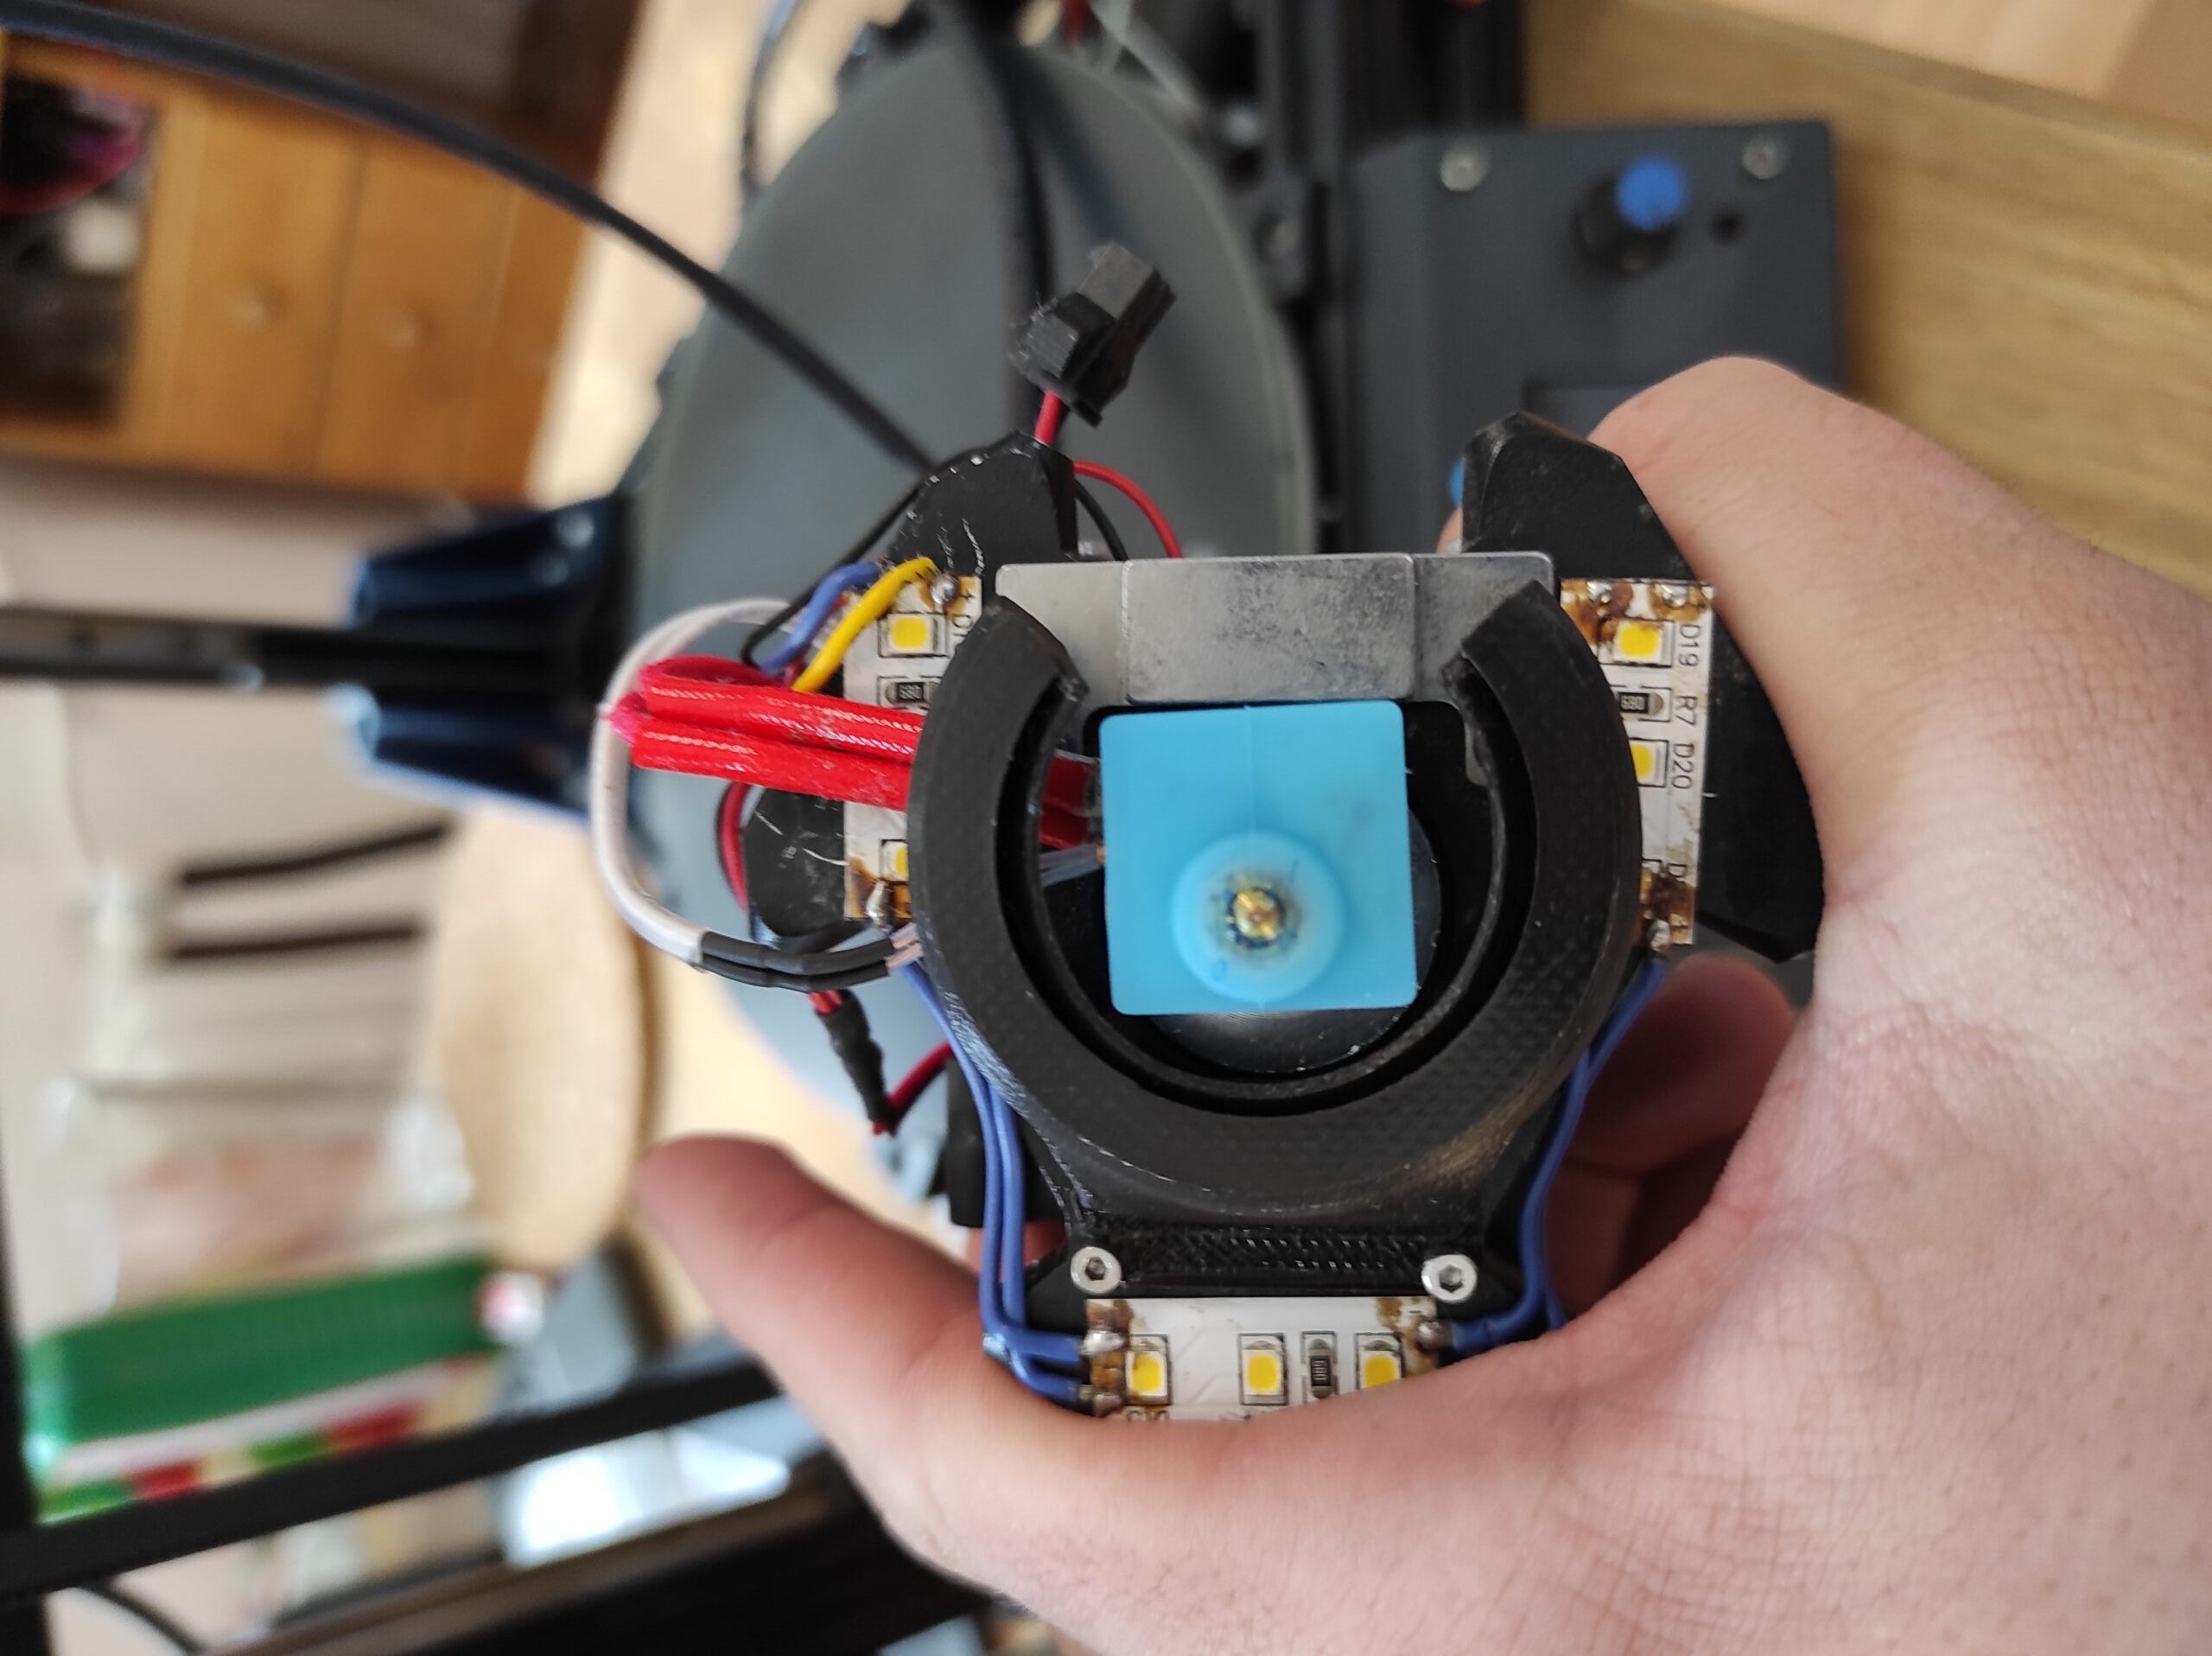
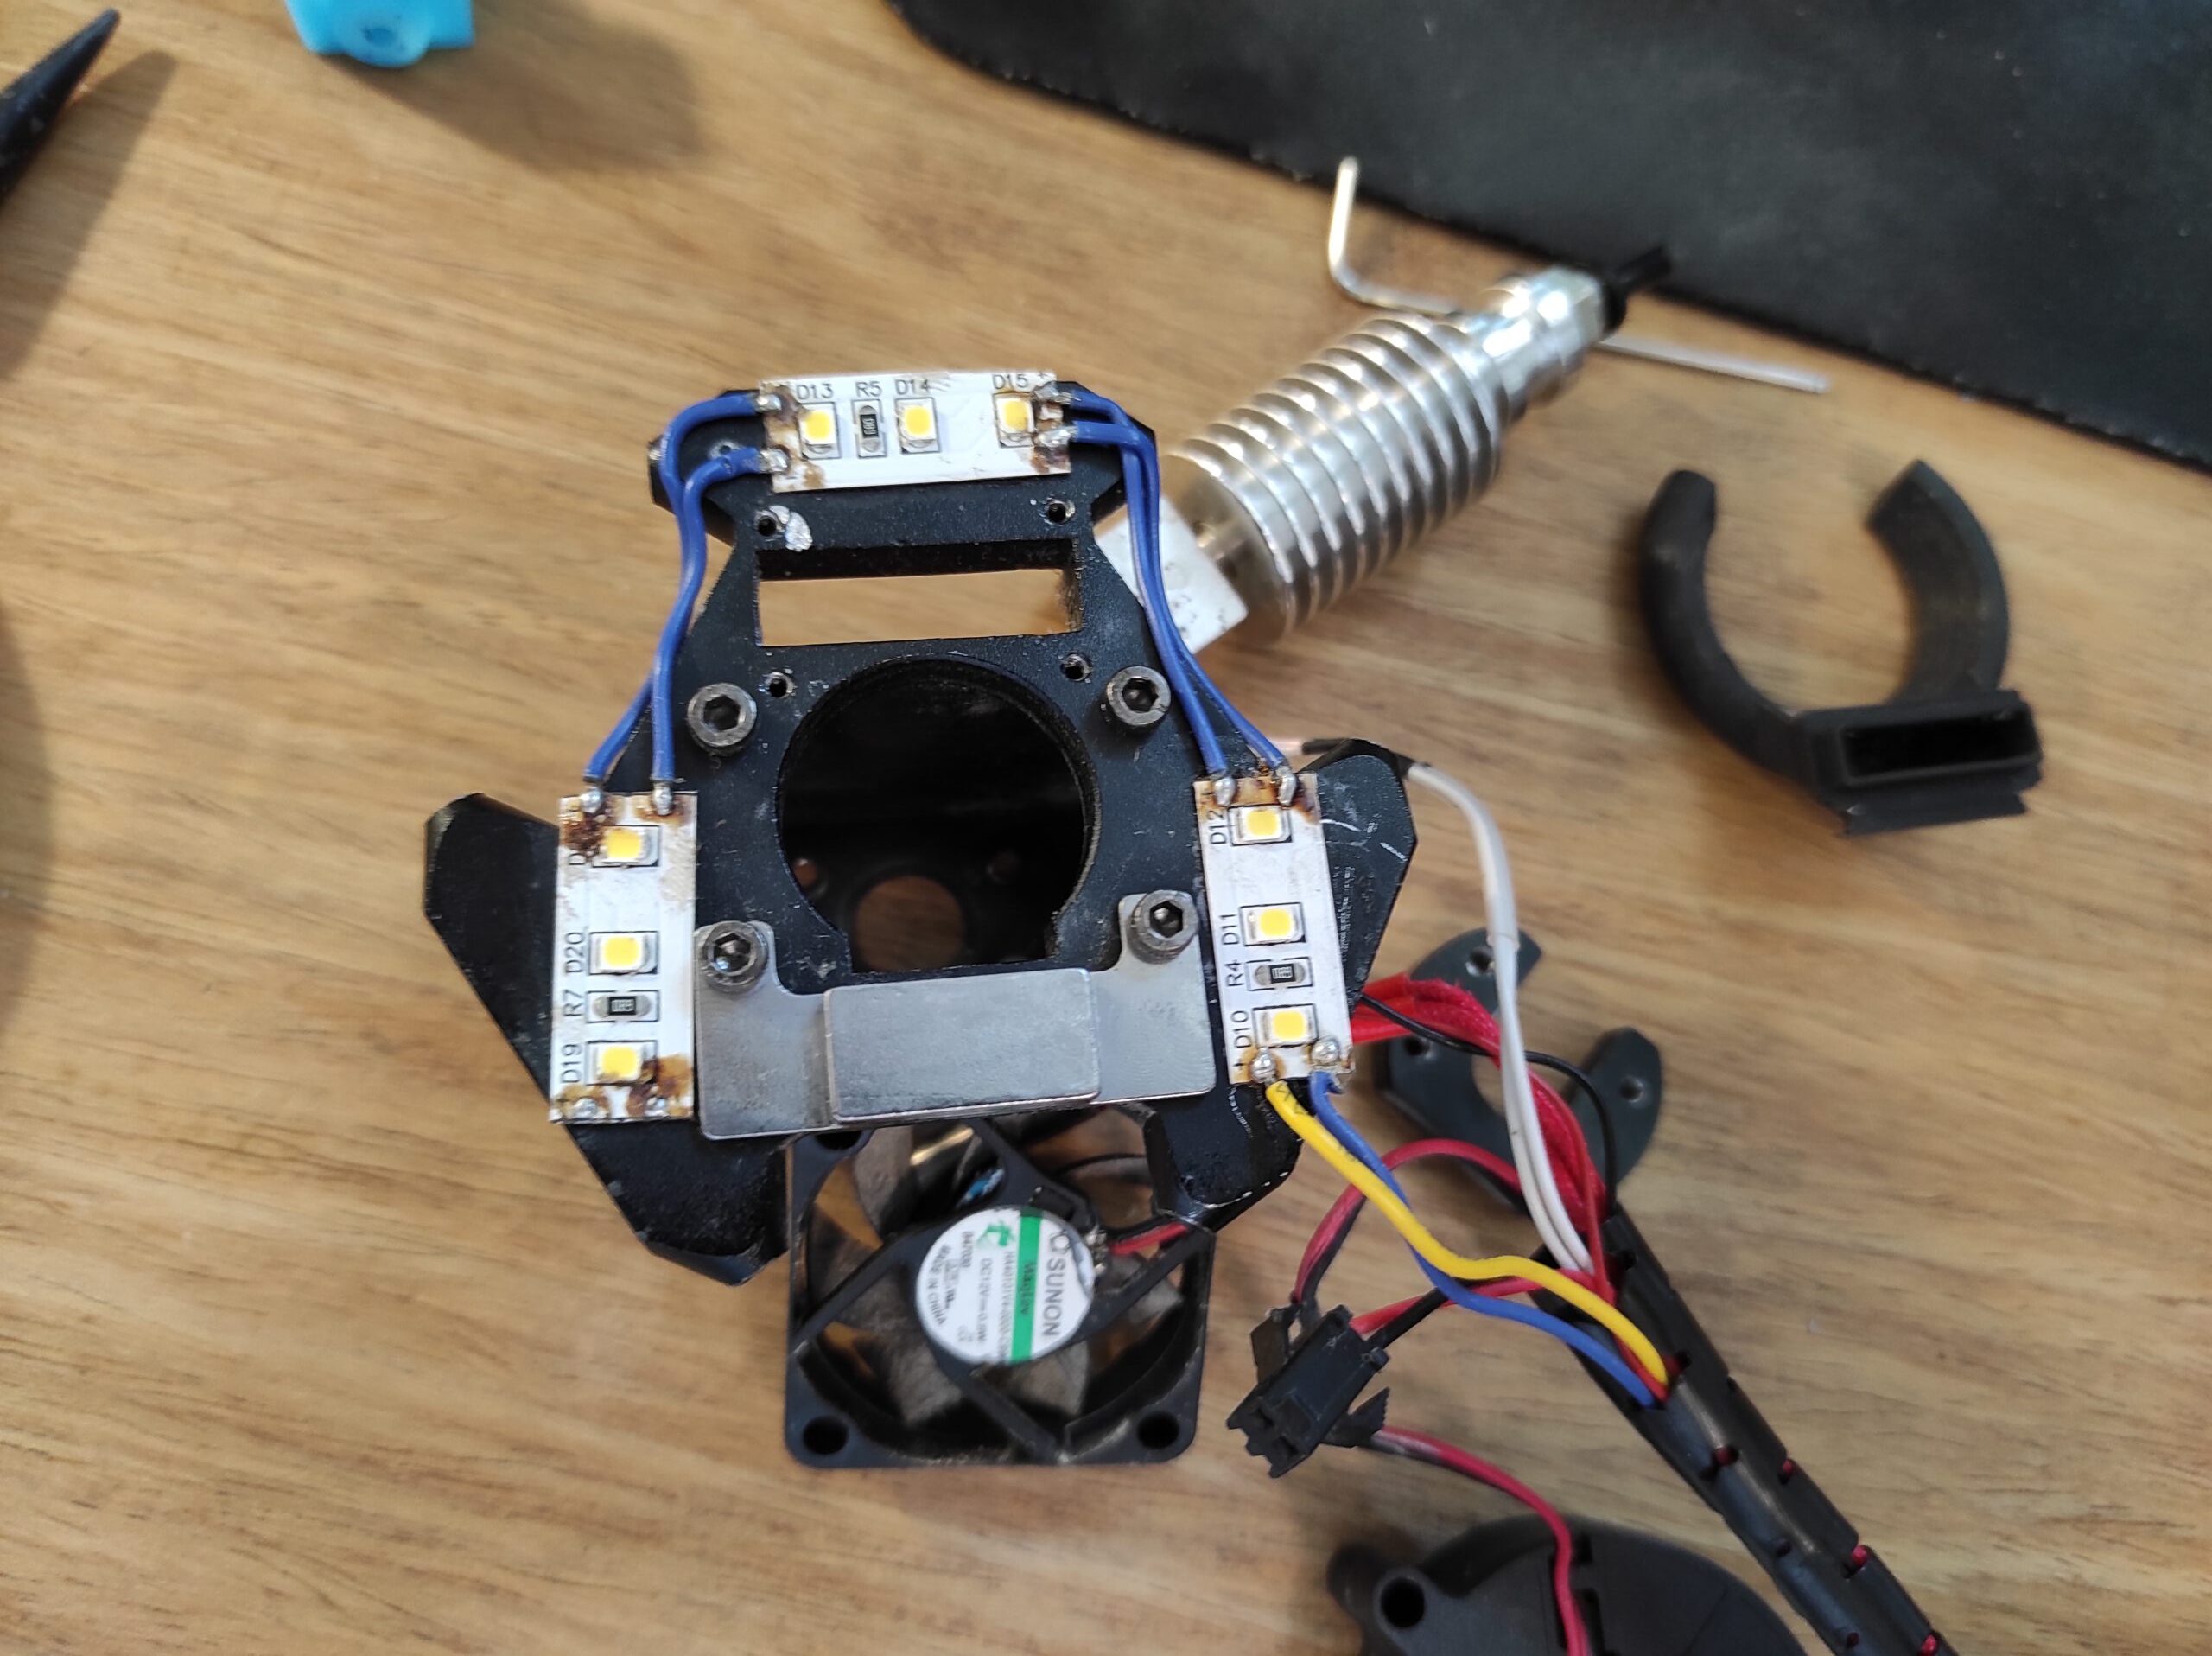
Volcano effector stl files
Download these stl files made by Robert Schmiedt (rosch8) from Thingiverse. There are two version of stl files in this Thingiverse thing. The effector remains the same for both V6 and Volcano hot end, but the cooling ducts are different and there is also extra piece as for the probe.
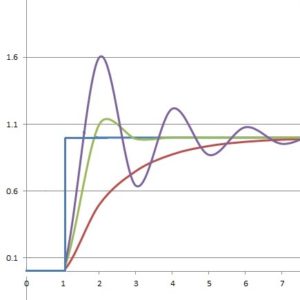
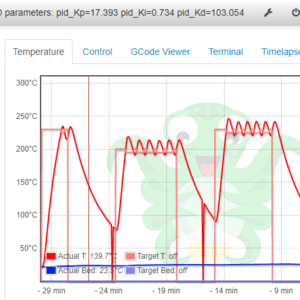
Anycubic Kossel PID calibration
1. What is it good for? PID regulation is necessary for consistent 3D printing.Bad PID values can cause thermal runaway problems or at least inconstintent flow.If you have upgraded extruder fan, extruder head, heater or hot end, you defininitely should
Anycubic Kossel Klipper extruder PID calibration
1. Check extruder name First start with opening your printer.cfg configuration file and checking etruder name. It is usually extruder, because most of the people use only one extruder, so there is no reason to change it. 2. Move effector
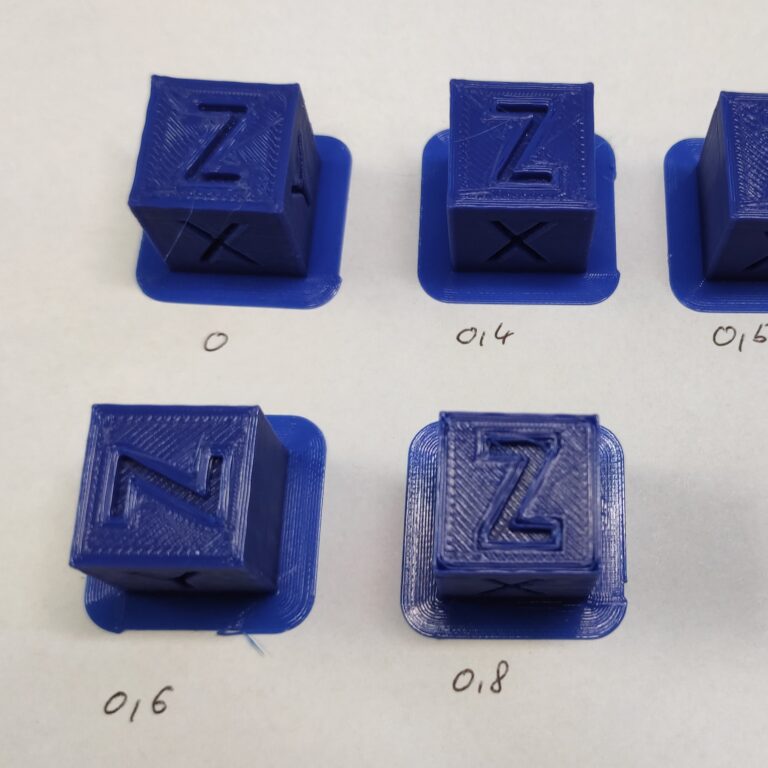
Anycubic Kossel Delta Calibration (Marlin FW)
Correct Kossel calibration is crucial for succesful 3D printing.Printed parts tend to bend or even do not stick to the build plate without it. More about this Marlin G33 command:https://marlinfw.org/docs/gcode/G033.html 1. Check if your FW uses calibration A common mistake
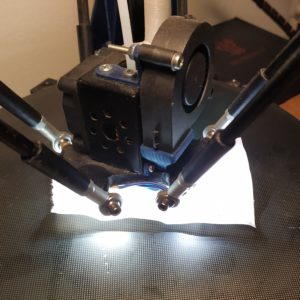
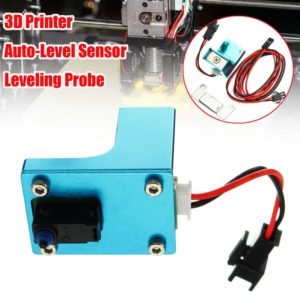
Anycubic Kossel Klipper delta calibration
After flashing Klipper, it is necessary to perform a delta calibration.Delta calibration will probe multiple points on bed and calculate rod length, tower angle, z height and other delta variables. 1. Attach and connect Z probe 2. Open OctoPrint Open


I have followed the instructions and printed and installed everything, my only problem is that the nozzle cannot be heated more than 260 deg, even though Volcano full metal can go up to 300 deg. How can i change that in the printer ?
Hi mate,
You can change it in your FW (Marlin, Klipper etc.).
Why would you need higher temperature in a printer without any enclosure?
i already have build an enclosure, i am printing ABS for 4 years now and i want to move to Nylon and Carbon materials, that is why i upgraded the hotend.
Nice choice.
Shall i change anything in the thermistor settings or the new thermistor is compatible ?
It depends on what thermistor you used to have and have now.
There are many choices.
Just look at the description of the product you bought and start from there.
It is usually neeeded to change the thermistor type + max temp in your case.
Hey Lukas,
I finally got around to doing this project, however it seems all the photo links have gone dead. Is there any possibility you could locate and reupload? The assembly would be much easier with some pictures as guides.
Thank you for your hard work,
Luke
Hi, do you still have the same issue?
what is the big difference between the link of step 1 and 2?
i personally print with PLA and am looking towards and bore type heatbreak and i couldn’t find one for the volcano (bore style)
wich one qould you recommend
thanks!
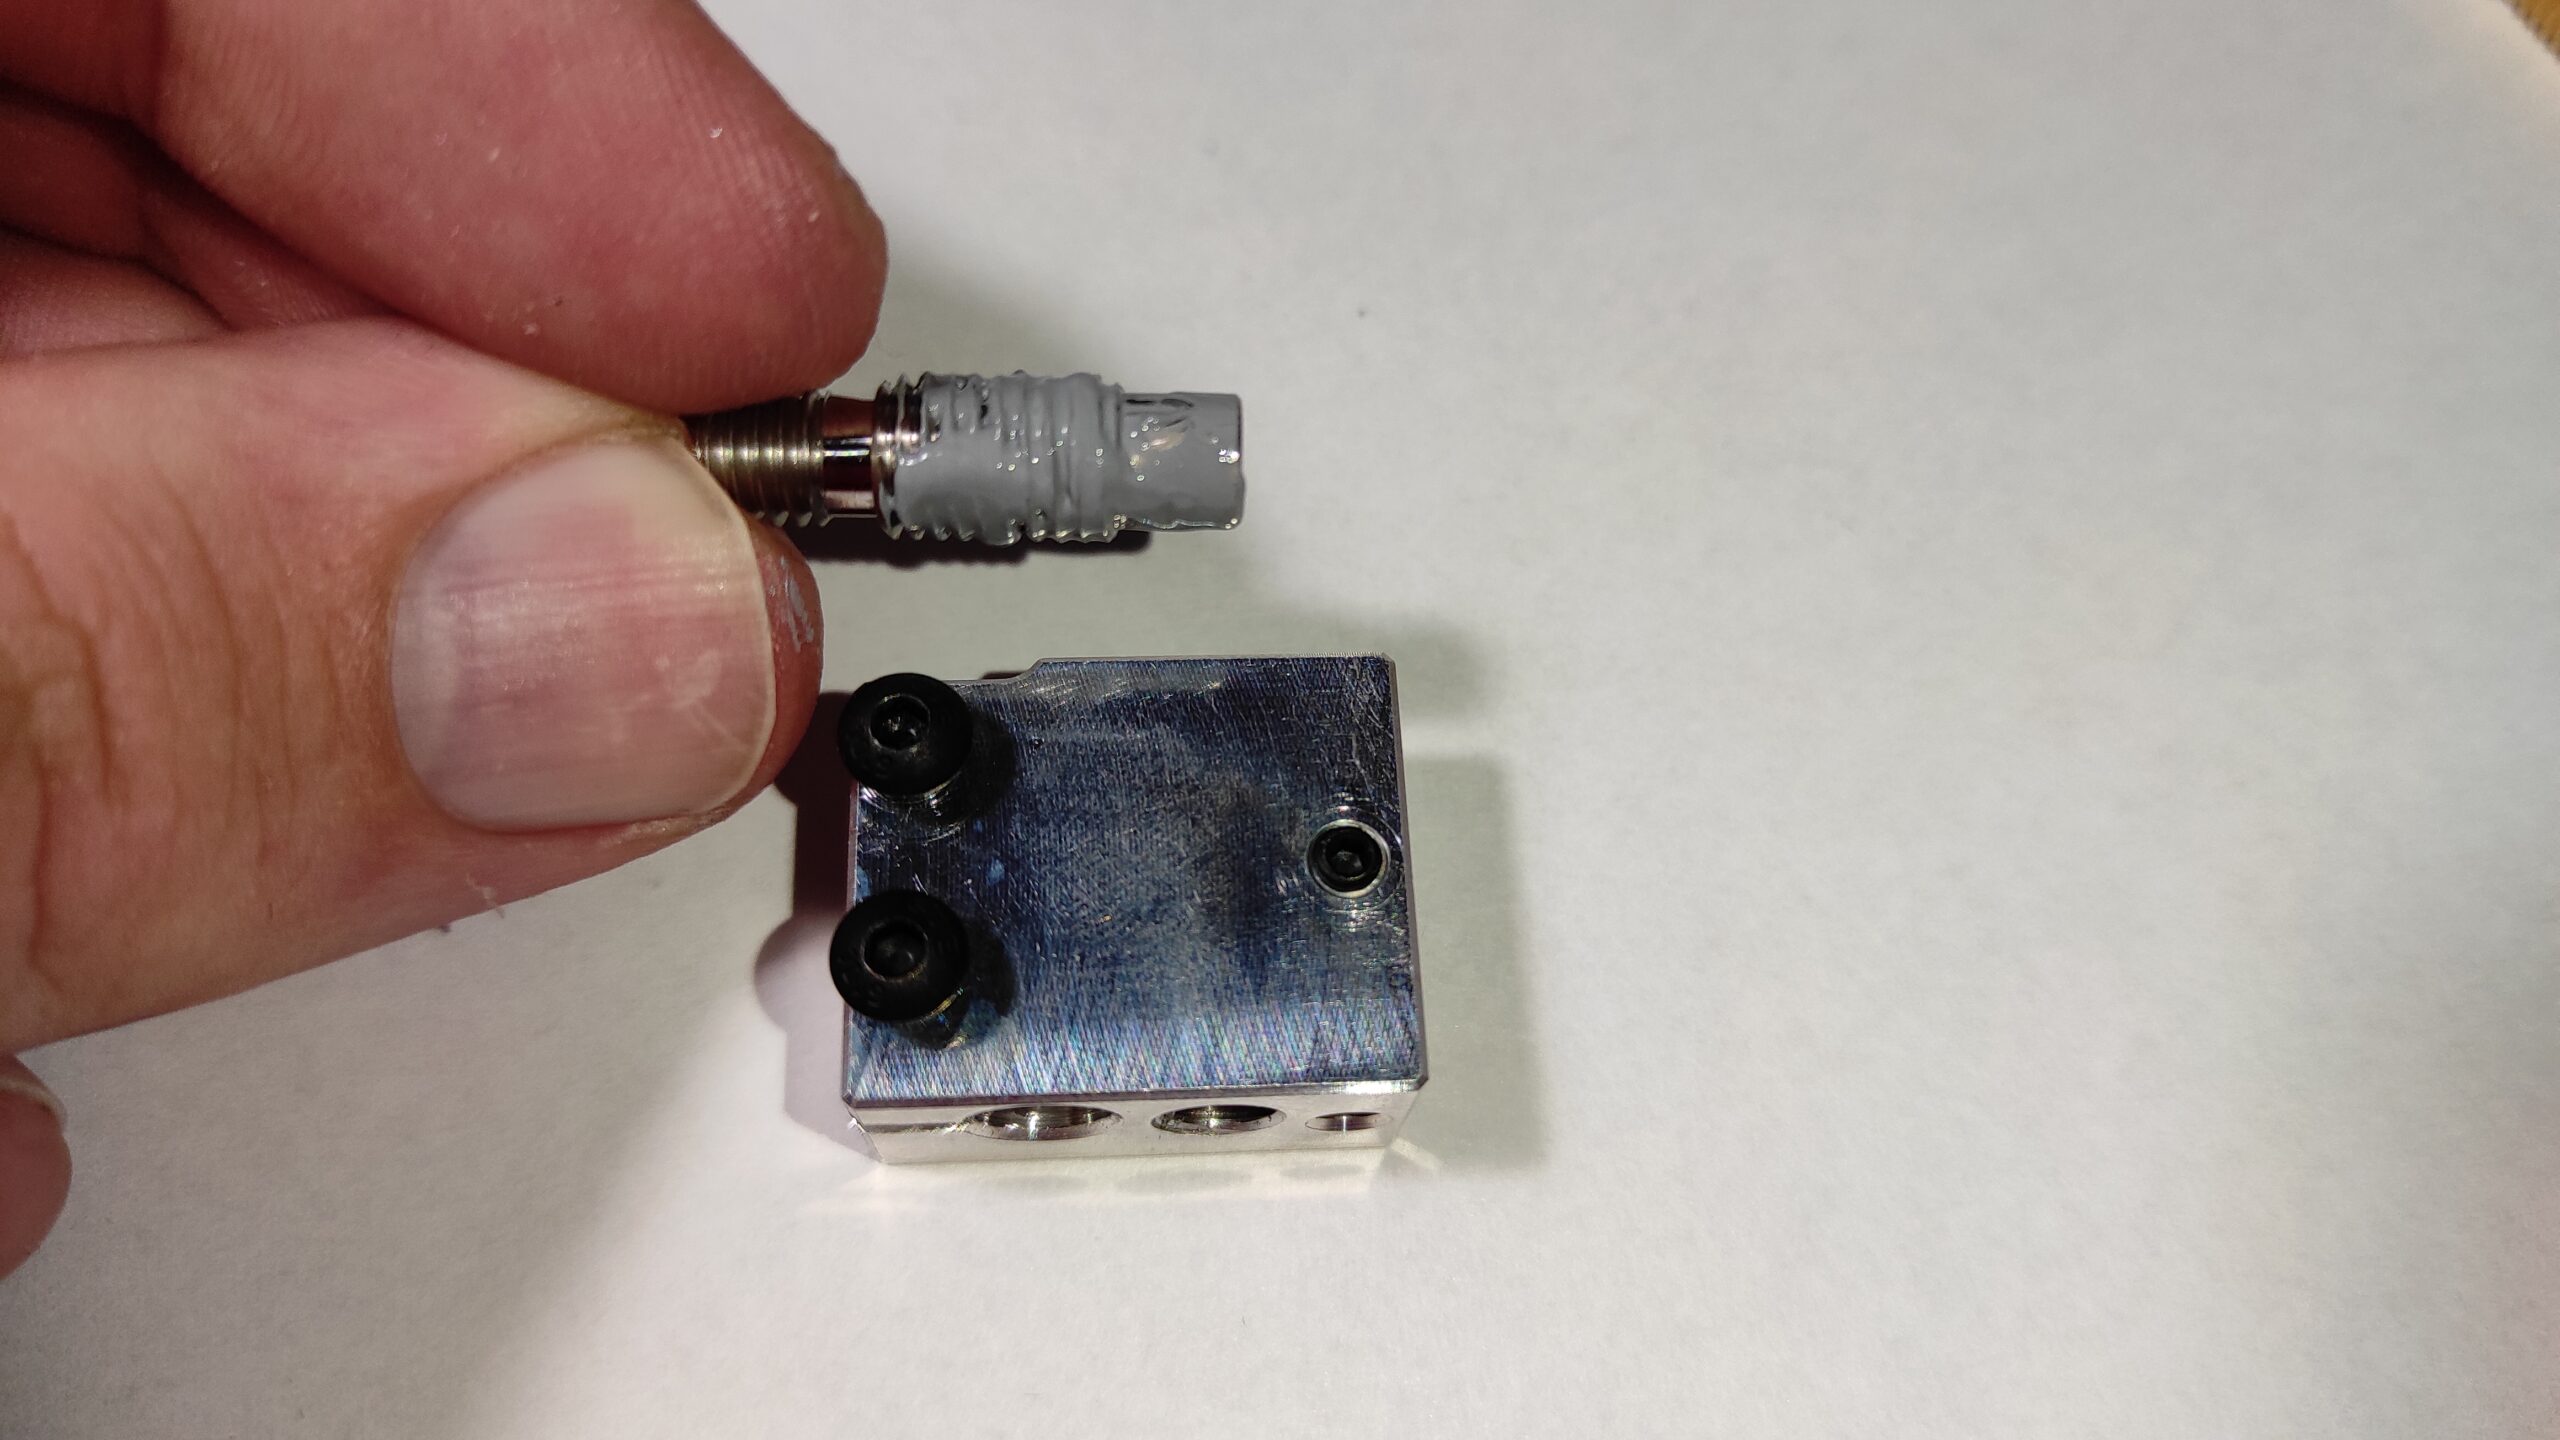
Hi, material and weight.
Standard heat block is made of aluminium and the more expensive one from copper + is nickel plated.
You can easily select bore type in those links, trianglelab offers that option.
Hi Lukas,
I just wanted to ask a few quick questions about the two different extruder set ups that you have guides for (E3D v6 and Volcano). As far as I know, the only differences between the two are that volcano nozzles can melt more material faster, due to having a larger heat block than E3D. Are there any other major differences? What are the pros and cons of the two? I only print PLA, I have a BMG extruder on the way (following your guide) use an Ultrabase, am running Marlin 2.0, and have installed TMC2209’s in standalone mode (for their Stealthchop, not that I think they would affect anything), so with that in mind, what hotend type do you recommend for me? To me volcano seems better as I would be able to print wider layer lines without overtaxing my setup (I’ve tried doing this to increase speed as seen in Makers Muse’s ‘Printing Stupid Fast’ video, but my setup can not handle it and my extruder clicks uncontrollably).
Thanks for the help, and I appreciate the effort you put in to create this amazing website and all its’ guides. I will be donating soon so keep up the good work!
Hi!
Volcano is great for larger parts and vase mode where higher flow is needed.
However a single 5015 does not provide enough flow rate for a 0.8 mm nozzle, vase mode and high speed.
There is also a problem with retractions – it is much harder to calibrate them.
V6 is a nice hotend I would choose that for a multi-purpose 3D printer.