Fluidd installation
1. What is a Fluidd?
Fluidd in lightweight alternative to Octoprint offering the same capabilities (if you forget that Octopint plugins have ever existed). It can also run on older and less powerful Raspberry versions.
I prefer it over the Octoprint due to the better user exprience and Klipper friendly options and settings.
Please note that this guide is for a new (clean) installation.
More about Fluidd can be found on official Fluidd website or a Discord channel.
1.2. What comes with the FluiddPi package?
The whole FluiddPi package contains all you need:
Raspberry Pi OS Lite image
Fluidd
Klipper
Mooonraker
2. Hardware requirements
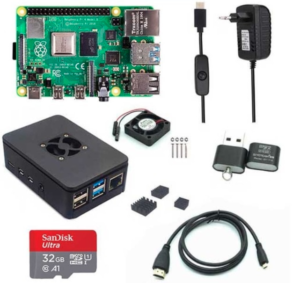
You will need:
Micro SD (SDHC) card with at least 8GB capacity
Micro SD card reader
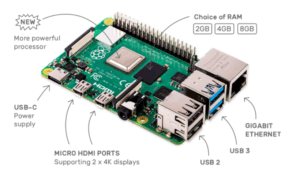
5V power source (3A for Raspberry Pi 4)
USB cable (USB-C for Raspberry Pi 4, micro USB for older versions)
WiFi network or a standard LAN network + cable
I would also recommend:
Raspberry cover
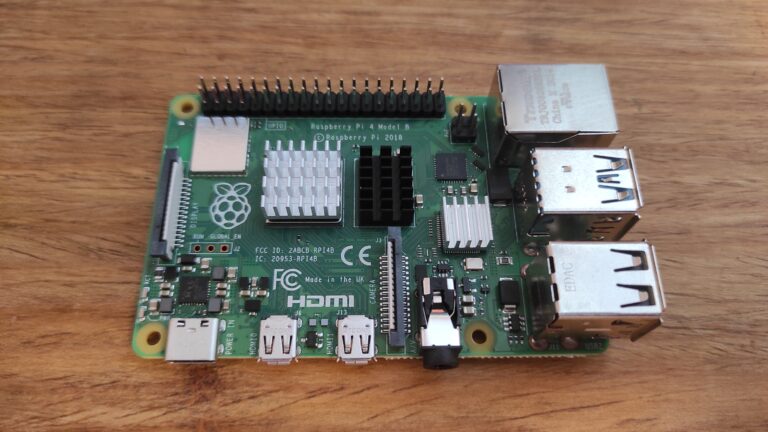
Heatsinks
Fan for active cooling
The easiest way to get all parts is buying a complete set such as this one:
3. Download and install recommended programs
3.1. Download and install PuTTY
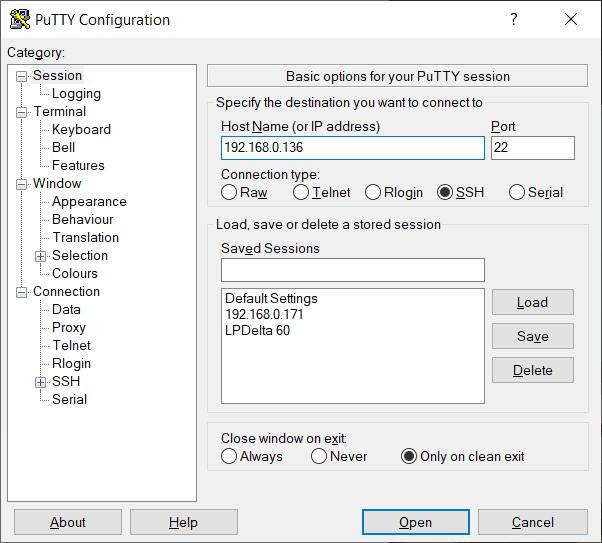
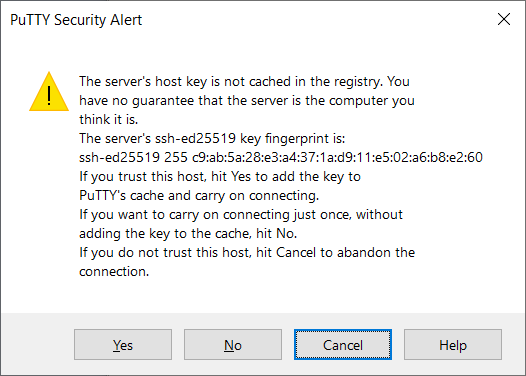
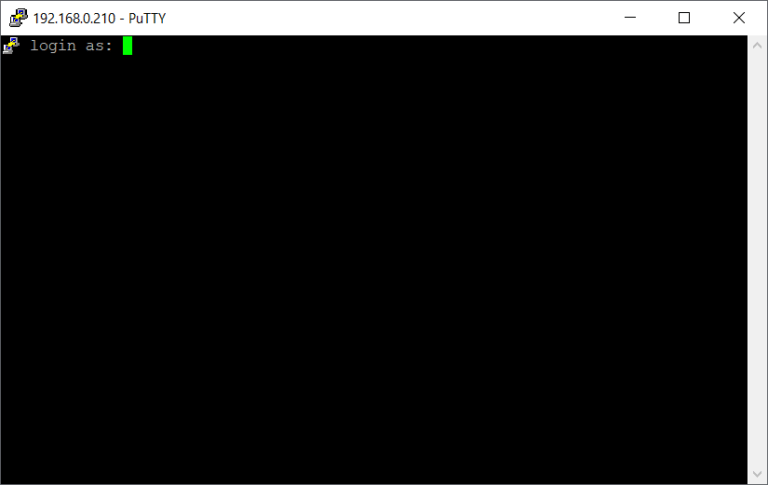
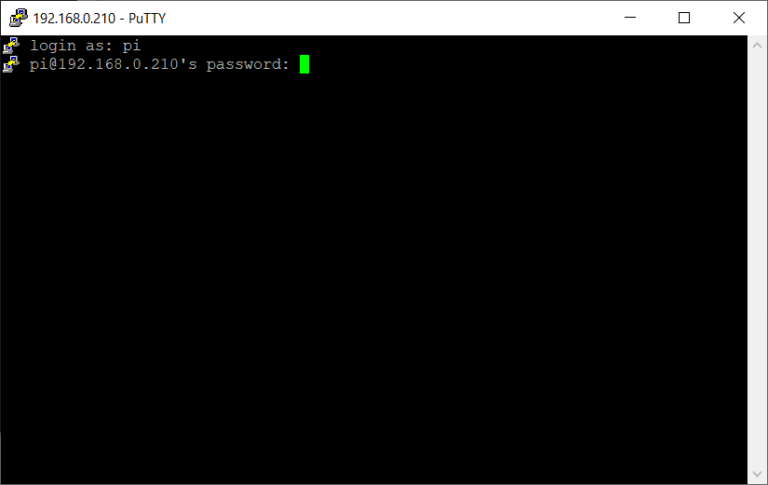
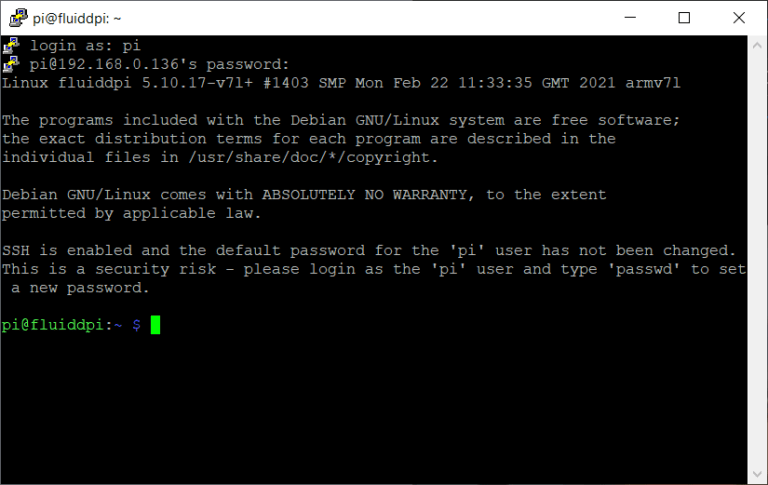
Install SSH client such as a PuTTY.
This client will be used to connect your PC to Raspberry.
Click here to download.
3.2. Download and install BalenaEtcher
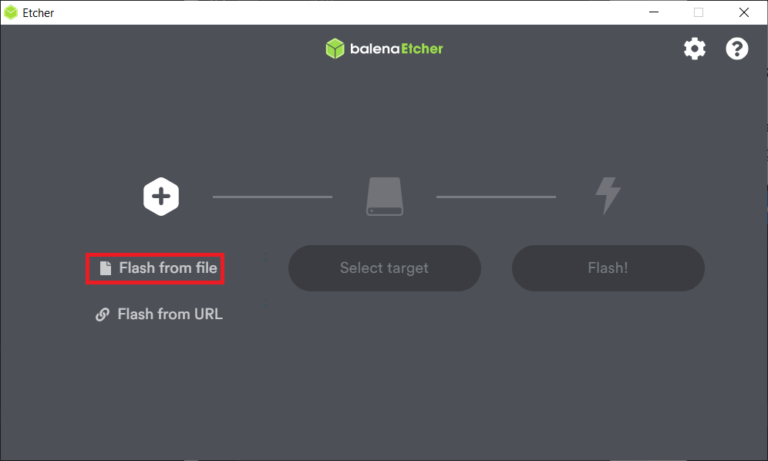
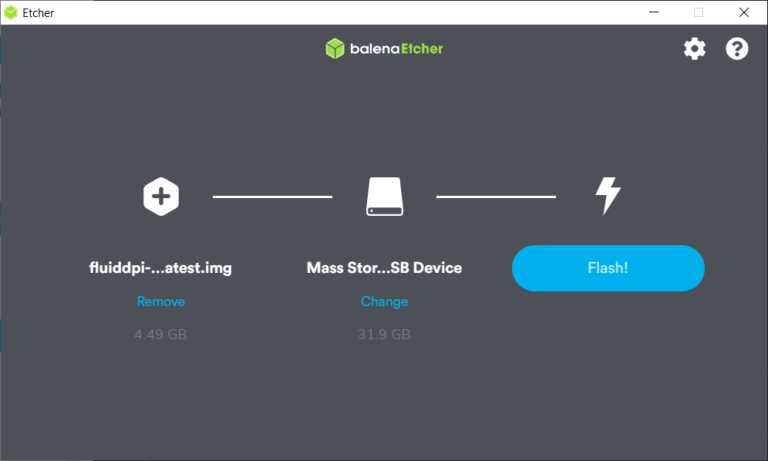
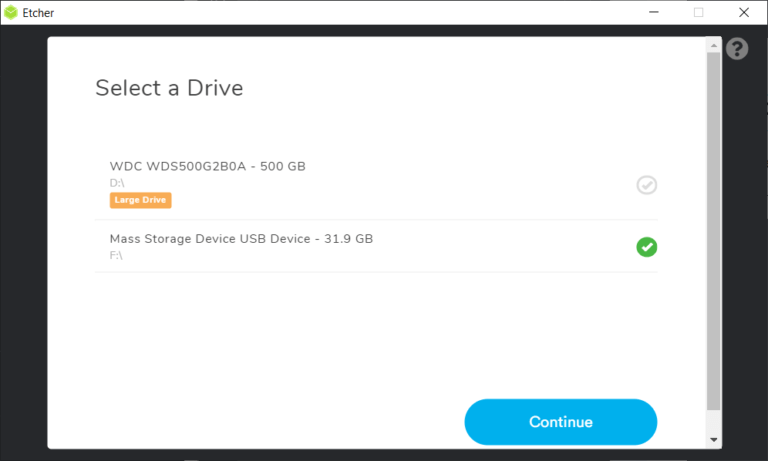
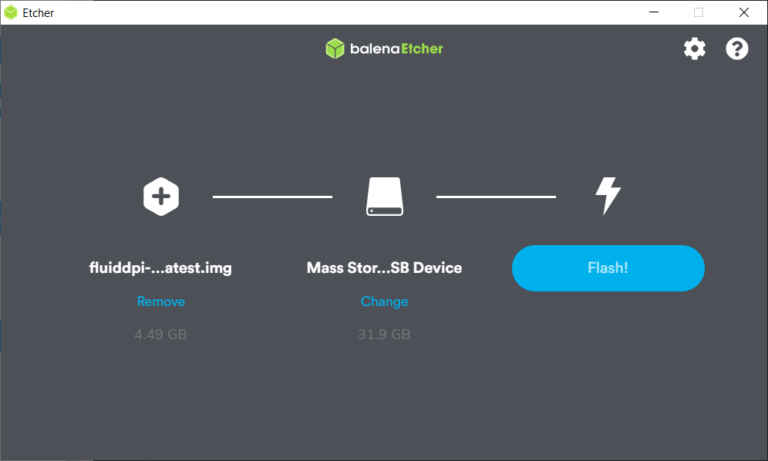
We will use this program to flash FluiddPi OS image to micro SD card.
Click here to download.
3.3. Download and install Advanced IP Scanner
This program will be used for locating Rasperry in your local network.
It is not possible to connect to Raspberry via SSH without the correct IP address.
Click here to download.
4. Prepare Raspberry
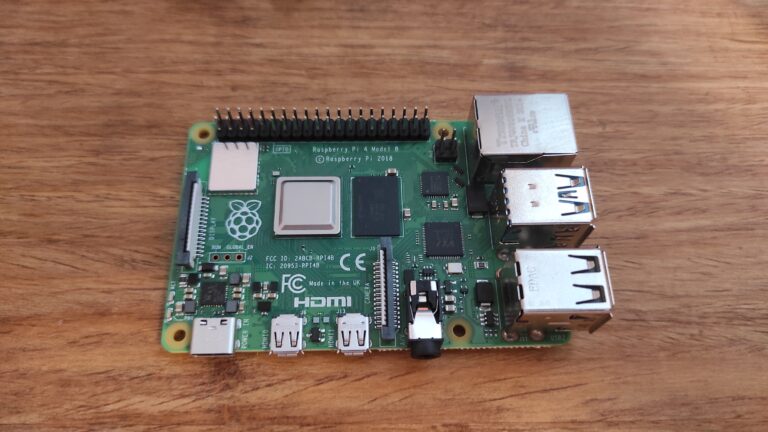
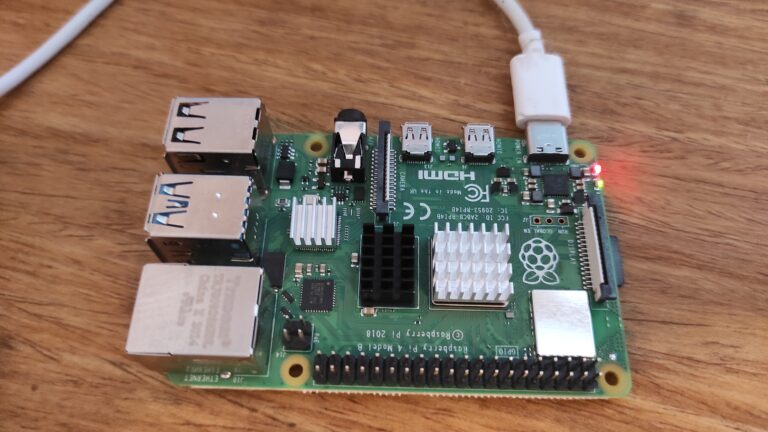
4.2. Install the case/cover
Install the Raspberry into the desired place / case / cover.
I have a designated place in my electronics compartment, so I will not use the original case.
5. Download and flash FluiddOS
5.1. Download OS image
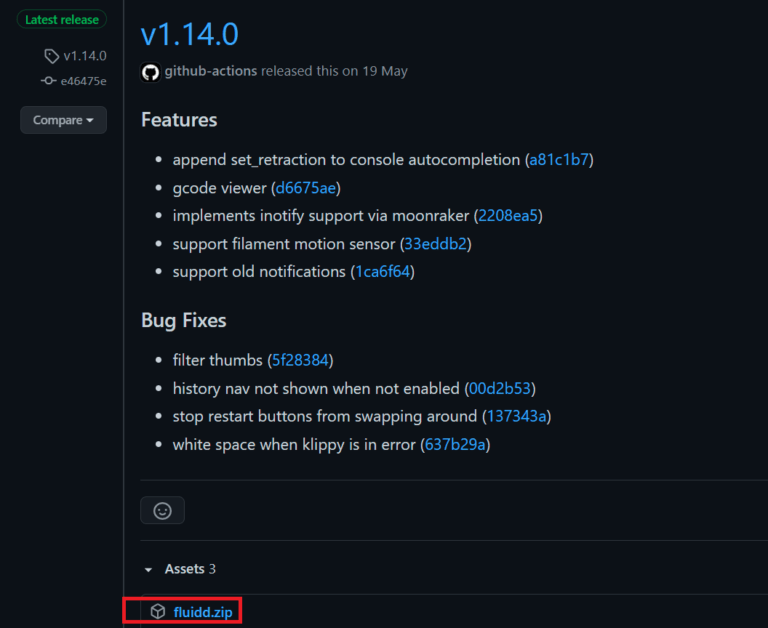
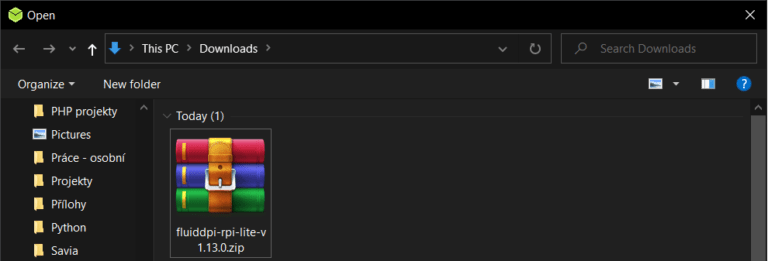
Visit the official Fluidd Github release page and download the latest release.
Click here to download.
6. WiFi settings (optional)
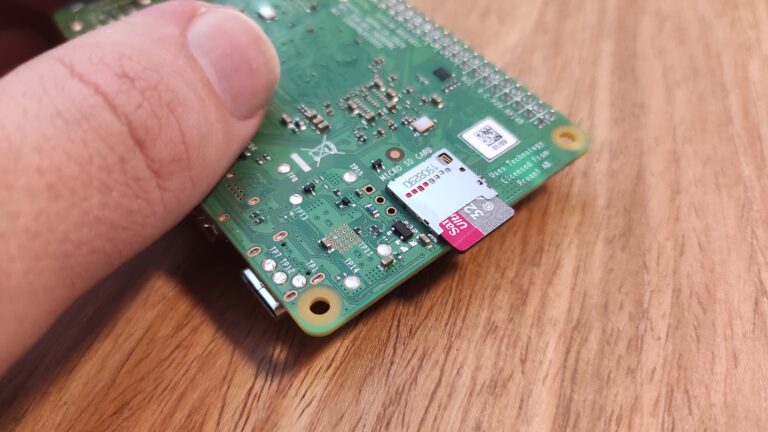
6.1. Remove and insert the micro SD card into your computer
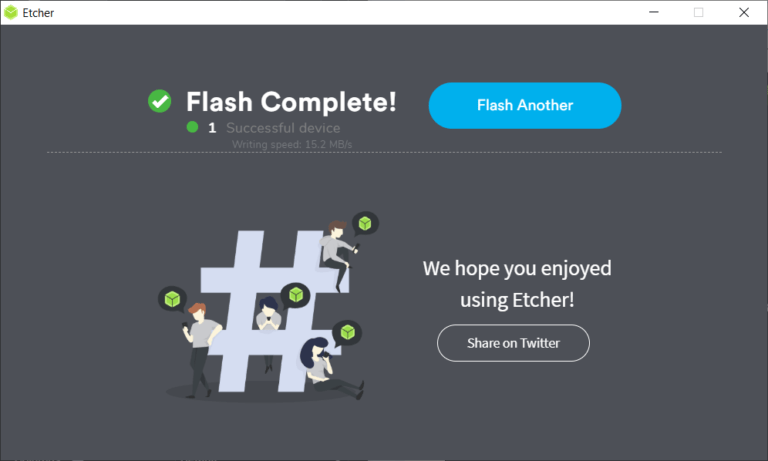
Micro SD card is automatically safely removed after tha flash.
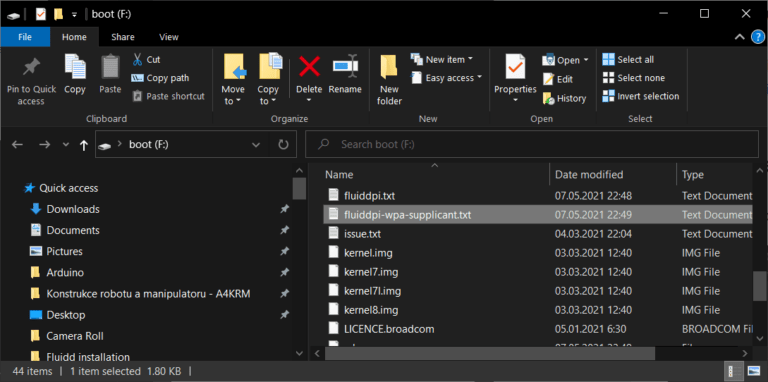
Remove the micro SD card from the reader and insert it again.
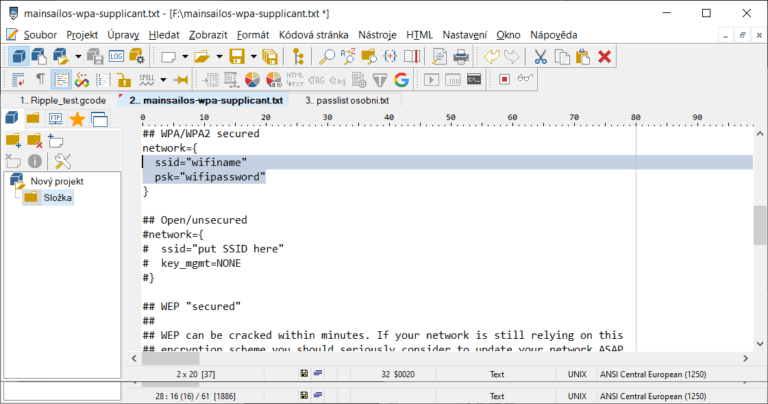
6.3. Open configuration file
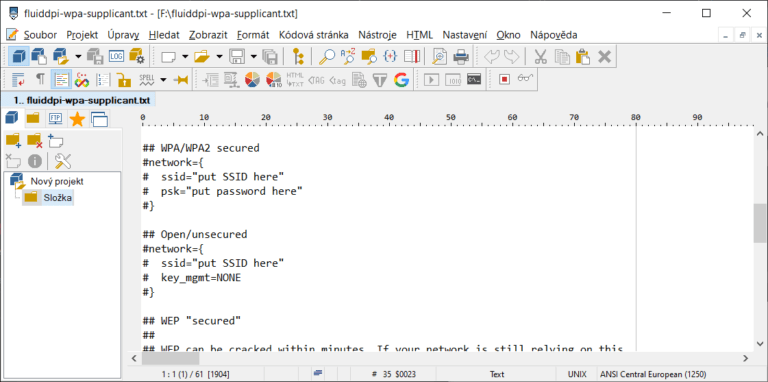
Open the file in a text editor such as a PSPad Editor or similar.
Locate WiFi settings.
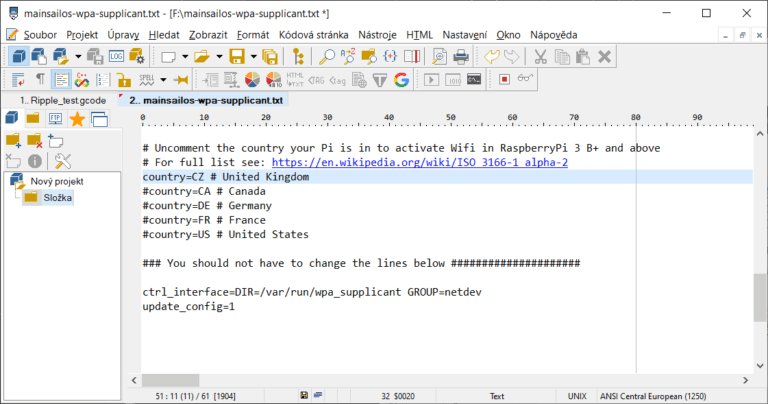
6.5. Set your country code
Open this ISO3166 country list and fill in your country code.
For example: I live in the Czech Republic, so my country code is CZ.
Do not forget to save the file and safely remove the micro SD.
7. First boot
8. Installation verification
8.1. IP address localization
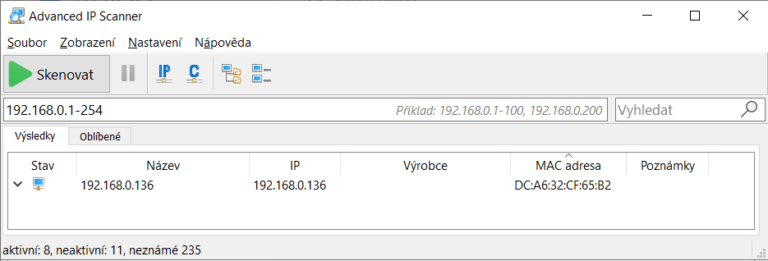
Start with locating Raspberry in your local network.
I highly recommend installing Advanced IP Scanner CLICK HERE.
Default IP range is usually 192.168.0.1-254 or 192.168.1.1-254.
Locate the Raspberry’s IP address and copy it.
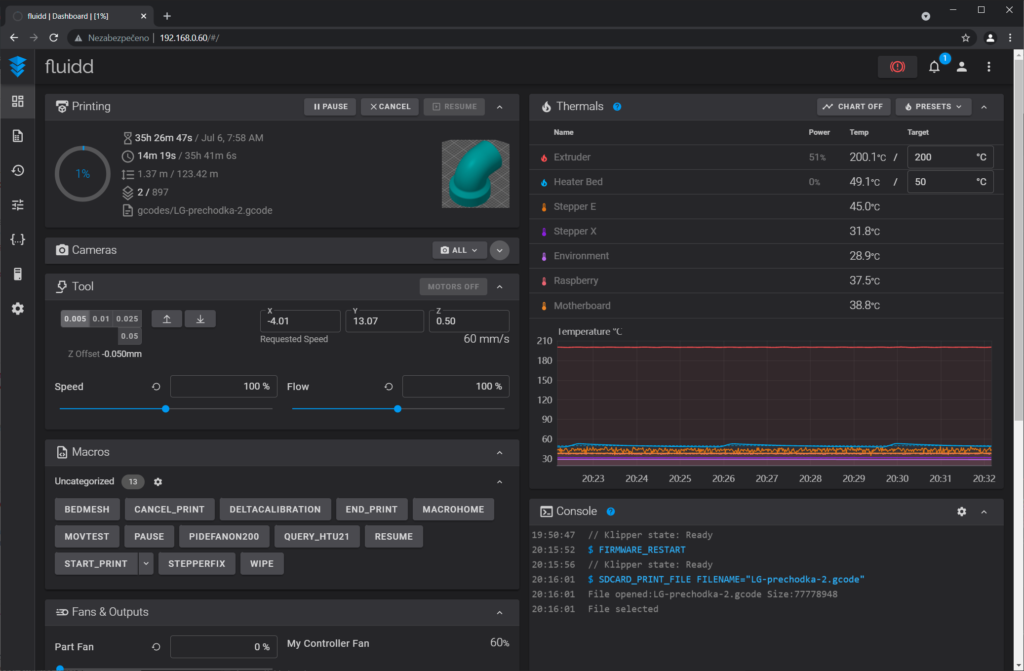
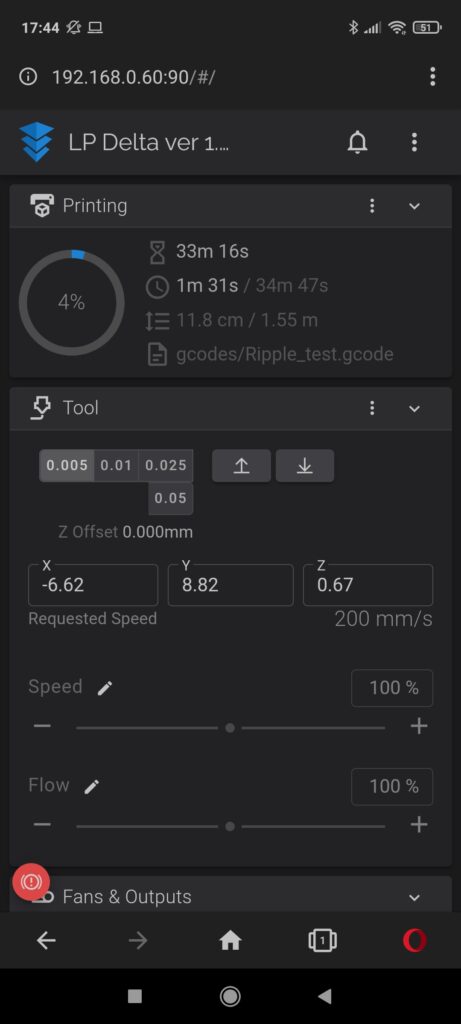
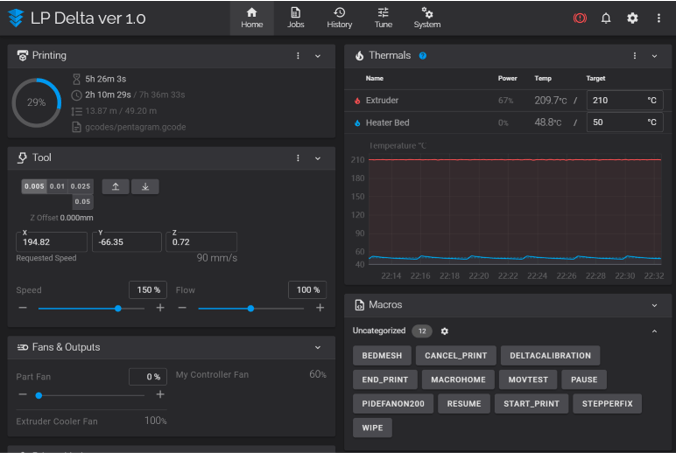
You can simply copy the IP address or default local address: http://fluiddpi.local into the browser and open the Fluidd interface.
9. Next possible steps
You have succesfully installed Fluidd.
The next logical step would be to flash your board and create a printer configuration file.
9.1. KIAUH installation
10. FAQ
10.1. I cannot find the device in my local network
10.1.1. Invalid IP range
The most common problem is a different IP address range.
For example: you are not able to locate any device on this range: 192.168.1.1.-254

So open network settings – click on the network / more informations and find your computer’s IP address.
As you can see, this IP address in in a 192.168.0.1.-254 range.
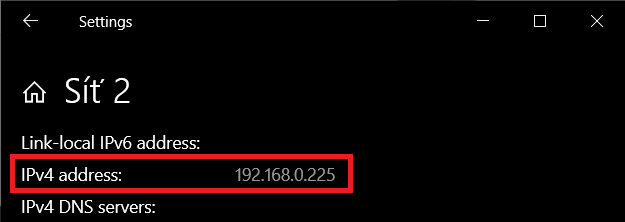
Fill in the correct IP address range 192.168.0.1.-254 and click on Scan.











Ahoj, v příručce pro fluidd stojí:
“Vynucené přihlášení?
S forced_loginsnastavením na truea bez definovaných uživatelů – Moonraker se předvolí podle vašeho trusted_clients:nastavení.
S forced_loginsnastaveným na truea s definovaným jedním nebo více uživateli – moonraker bude ignorovat vaše trusted_clients:nastavení a bude vyžadovat autorizační údaje.”
Nikde ale nemohu najít jak přesně konkrétně nadefinovat uživatele pro přihlášení jménem a heslem.
Nevíš jak na to ?
Díky
Ahoj, tohle jsem bohuzel neresil.
Have to ask.. is there any way to get back to the octoprint web ui once fluidd is installed?
Hi, I would recommend to start over and make a clean installation.
What are your reasons to go back?
Missing plugins?