Klipper Raspberry as a second MCU installation
1. Advantages
Klipper can use a Raspberry as a second MCU.
This enables measuring resonance and also to show Raspberry chip temperature in a web interface such as a Fluidd, Mainsail or an Octoprint.
2. Installation
You will need a PuTTY or a similar SSH client, that is all.
2.1. Download and install PuTTY
Install SSH client such as a PuTTY.
This client will be used to connect your PC to Raspberry.
Click here to download.
2.3. Open SSH connection
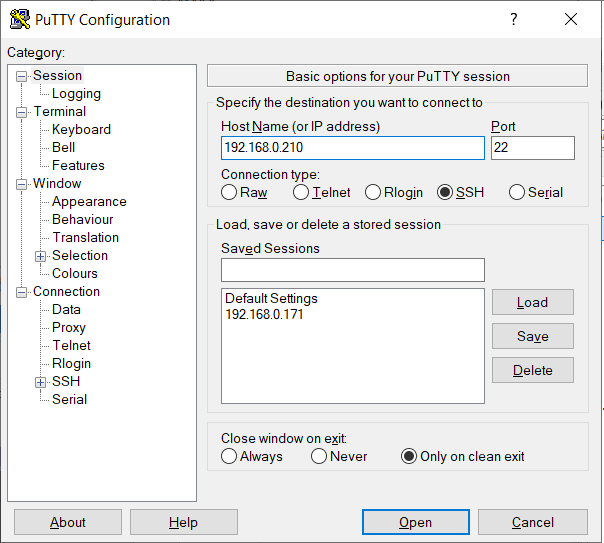
Open PuTTY and paste Raspberrie’s IP adress.
Click on Open
2.4. Login
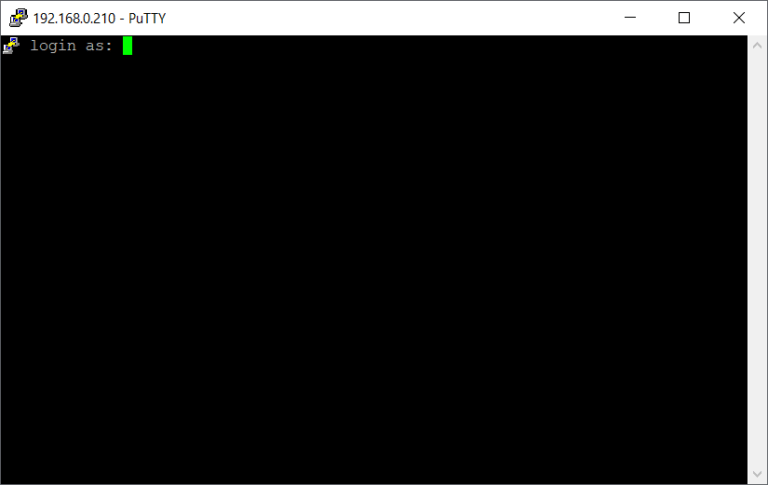
Use your Raspberry login, default is pi
Hit Enter.
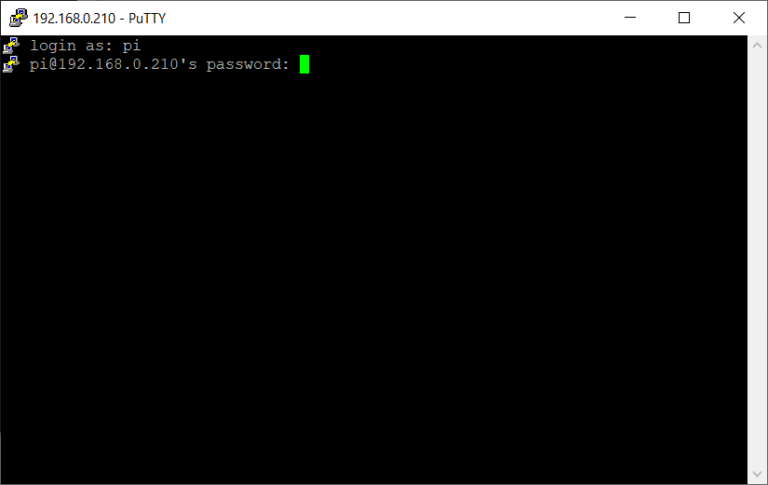
Enter password for pi account.
Default value is raspberry
If you are not familiar with Linux systems, do not be scared that you will not see the password, not even * characters.
2.5. Mount Klipper directory
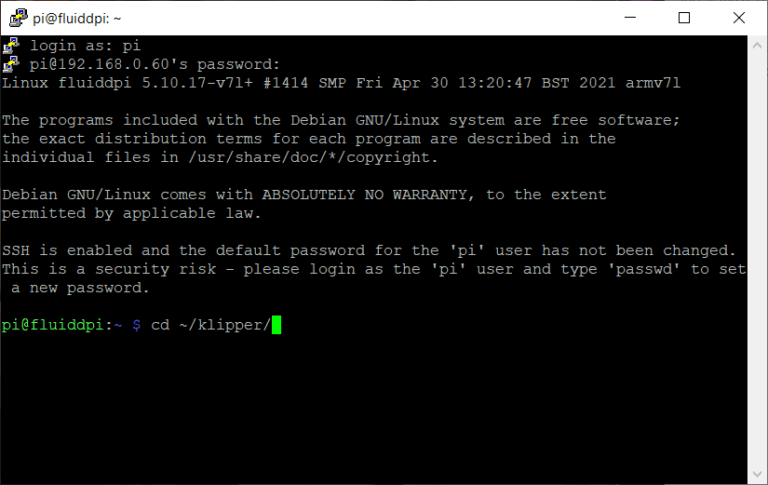
Copy and paste this command:
cd ~/klipper/
And hit Enter.
2.6. Install klipper_mcu
Copy and paste this command:
sudo cp “./scripts/klipper-mcu-start.sh” /etc/init.d/klipper_mcu
And hit Enter
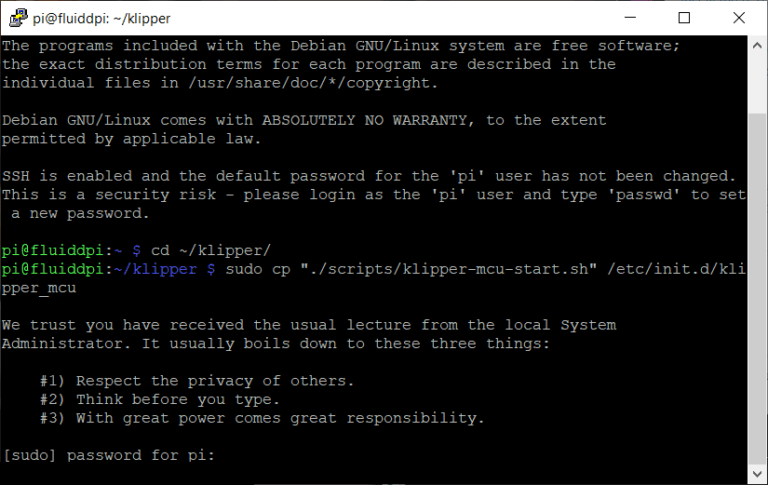
2.7. Insert sudo password
Enter your administrator password, default is raspberry.
Hit Enter.

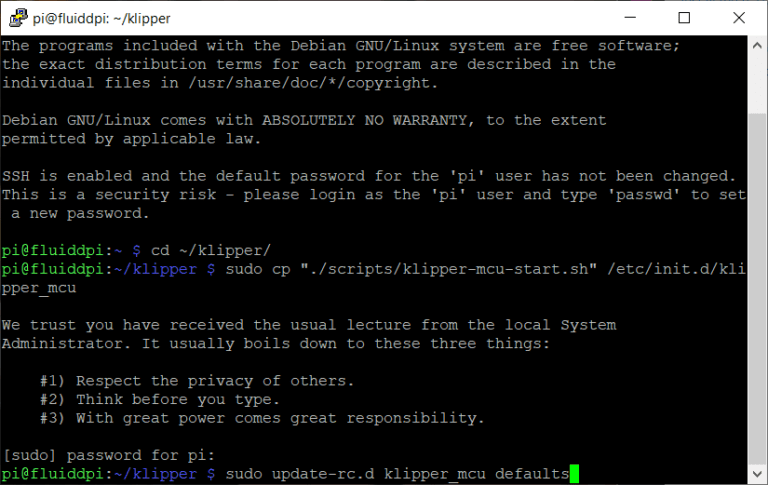
2.8. Update klipper_mcu
Copy and paste this command:
sudo update-rc.d klipper_mcu defaults
And hit Enter
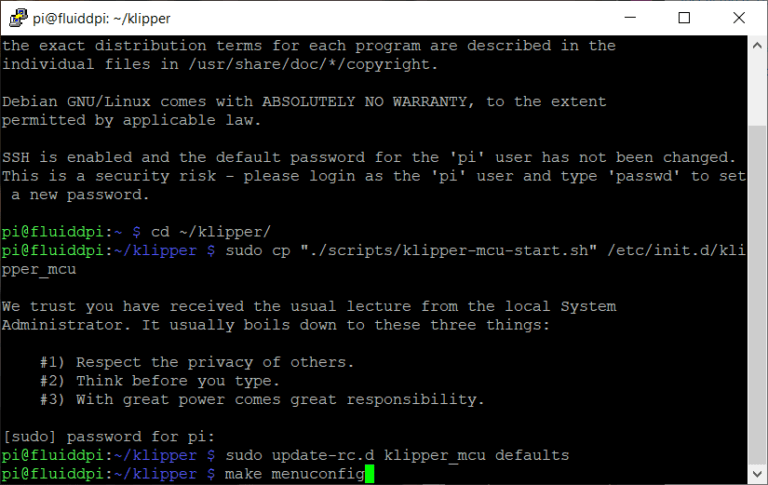
2.9. Create configuration menu
Copy and paste this command:
make menuconfig
And hit Enter
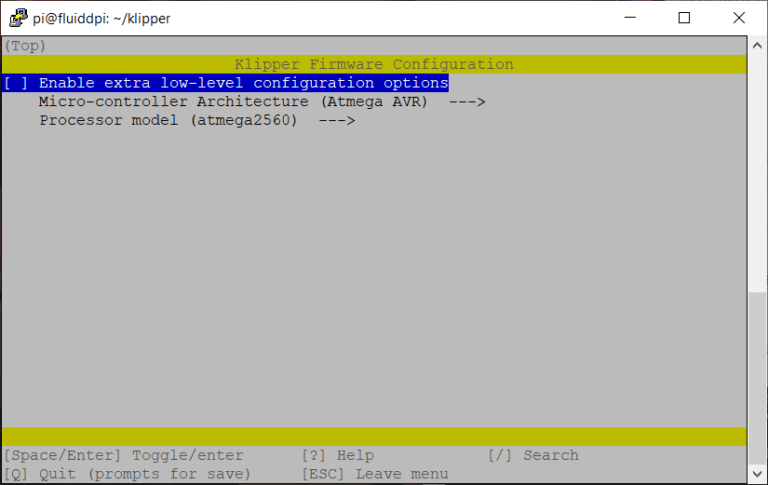
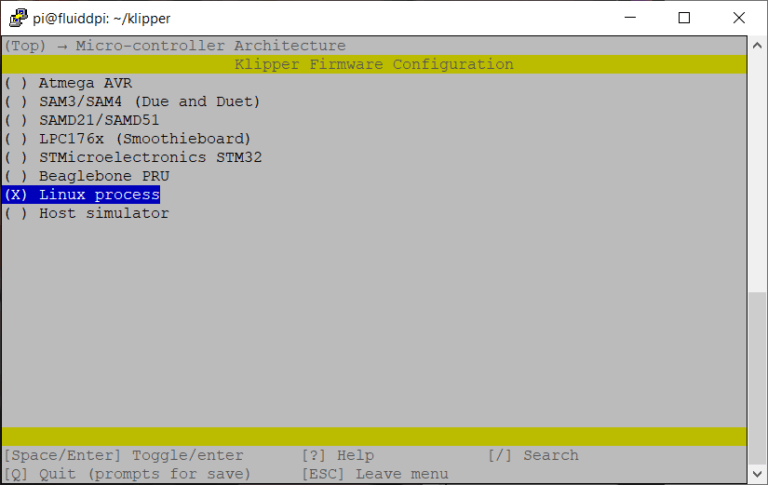
2.10. Choose a processor model
Go to Processor model with your keyboard arrows and hit Enter.
2.11. Choose a processor model
Choose a Linux processor.
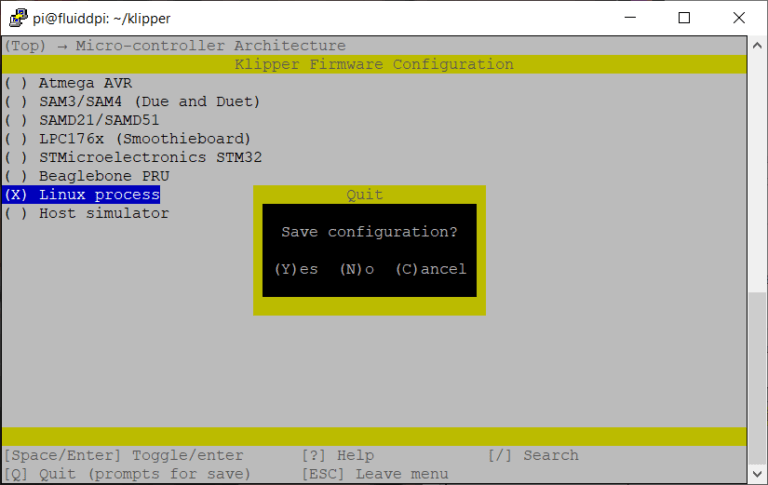
2.12. Quit menu
Press Q on your keyboard and press Y to confirm changes.
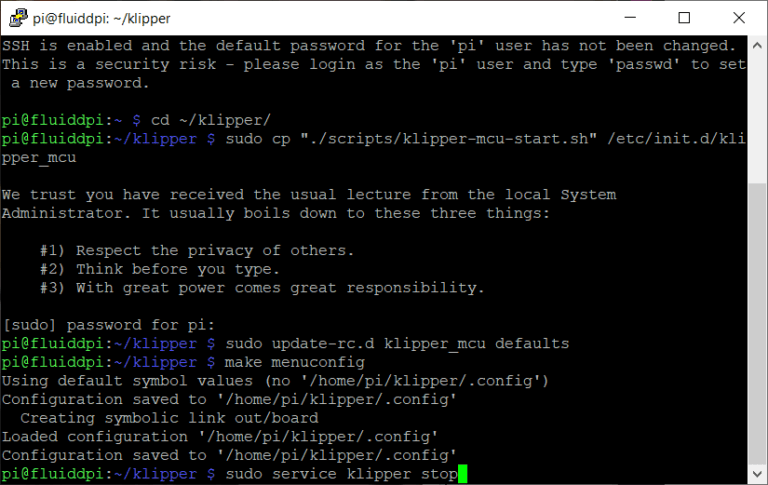
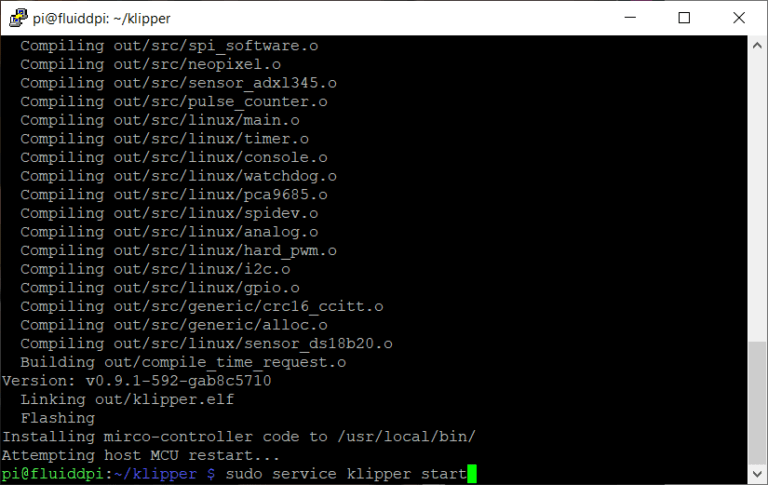
2.13. Stop Klipper service
Send this command and hit Enter: sudo service klipper stop
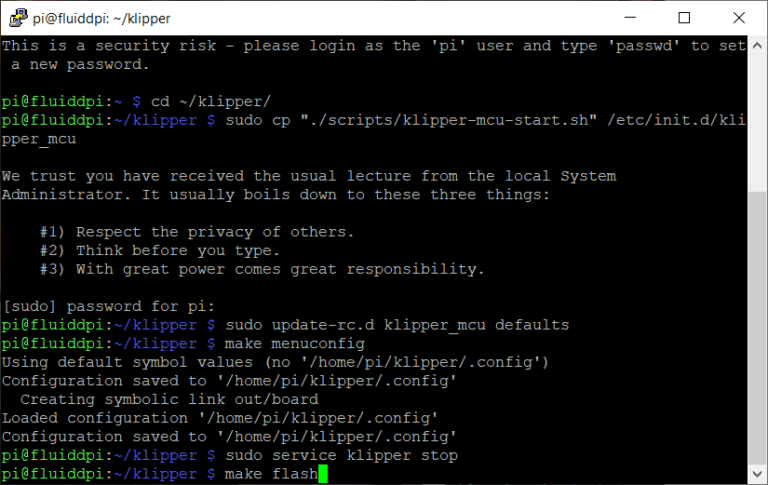
2.14. Flash Raspberry
Send this command and hit Enter: make flash
2.15. Start Klipper service
Send this command: sudo service klipper start
Hit Enter.
3. Installation
Mainsail in lightweight alternative to Octoprint offering the same capabilities (if you forget that Octopint plugins have ever existed). It can also run on older and less powerful Raspberry versions.
I prefer it over the Octoprint due to the better user exprience and Klipper friendly options and settings.
Please note that this guide is for a new (clean) installation.
More about Mainsail can be found on official Mainsail website or a Discord channel.
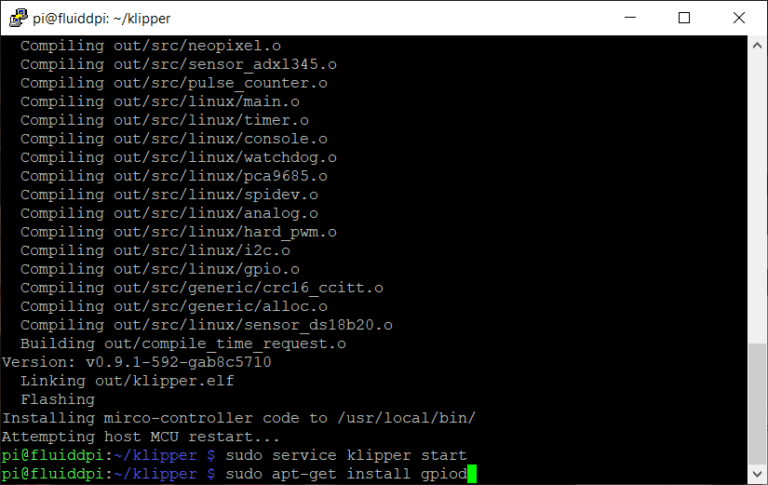
3.1. Install gpiochip
Send this command: sudo apt-get install gpiod
Hit Enter.
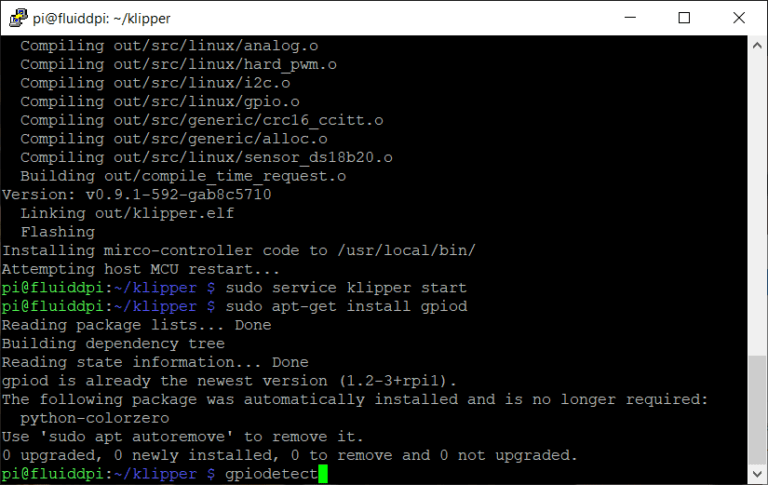
3.2. Detect gpiochip
Send this command: gpiodetect
Hit Enter.
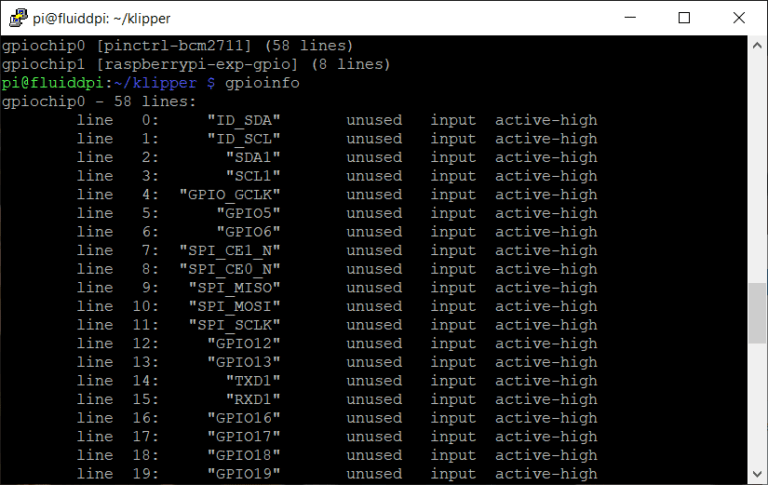
3.3. Detect pins
Send this command: gpioinfo
Hit Enter.
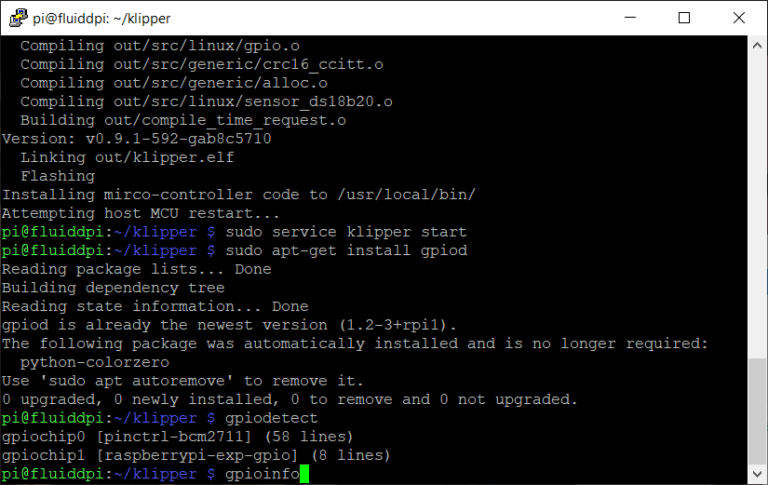
3.4. Available pins
gpioinfo shows a list of available pins and their functtion.



Thank you!
Hi!
I was re-building my Voron 2.4 with the latest MainsailOS; clean installation. When I tried to create the RPi MCU firmware I could not find the “klipper-mcu-start.sh” file. After visiting the Klipper site on RPi (https://www.klipper3d.org/RPi_microcontroller.html) I found out that they have changed the process!!!
Awesome site btw!
Cheers!
Nikos