Octoprint is an awesome feature for any 3D printer
You can print without touching the printer, just by sending the file via internet browser and OctoPrint interface.
Connect a camera and control your printer, make timelapses…
Please note that this guide is for a new (clean) installation.
More about OctoPrint can be found on official website.

You will need:
Micro SD (SDHC) card with at least 8GB capacity
Micro SD card reader
5V power source (3A for Raspberry Pi 4)
USB cable (USB-C for Raspberry Pi 4, micro USB for older versions)
WiFi network or a standard LAN network + cable
I would also recommend:
Raspberry cover
Heatsinks
Fan for active cooling
The easiest way to get all parts is buying a complete set such as this one:

Install SSH client such as a PuTTY.
This client will be used to connect your PC to Raspberry.
Click here to download.
We will use this program to flash OctoPrint OS image to micro SD card.
Click here to download.

This program will be used for locating Rasperry in your local network.
It is not possible to connect to Raspberry via SSH without the correct IP address.
Click here to download.

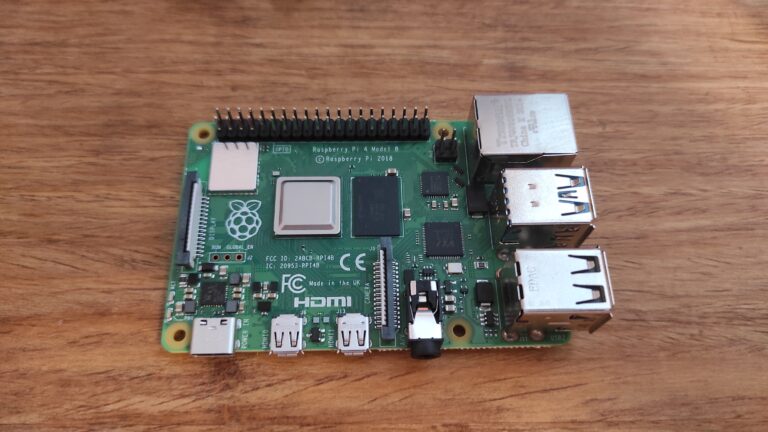
Double check if you have everything you need.
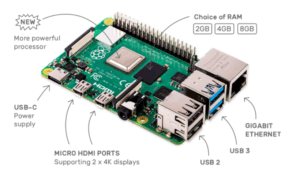
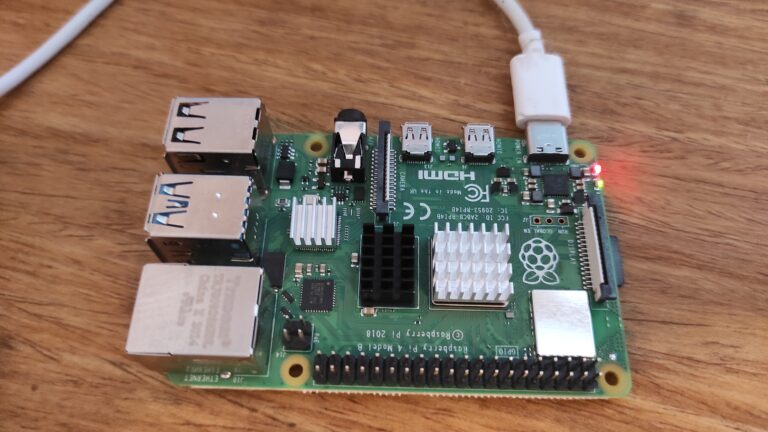
I have used a Raspberry Pi 4, that requires heatsinks and active cooling is even a better option.
These three heatsinks are in the official distribution package.
Remove the protective foil and apply them on the chips.

Install the Raspberry into the desired place / case / cover.
I have a designated place in my electronics compartment, so I will not use the original case.
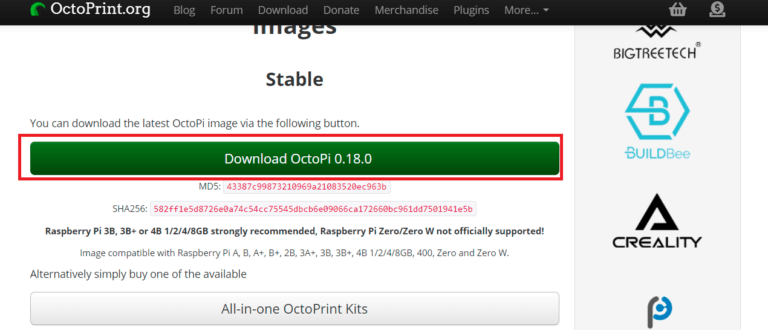
Visit the official Octoprint website and download the latest release.
Click here to download.
Take the Raspberry micro SD card, insert it into the card reader.
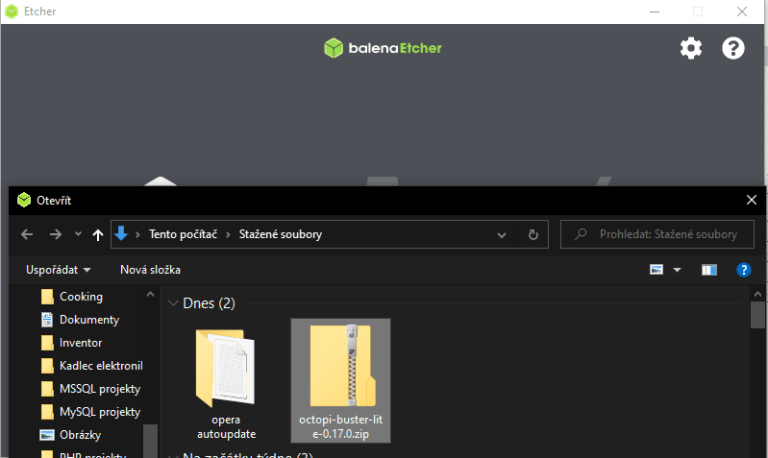
Open Balena Etcher and click on Flash from file.
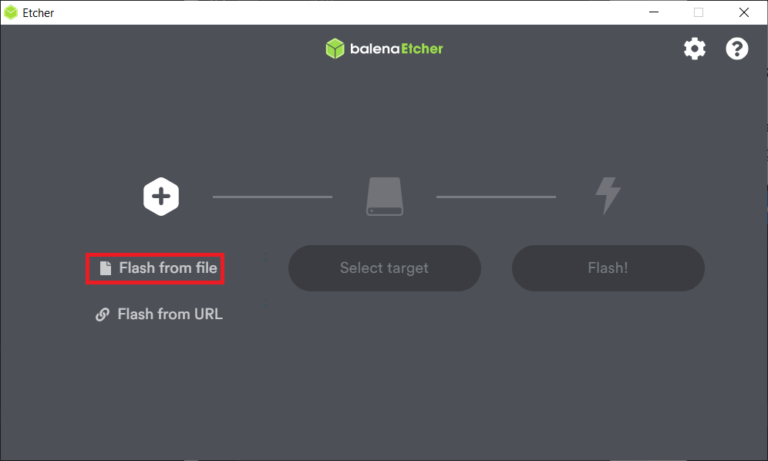
Select the downloaded image and hit Enter.
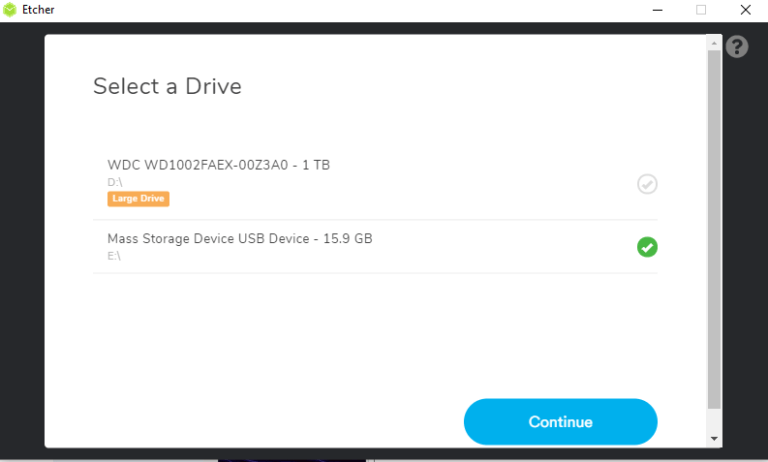
Click on Select target.

Select the correct target device, in this case the 32GB micro SD card.
Click on Continue.
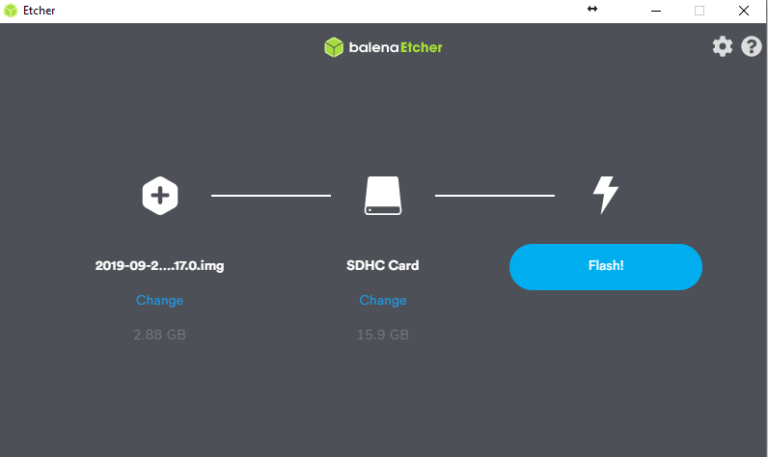
Click on Flash! to flash the OS image on the micro SD card.
You have successfully flashed MainSail OS image.
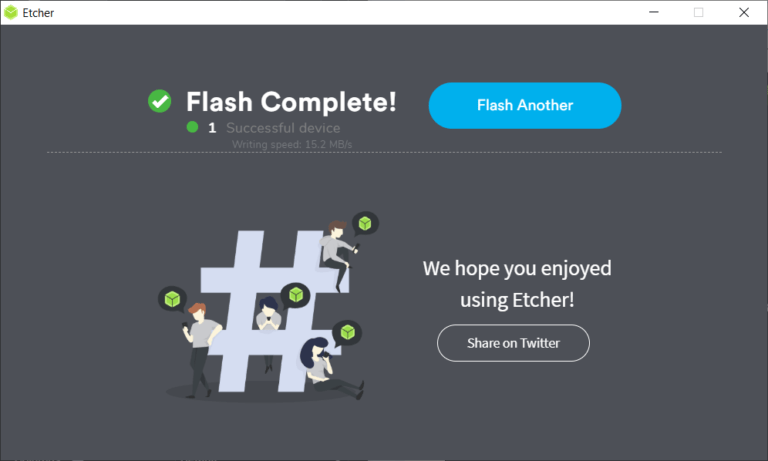
Micro SD card is automatically safely removed after tha flash.
Remove the micro SD card from the reader and insert it again.
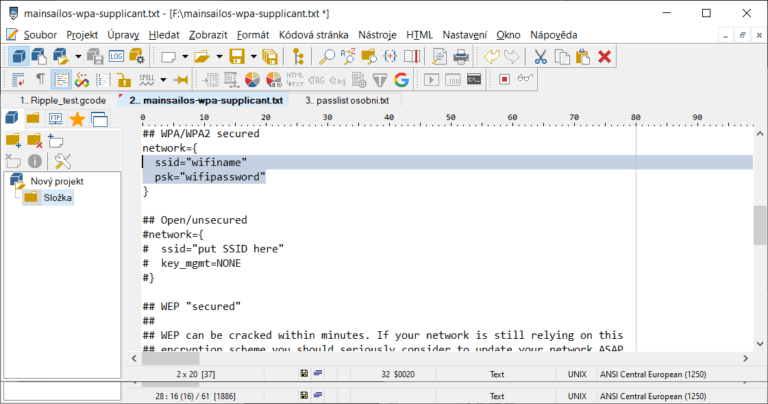
Open the micro SD card in the file explorer and locate octopi-wpa-supplicant.txt in the root directory.
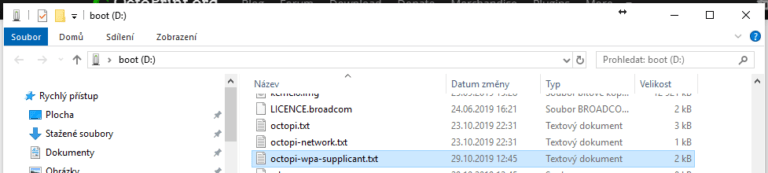
Open the file in a text editor such as a PSPad Editor or similar.
Locate WiFi settings.
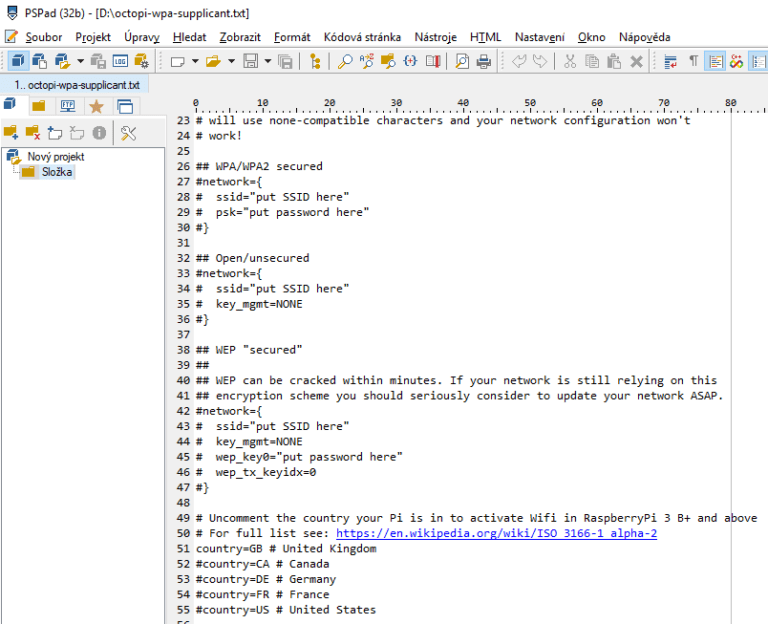
Find out what WiFi security type you use, the most common is a WPA/WPA2 secured.
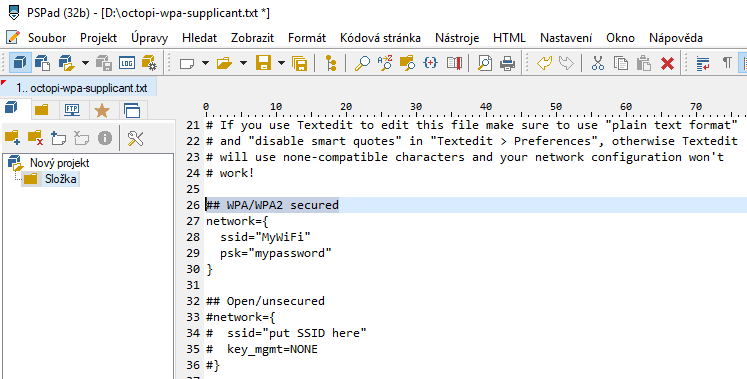
Uncomment those 4 lines and enter your WiFi name and passsword inside “”.
Open this ISO3166 country list and fill in your country code.
For example: I live in the Czech Republic, so my country code is CZ.
Do not forget to save the file and safely remove the micro SD.

Make sure that the Raspberry is turned off – it does not have a power button, so simply remove or turn off the power source.
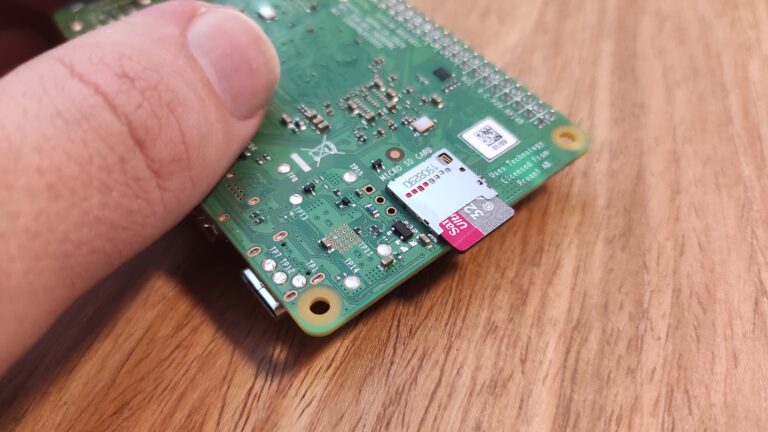
Insert the flashed micro SD card into the Raspberry.
Make sure that the card holds in it’s place – the card reader has a lock position.
If you are going to use a wired LAN connection, insert the cable.
I personally prefer WiFi, because I do not want to have cables everywhere.

Turn on the power source, LED diods in Raspberry will start flashing.
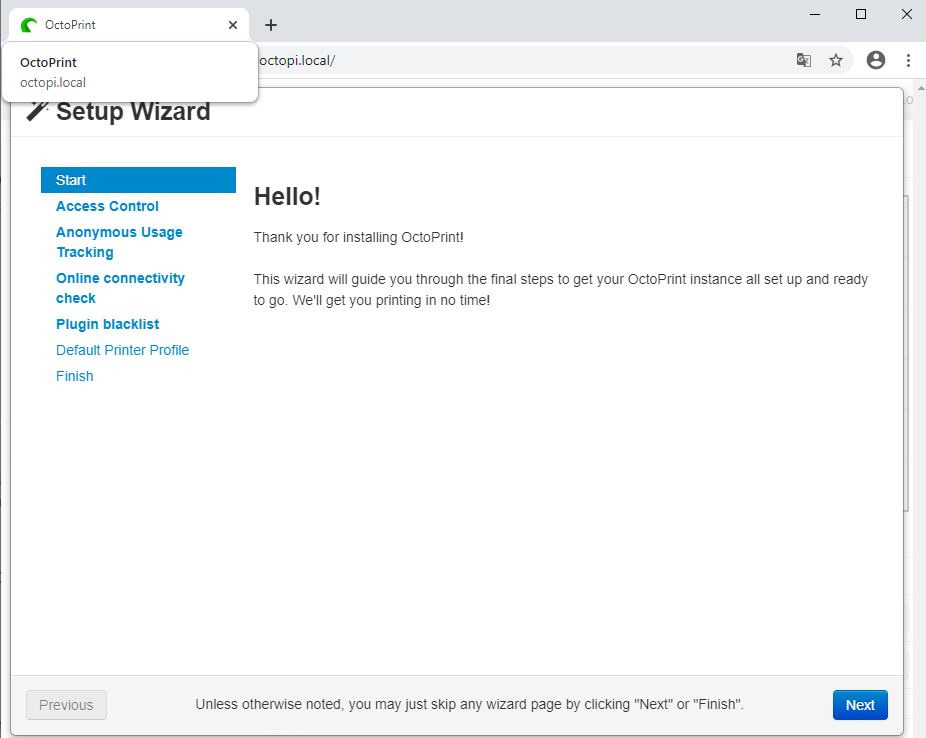
Open your brower and enter default address:
http://octopi.local/
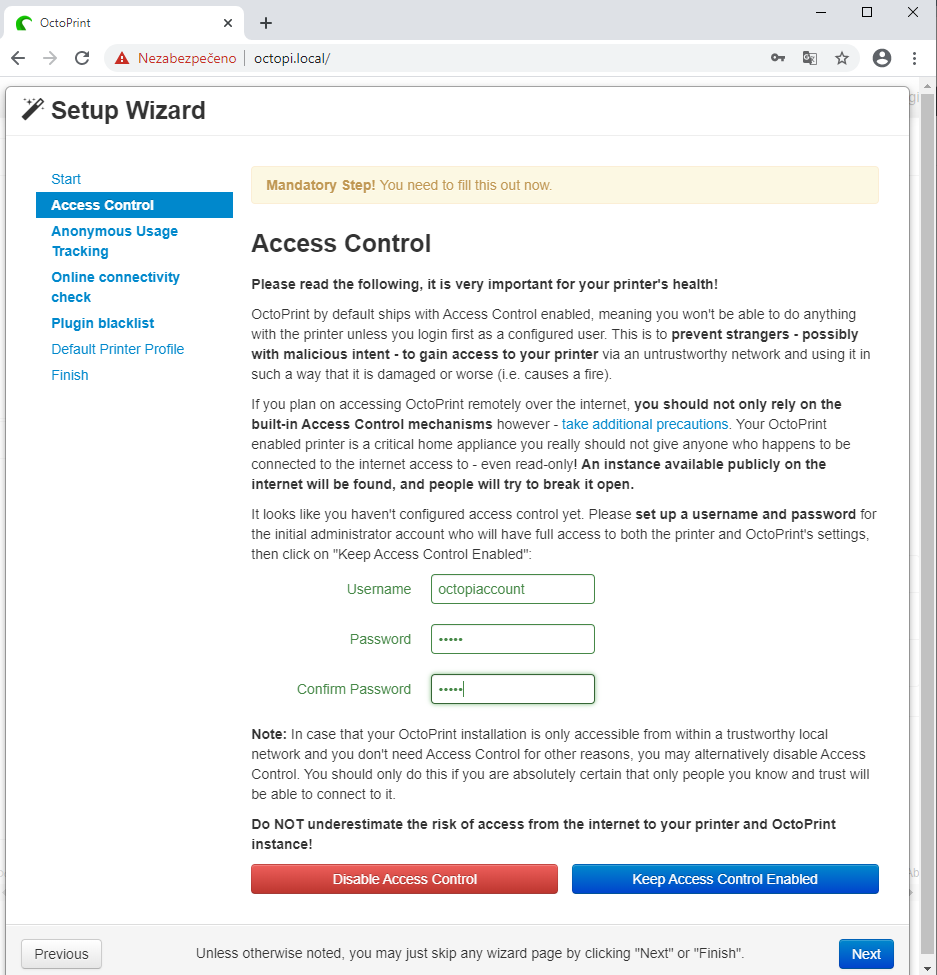
Choose your username, password.
Choose Keep Access Contron Enabled (recommended).
Click on Next.
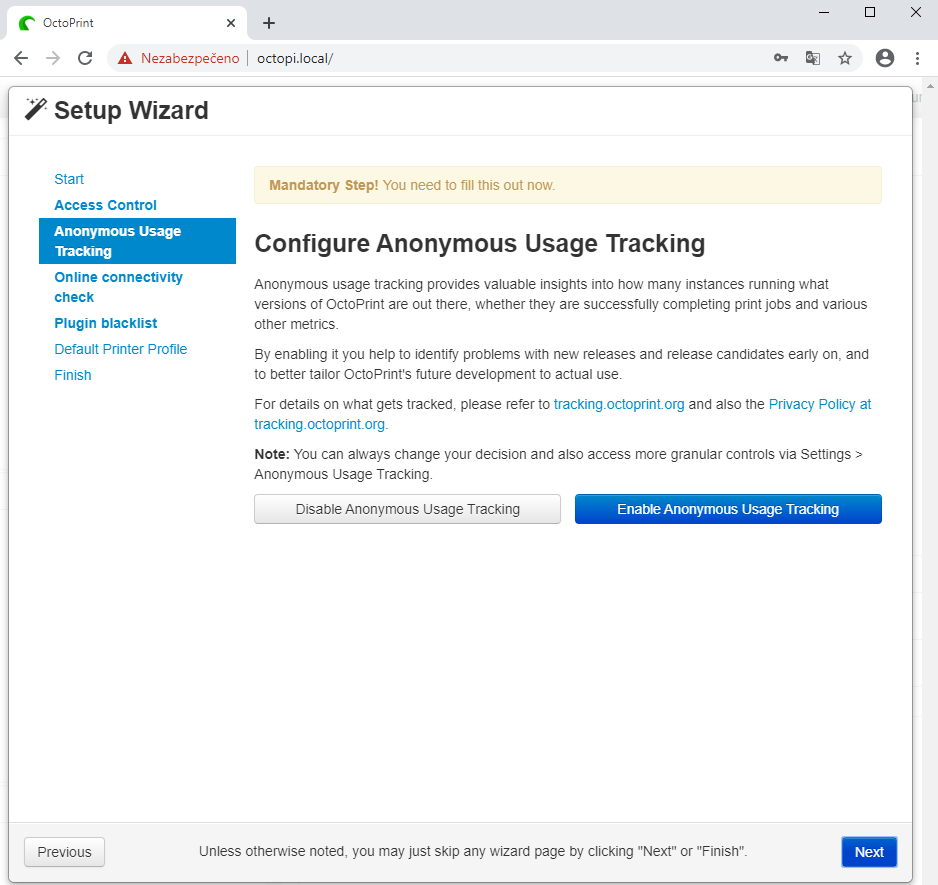
Choose if you want to enable Anonymous Usage Tracking for delevopment purposes.
Click on Next
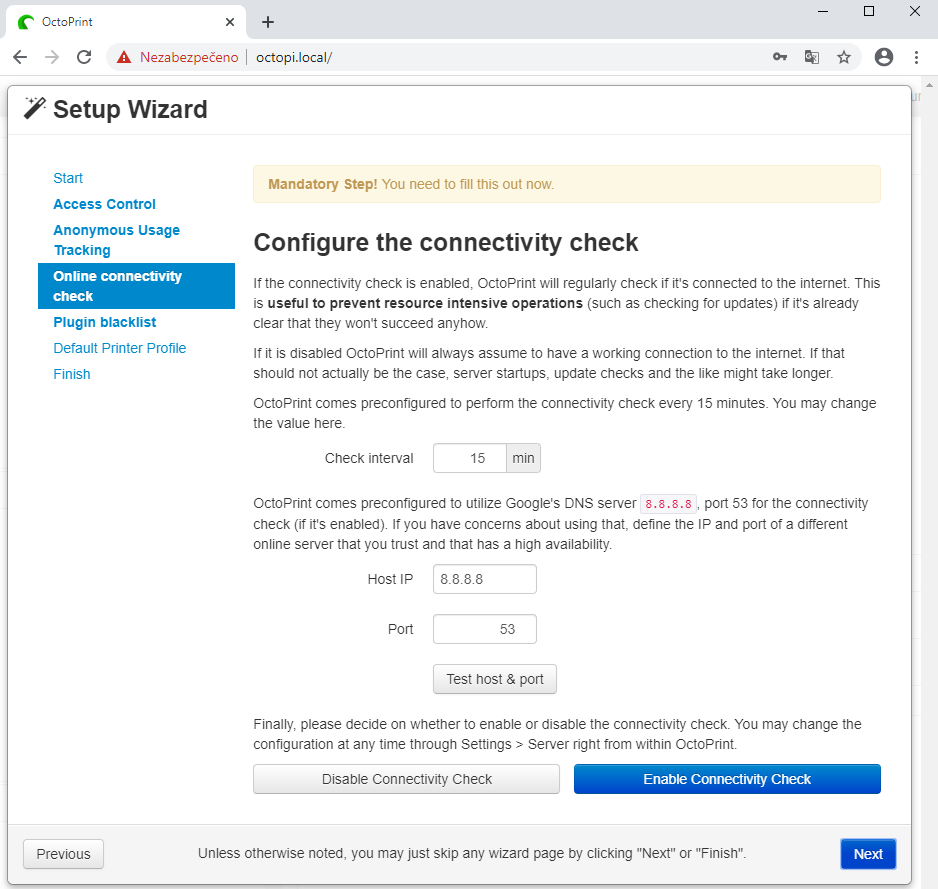
Keep it Enable if you want to.
Click on Next.
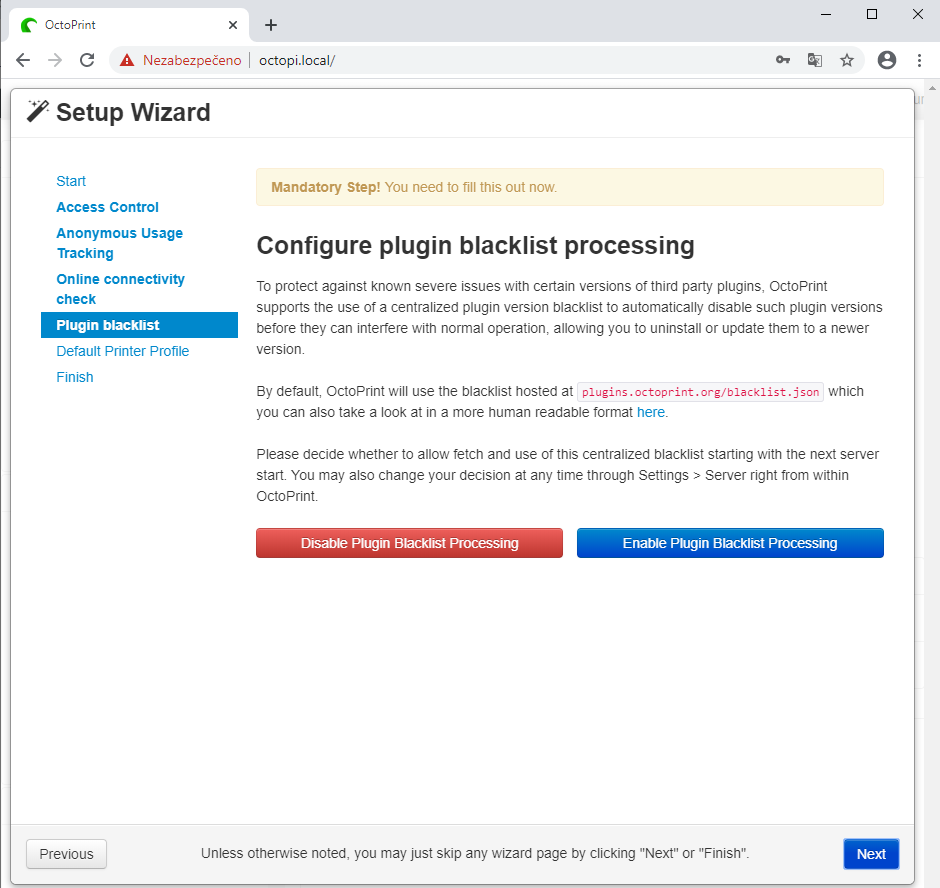
Click on Enable and Next.
Create a printer profile.
General – choose your printer name and model.
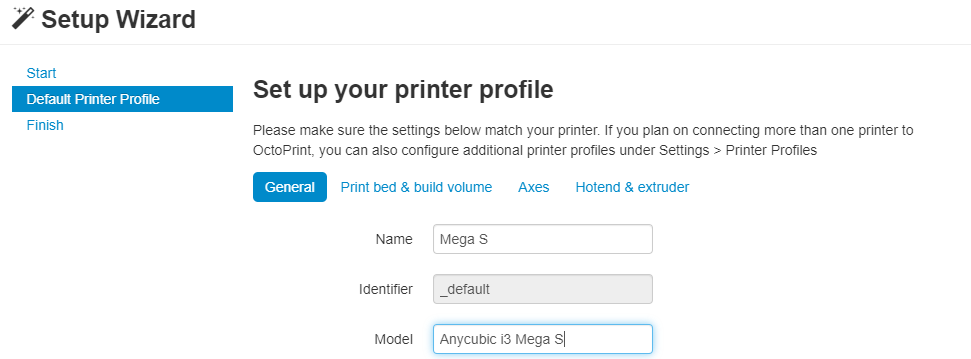
Fill in the correct settings for your printer.
In this case – Anycubic i3 Mega S.
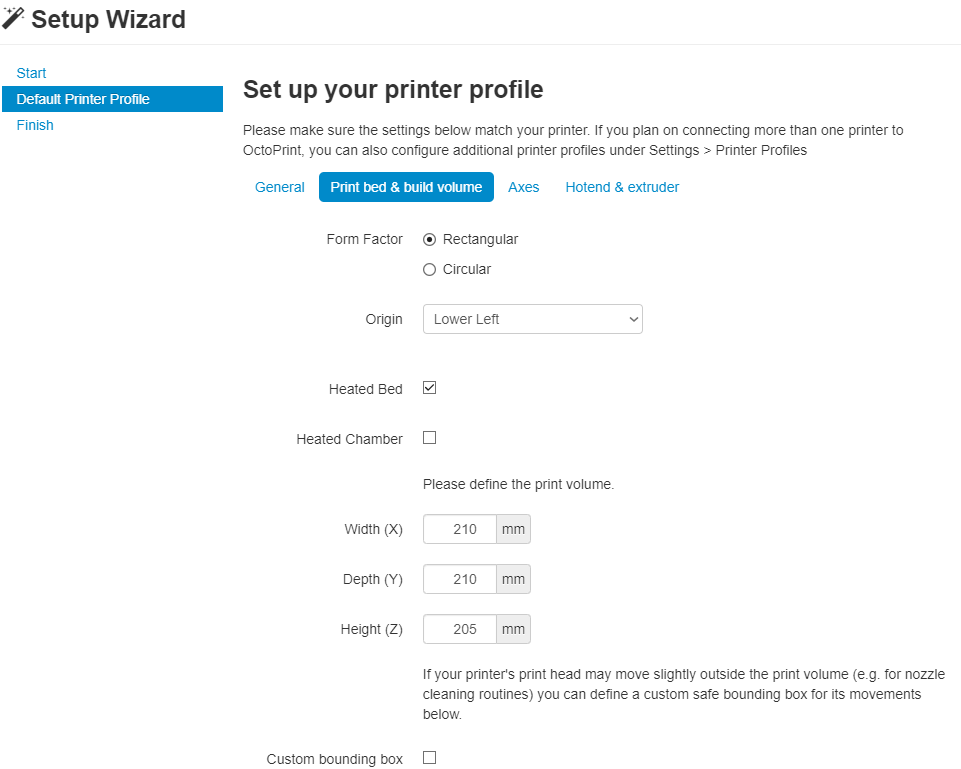
You can keep the rest of the setting tabs with original values, just check them.
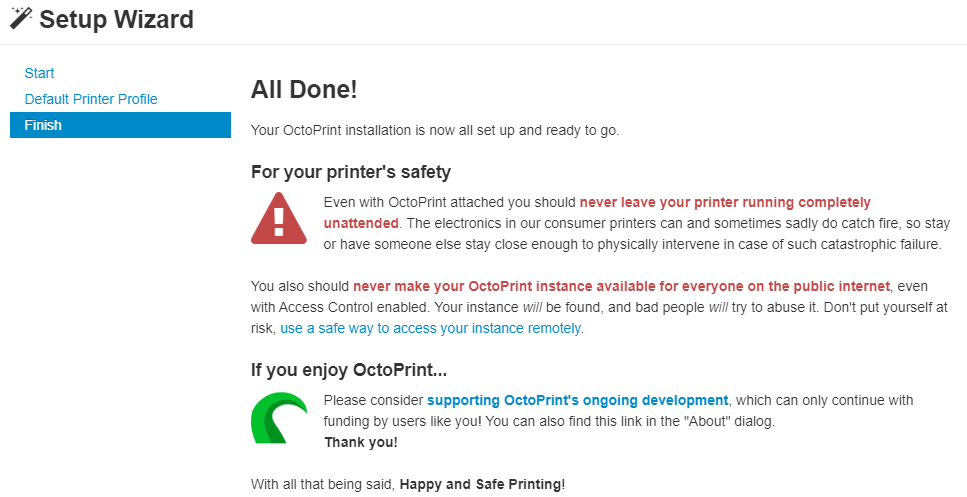
Setup wizard is complete.
Now is time to connect the printer via USB to Raspberry.
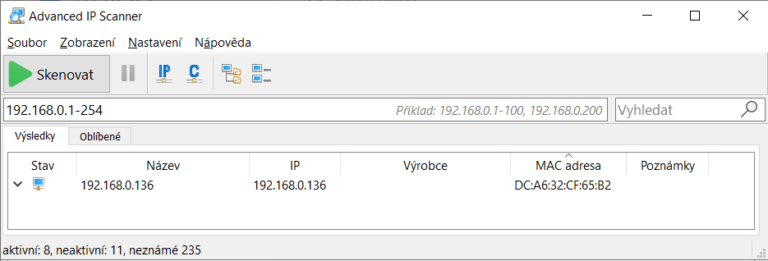
Start with locating Raspberry in your local network.
I highly recommend installing Advanced IP Scanner CLICK HERE.
Default IP range is usually 192.168.0.1-254 or 192.168.1.1-254.
Locate the Raspberry’s IP address and copy it.
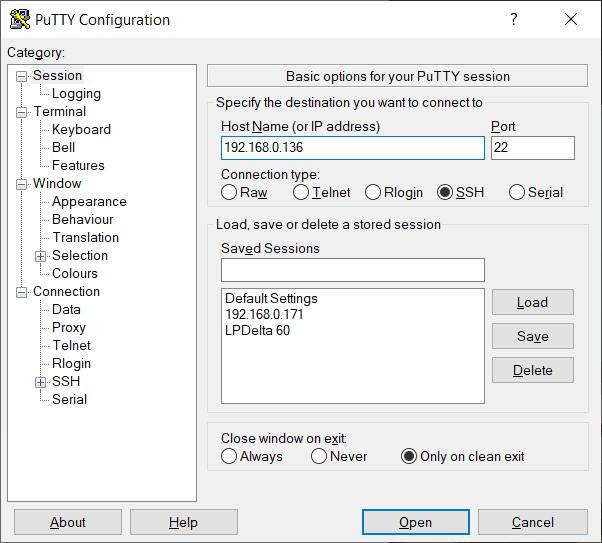
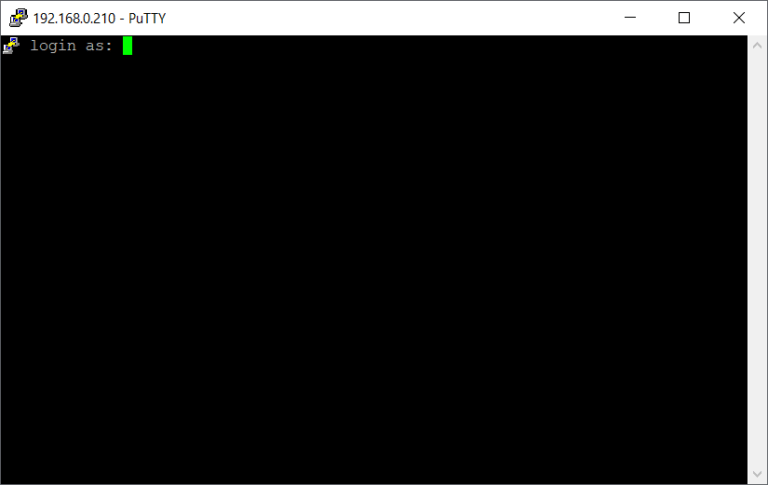
Open PuTTY and paste the copied IP address from previous step.
Click on Open.
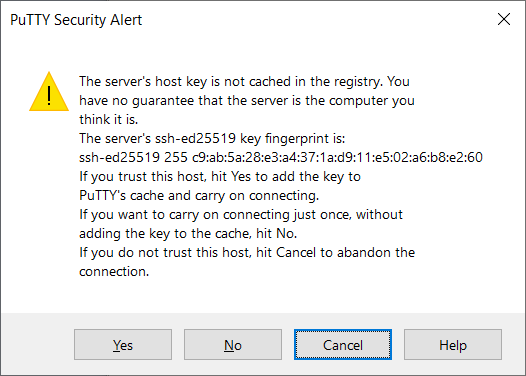
You will see this window the first time you connect to the Raspberry from your computer.
Click on Yes.
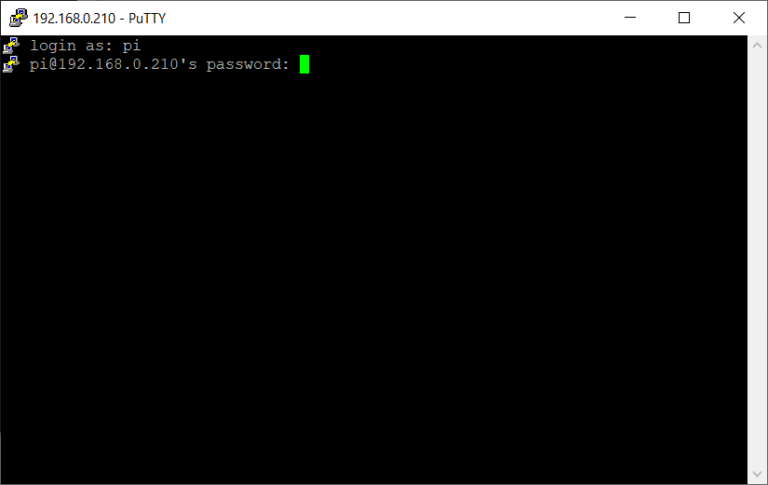
Use your Raspberry login, default is pi
Hit Enter.
Enter password for pi account.
Default value is raspberry
If you are not familiar with Linux systems, do not be scared that you will not see the password, not even * characters.
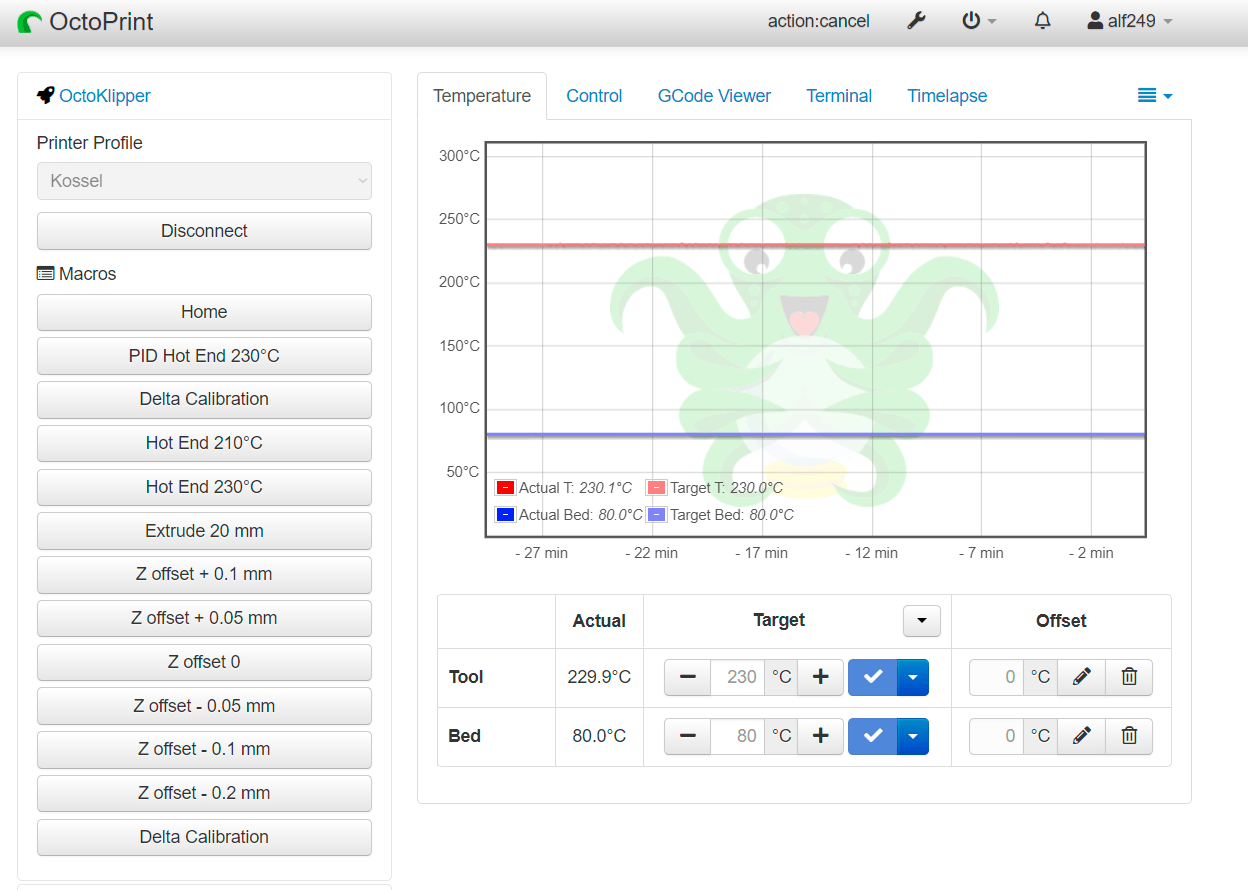
You should see these informations after a successful login
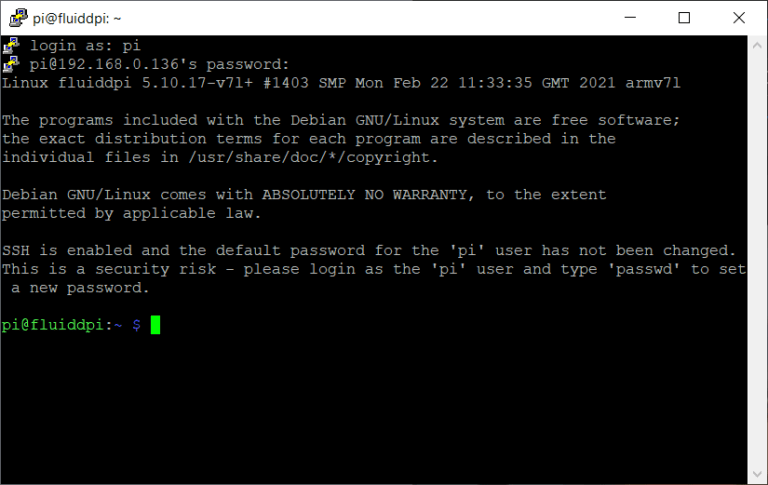
You have succesfully installed OctoPrint.
The next logical step would be to install Klipper or even better a KIAUH!
The most common problem is a different IP address range.
For example: you are not able to locate any device on this range: 192.168.1.1.-254

So open network settings – click on the network / more informations and find your computer’s IP address.
As you can see, this IP address in in a 192.168.0.1.-254 range.
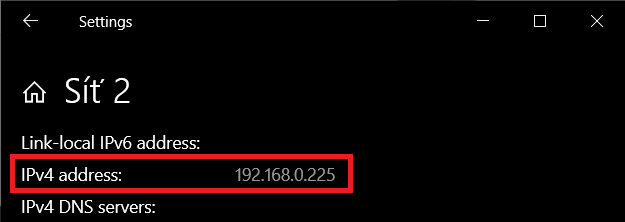
Fill in the correct IP address range 192.168.0.1.-254 and click on Scan.

It is possible that you have entered incorrect WiFi settings.
Turn of the Raspberry, remove micro SD card, insert it into the computer, return to 6.1. and double check your WiFi settings.